I’ve shared so many tips, tricks, tutorials and project inspiration on this blog throughout my 15 years as a knitting designer. But I realized I have never talked about one of the important last steps of a knitting project – taking photos of your finished work! Most of us like to photograph our work, either to share with friends or family, on social media, or on your Ravelry project page. It’s not only a fun way to share your beautiful work but it can also be informative and inspirational to other knitters. So I thought I would share some helpful at-home amateur tips for photographing your knits. The key word here is amateur – these are all tips you can try with just your phone’s camera, some natural light, and your beautiful finished knit of course!
Tip #1: Your phone’s camera can take great photos
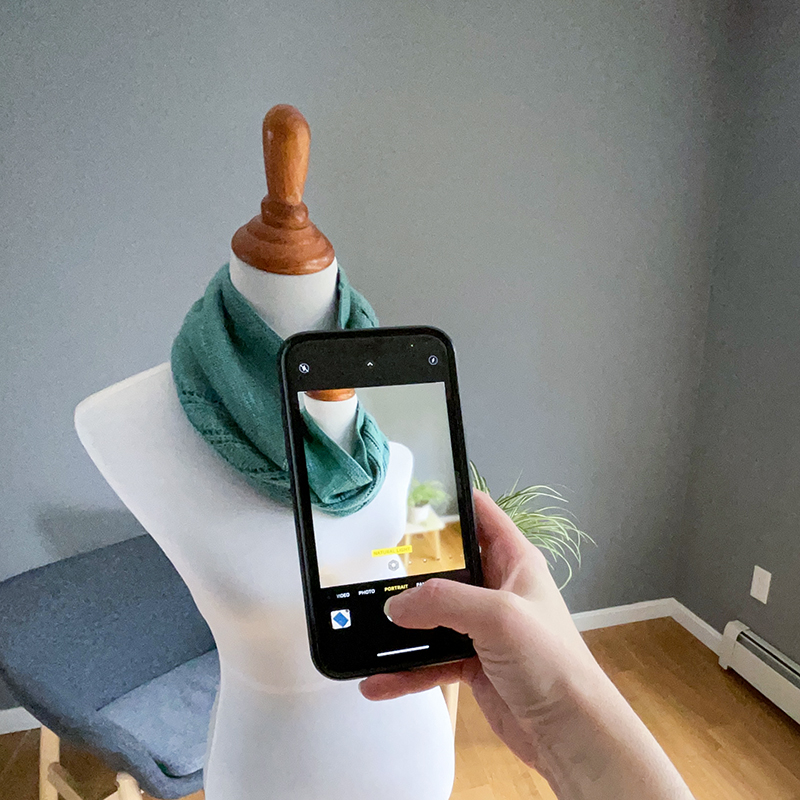
Most people’s iPhone’s or Android cameras can take amazing pictures, so don’t feel like you need professional equipment to take good photography of your knits. My husband uses a professional camera for most of the official pattern photographs, but for my tutorials and more casual photos I just use my iPhone and it works quite well.
Tip #2: Try portrait-mode in your phone’s camera
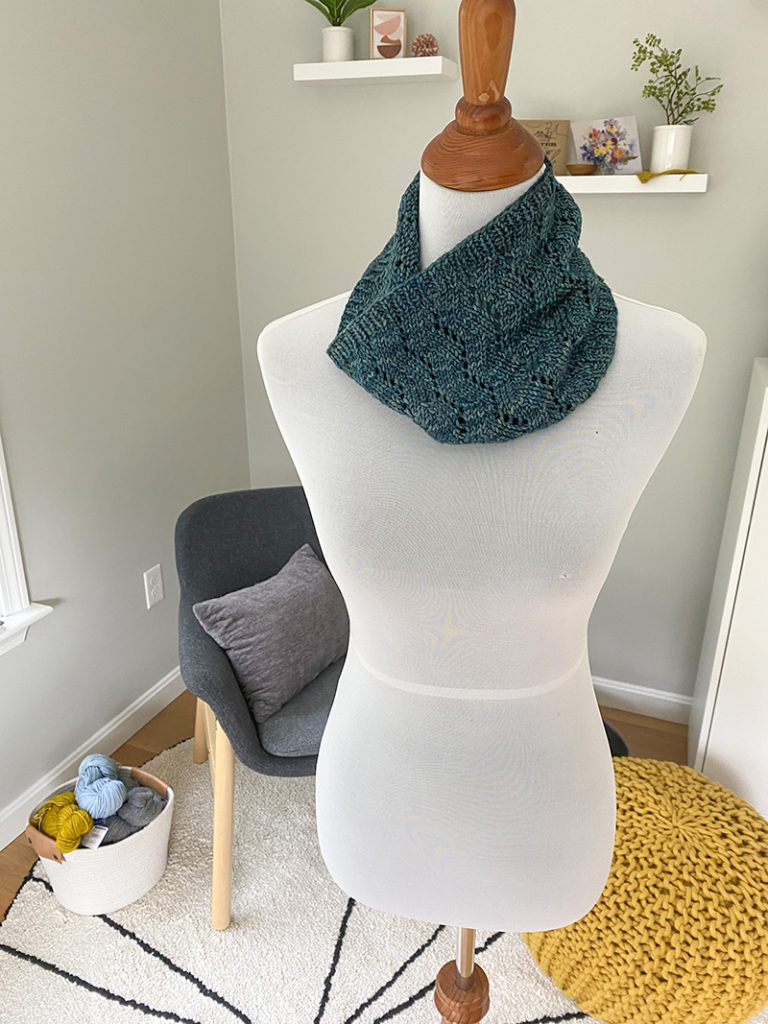
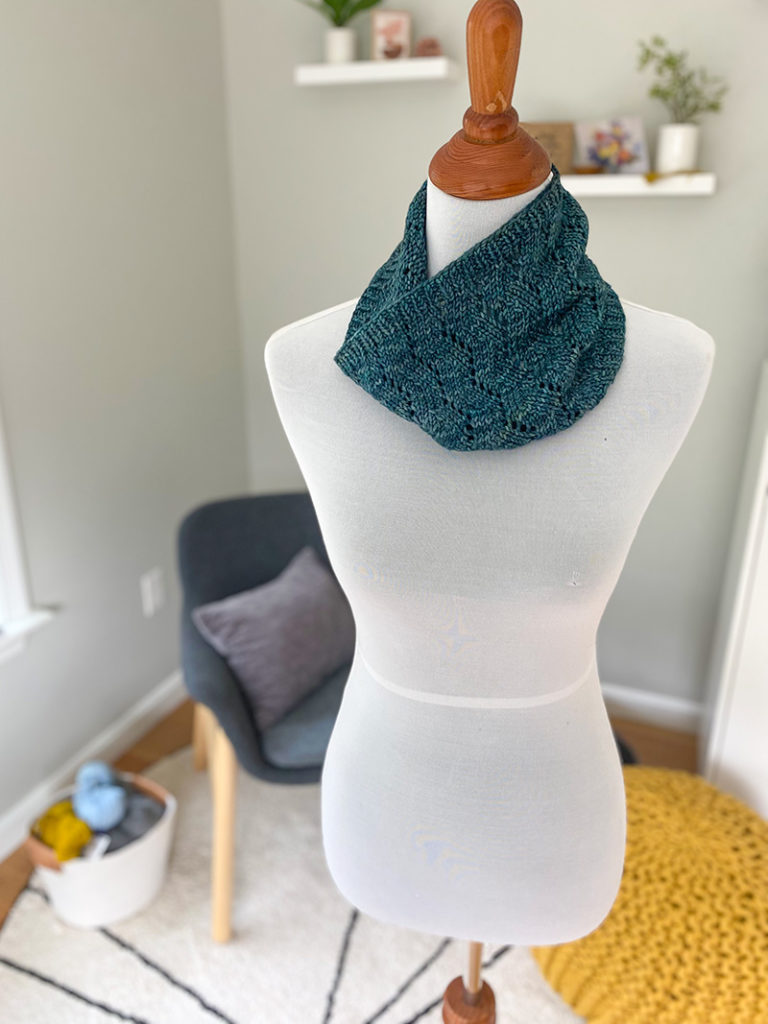
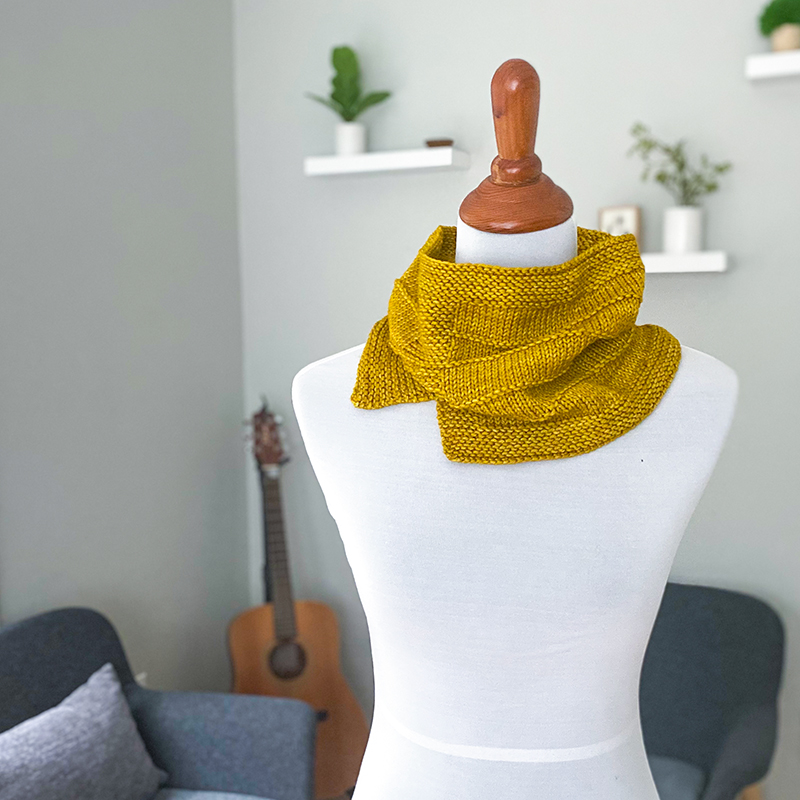
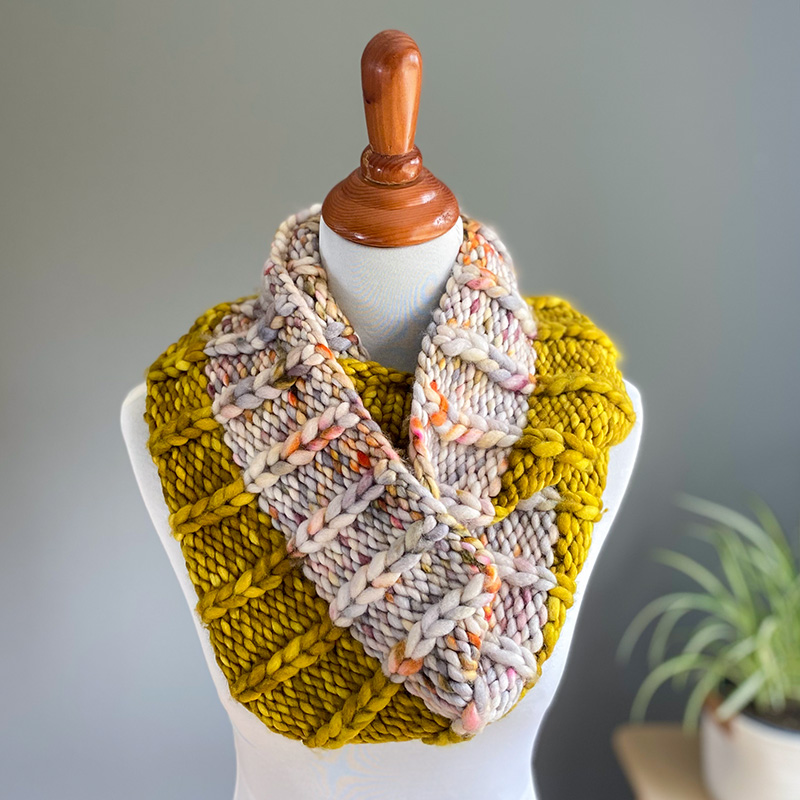
On an iPhone, one of the settings you can choose on your camera is “portrait-mode”. This is when the subject is focused but the background is blurry (depth of field). This is a nice affect when photographing your knits because any background you have (whether there by chance or purposefully placed) becomes subtle and doesn’t distract from the main focus – your finished knit! Below you can see how the exact same scene looks in regular mode vs “portrait” mode:
It may be subjective, but personally I like the look of the portrait-mode. The chair, yarn basket, and shelves behind my dress form because more subtle and allow the cowl to stand-out more. In the regular mode, all of the elements are competing with each other a bit and it looks more cluttered.
Tip #3: Natural lighting is SO important
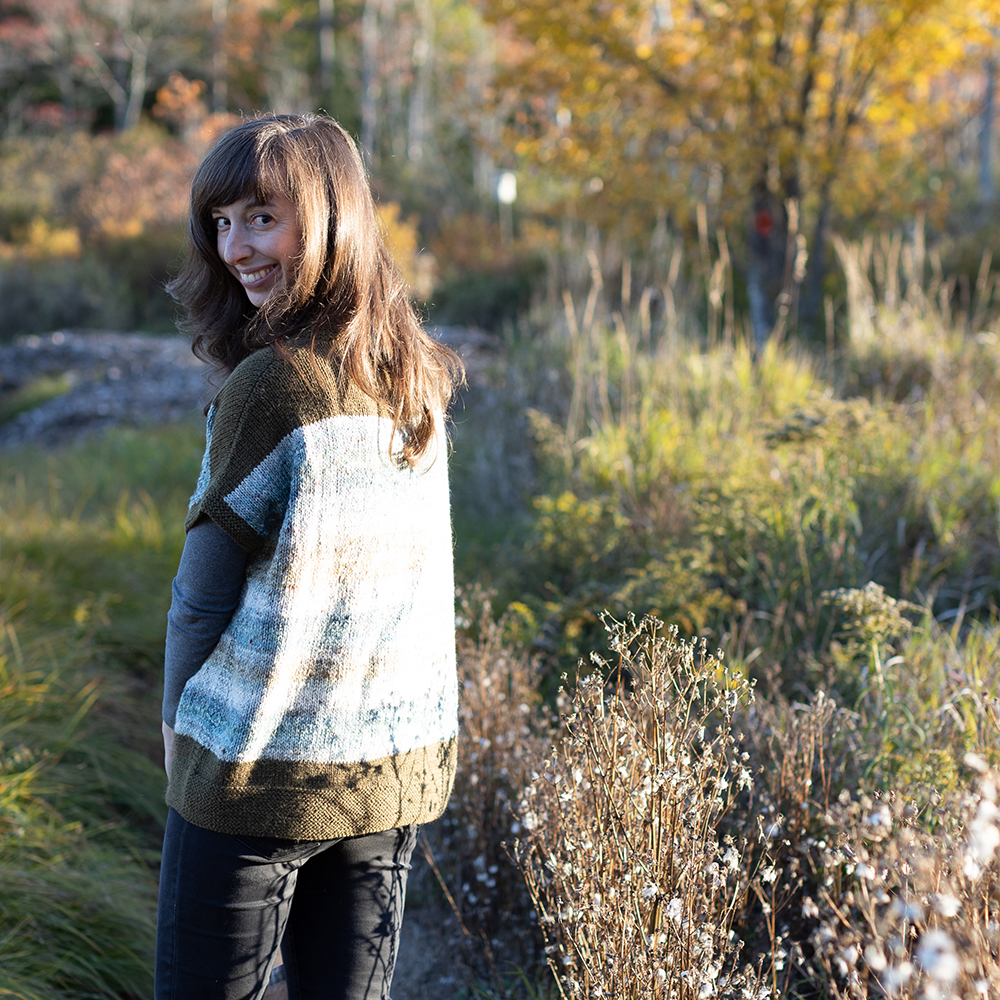
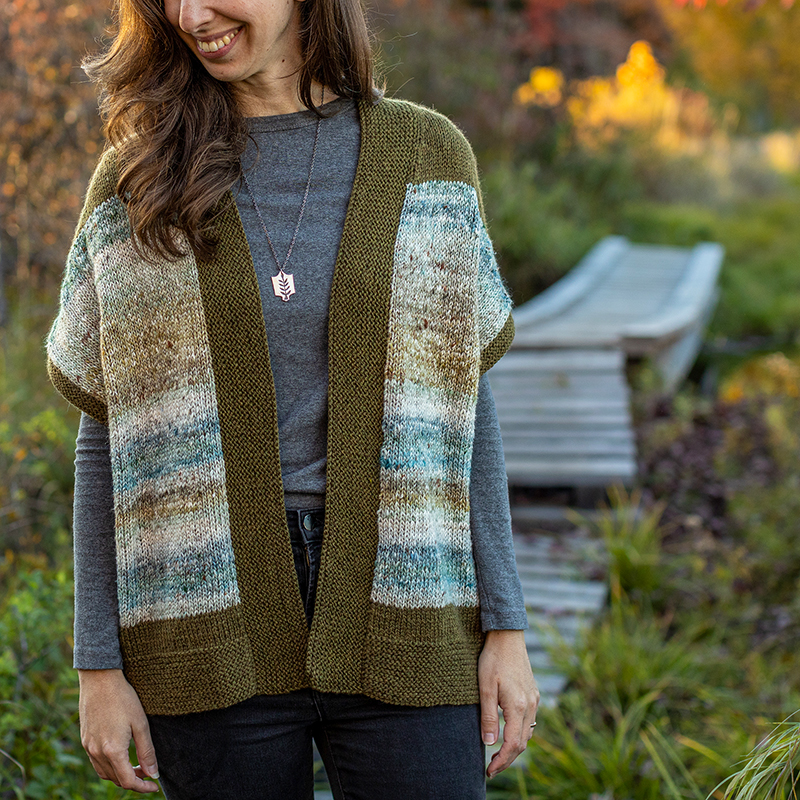
Taking your picture in natural, soft light can make all the difference. I would say it’s probably the most important thing to keep in mind. Artificial light works well for professionals (using professional lighting tools), but often turning on overhead lights or lamps in your home will just cause shadows. Of course this isn’t always the case, but it’s what I have found in my own home at least! So I opt for natural light – taking pictures near a window or outside at an optimal time of day. But here’s the key – you usually don’t want direct sunlight on your knit. This will be too harsh and will cause shadows. Below are two photos taken of my Layla Cardigan this past Fall (note: these were taken with Jeff’s professional equipment, the lesson about light still applies). The first has too much direct sunlight – it washes the whole sweater out. But in the second we moved to a different spot out of the direct sunlight and what a difference!
When shooting outside, early morning or before sunset are most ideal. And since I am not a morning person, that means most of our outdoor shoots are taken at “golden hour” – this is the time around 1 hour before sunset. That time of day can really provide some gorgeous light and is much less harsh than the middle of the day.
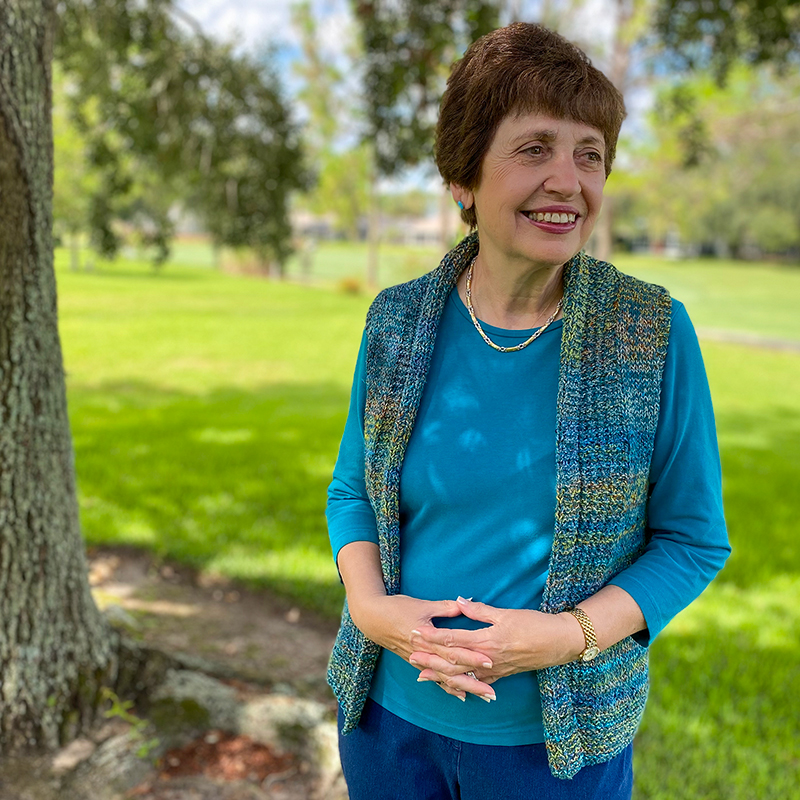
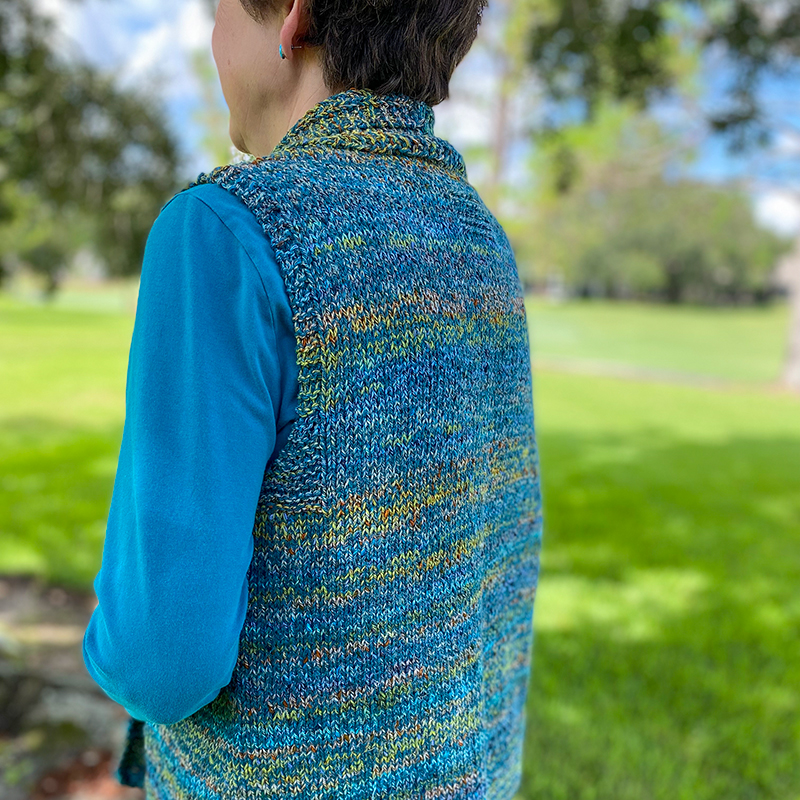
But if you really need to take your photos in the middle of the day, don’t worry – you can still find ways to avoid the harsh light and shadows. Below are examples of shots I took in Florida this past summer – it was just after 11:00am in July but we found a large tree for my Mom to model underneath and it worked quite well!
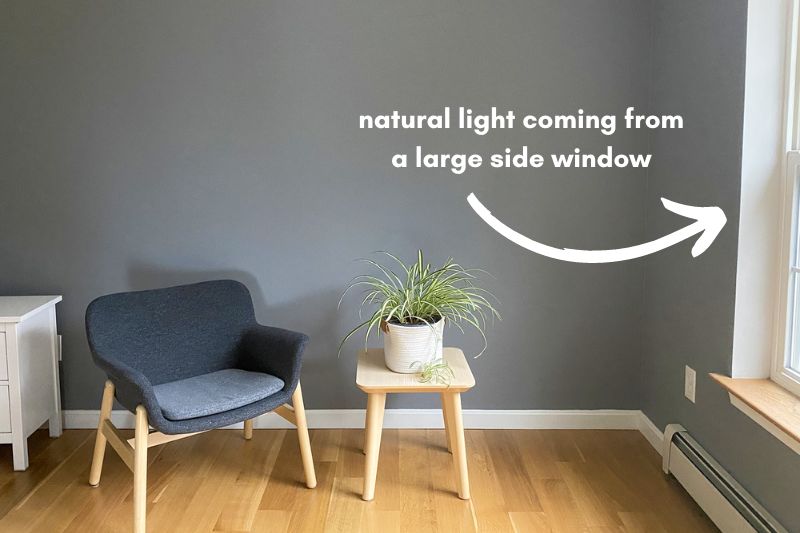
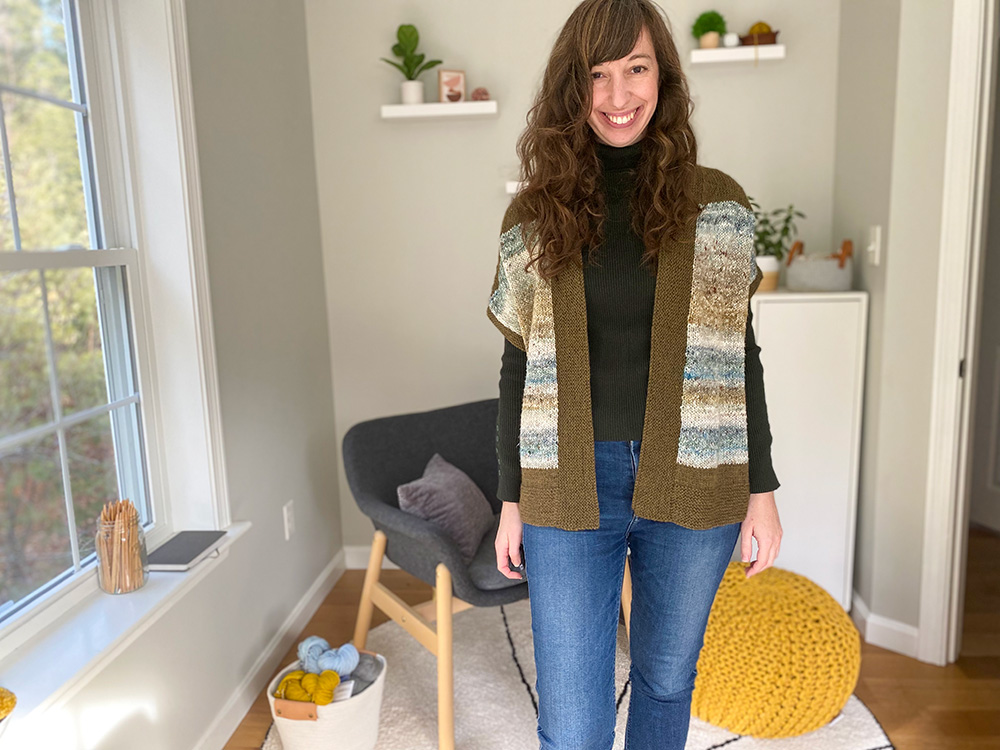
For indoor photography, the spot we typically use is right next to a large window. And due to the position of our house, we know that we’ll get nice, soft, natural light without direct sunlight between around 10:00am-1:00pm (depending on the time of year). Note: the window is on the side – we never shoot with a window behind us. That will just cause major shadows!
So when looking at different spots in your house that may work well for knit photography, pay attention to what time of day seems to give you the best, softest light.
Tip #4: No photographer at home? Try a small tripod!
I’m very lucky – I live with a talented photographer (you can check out my husband Jeff’s beautiful photography here). But, don’t worry – if you don’t have anyone readily available to take photos of you there are other options! There are so many options now for phone tripods that are portable, take up hardly any space and are quite affordable. This makes solo-photo-taking super easy.
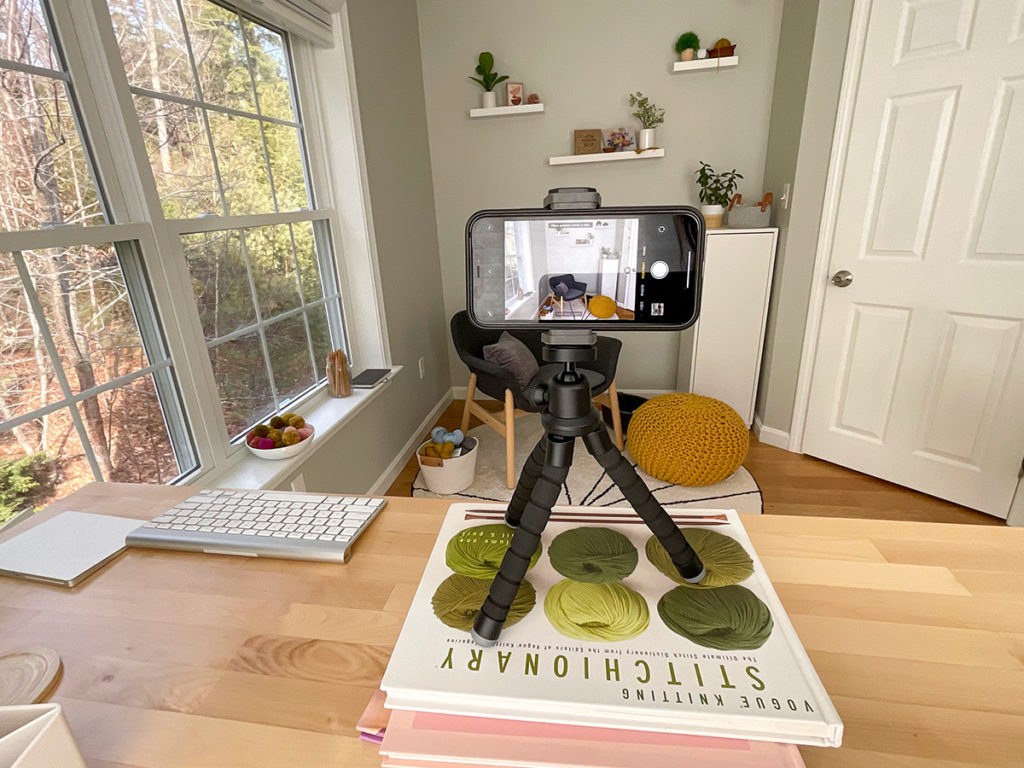
You can go with a table top tripod (as pictured below), or they now have lots of extendable ones too that can go as high as 60-70″, or shrink down to table top if you like. And, they usually come with a remote clicker so you don’t have to rely on a timer. It can take some trial & error to find the right angle and height, so you just have to be patient and experiment a bit.
If your tripod comes with a remote, it makes things super easy. As you can see below, I just click the remote and voila, it takes the picture. Again, I had to do some trial and error to make sure I was in the right position, but eventually I find the right spot. If you don’t have a remote clicker, then you can utilize the timer function on your phone.
Tip #5: Try a mirror selfie
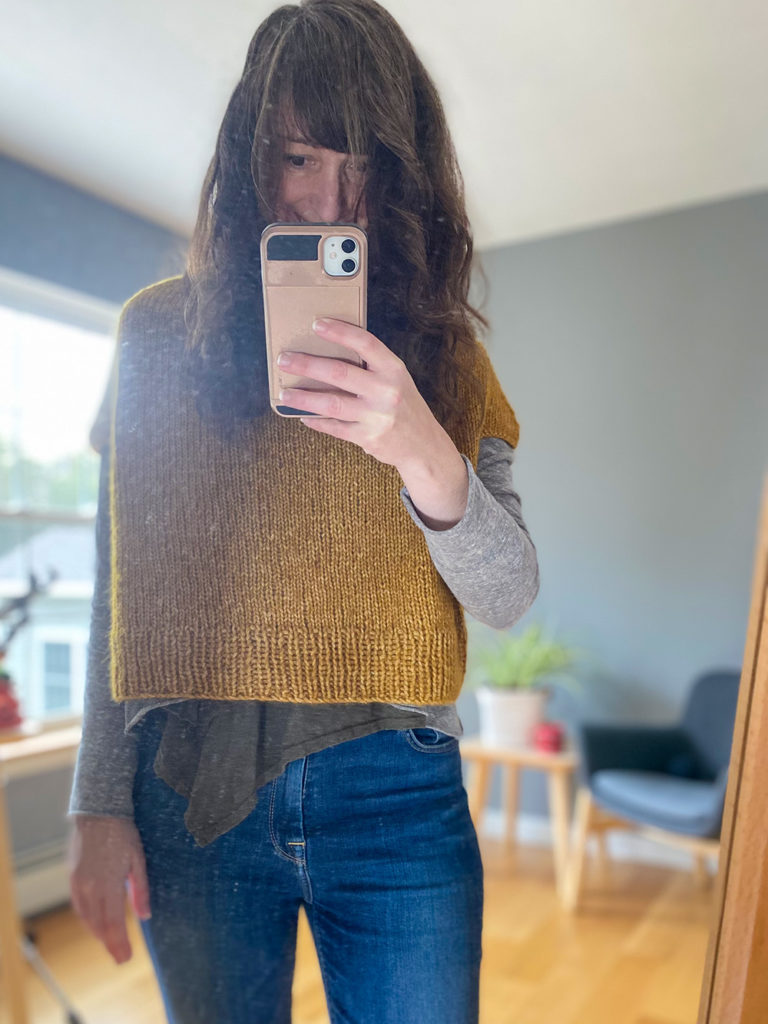
One popular trend I’ve seen on social media is taking a “mirror selfie”. This is where you stand in front a mirror (a long mirror is especially helpful) and take a picture of your reflection. I haven’t done a lot of this type of photographing, so I still need to perfect my angles, but here is one I took the other day. Important note (which I did not do below)..make sure to clean the mirror! I didn’t realize until afterwards how dusty my mirror actually was haha!
Tip #6: Experiment with different poses (standing, sitting & props)
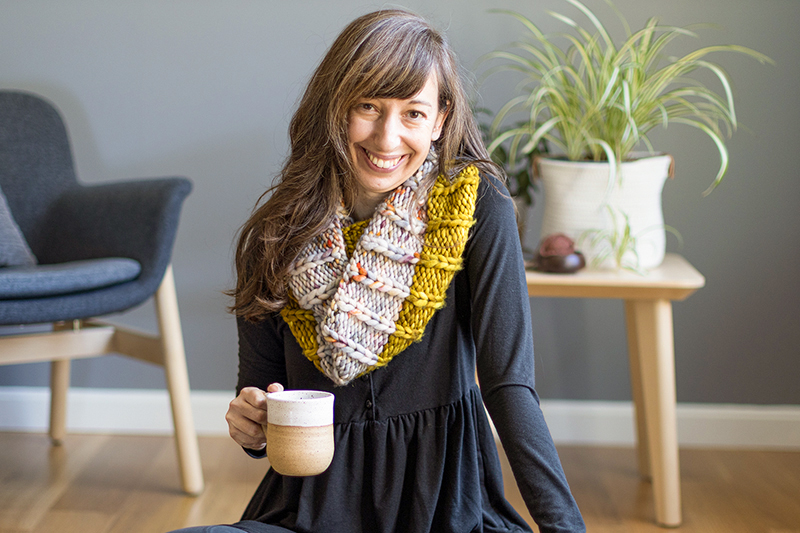
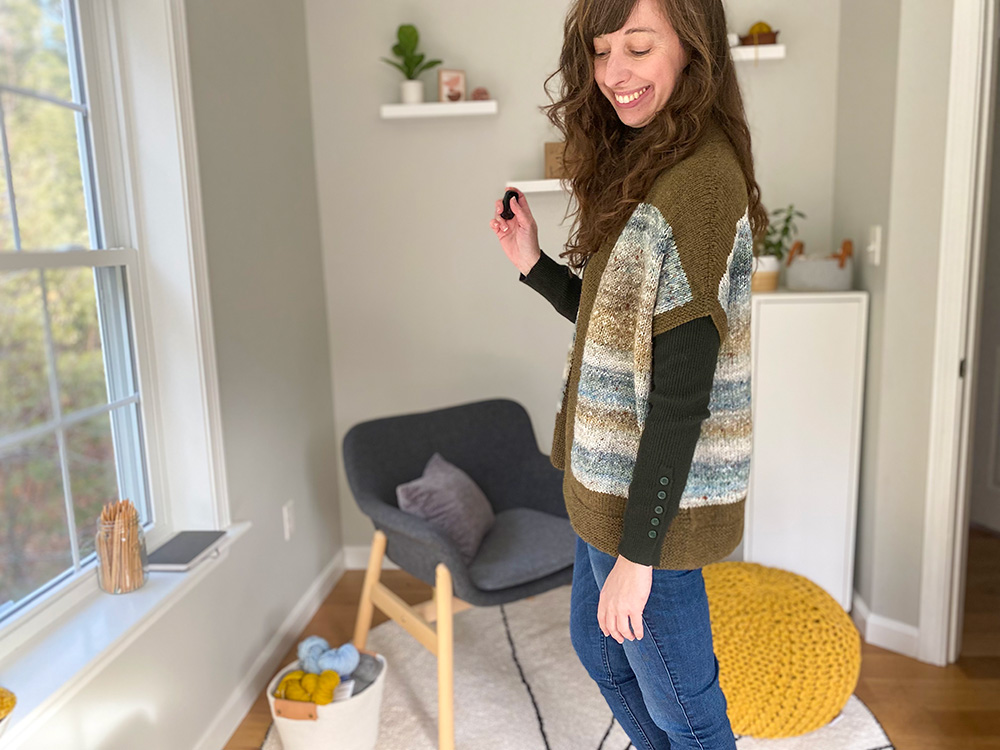
Whether someone is taking the photo for you or you’re using a tripod and doing it yourself, experiment with different poses. This includes different standing poses as well as try some where you’re sitting. I usually never know what to do with my hands, so sometimes I like to hold a cup of coffee or some yarn. Have fun and experiment!


Tip #7: Don’t want to model? Try a dress form!
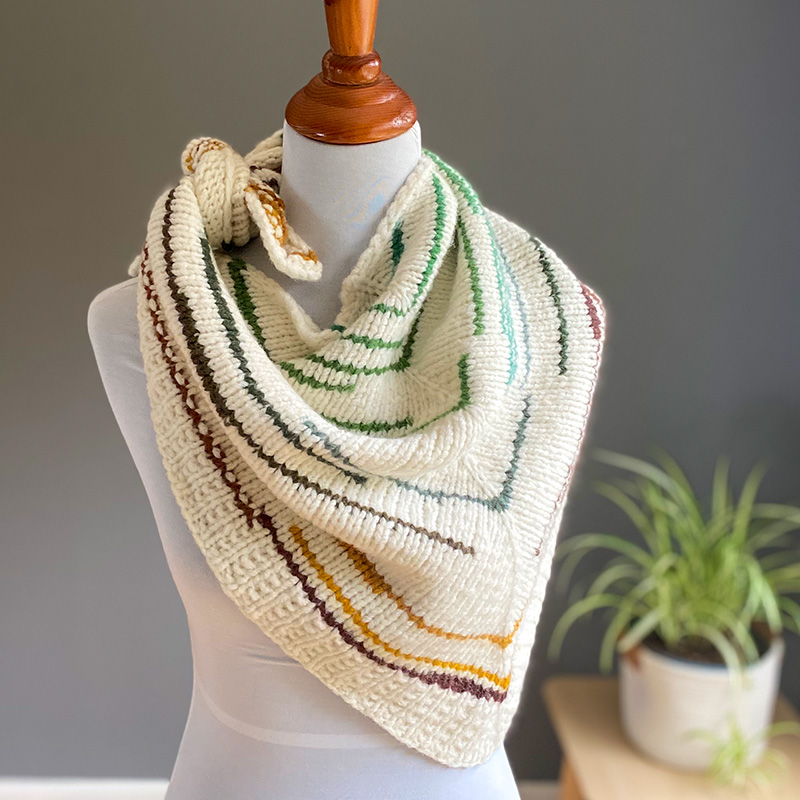
As you’ll see in many of my photos, I often will photograph knits on a dress form.
The other thing I like about using dress forms is that you can have fun playing around with different styling options. By experimenting with pairing your knits with different tops, it may give you ideas for how you might want to wear you knit!
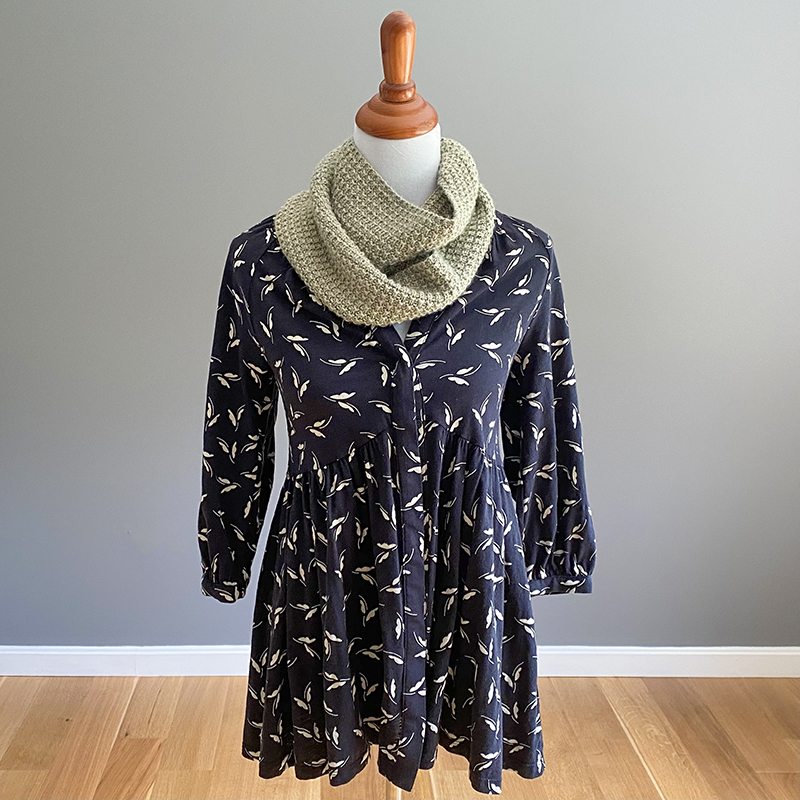

I purchased my dress form back in 2010 on Amazon and to my surprise, the product listing is still up – you can click here if you would like to see. The proportions of this mannequin aren’t quite like mine – the bust is a bit bigger and the hips are much smaller than my actual measurements. But since the bust is in the range of mine, it does still work for displaying sweaters knit in my size. Dress forms come in different sizes though so if you do a search with your particular bust measurement you’ll find other resources pop-up.
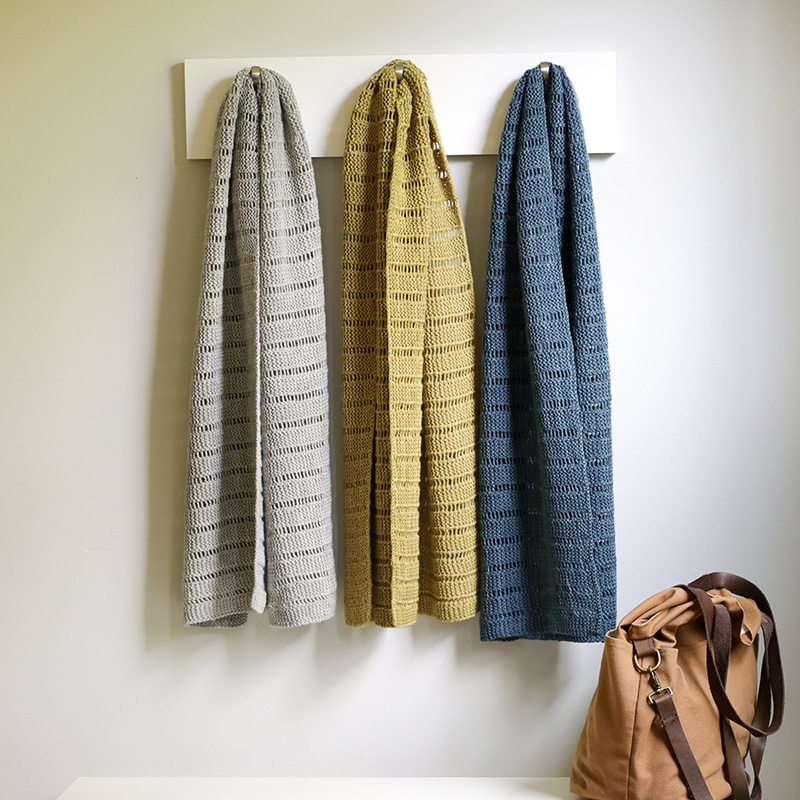
Tip #8: Use hangers or hooks to creatively display
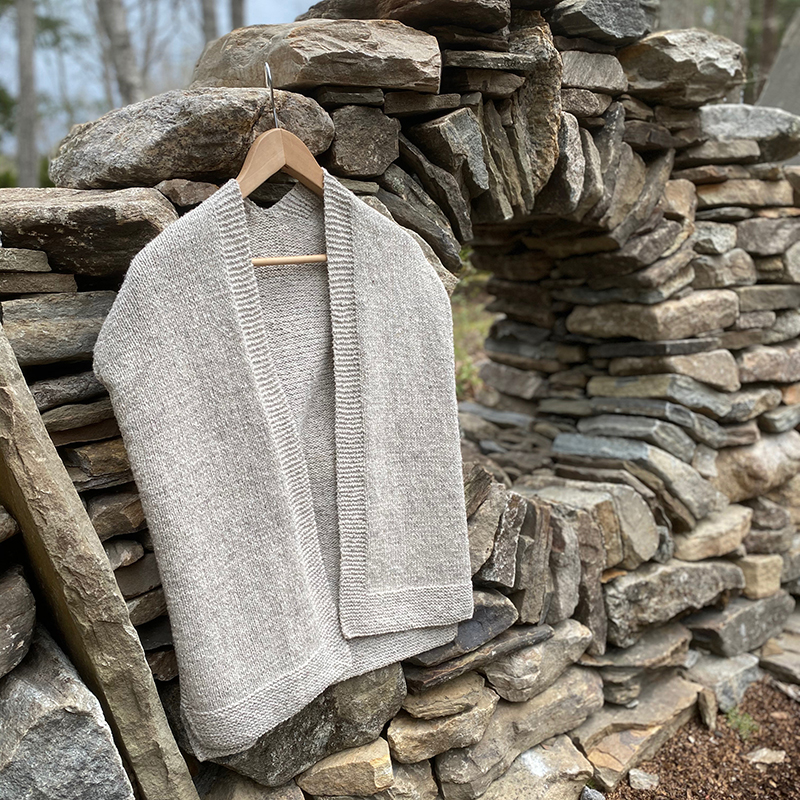
Another option is to put your finished knit on a hanger and display it on a wall, either on it’s own hook or some kind of hook display (I’ve often used Command strips to temporary hang some hooks!). Or you put a garment on a hanger and display it more creatively. Below are some different ideas I’ve tried in the past:

Tip #9: Get creative with a “flat lay”
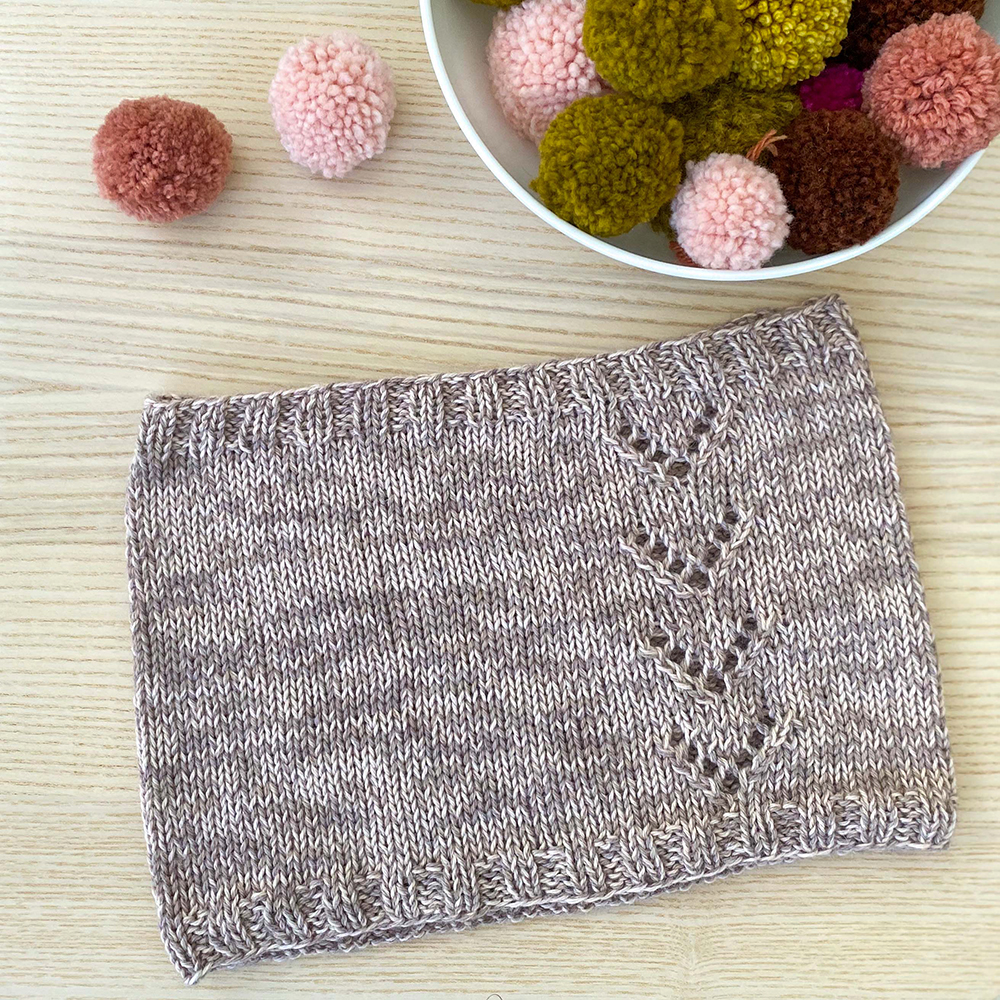
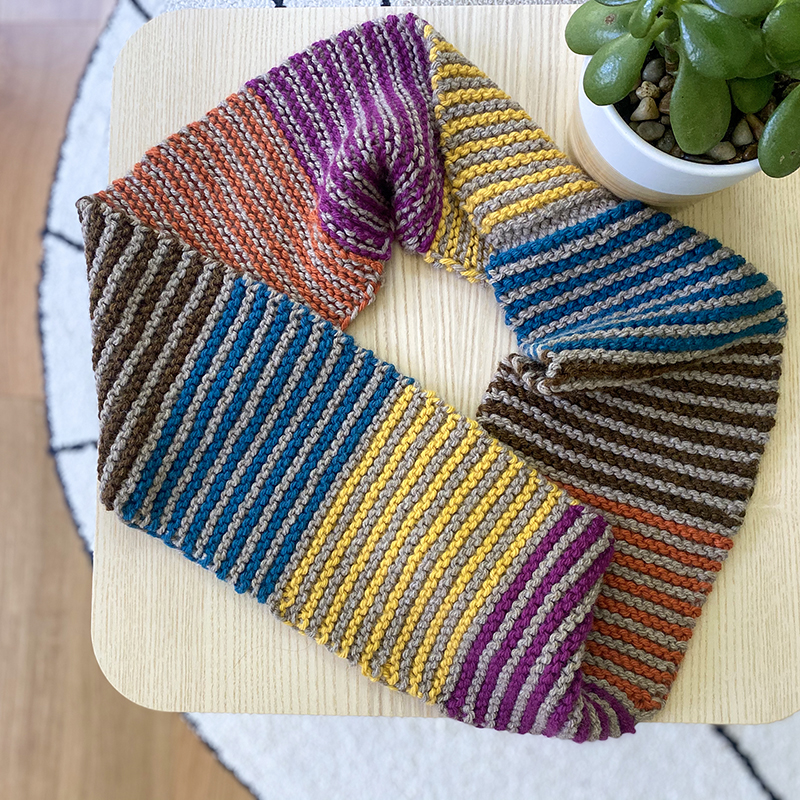
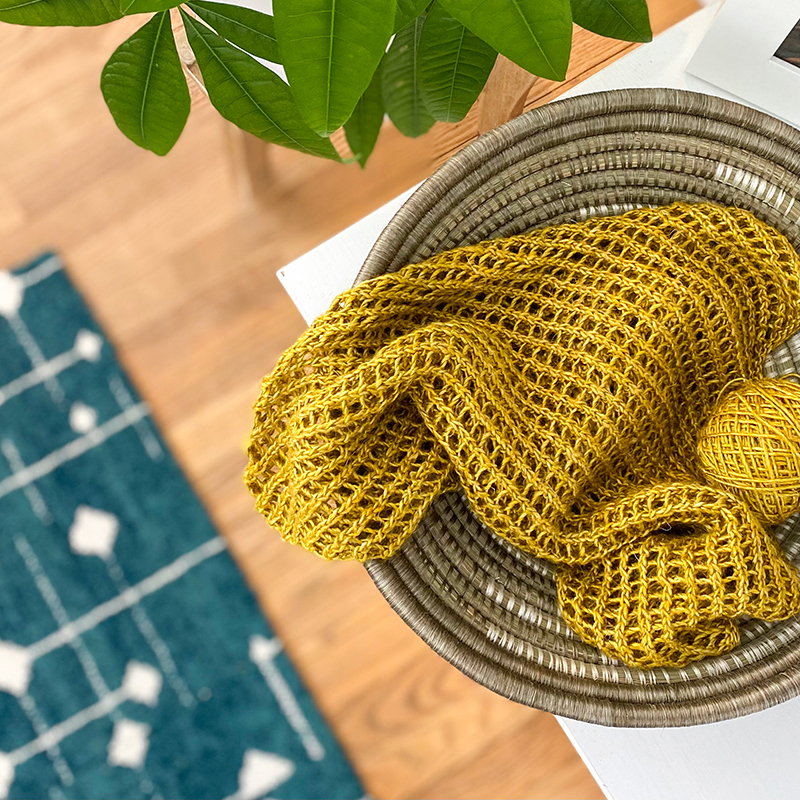
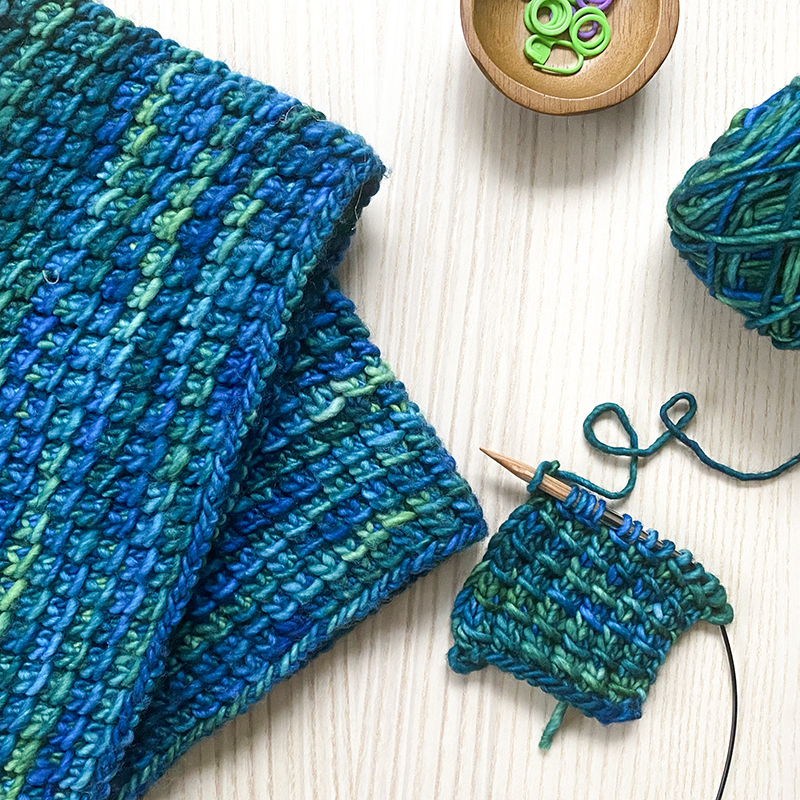
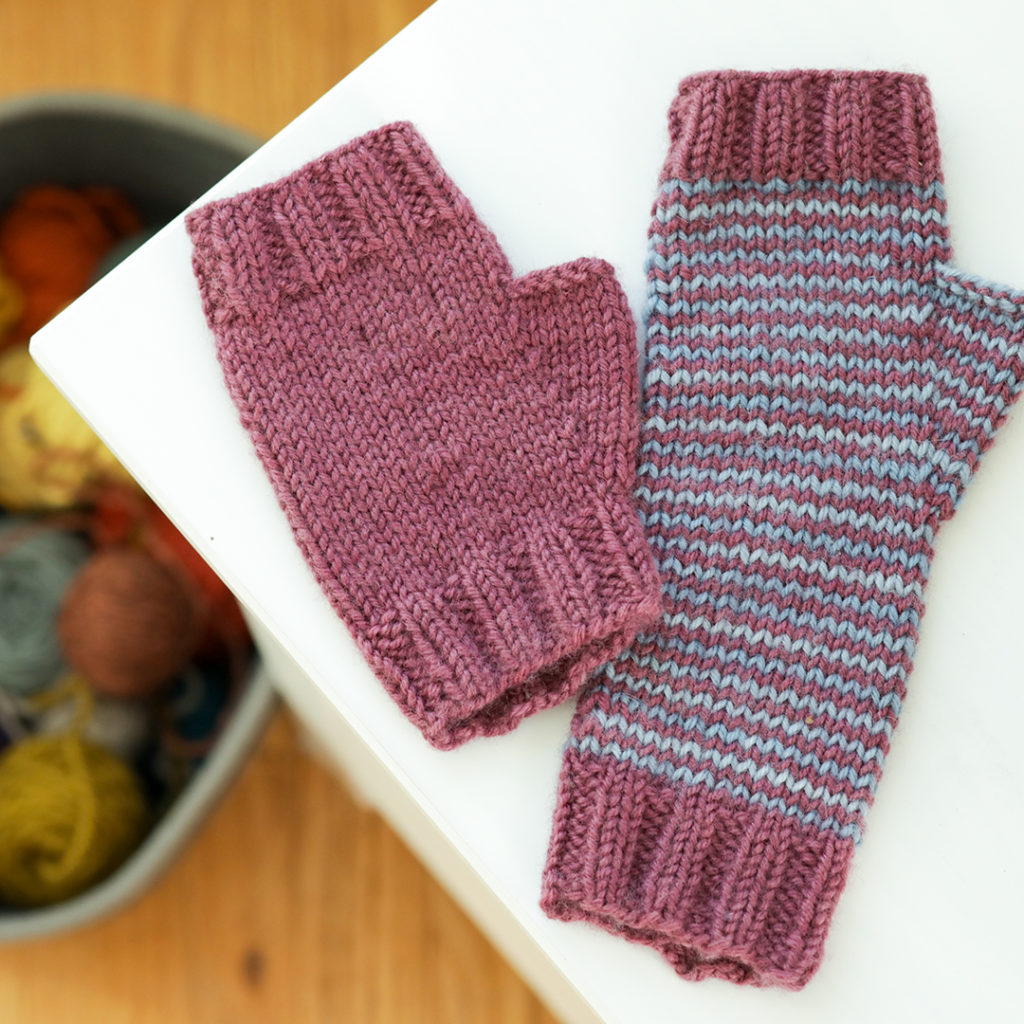
What’s a “flat lay”? It’s a bird’s eye view of whatever you’re photographing, laid flat on the floor or a table and usually some other fun, interesting elements sprinkled in. I often will use plants, little bowls of stitch markers, pom-poms, yarn balls, etc. Of course you can take a flat-lay photo without these extra elements, but adding them in provides a bit more visual interest and personality. Here are some examples taken on my iPhone:
Just like any of my other photos, natural light plays a big part in these photos. I make sure to put them on a table that is near natural light (but again, not in direct sunlight).
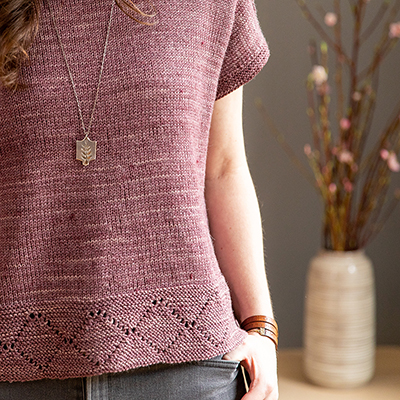
Tip #10: Try simple background objects
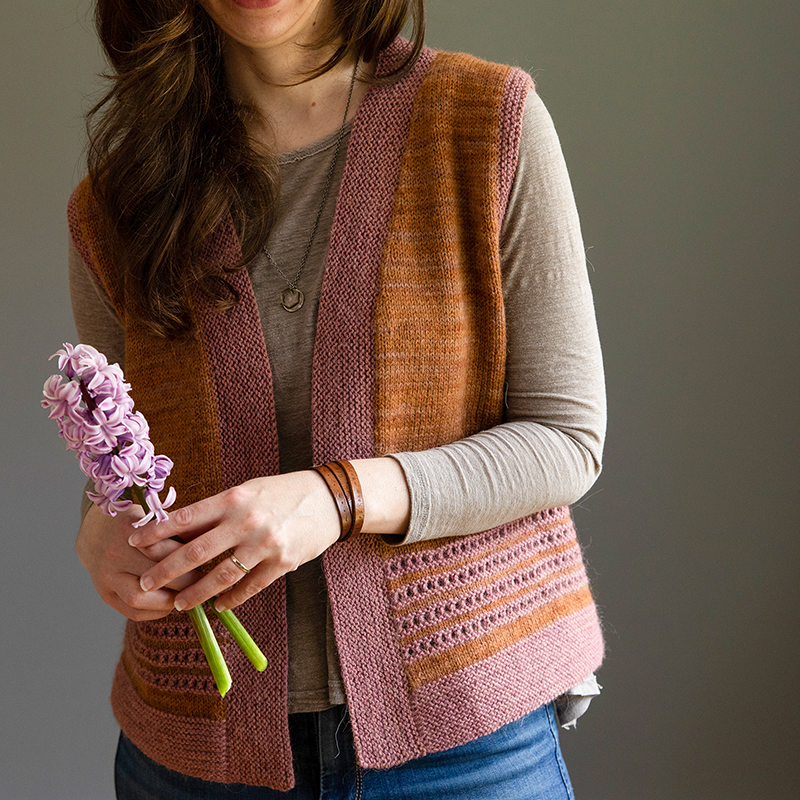
I sometimes like to add simple visual elements in the background of my knit shots. Just a few simple elements can really add to the photo and provide a bit of visual interest. And this kind of scene can be really fun to create too. A simple table, vase and flowers can really add a lot to your knit photo! And when used with the ‘blurry background’ camera affect, it’s subtle but still complements the knitwear really nicely.

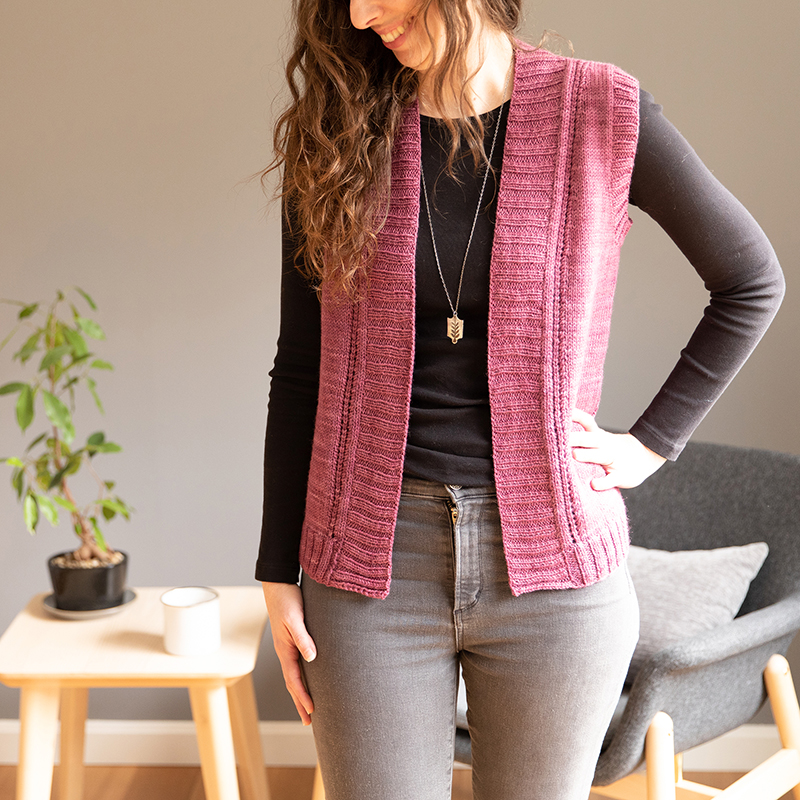
I hope some of these tips have been helpful. Photographing your knits can be a fun, creative step in your knitting process – so experiment with it and enjoy expressing your creativity!

