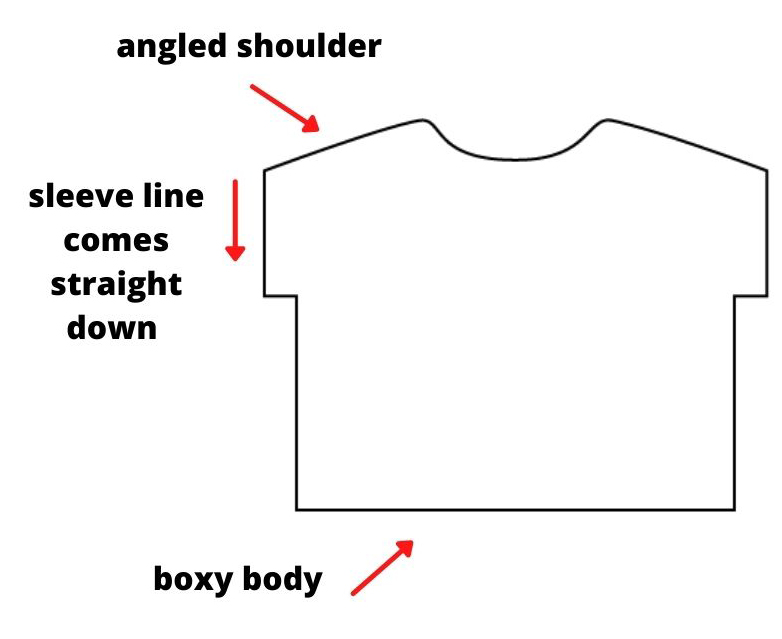
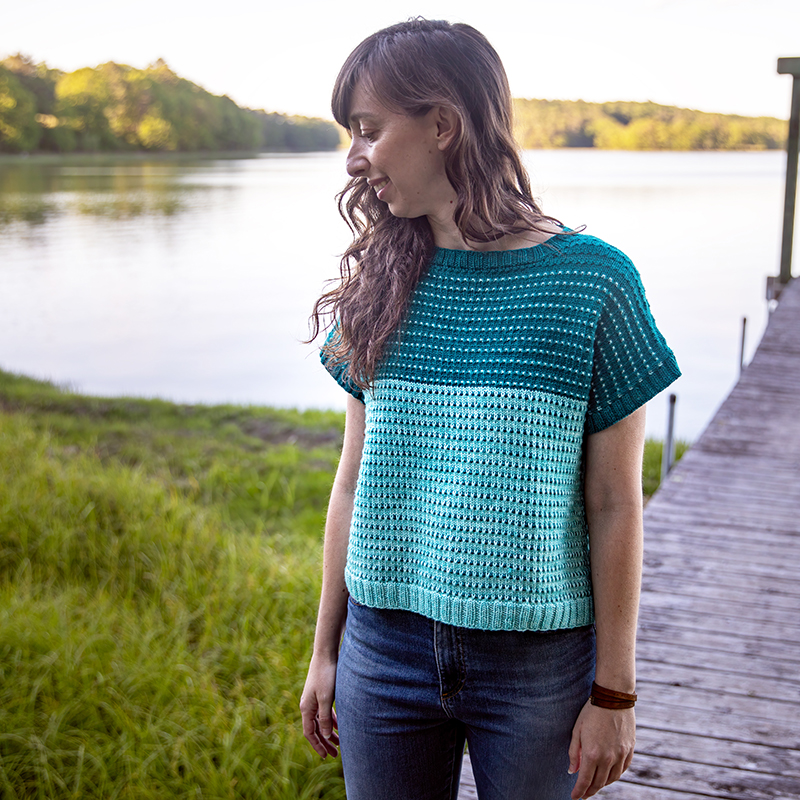
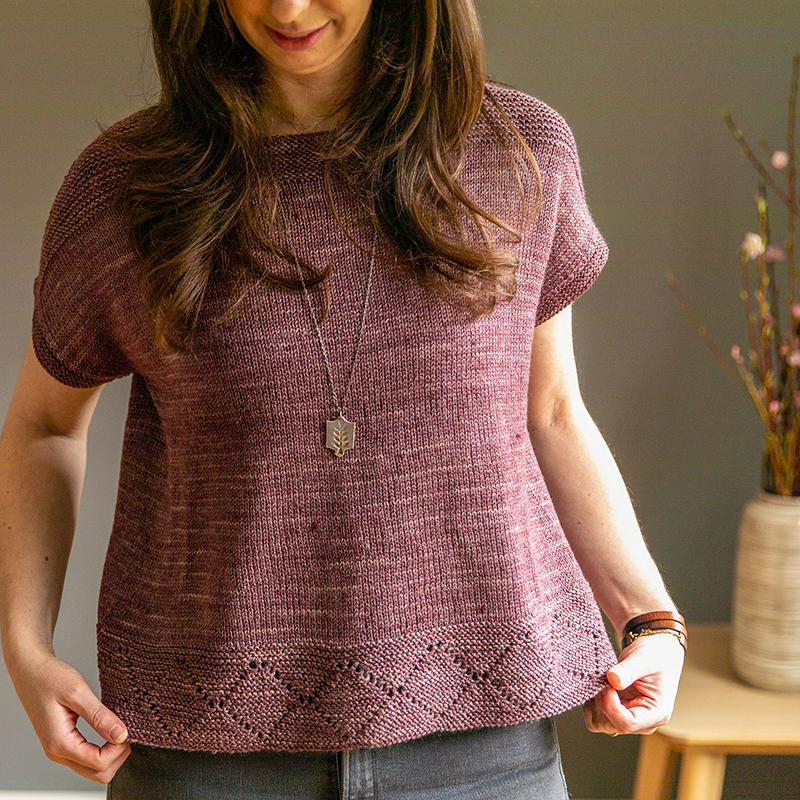
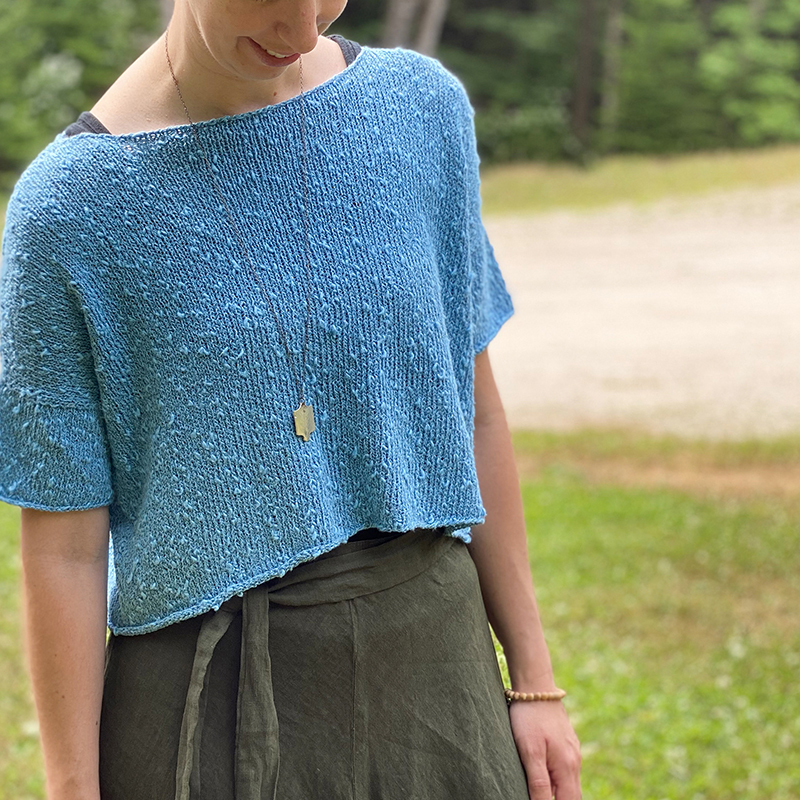
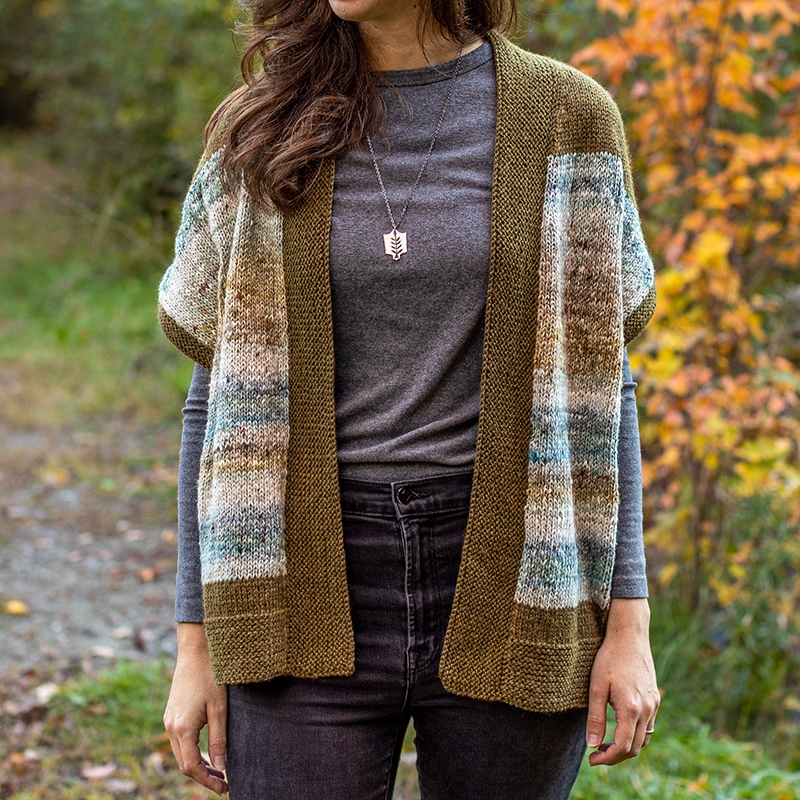
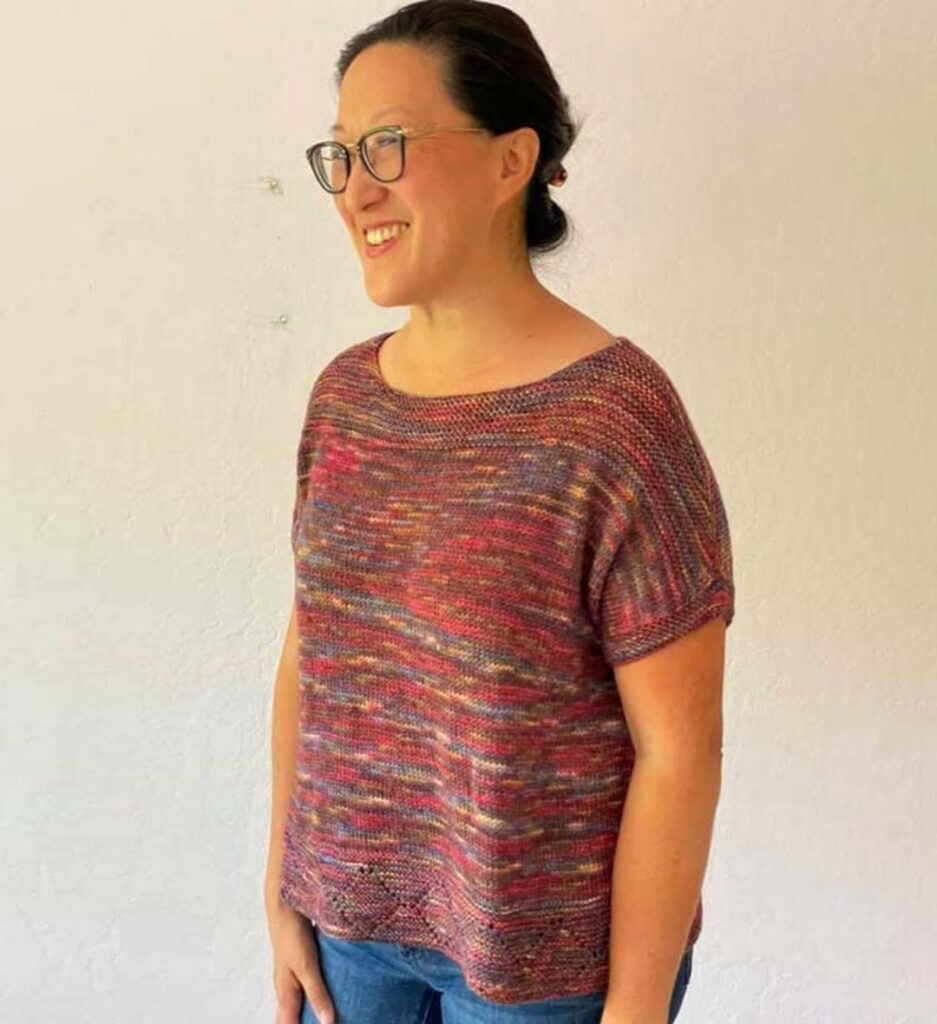
I’ve talked a lot about ease in the past, but in this blog post I’m going to be specifically talking about ease in drop-shoulder garments. In this construction style, the silhouette of the garment typically has these characteristics: angled shoulder, sleeve line that comes straight down from outer shoulder and boxy body (although sometimes body shaping can be involved too):
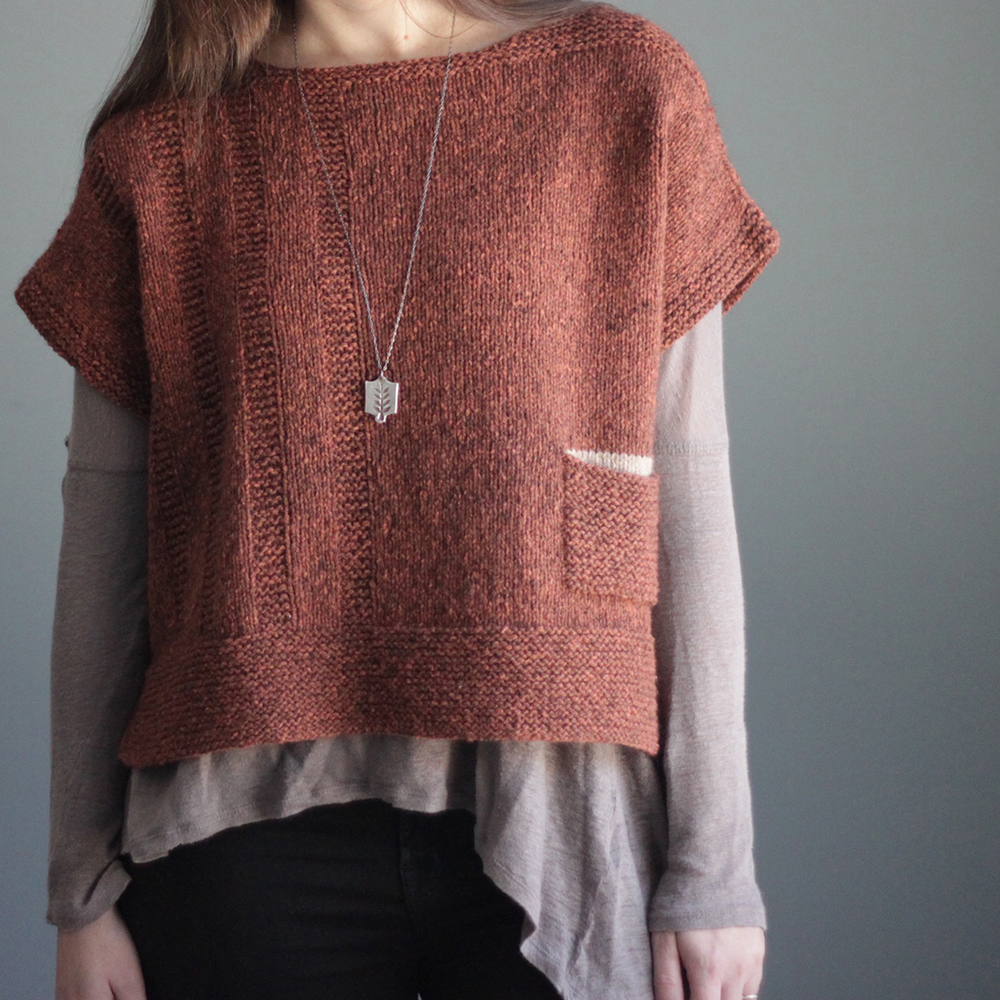
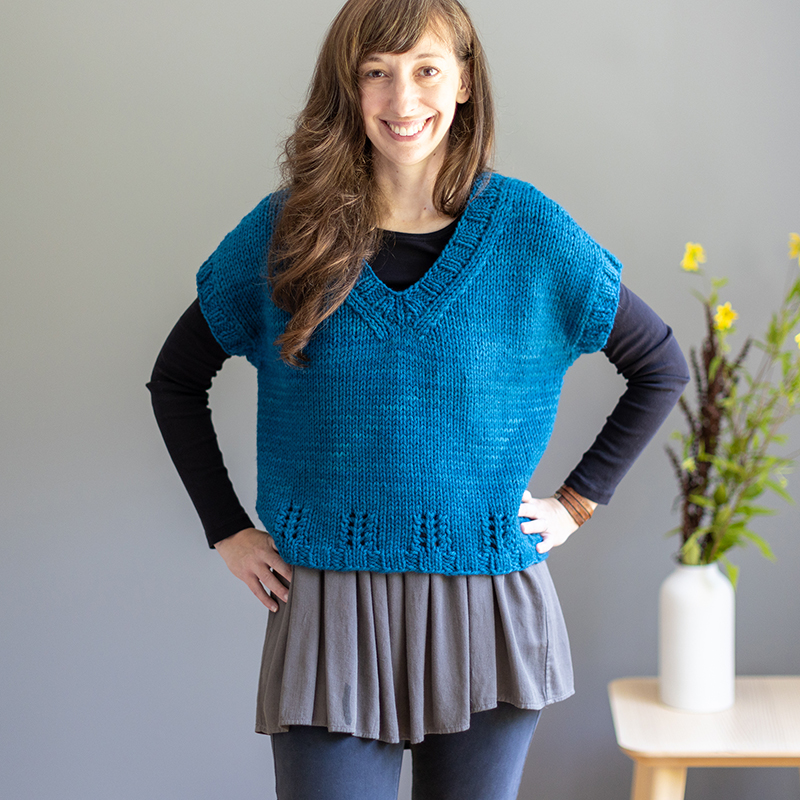
Here are some examples of drop-shoulder designs I have created:
How sizing can be different in drop shoulder garments
You may notice that in many drop-shoulder sweaters that the suggested amount of ‘ease’ is much larger than in other sweater styles (note: if you are new to knitting sweaters and aren’t sure what “ease” is, check out my blog post here for an introduction to it). For example, in raglan sweaters, it’s common to see the amount of suggested ease in the 1-4″ range. But in drop-shoulder garments you will often see 6-12″ of positive ease suggested. Why so much? Because in many drop-shoulder sweaters, it’s meant to drape off your frame loosely, not hugging your curves at all, but instead just flowing downwards from the shoulder. So in order to have that ‘flow’ from the shoulders you need to pick a size whose finished circumference is approximately 6-12″ larger than your circumference. In all of the above photos, I’m wearing the garments with approximately 8-12″ of positive ease at the bust.
Another important part of this extra ease has to do with the armhole. As you can see in the above diagram, there is no armhole shaping – it’s just a hole that your arm fits through. Set-in sleeves or raglan sleeves involve slopes/angles – this allows for movement in your underarm area. But in drop-shoulder, there’s no shaping, so in order for the arm to still comfortably move around, you need that extra fabric in the body/underarm area. Without it, you may have an uncomfortable fit and/or have some fabric bunching at the underarm.
Yarn can play a factor in how it drapes on your body
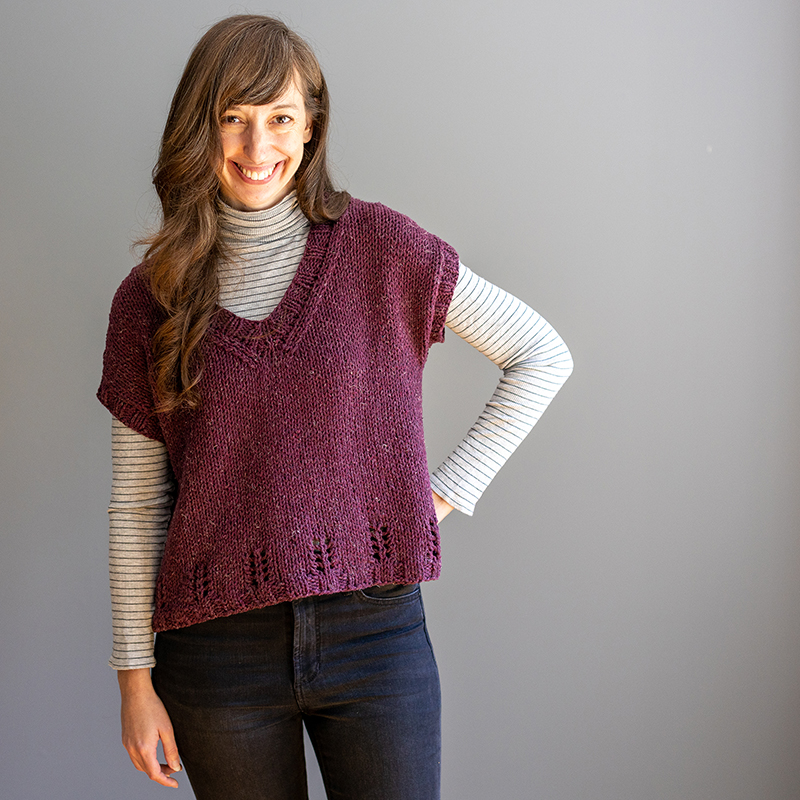
I can wear 2 different tops of the exact same design in the exact same size with the exact same amount of positive ease, but it can look different on me simply because of the yarn I chose to knit each with. Below is a great example to demonstrate this – I knit two Ice Breaker tops in the same size, both being worn with approx. 8.75″ of positive ease. But I knit the blue one in the 100% wool yarn Manos del Uruguay Cardo and the purple one in the cotton blend (non-wool recycled fibers) Berroco Remix Chunky.
The blue Cardo sweater feels bulkier and has less drape. On the US 11 needle the fabric is creates is on the denser side. I love it for a warm, winter layer and that more sweater-vest look. The purple Remix Chunky sweater on the other hand is much drapier, for 2 reasons. One is due to the fiber content being a mix of non-wool recycled fibers (instead of 100% wool). But the second reason is because it’s not as thick a bulky-weighrt as Cardo. So this means, although they have the same gauge (and measure the same), the fabric created is different. Remix Chunky is a much looser fabric and this also assists in providing a drapier look. So what’s the lesson here? If you are afraid that a sweater like this, at this amount of positive ease, will look too boxy and “potato-sack”-like for your taste (a fear I often here from knitters!), consider using a yarn that will provide more drape – either due to its fiber content or due to it being slightly thinner and thus creating a looser fabric. Swatching will help you determine what yarn might be best for the look you’re going for!
But every body is different!
So with all of this said though, every person’s body is different and although the range of 6-12″ of positive ease is commonly suggested, you can pick a different amount of ease that suits your style, body shape and desired fit (and to learn more tips about learning your ‘preferred fit’, check out this blog post). I’ll also mention a tip I share in my blog post about ease – if you have a larger bust and have found too much ease doesn’t seem to fit your frame well, I suggest using your upper torso measurement as your starting point instead of your actual full bust measurement.
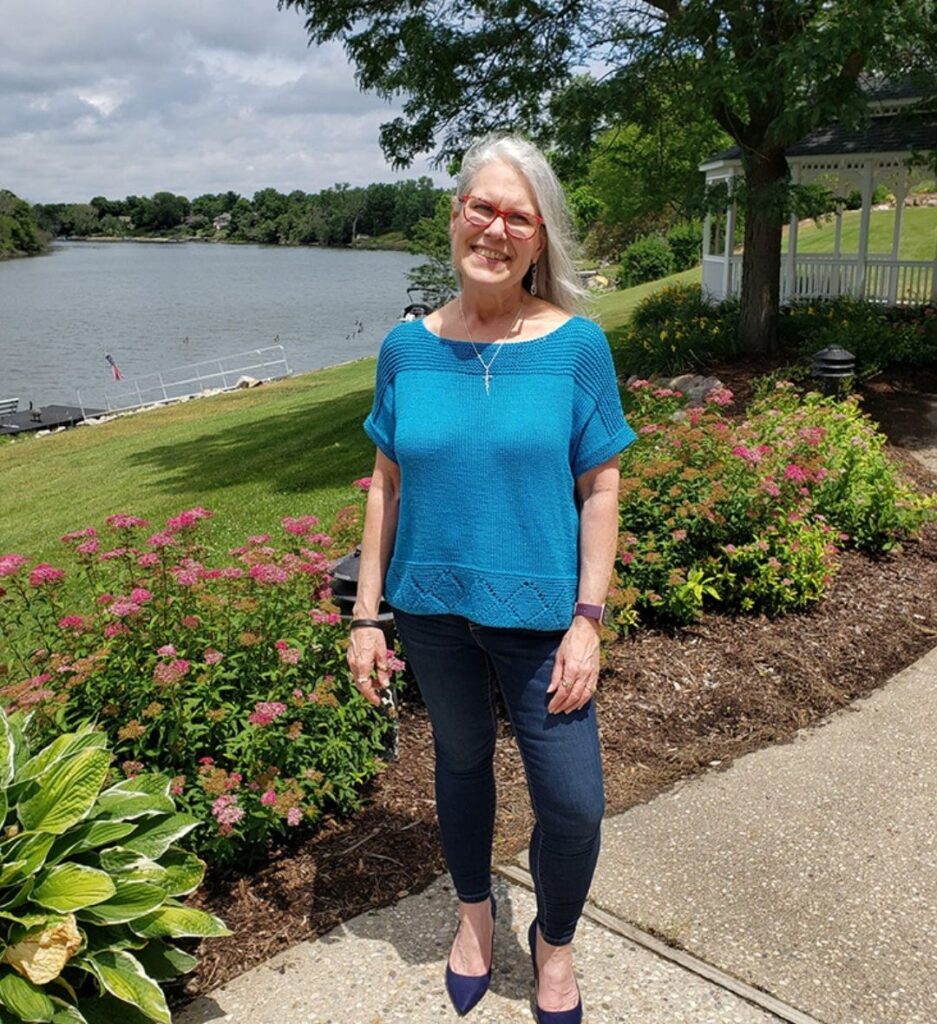
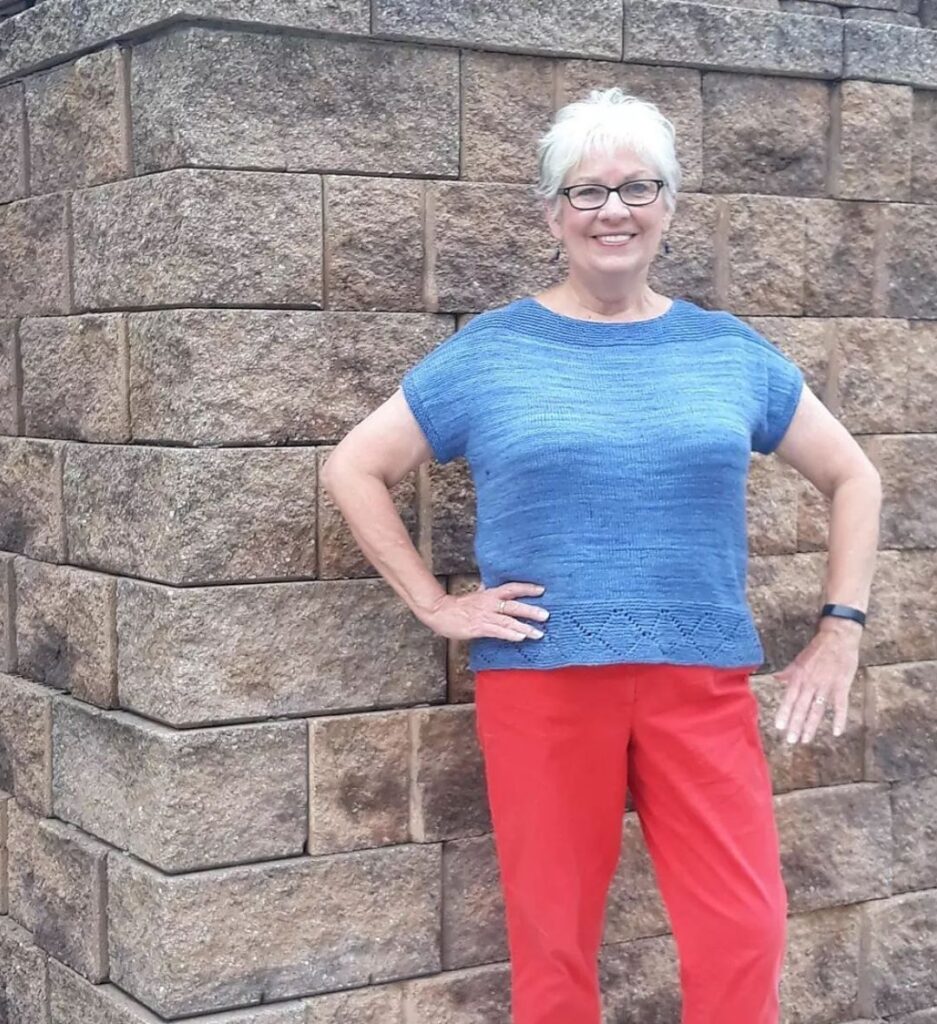
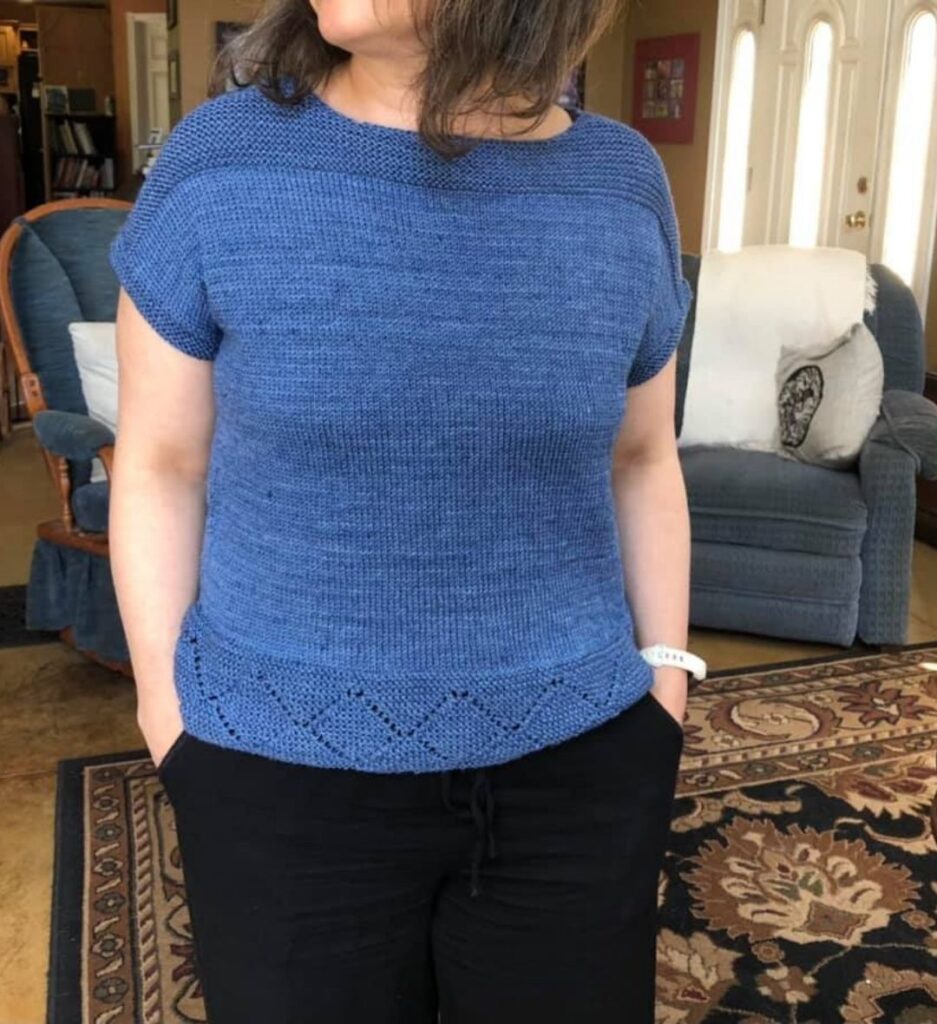
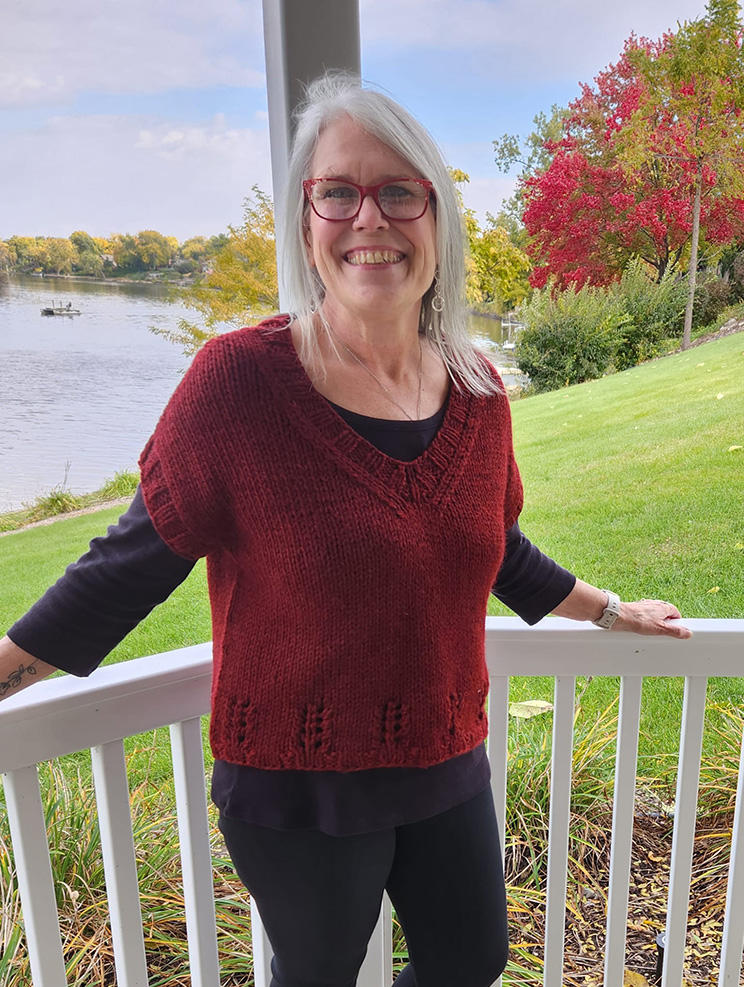
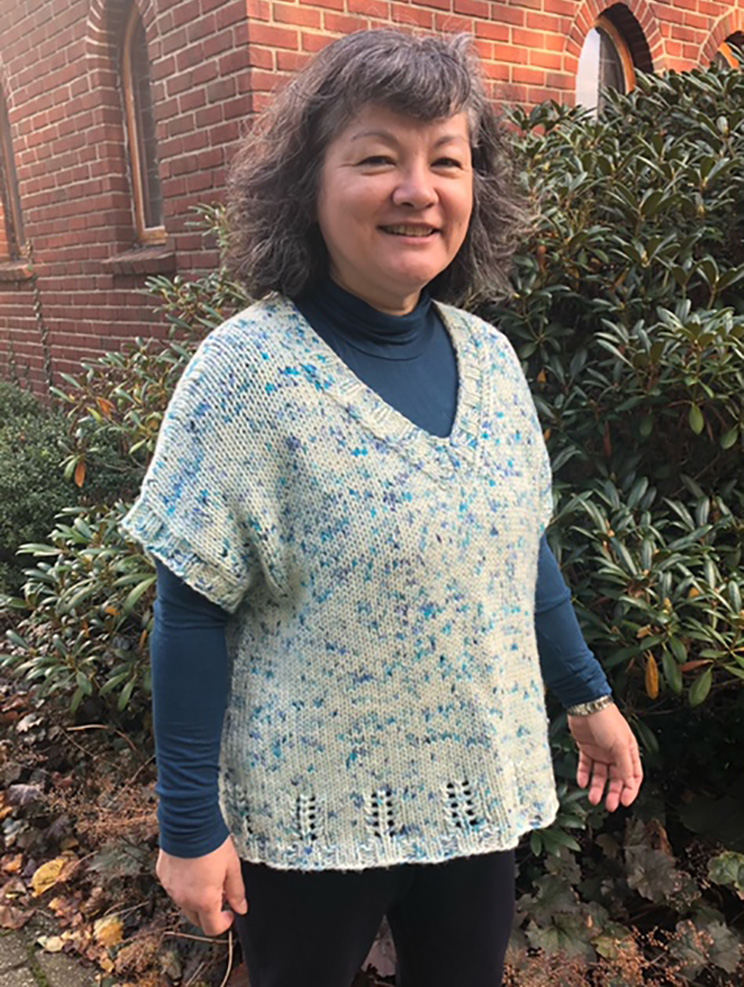
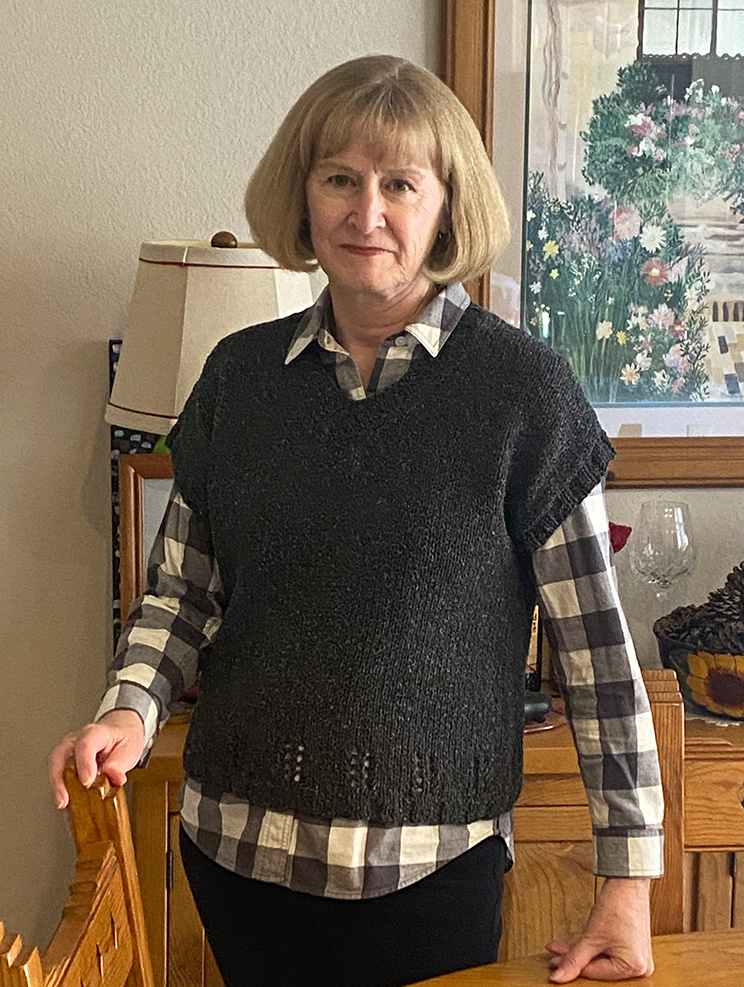
To give you an idea of what a drop-shoulder sweater can look like at different amounts of positive ease, below are some photos of finished Azalea and Ice Breaker tops on other knitters with varying amounts of positive ease. Thank you so much to these wonderful knitters for sharing!
Azalea Tops
Ice Breaker Tops
As you can see from the above, there is a wide range of ease amounts – and they all look fantastic! It’s important to keep in mind that there is not absolute “right” amount of ease – it’s more about what’s right for you and the look you are going for with the particular design. It may also depend on the season you plan to wear your garment and if you’ll be wearing any layers underneath, or how you will layer over it. I have found with drop-shoulder garments there can be such a wide range of sizes that you could pick from, and the one you decide on just depends on how you plan to wear and style it.
Here are some more tips about drop-shoulder garments and ease:
Sleeve/Armhole Opening Considerations: If you choose to make a size that will give you a lot less ease than what the pattern suggests, it means that your sweater will fall closer to your body – this goes for your sleeves too. Your sleeve/arm opening will fall higher-up on the arm than if you had chosen the suggested ease, and so the sleeve may likely fit tighter on your arm. So one tip I have is that if you choose less ease, you may want to consider knitting the armhole depth of a size or two larger (it will just depend on your desired sleeve fit and your own upper arm measurement).
Add Body Shaping to Allow for Different Hem and Bust Measurements: Let’s say you want 8-12″ of positive ease at the hem, but you have narrow shoulders and are afraid that amount of ease would be too much width at your shoulders – consider casting-on for the size that is 8-12″ of ease, and then working some decrease rounds in the body so that by the time you get to the underarm, you have the amount of stitches on the needles of a size smaller (note: in the above photos, this is what Vivian did for her Azalea). For Azalea, I go into more details about how to do this on this Azalea Body Tips page and for Ice Breaker, I go into my more details on on the Ice Breaker Tips page.
Note: I updated this blog post in January 2023 to include more examples and photographs.

