
Last week I started a new series here on the blog about pattern reading. As I mentioned in that first post, there are some common industry practices for how knitting patterns are written, but there are also areas where the designer chooses how best to communicate a particular instruction (depending on their own pattern writing style).
This week I’m talking about repeats: how patterns show you when to repeat a sequence of stitches, rows or rounds. There are a few common ways repeats are written and which one is used (at least for me!) often depends on what makes the instruction clearest.
Repeated Sequences
First, let’s talk about repeated sequences such as those found in stitch patterns. A simple example is a rib pattern where you knit 2 stitches, purl 2 stitches, and then repeat that sequence over and over again across the row.
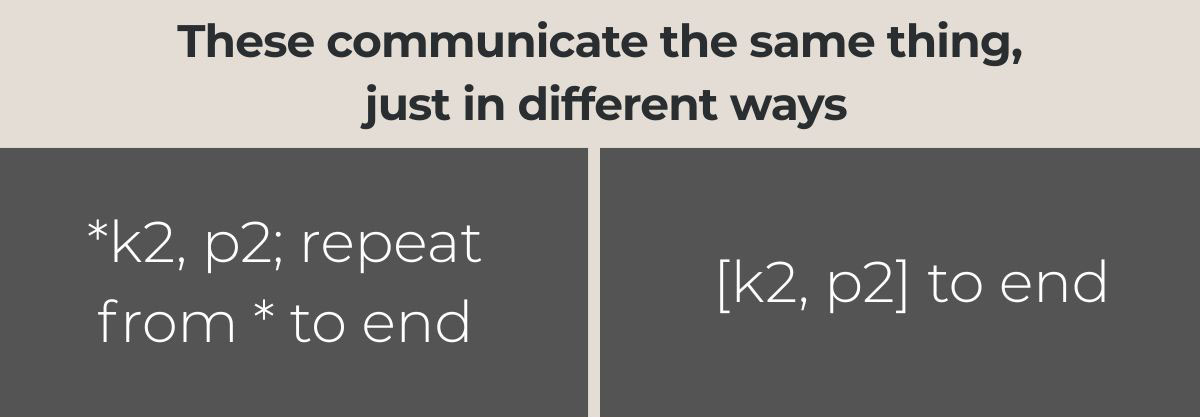
Two common ways this might be written are:
- Option 1: *k2, p2; repeat from * to end.
- Option 2: [k2, p2] to end.
In Option 1, the asterisk marks the beginning of the sequence to be repeated, and the semicolon separates that sequence from the instruction telling you what to do with it.
In Option 2, brackets identify the sequence to be repeated. So [k2, p2] to end means to keep repeating k2, p2 until you reach the end of the row.
Why would a designer use one method over the other? I can’t speak for other designers, but for me it depends on the particular instruction. I choose whichever method I think makes the sequence easiest to visually identify and understand.
Sometimes, you may even see both methods used within the same row. For example: *[k1, p1] to 1 stitch before marker, k1, sm; repeat from * 1 more time.
Here you actually have a repeated pattern within a larger repeated sequence. You’ll repeat k1, p1 until 1 stitch before the marker, then k1 and slip the marker. Then you’ll repeat that entire sequence one more time.
Repeated Instructions
Repeats also come into play when you’re instructed to repeat a particular row or round a certain number of times. Sometimes this is pretty straightforward, but other times it can be a little trickier. Here are a couple of examples I often get questions about.
Example 1: Repeating a Sequence of Rows
Here’s a common example:
- Row 1 (RS): [k2, p2] to end.
- Row 2 (WS): p to end.
- Repeat rows 1-2: 2 more times.
You’ll work Row 1 and Row 2 once, then repeat both rows two additional times. So “repeat Rows 1–2 two more times” means you’ll work 4 additional rows (so a total of 6 rows will have been worked).
Typically when you’re instructed to repeat a row (or group of rows), you’ve already worked it once before reaching the repeat instruction. That’s why the words “more times” are important and I always include them in my instructions so that is as clear as possible.
Example 2: Repeating a Decrease at a Particular Interval
Here’s a trickier example that you might encounter when working sleeve decreases or body shaping. You’ll first work a decrease round, followed by an instruction such as:
Work in Stockinette stitch, repeating above decrease rnd: Every 8 (7, 6, 6, 6) (5, 5, 4, 4, 4)th rnd 7 (6, 14, 4, 9) (16, 12, 21, 21, 15) times, then every 7 (6, 0, 5, 5) (4, 4, 0, 0, 3)th rnd 4 (7, 0, 12, 6) (1, 6, 0, 0, 8) times.
That’s a lot of numbers! But once you isolate the numbers for your size it becomes much easier to understand.
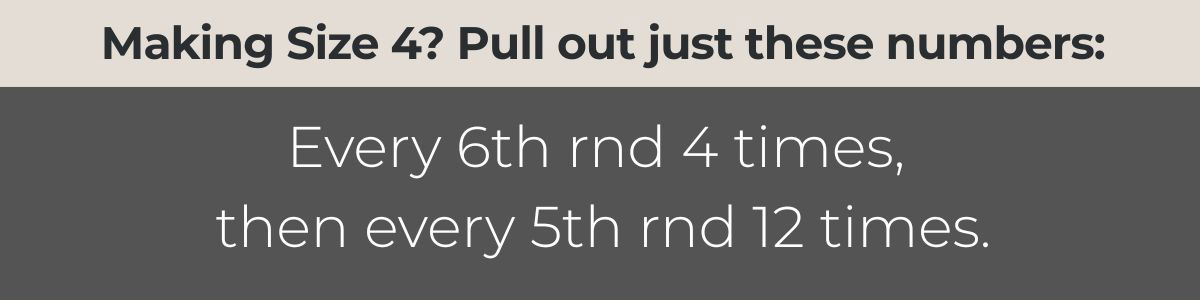
Let’s say you’re making size 4. For that size, the instruction tells you to repeat the decrease round every 6th round 4 times, then every 5th round 12 times.
So you would:
- Work 5 rounds in Stockinette stitch, then work the decrease round on the 6th round.
- Repeat that sequence 4 times total – so 24 rounds altogether.
- Then work 4 rounds in Stockinette stitch, followed by the decrease round on the 5th round.
- Repeat that sequence 12 times total. This works another 60 rounds.
What about the 0s? You may notice that some sizes have a “0” in this instruction. That just means that particular set of decreases isn’t worked for that size.
These are just a few examples of how repeats are communicated in knitting patterns, but hopefully they help make these types of instructions a little easier to decipher. And of course if you ever have any questions with any of my patterns, feel free to reach out!