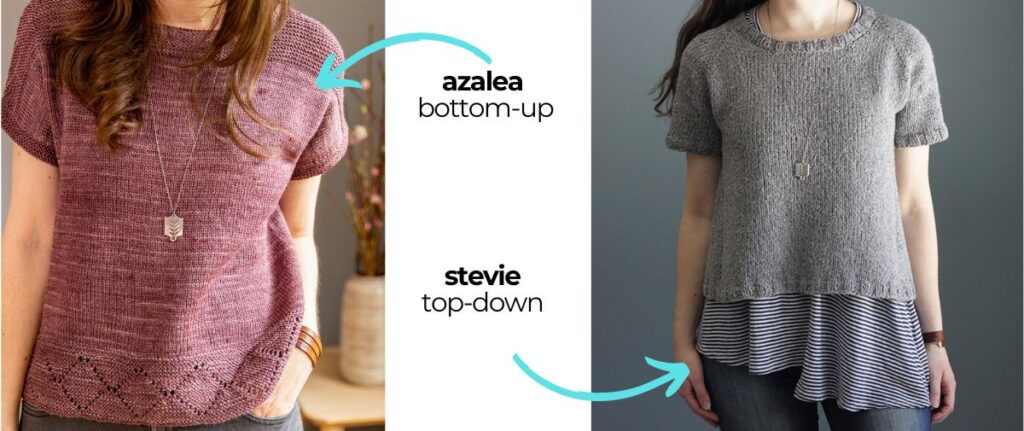
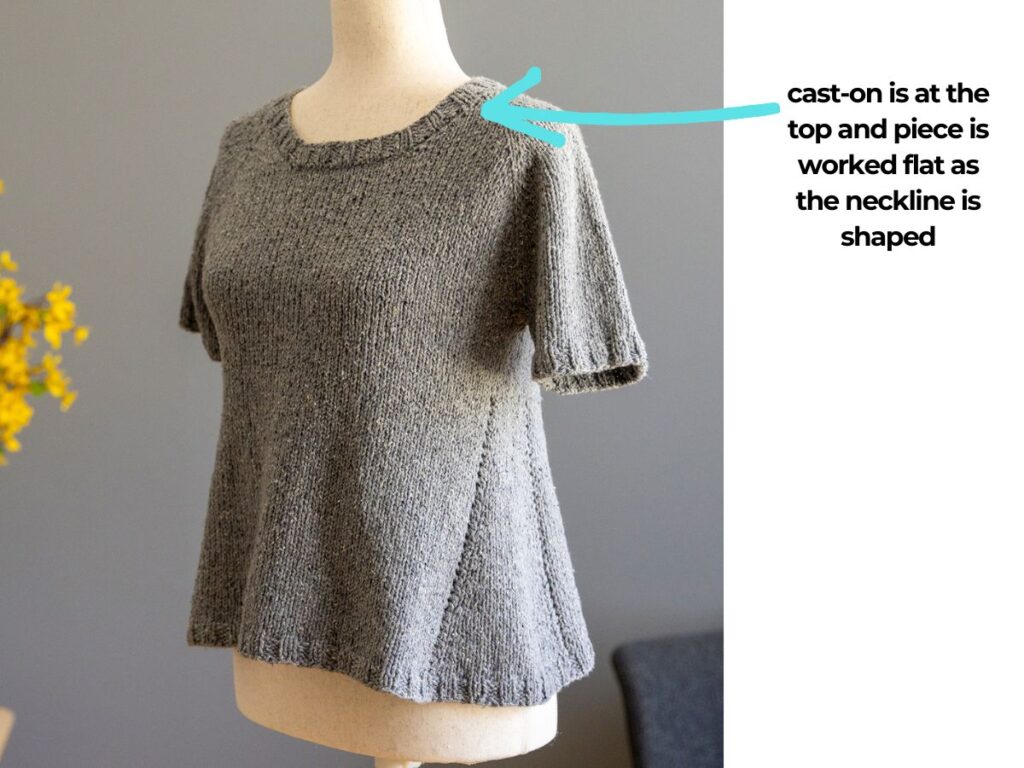
It’s no secret that I love seamless knitting. Often you’ll see seamless garments worked from the top-down, but you can also work seamlessly from the bottom-up. In both seamless construction types you end up working BOTH in-the-round as well as flat. Examples of these are my Azalea top (worked the bottom-up) and my Stevie tee (worked from the top-down). Both are pullover styles and so both feature in-the-round as well as flat knitting.
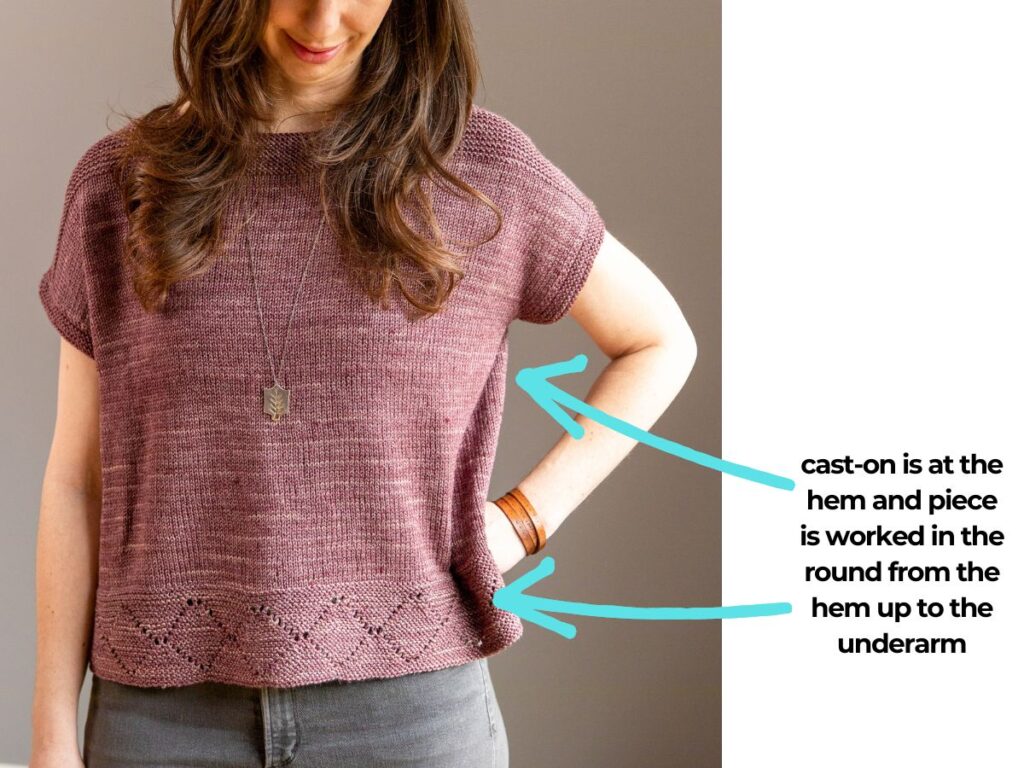
In a bottom-up seamless pullover garments (like Azalea), you cast-on and join to work in the round. And then the whole body is worked in the round until you get to the underarm area. Then the front/back are split and each are worked separately up to the shoulders by working flat and no longer in the round.
In top-down seamless pullover garments (like Stevie), you cast-on at the top around the neck and work flat as you shape the front neckline. Once the neckline shaping is done, you cast-on stitches at your center front and then join your fronts together. After this point your piece is now worked in the round for the rest of the yoke as well as in the body.
The one downfall of this construction…
If a garment you are knitting has both in-the-round components as well as flat components, and you’re working in a stitch pattern like Stockinette (or any other stitch pattern where it’s worked differently flat vs in the round), you’re at risk of having gauge inconsistencies. When you work Stockinette stitch in the round you are knitting every round but when you work it flat you are knitting on RS rows and purling on WS rows. So when you’re in the round you are never purling!
So why is this an issue?
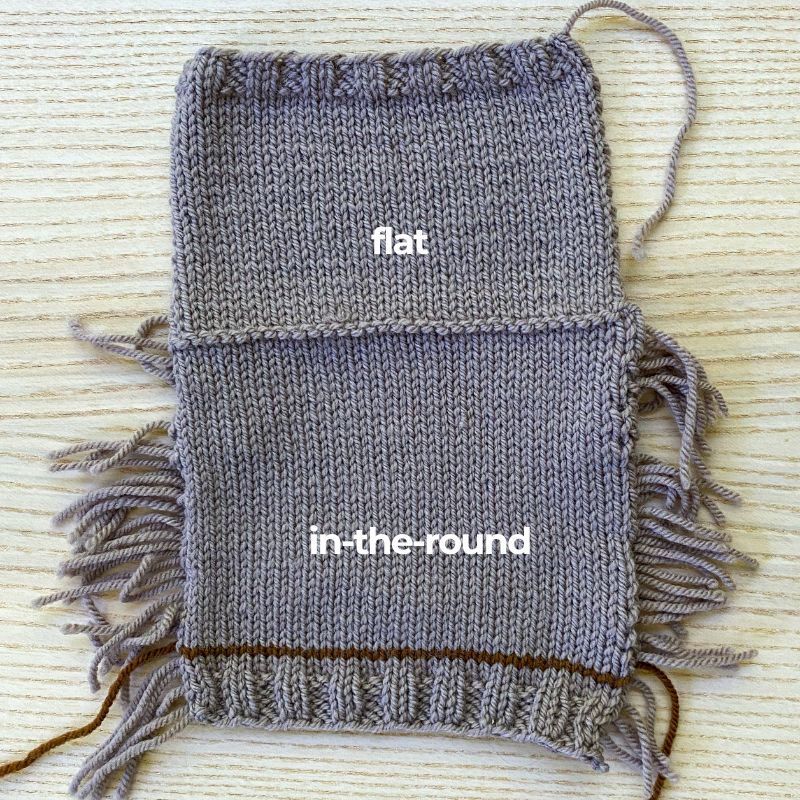
Because for many people, myself included, their purl stitches are looser than their knit stitches. So if you are working on a garment that is all stockinette stitch but part of it is knit in the round and part of it is knit flat, the flat portion may appear (and measure) looser than the in-the-round portion. Here’s an example in swatch form – the bottom of the swatch is worked in the round and the top is worked flat (both on the same size needle). If you look carefully you can definitely see the difference in the size of the stitches:
In pullover designs like the ones I’ve featured in this post, the pattern gauge listed is when worked in the round. So the ‘in the round’ gauge is the target tension and it’s how you will swatch. So the issue is usually “what do I do with the ‘flat’ portion of my garment in order to make sure it looks and measures similarly to the ‘in-the-round’ portion?”.
There’s an easy hack to fix this
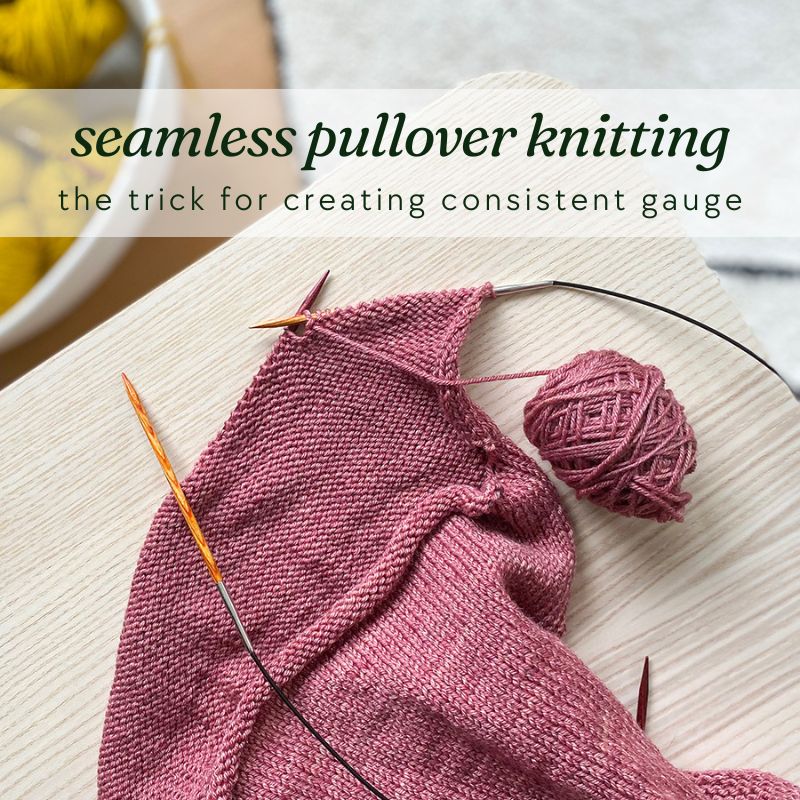
When working the flat portion of your piece (whether that’s at the start in a top-down pullover or at the underarm area in a bottom-up pullover), simply use a smaller needle when working your purl stitches! So you’ll have 2 circular needles going, but it’s not as cumbersome as it sounds. It’s just the stitches are ‘resting’ on one of them as your work the next row with the other needle.
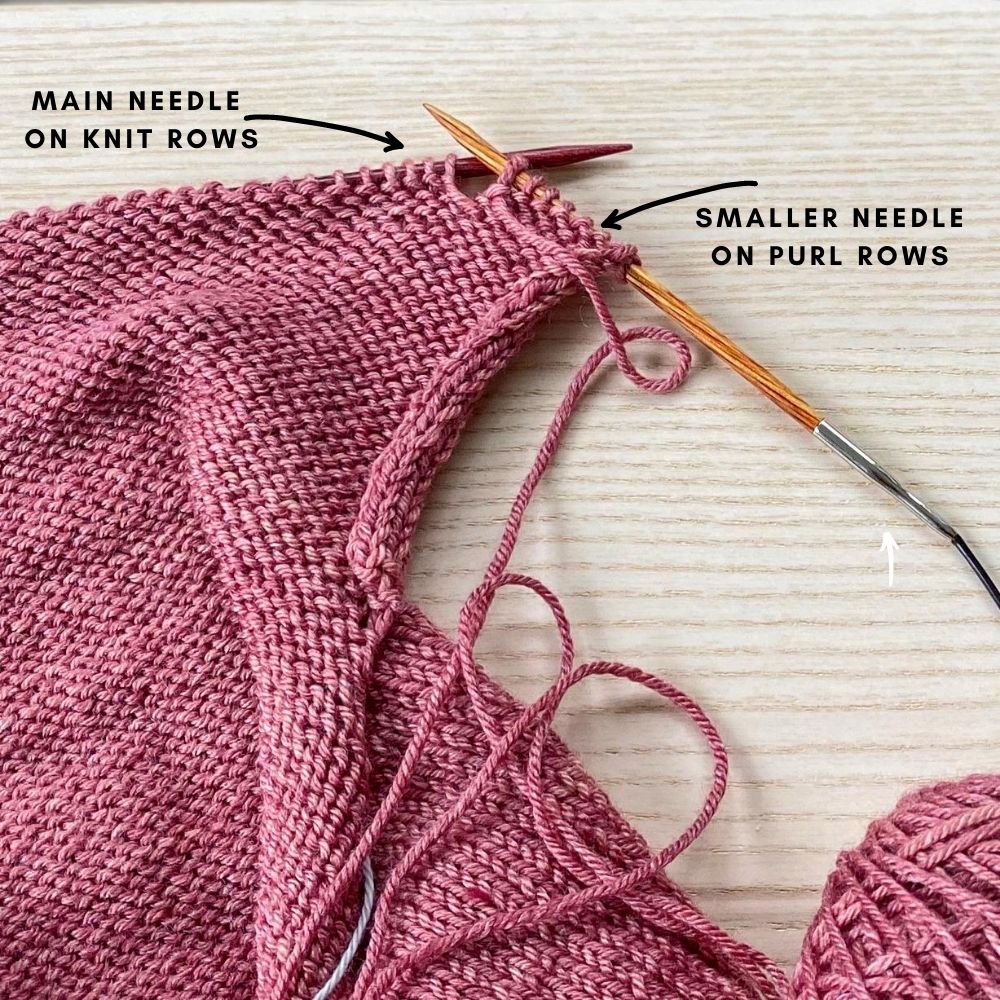
Or, if you are working on interchangeable needles, you can just attach the smaller needle tip to one of the ends and make sure it’s positioned so that it’s on the end that would be doing the purling. By purling with 1 needle size smaller, it helps to deal with the ‘loose purl’ tension issue and creates a more similar fabric to that of stockinette stitch in the round.
I hope you find this helpful the next time you are working on a seamless pullover project! If you’re looking for some seamless project inspiration, check out some of my examples below.
Seamless project examples
I have quite a number of garments that are worked seamlessly from the bottom-up that you could use this trick for! Below is a selection of them:
-
 Sporty 45 Pullover$8.00
 -
 Soundtrack$7.50
 -
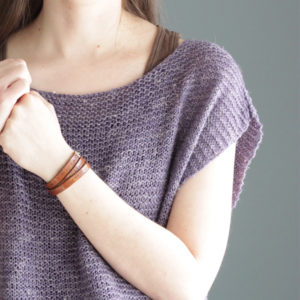 Jessie’s Girl$6.00
 -
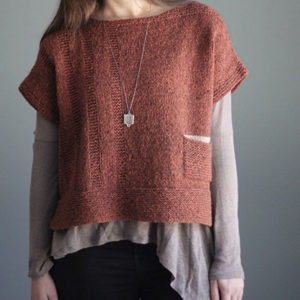 Alanis$7.00
 -
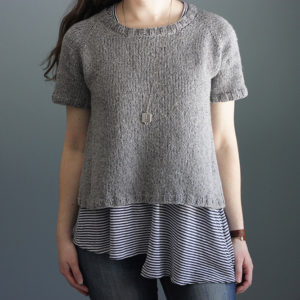 Stevie$7.00
 -
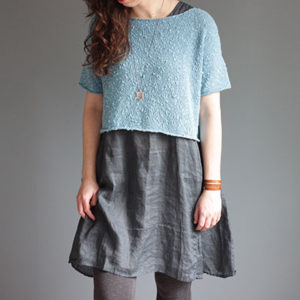 Castaway$6.00

