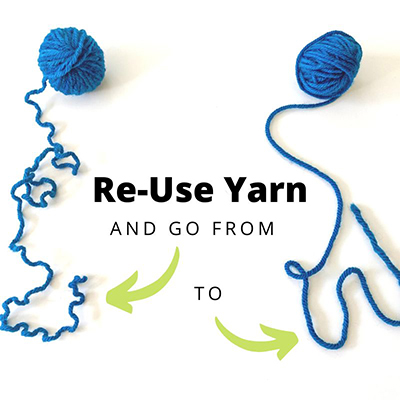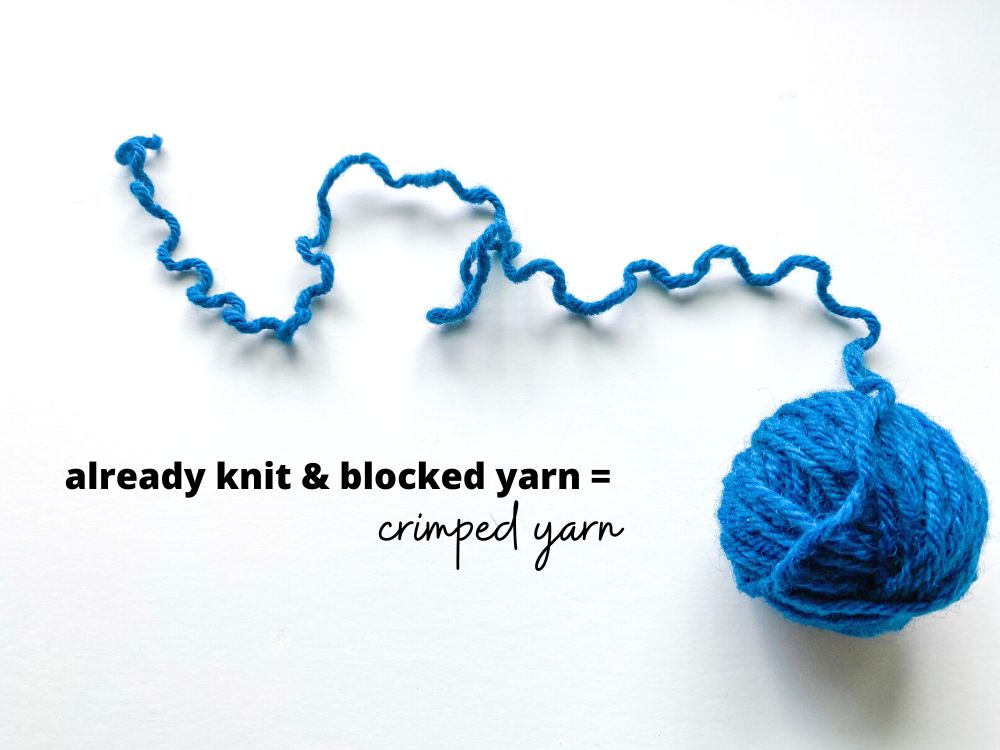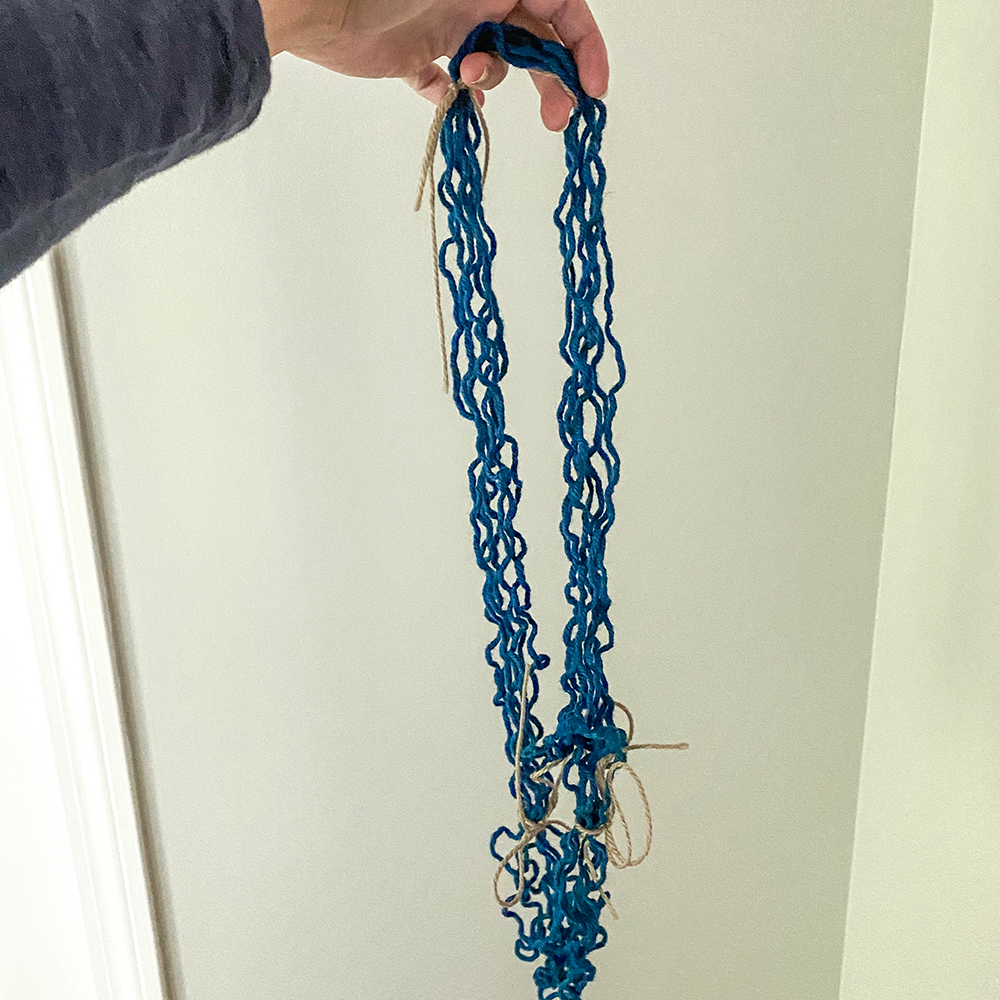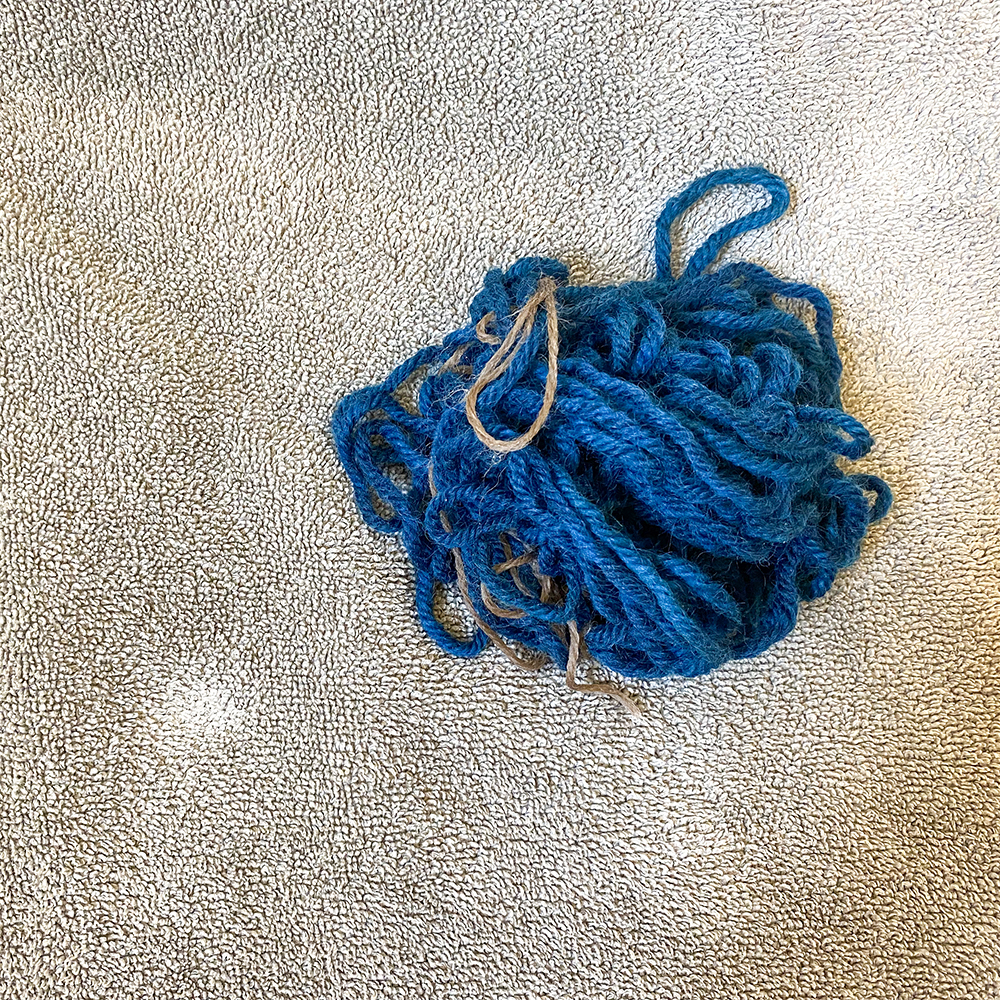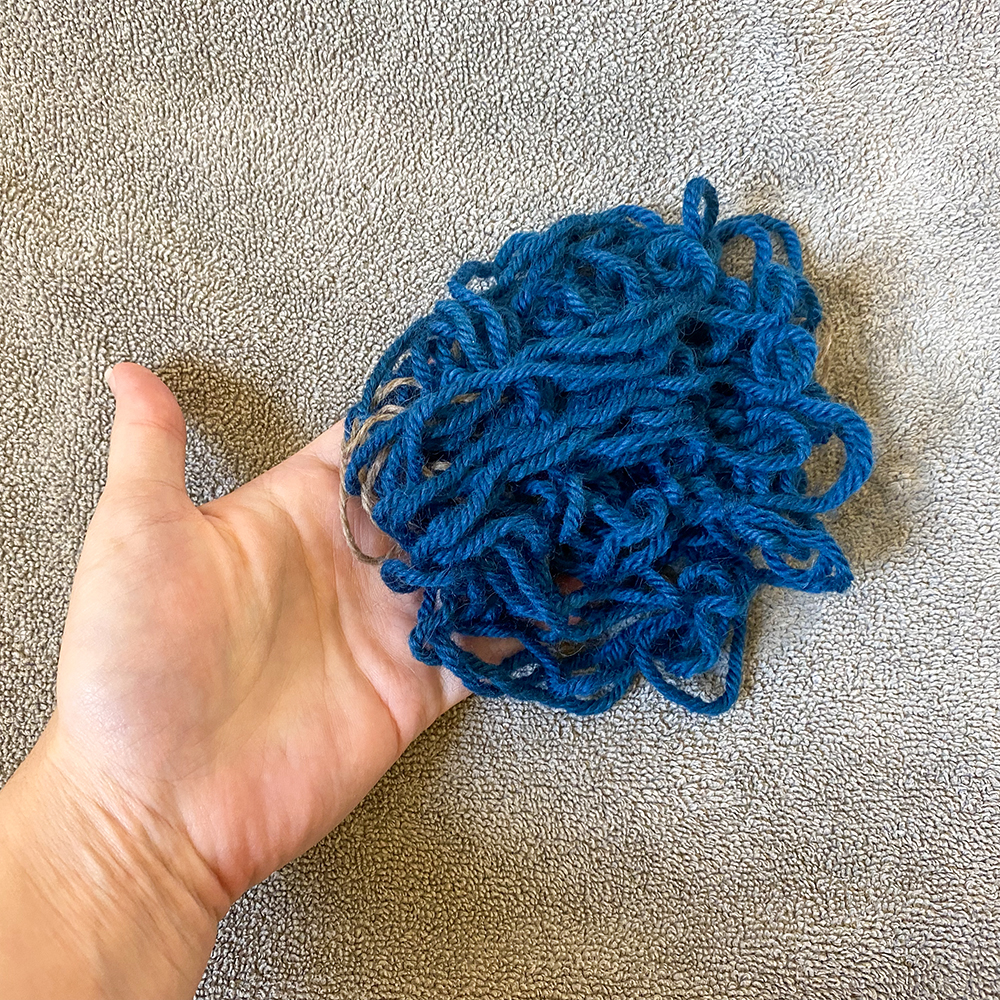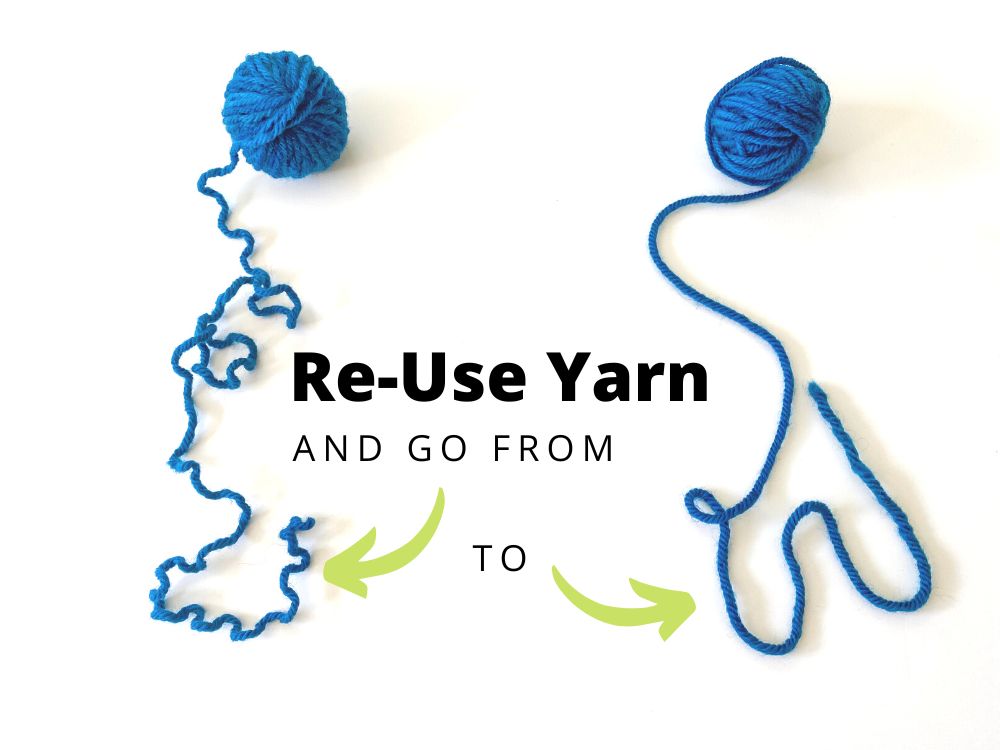
If you’ve ever had to ‘frog’ a project (i.e, rip it out) after it’s already been blocked, then your yarn doesn’t quite look the same, does it?! It gets crimped/kinky, and if you try to knit with it again, the stitches won’t look quite right and your tension will likely be off too. It will look a little something like this:
But you don’t have to just give up on the yarn – you can bring it back to life! Let me show you how. In the example below, I’m just using a very small ball of yarn but the techniques are the same even if it’s a full ball/skein.
1. Unravel project and wind up the used yarn into a ball
If it’s a project where you’ve already woven in ends, you’ll first need to un-do that so that your yarn can easily be ‘frogged.’ When you’re done, you’ll have a ball of the used yarn (like pictured above).
2. Turn the yarn into a skein/hank of yarn
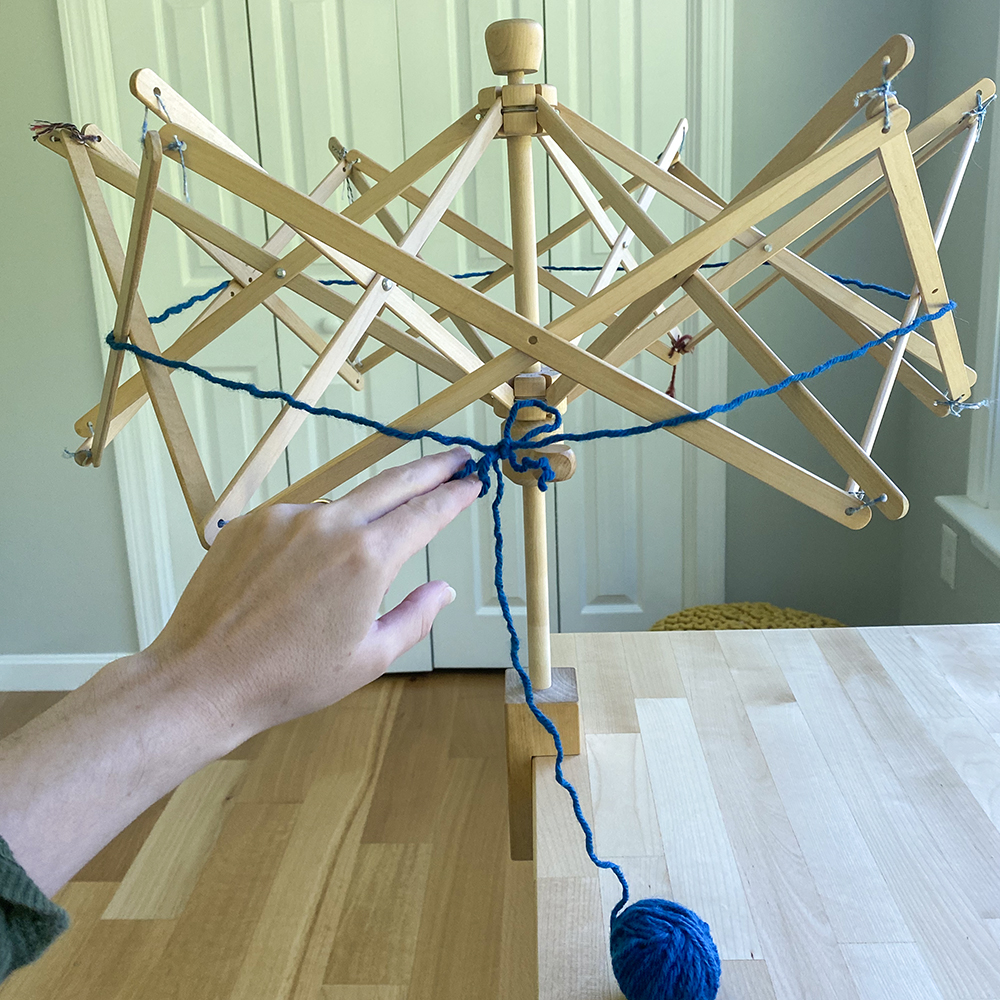
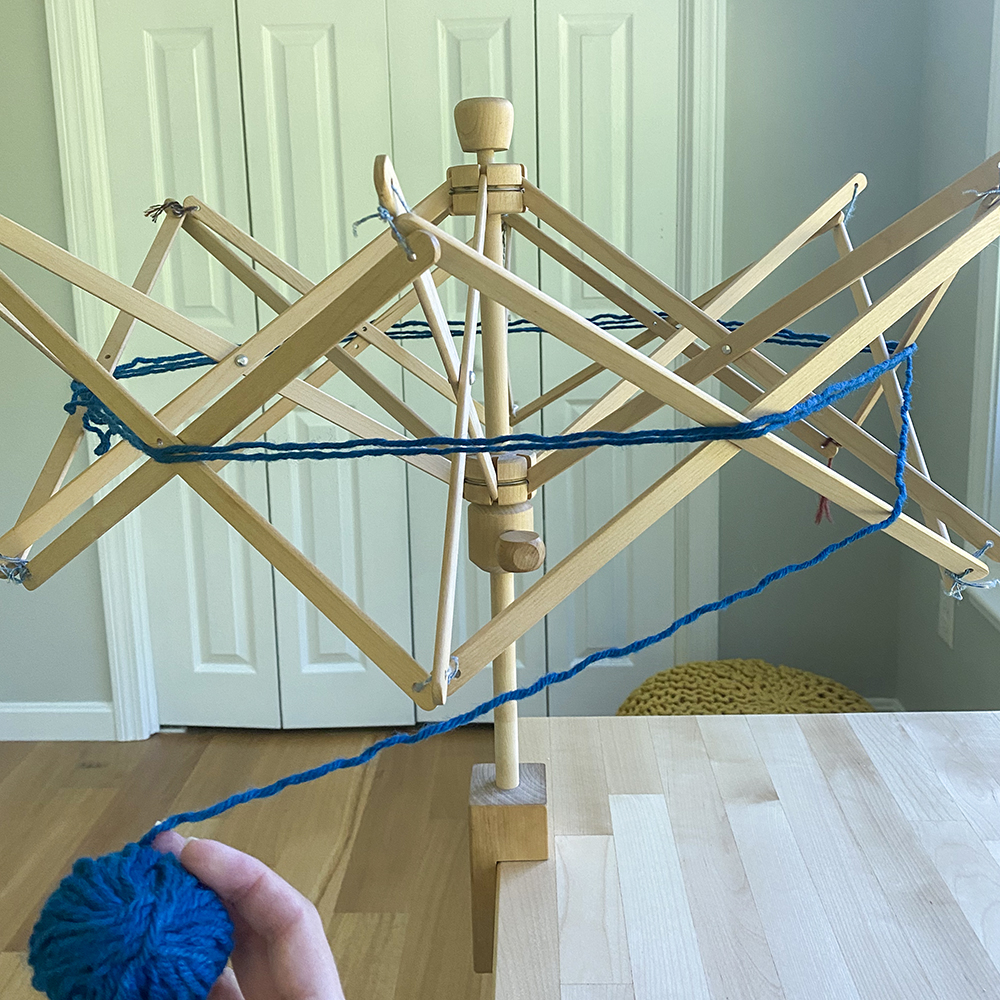
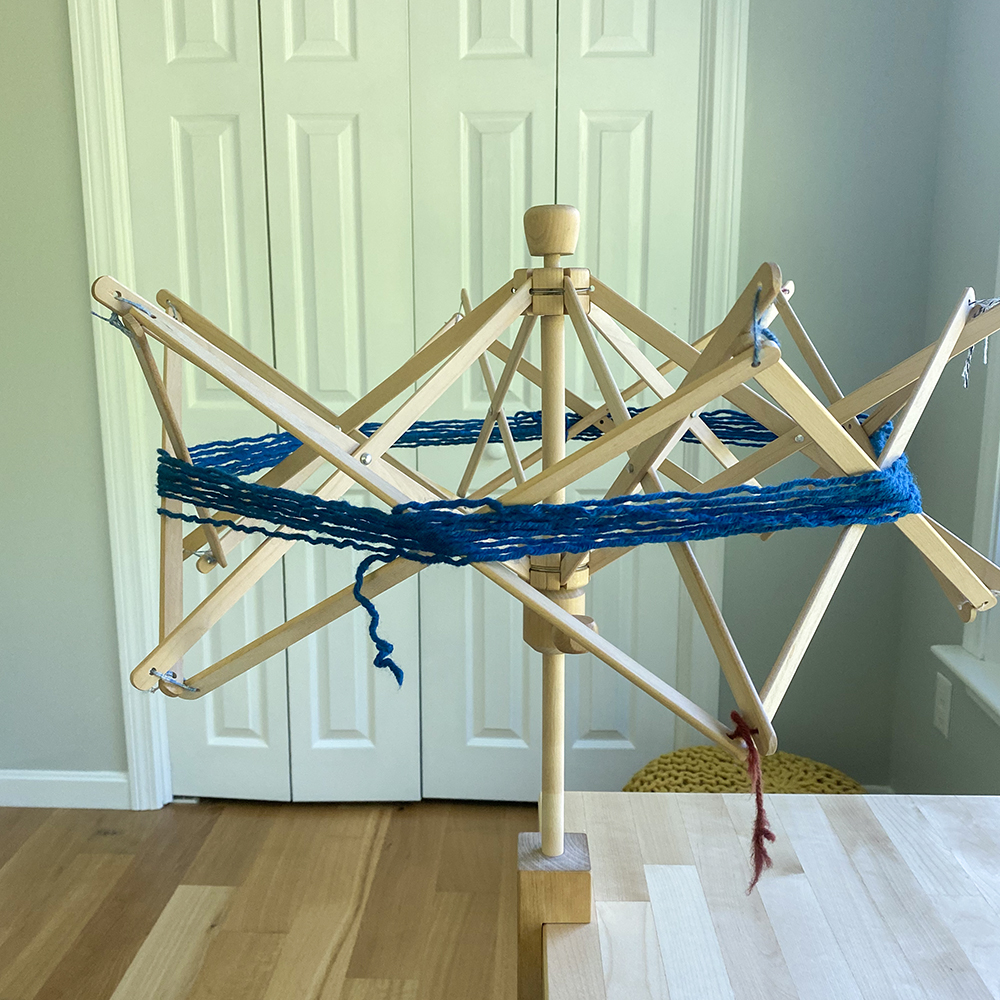
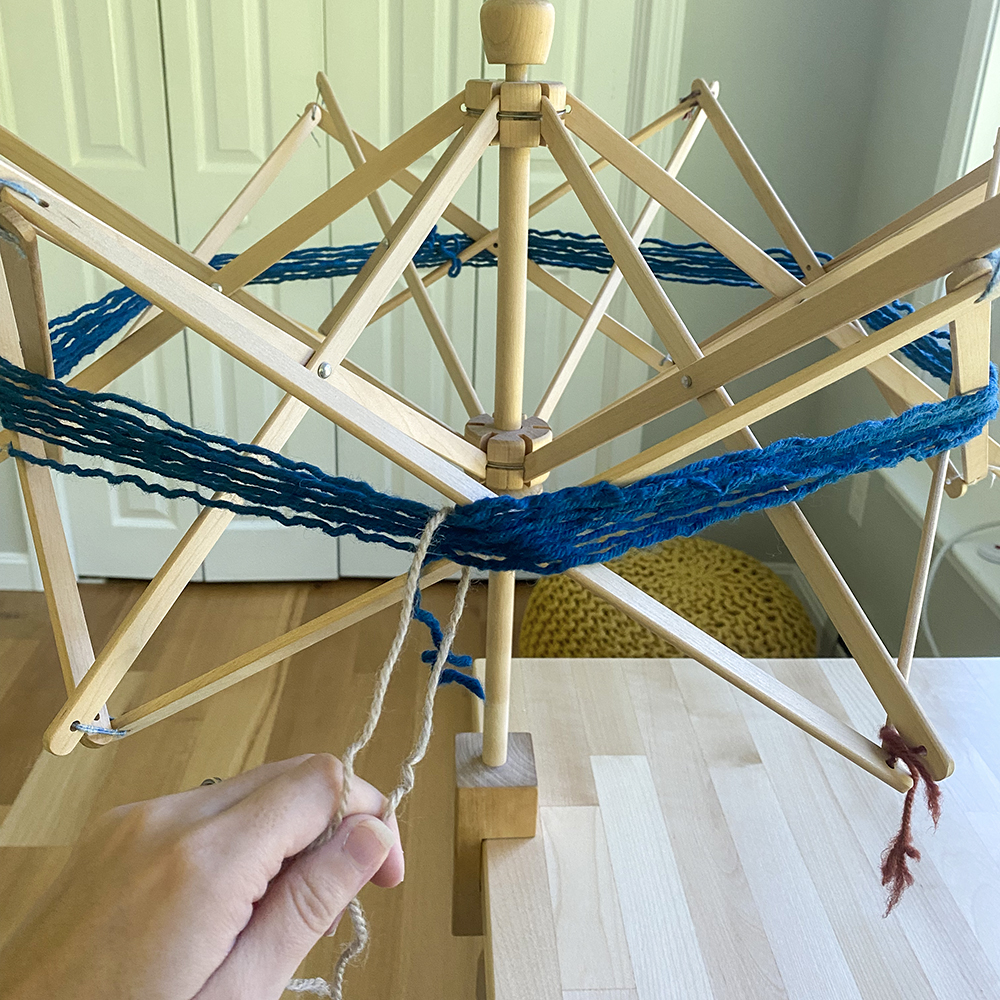
We now need to transform the ball into a large loop. The easiest way to do this is using a swift, so I’ve demonstrated that below. Some people will also use a “niddy noddy” – this is a tool commonly used among spinners (and there are some tutorials online about how to make your own with PVC pipe – here’s one I found). The key here is that you need to use a tool that will create a very large loop.
To do this, I wrap the yarn around the swift and tie a loose bow. Then by hand I just start wrapping the yarn around the swift.
Note: I’ve heard that some people will unravel their project and put it directly on the swift (so bypassing the ‘winding into a ball’ step). Personally, my swift set-up doesn’t allow for this to happen easily and causes too much tension, but depending on your own set-up at home it could work.
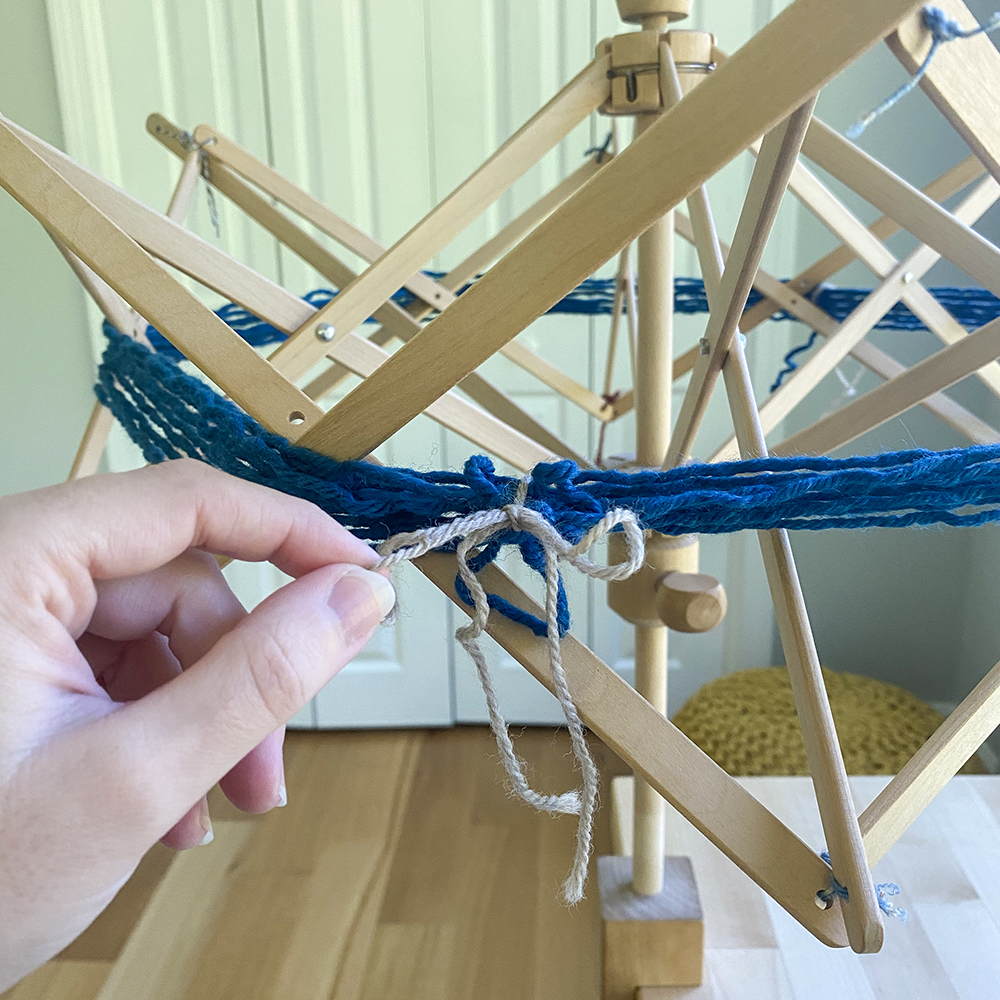
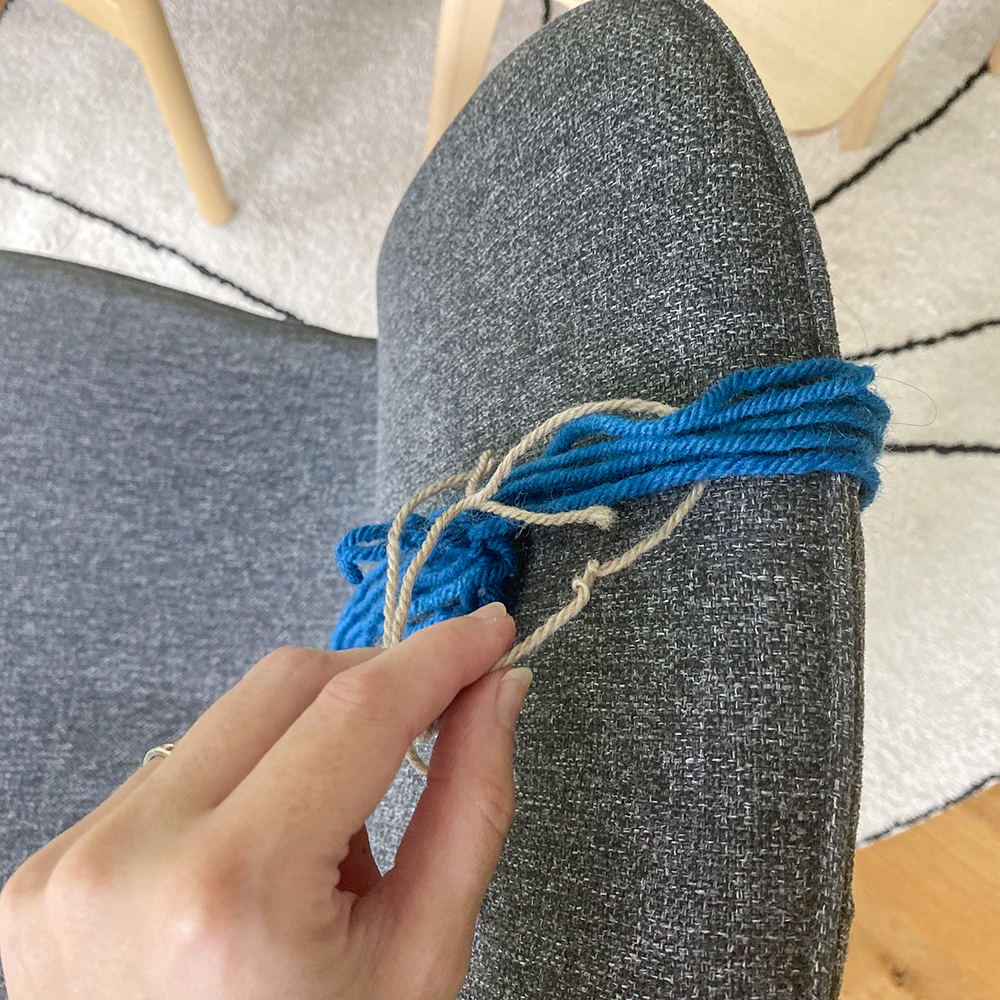
3. Tie scrap yarn around 3-4 sections of the loop to secure the loop formation
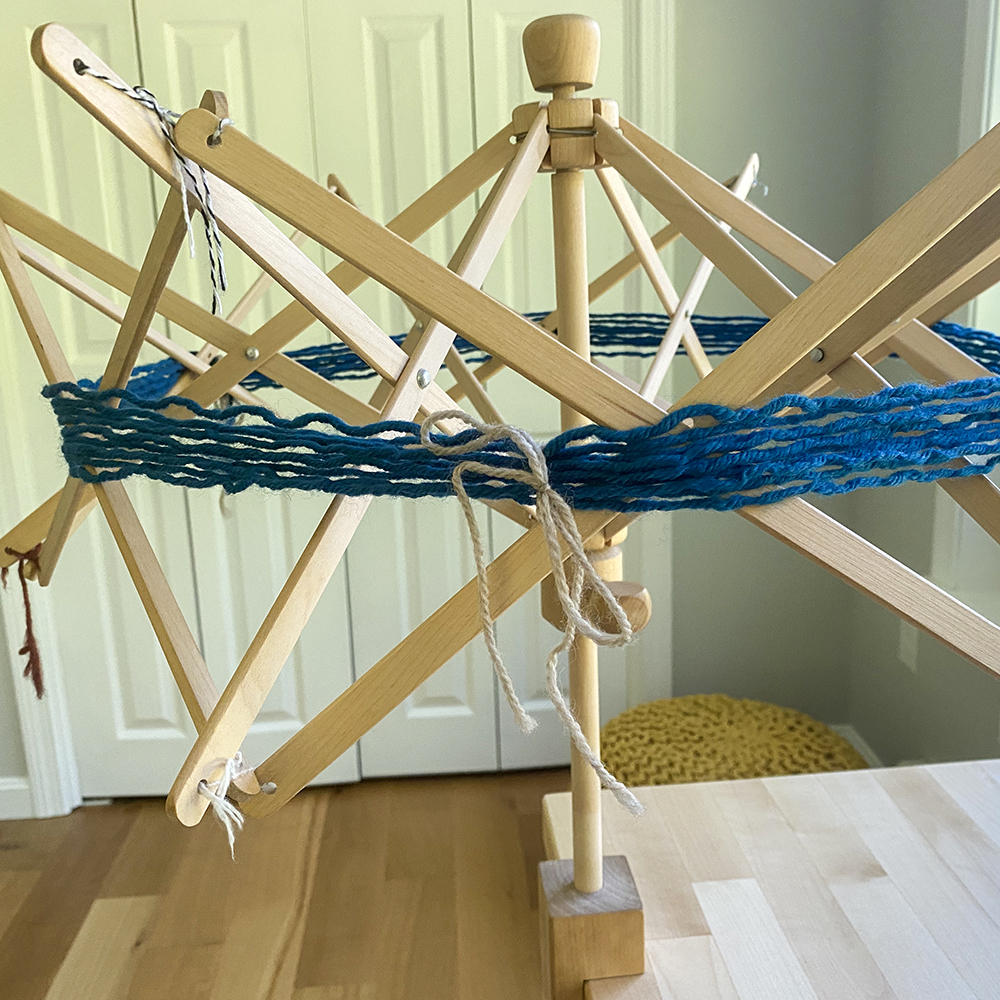
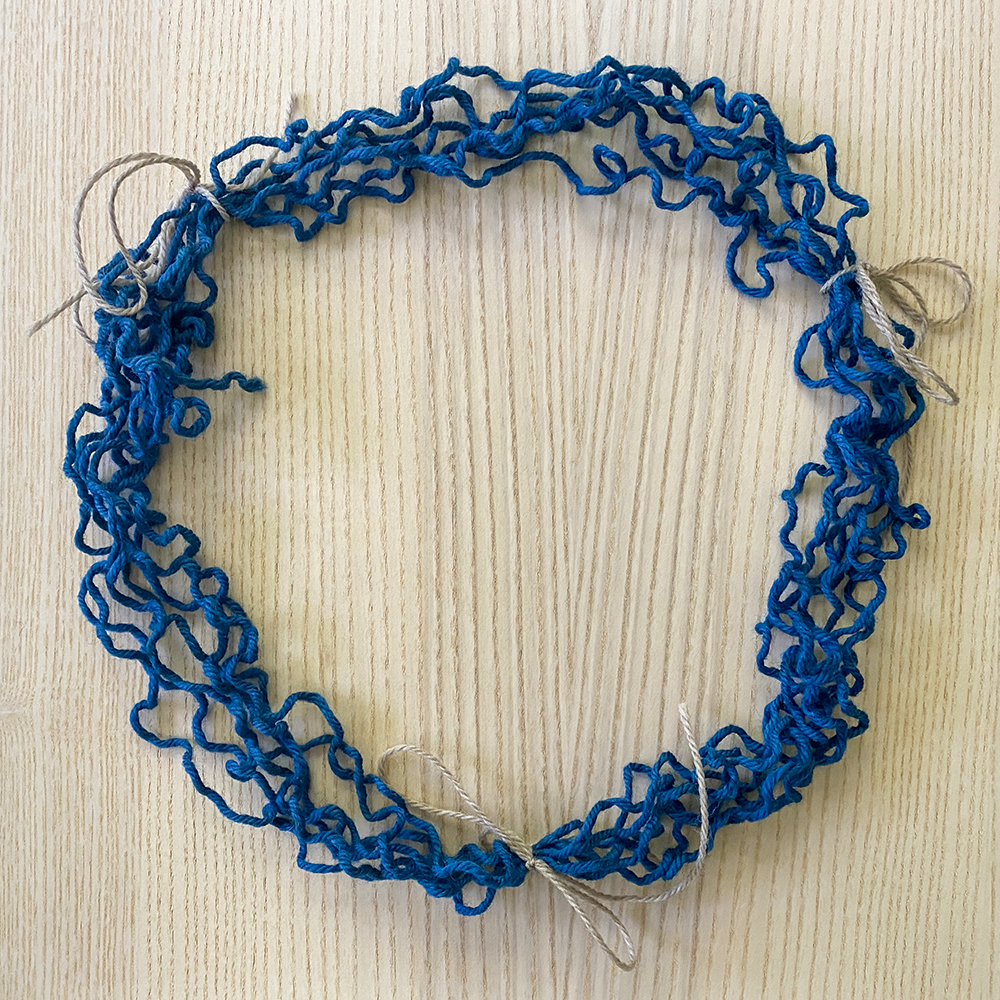
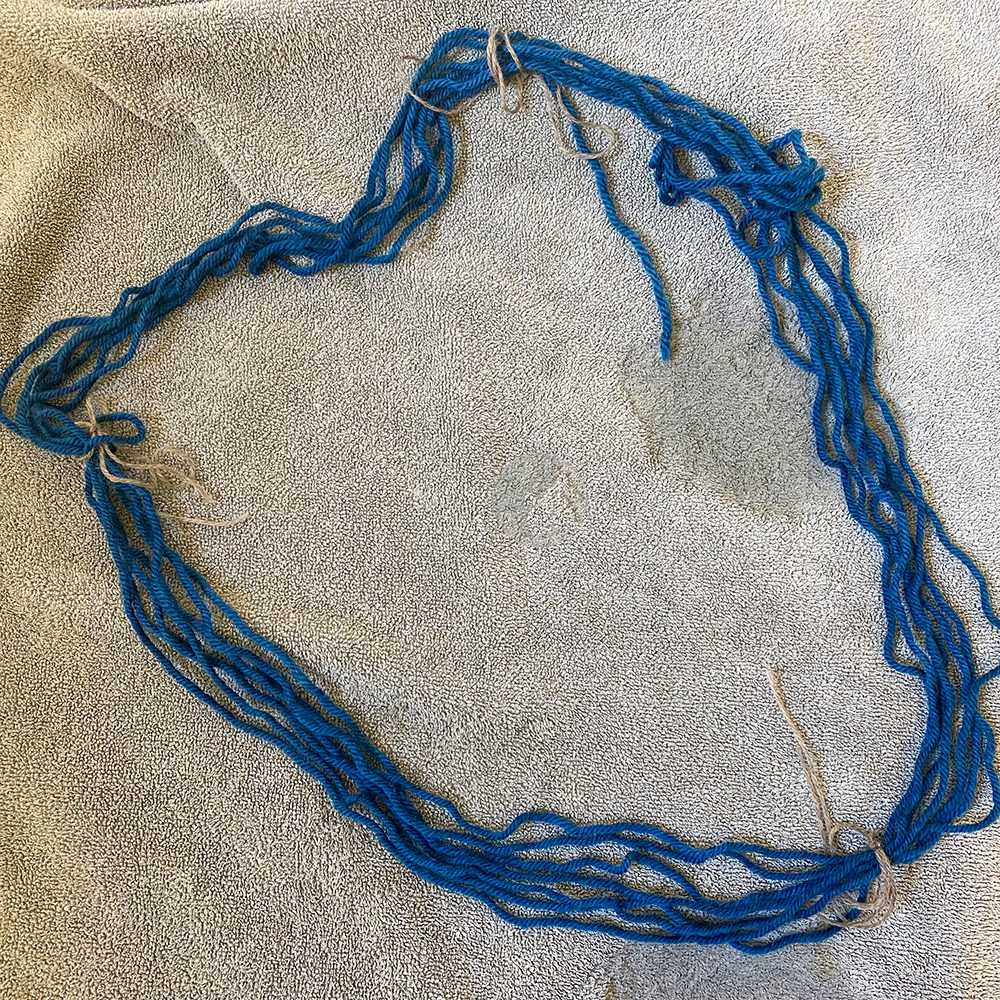
It’s usually recommended to use light-colored yarn, and I like to use yarn that I know 100% won’t bleed (so I’ll use scrap superwash). Below I’m using little bits of Berroco Ultra Wool DK (a washable wool). I tie mine in loose bows (loose enough that it’s not causing tension around the yarn, but secure enough that it stays on) at 3-4 sections around the loop, making sure one of them is where I had originally joined the ball (that initial bow I tied when I first started hand-winding it around the swift).
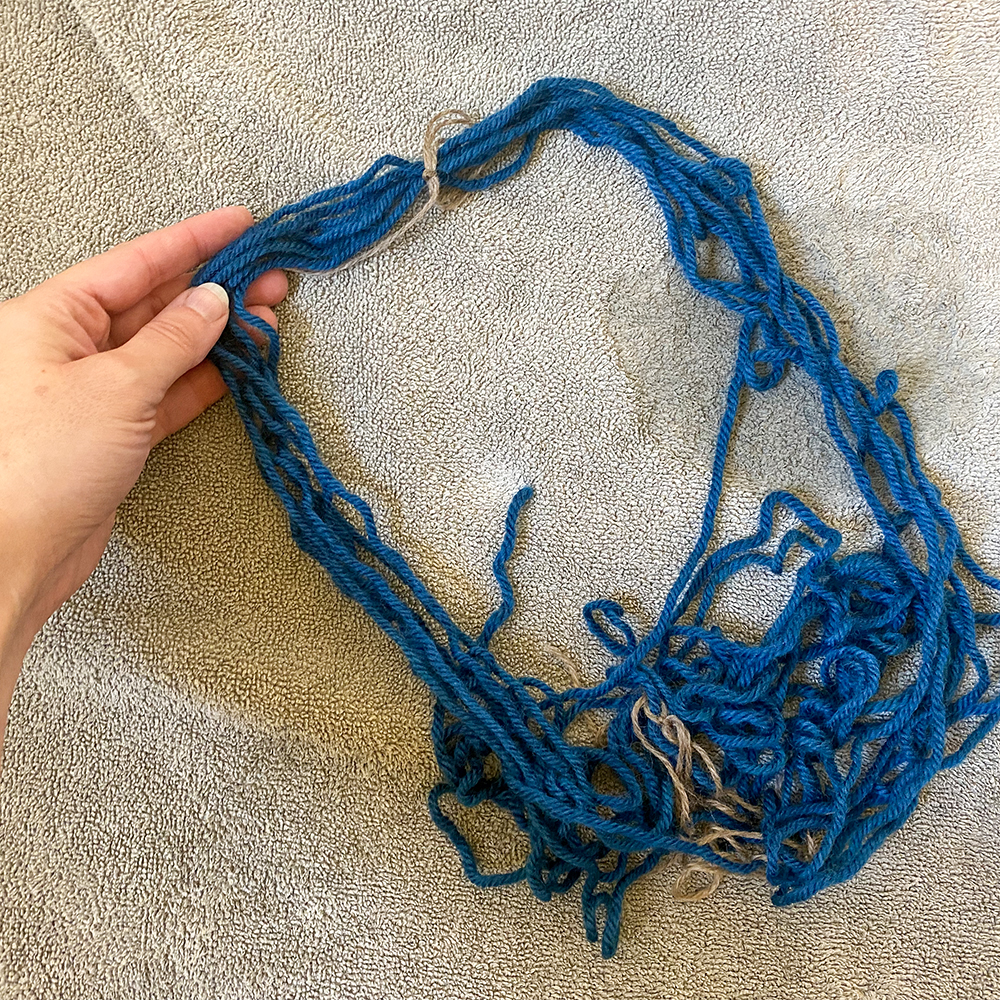
Once you’re done, take your now-skeined yarn off the swift or other device – it will look something like this:
4. Time to soak your yarn
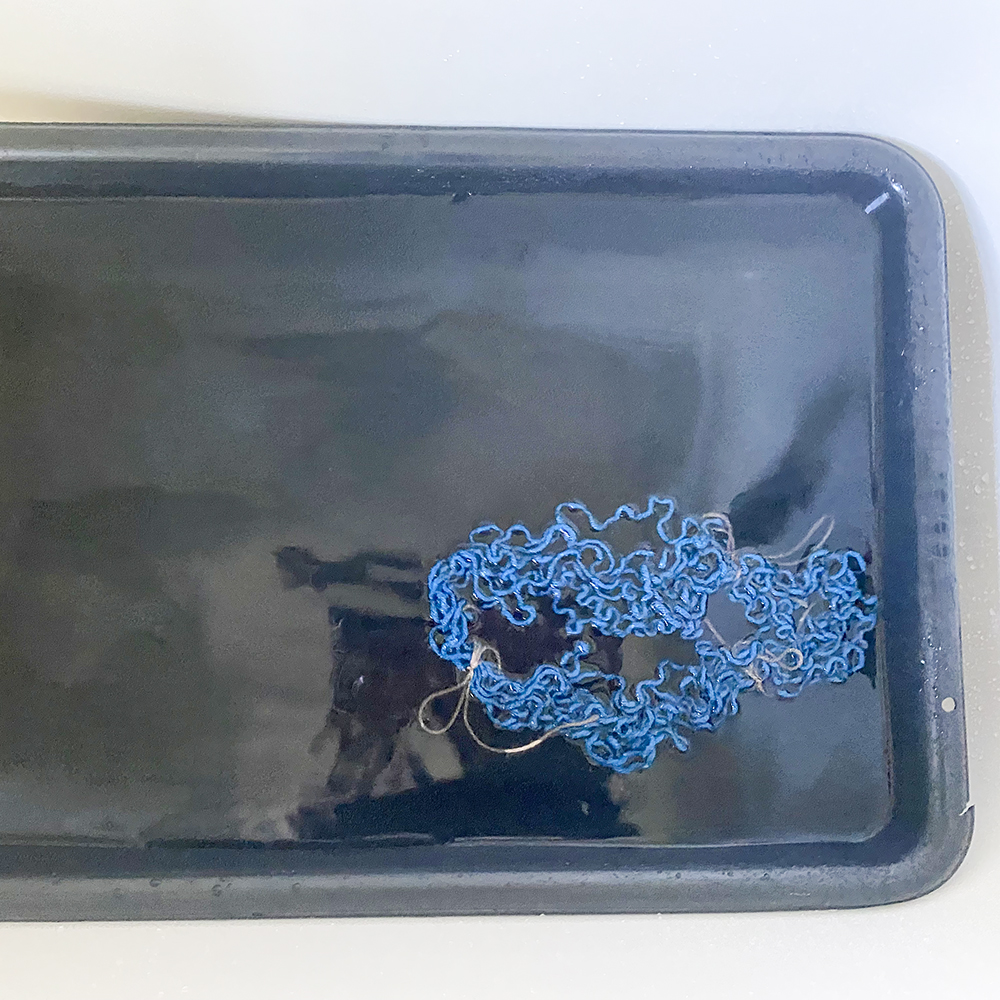
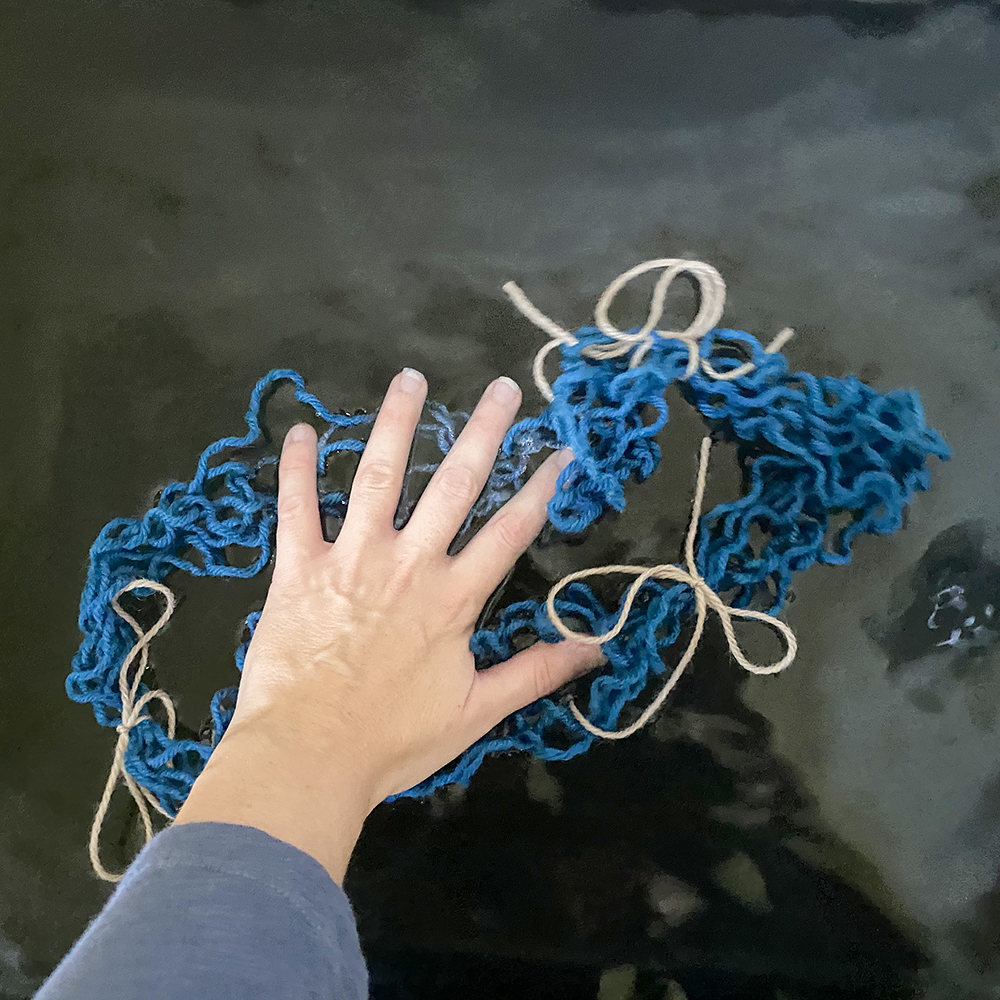
Take your skein and soak it in cool water. I treat the yarn just like I would a garment I’m wet blocking – I use my shallow cement mixing bin (purchased at Home Depot) placed in my bathtub. But you can also just use a large bowl. I placed it in the water, gently immersing it by pushing it down, and then let it sit in the water for about 30 minutes. The time needed may depend on the fiber type and how long it takes to relax the yarn.
5. Squeeze excess water out
After about 30 minutes, it’s time to take it out of the water. Just like with wet blocking, I gently clump together the yarn and press it against the side of the tub to get excess water out. I then place it in towels and roll it a bit to get more excess water out.
6. Hang the yarn to dry
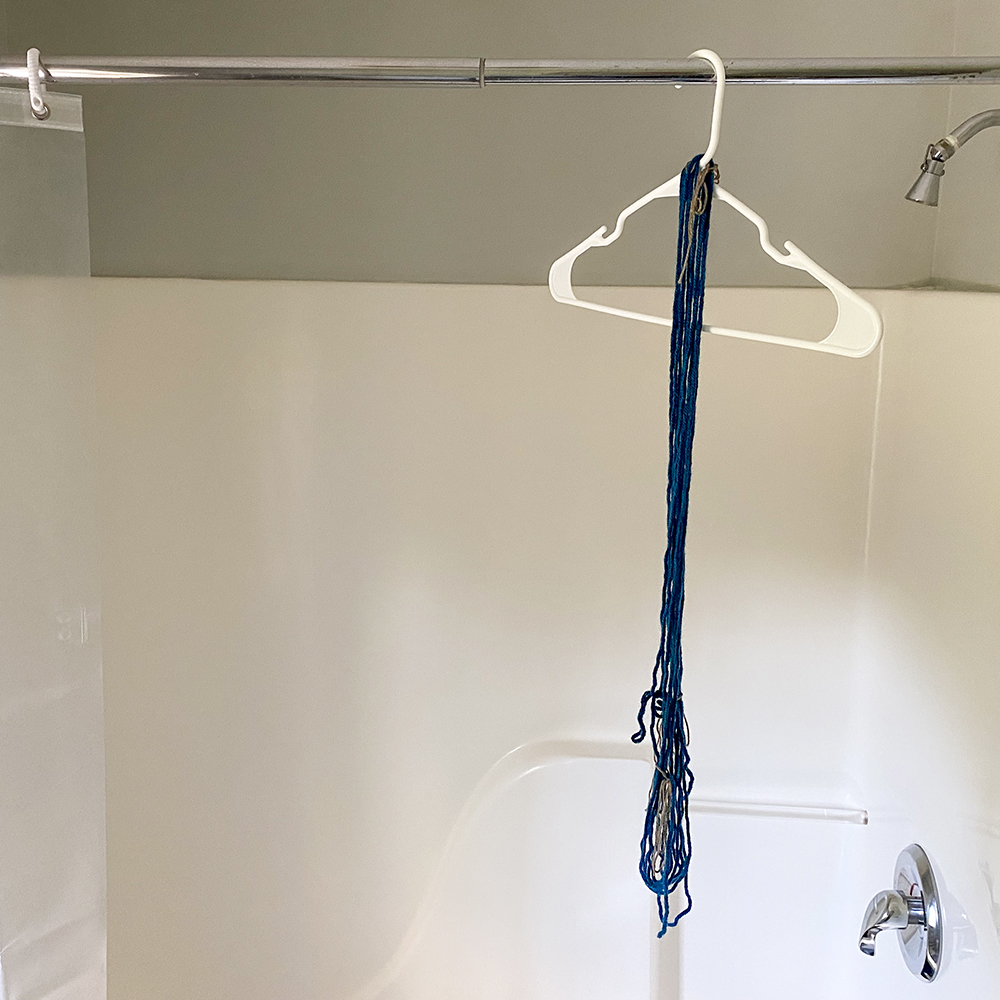
I then take the skein and making sure to keep it in the loop formation, put it on a hanger and have it hang dry off my shower rod. I’ve also heard of people just letting it dry on a blocking mat, but I have found hanging it to dry is faster and also ensures that the yarn stays straight.
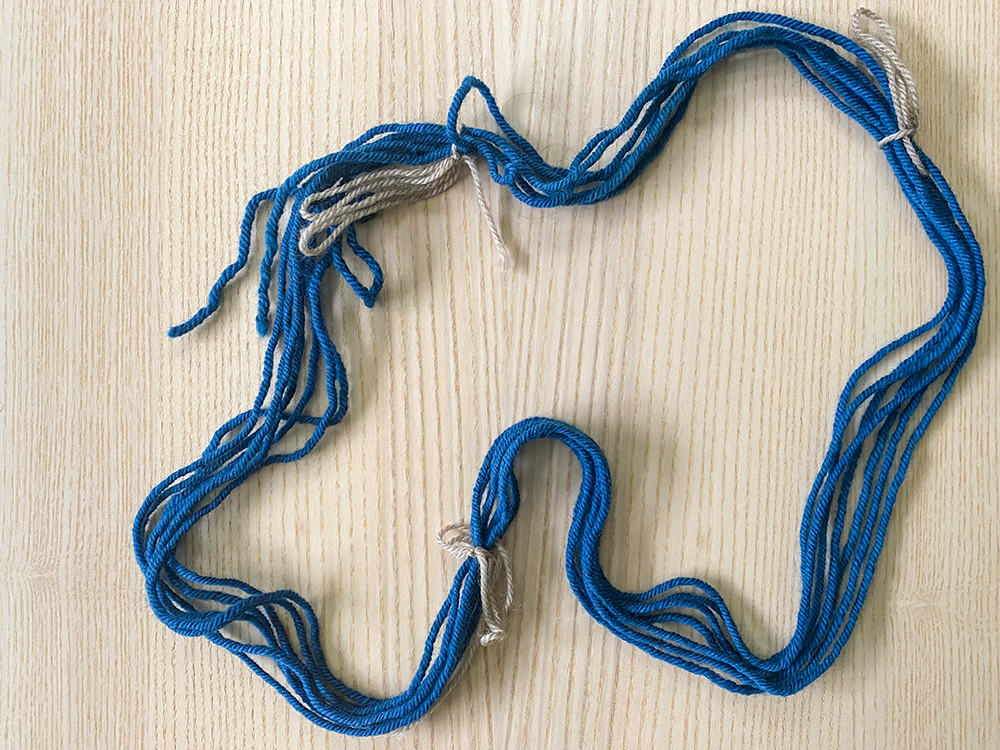
After drying, look how relaxed the fiber is compared to when we started! No more crimps.
7. Wind the yarn into a ball
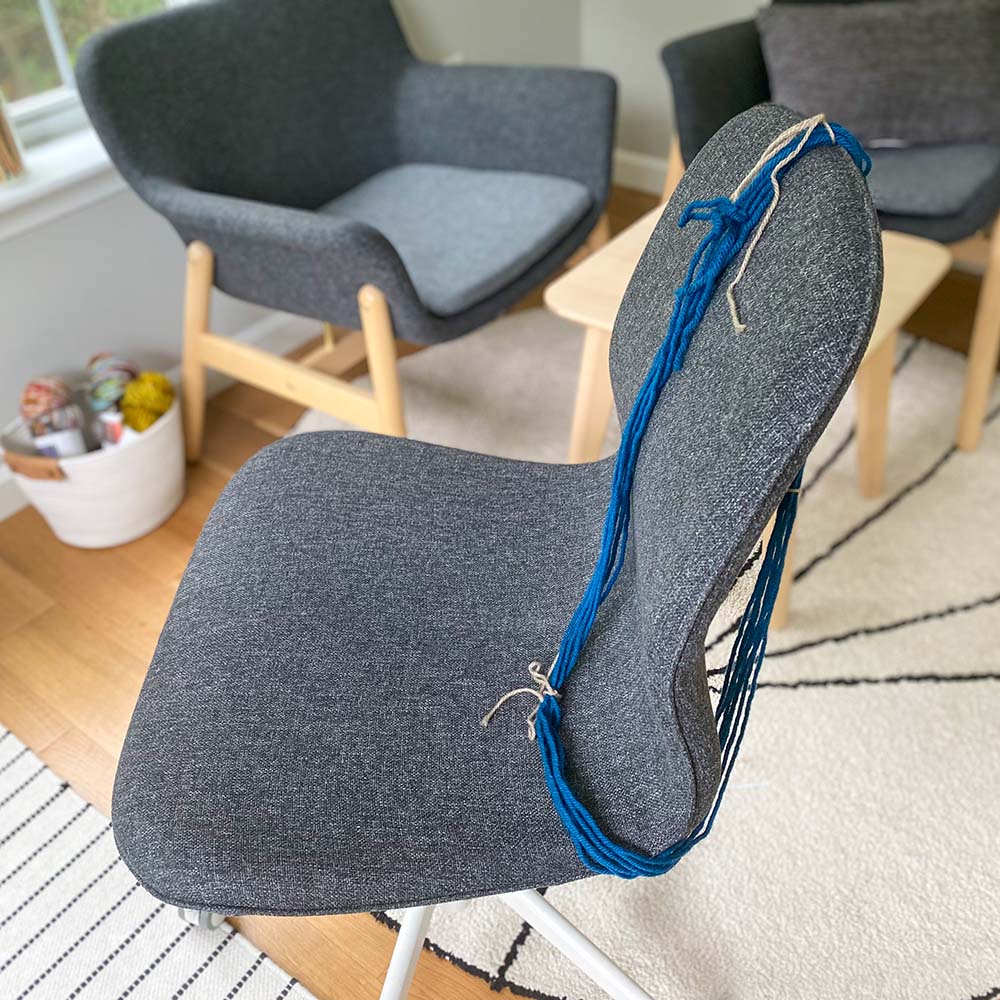
Take your loop and put it on the back of a chair or back on a swift, and then remove your scrap yarn ties. Then start to ball up your yarn by hand loosely. I prefer to hand-ball and not use my ball winder at this point just because I feel it puts a bit too much tension on the yarn. I may be over-thinking it, but I prefer to play it safe with this recycled yarn so I usually recommend doing it by hand.
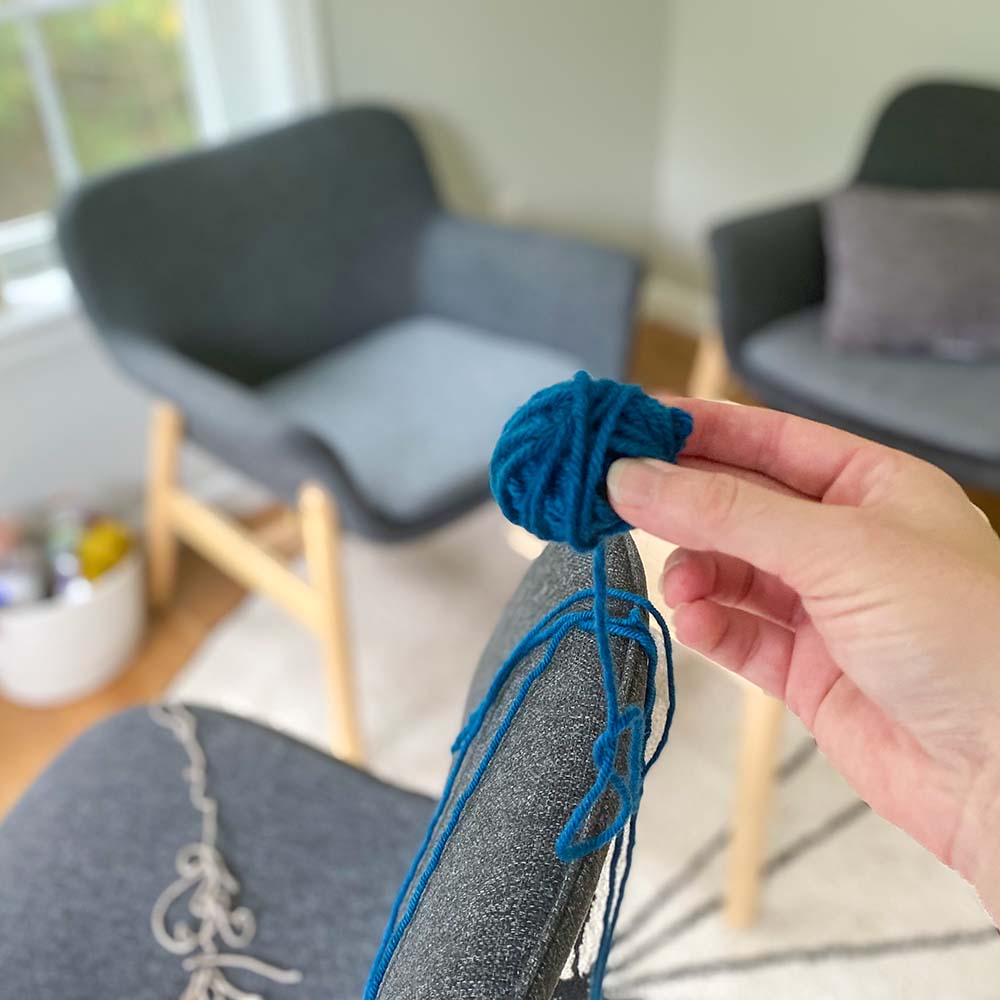
That’s it! You’re ready to re-use your yarn
Look how nice and smooth the yarn is! All the kinks are out and it’s ready to knit with once again.
When I first started experimenting with this, I wondered if I could use these same techniques regardless of the fiber type. I tried it with some Berroco Remix Chunky (made of nylon, cotton, acrylic, silk and linen) and the above method was very successful. But it’s impossible for me to experiment with every fiber type, so just know that results may possibly vary depending on your yarn.

