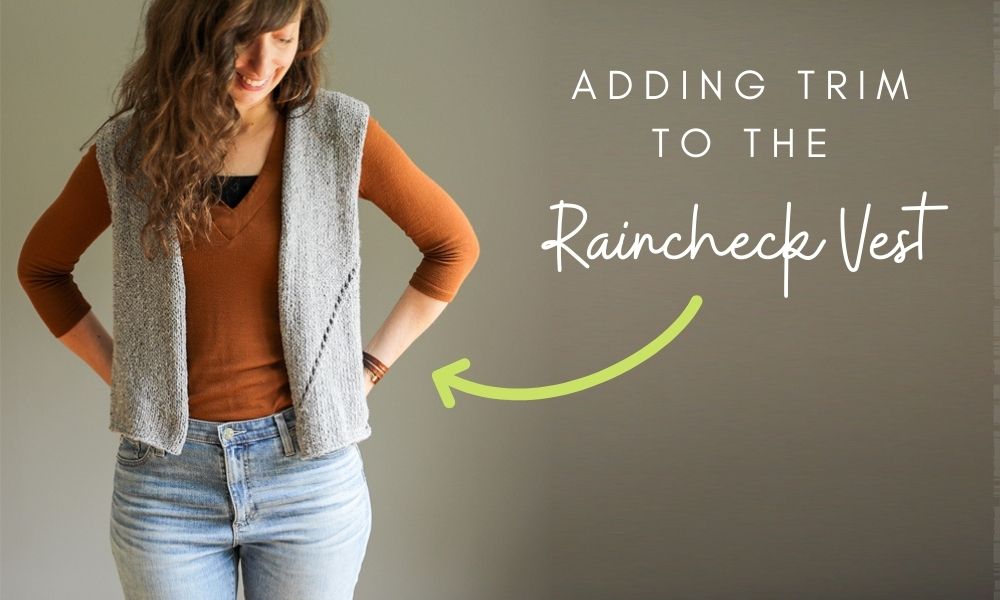
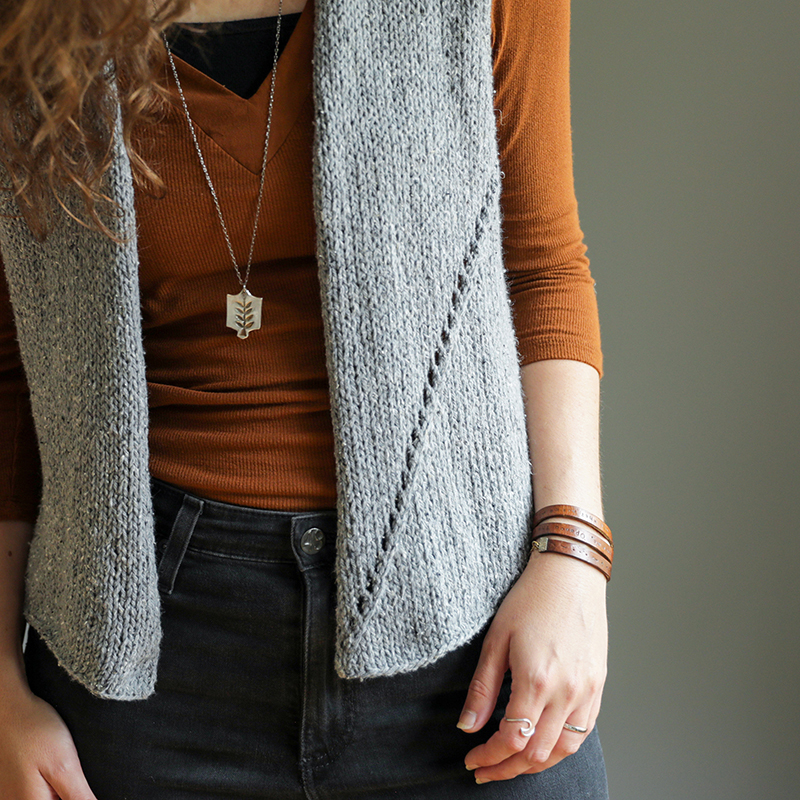
My Raincheck vest has been a popular little layering piece, but one question I often get it how to avoid the curling edges. The edges in Raincheck are raw, i.e, there is no trim. This works fine with certain linen/cotton yarns, but in other blends it will cause your edges to curl. Even in the Berroco Remix yarn I knit with (which has no wool in it), you can see that the bottom edge stays pretty flat, but the front edges do curl in a bit.
If you don’t want any curl at all, or you are using a yarn that has a fiber in it with more memory and elasticity (like a wool blend) that will cause even more rolling, you can easily adapt your Raincheck vest by adding some trim! Below are my tips for how and where to add trim in these cases.
What kind of trim
The simplest trim to add would be garter stitch – garter is where you just knit every row when working back in back (for an example of garter stitch edging, you can check out my Low-key vest). When it’s worked in the round (around an armhole for example), you knit 1 round and then purl 1 round.
Another type of trim that I think could work well would be a broken rib (you can check out my Ramona pullover for an example). This is where on RS rows you knit all stitches and on WS rows you work p2, k2. The trickier part of this trim is that you need to work it over a certain number of stitches. If you want to go this route, I provide tips below.
Both of these trims will keep your edges totally flat.
Where to add the trim
There are two main areas you should focus on:
- The hem (so working some trim right after cast-on). Note: adding trim to the hem will make your garment longer by however much length you work your trim. So if you don’t want to affect your length too too much, consider only working your trim for 3/4″ or so.
- The front edges (this can be done after the vest is all done, by picking up stitches along each front edge).
As a third option, you can also add trim around your armholes (by picking up stitches around each armhole after the vest is done). Some curling around the armholes may not bother you as much though so I don’t consider this to be one of the main areas.
How to add the trim
FOR THE HEM:
You’ll want to add the trim right after cast-on. If you are working garter stitch, simply knit every row for about 1″ (a little less or more, depending on your desired look). If you are working broken rib, I recommend working as follows: Row 1 (RS): knit to end. Row 2 (WS): p3, [k2, p2] to last stitch, p1. Then after you’ve worked your desired trim length, you’ll proceed with rows 1-3 in the “Hem” section of the pattern
FOR THE FRONT EDGES:
For the front edges, after the vest is all complete, you can pick up stitches along each front edge. Here are some tips:
- Step 1: Using a needle size smaller than the one you used to knit the vest, join yarn at the bottom hem of the Right Front (“Right” from the perspective of wearing the garment) and pick up and knit 2 stitches for every 3 rows up the entire side until you get to the back of neck. And then pick up the same number of stitches going down the Left Front (at the same ratio). Don’t worry about the exact number of stitches if you are working in garter stitch. If you are working in broken rib, then you’ll want to make sure your total number of stitches picked up is a multiple of 4+2.
- Step 2: If working in garter stitch, knit every row (similar to how you worked the hem) for about 3/4-1″, ending after working a RS row. If working in broken rib, work as follows: Row 1 (WS): k2, [p2, k2] to end. Row 2 (RS): knit to end. Repeat for same length as above, ending after working a RS row.
- Step 3: BO all sts – if working in garter stitch, BO all stitches knitwise on a WS row. If working in broken rib, BO in the k2, p2 pattern)
FOR THE ARMHOLE TRIM:
If you also want to add trim around your armholes, it will be similar to how you picked up the front edges (2 sts for every 3 rows), but you’ll be picking up around the armhole and then working in the round. After pick-up, if you worked in garter stitch you work as follows: Rnd 1: purl to end. Rnd 2: knit to end. You’ll repeat those 2 rounds until desired length, ending after a knit round. Then you’ll BO all stitches purlwise.
If you work in broken rib in the round, you’ll want to pick up a multiple of 4 stitches. Then work as follows: Rnd 1: [k2, p2] to end. Rnd 2: knit to end. You’ll repeat those 2 rounds until desired length, ending after a knit round. Then you’ll BO all stitches in k2, p2 pattern.
I hope these tips on how to add trim to your Raincheck vest is helpful! If you have any follow-up questions feel free to reach out.


