
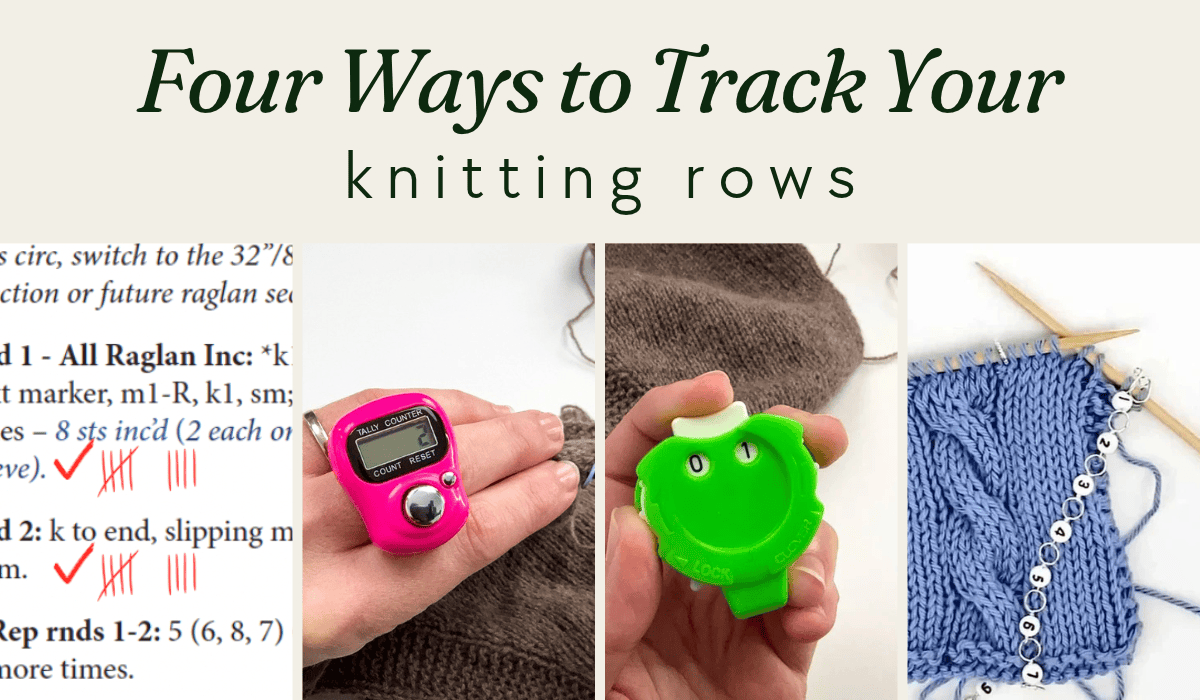
Keeping track of your rows is often an important part of the knitting process, but there isn’t just one way to do it! There are lots of different row counter tools out there and over the years I’ve found that certain styles/methods work better for me depending on the project I’m working on.
So I thought I’d share a few of the most common types of row counters, how they work and the situations where I find each one especially helpful.
1. The Old-Fashioned Way: Tally Marks
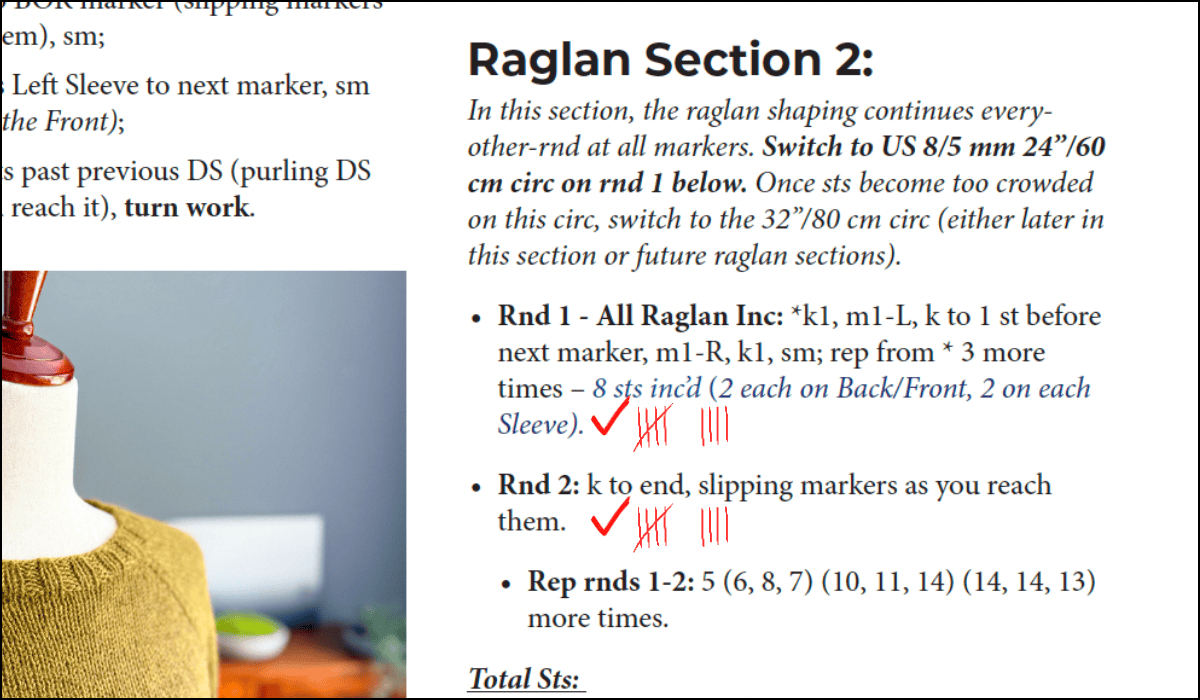
Sometimes the simplest method is all you need! All you need is a pen or pencil and your pattern or a little notebook. I find this method works best for me when I have a relatively small number of specific repeats to work. Or if there are no repeats and just a long list of rows.
For example, in a top-down raglan sweater, if a section has 2 rows followed by instructions to repeat those 2 rows 10 more times, I like to make check marks and tally marks directly on my printed pattern. This helps me keep track of both which row I’m on and which repeat I’m working.
Here’s a visual to show what I mean:
2. Clicker Row Counters
Clicker row counters are another classic option, and they’re often not too expensive either (and usually available at local yarn shops as well as bigger craft stores). You simply press the button on top (similar to a stopwatch), and the numbered wheels advance with each click.
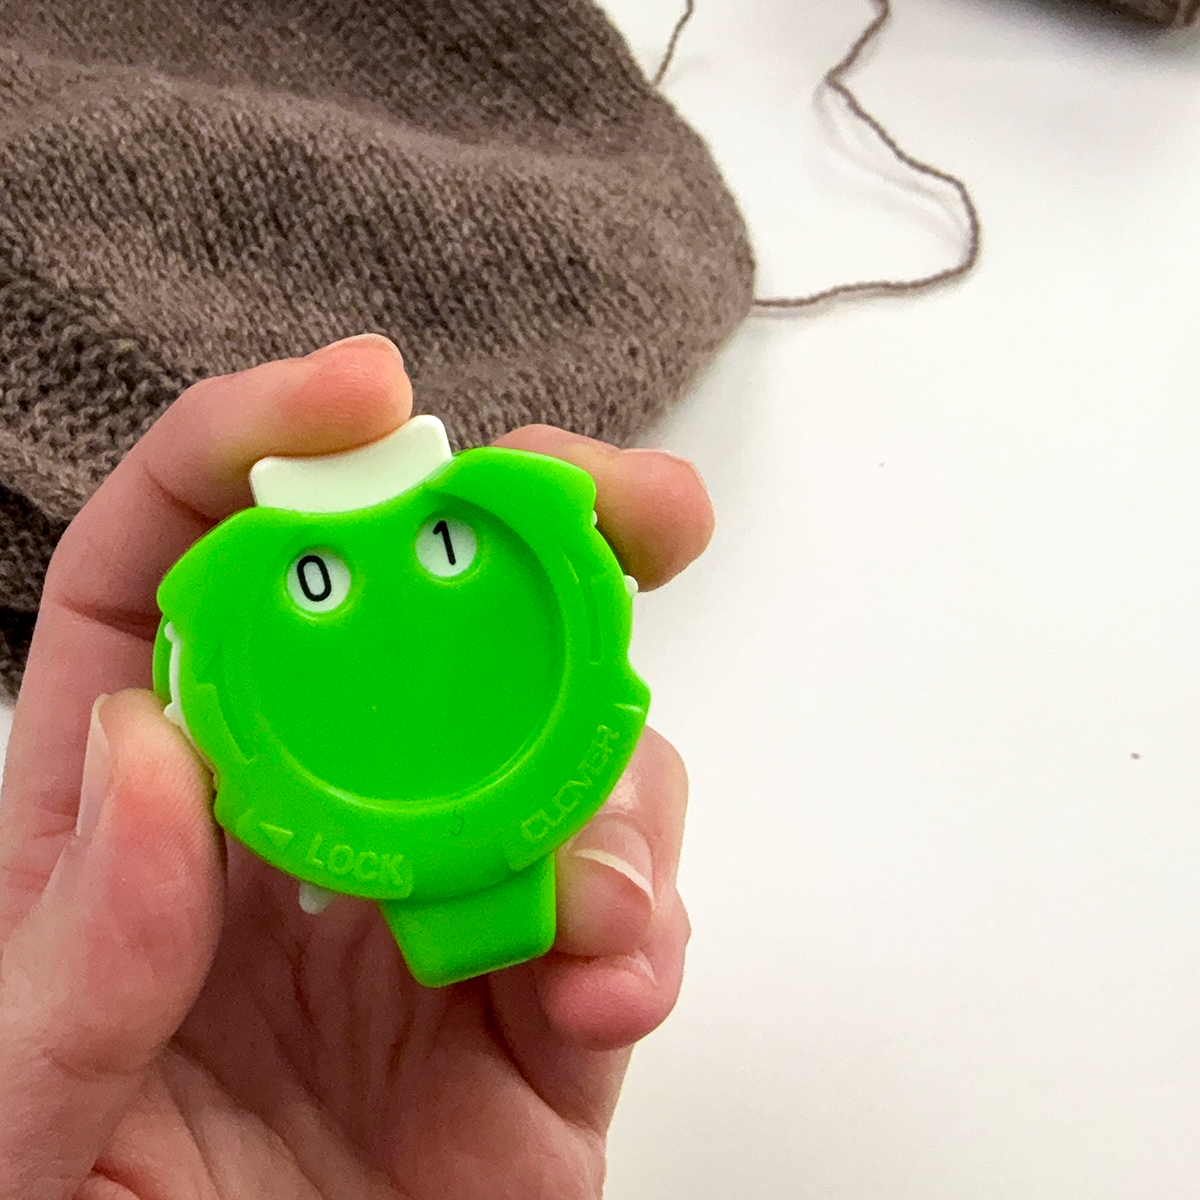
I find these especially useful when I have a large number of rows to count, or when I just want to keep track of the total number of rows worked.
Where I find them less convenient is when I’m working a short repeat, such as a 4-row repeat, especially over a shorter number of stitches (so each row doesn’t take very long to work). Each time I finish those 4 rows, I have to manually turn the numbered wheels back to zero, as shown below.
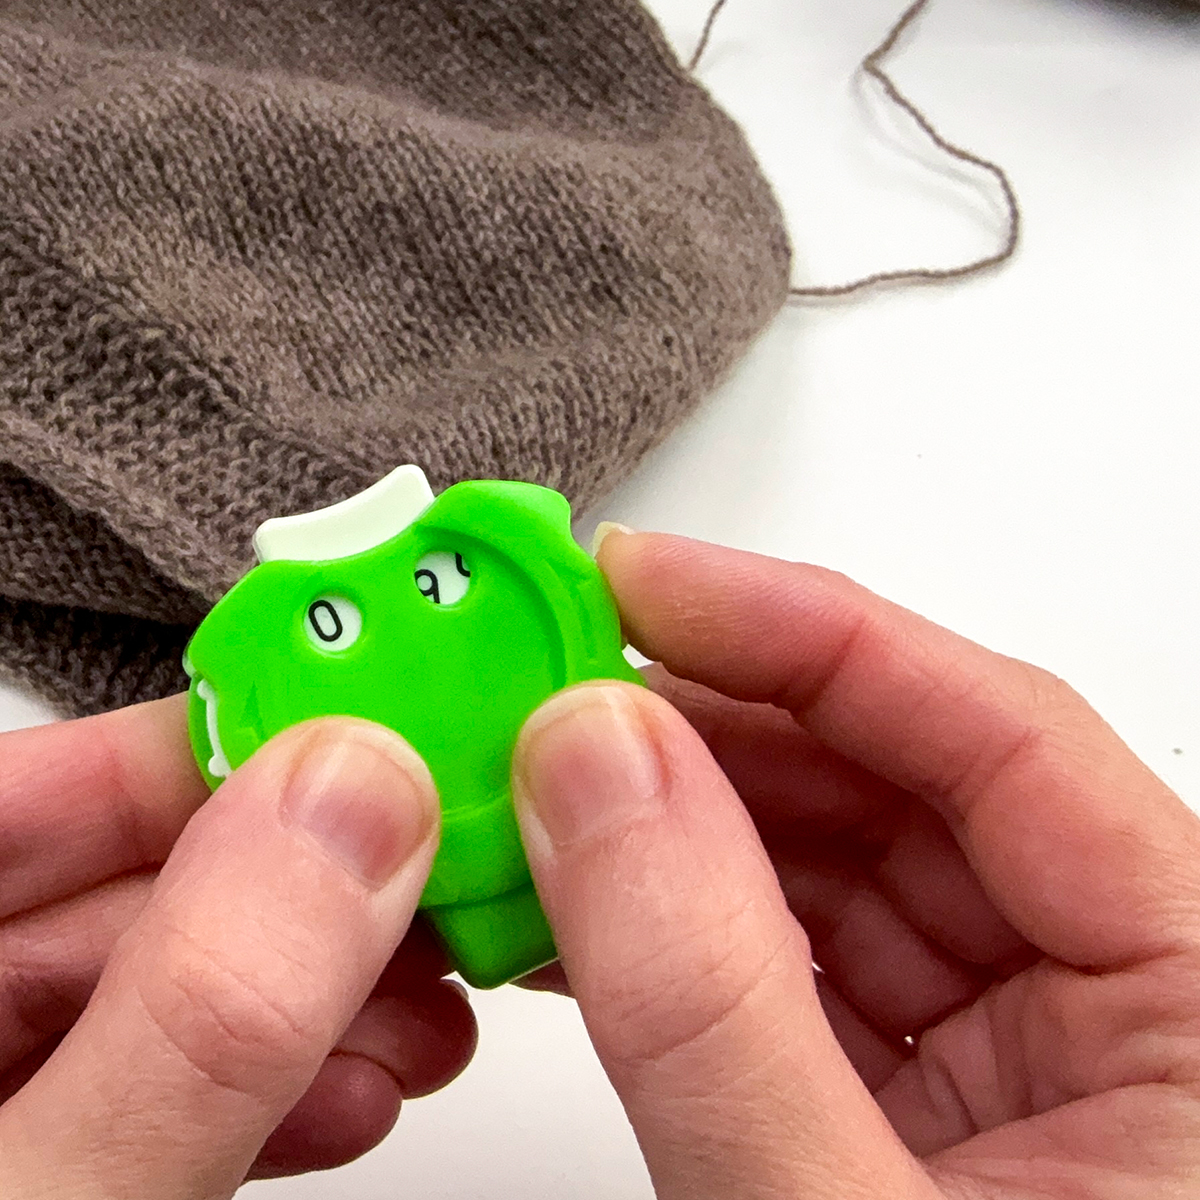
So for me, clicker counters work better when I have a longer repeat (say, 10 or more rows) or when I’m counting rows continuously. But this is where the next option can be especially helpful!
3. Digital Row Counters
I recently started using a digital row counter for a particular project, and it’s been so helpful!
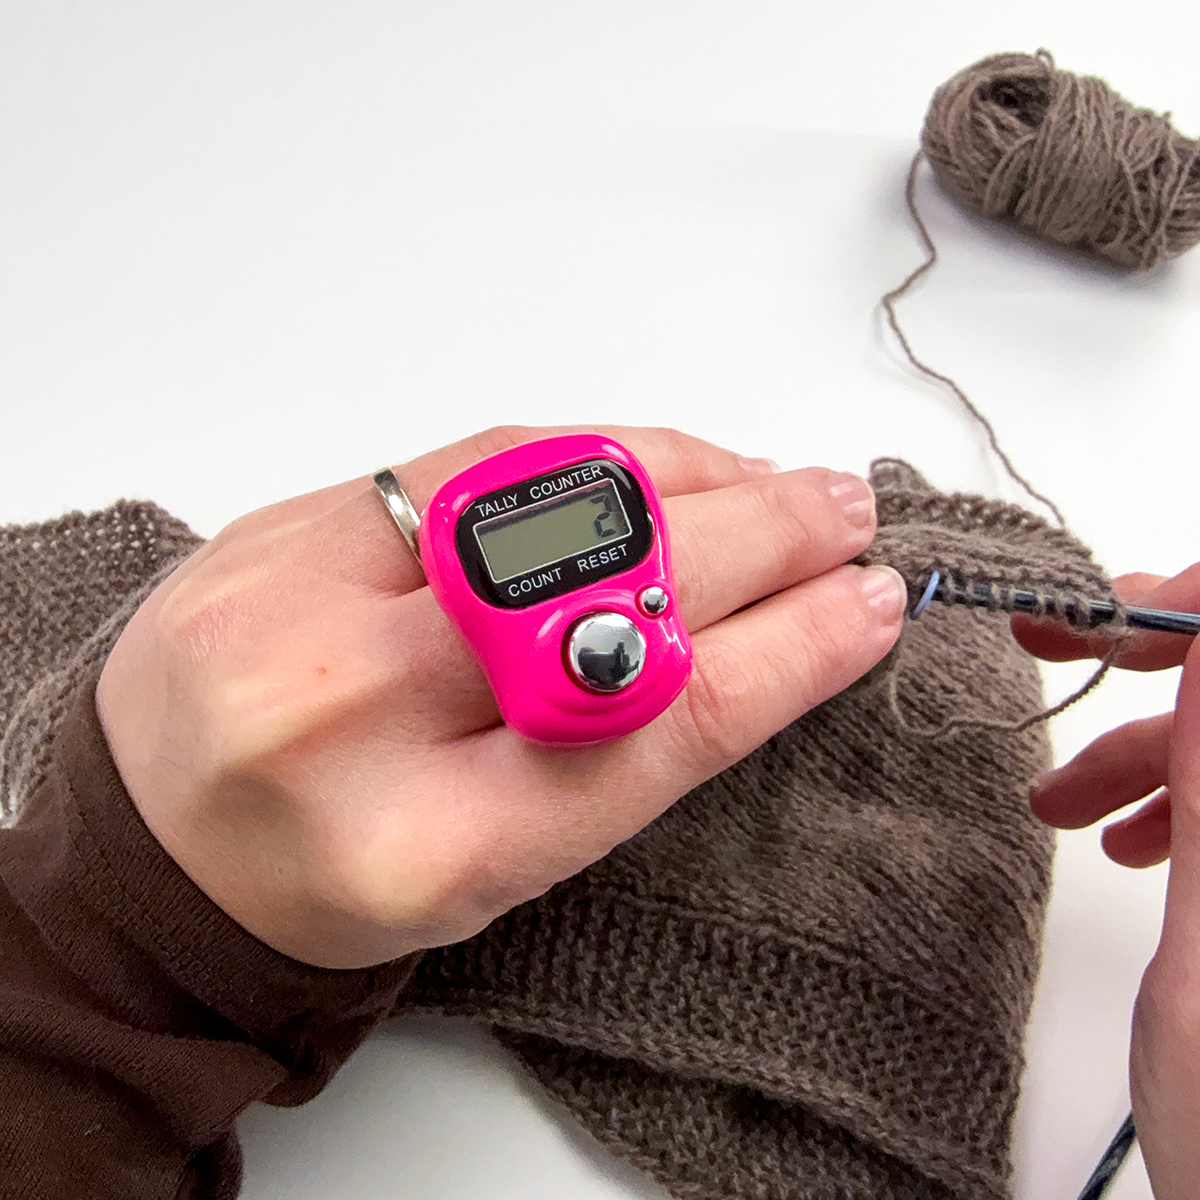
The project I’m working on is just a 4-row repeat, but I’m working those 4 rows over and over again. And because it’s a narrower scarf, the rows go by pretty quickly. If I were using tally marks, I’d constantly be putting my knitting down to pick up my pencil. And since it’s only a 4-row repeat, a traditional clicker counter isn’t the most convenient either because I’d have to manually reset the numbered wheels after every fourth row.
With a digital row counter, I can simply tap a button to advance the number, and when I need to reset it, I just press another button, as show below. It’s quick and easy!
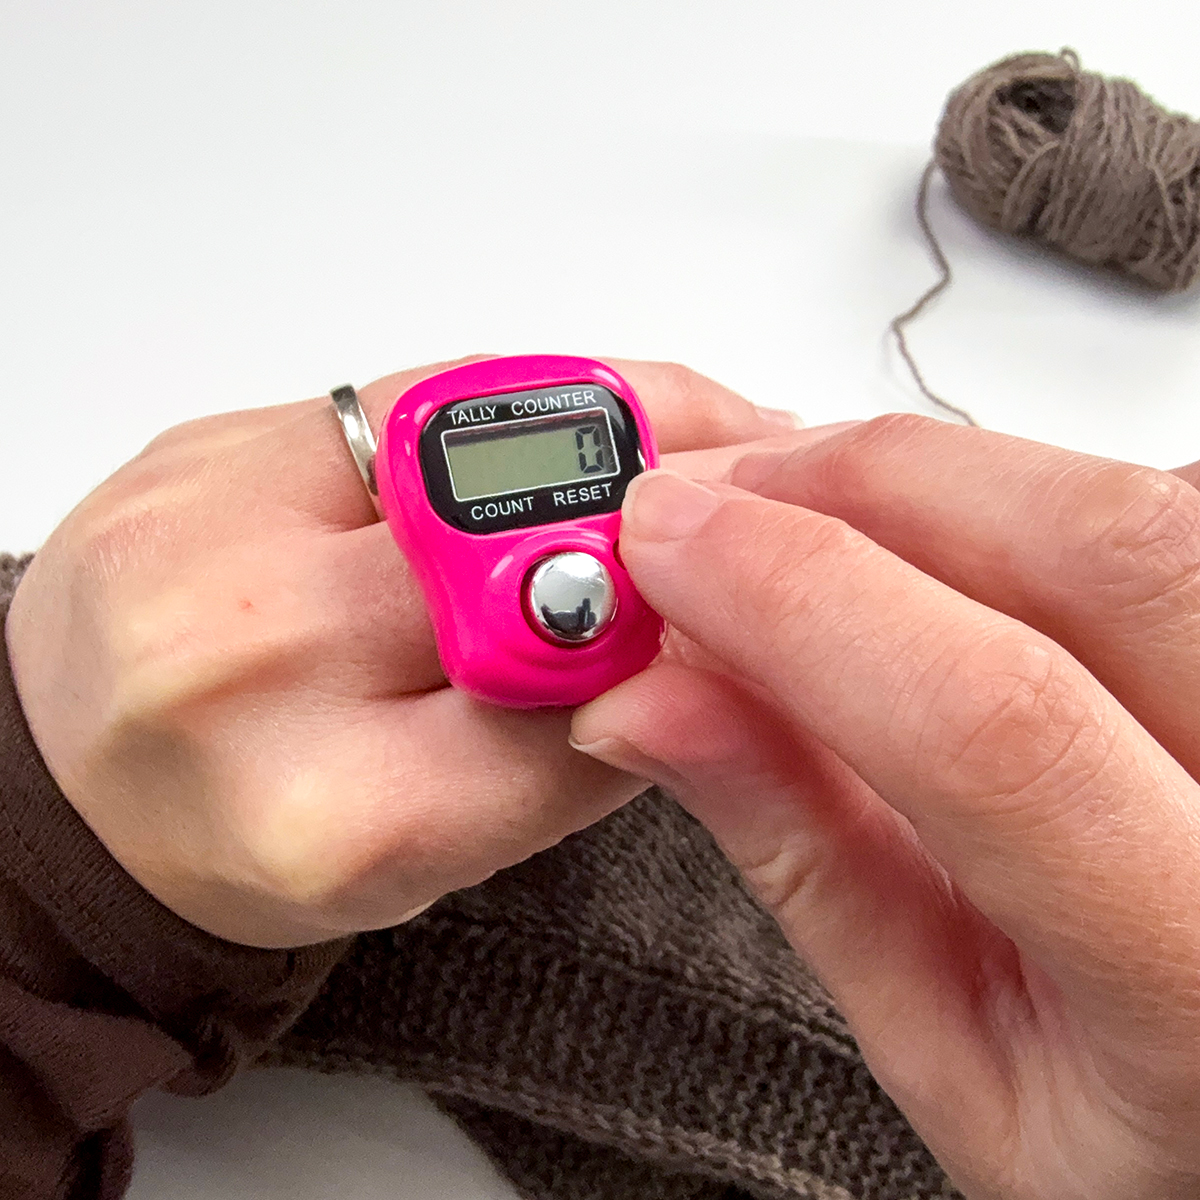
Plus you can wear it right on your finger (it has an adjustable plastic band), so I don’t even have to put my knitting down. It’s nothing fancy, just a $10 Susan Bates version. I can’t speak to how long it will last, but so far I’ve been really happy with it!
Of course, another digital option is to use a row counting app on your phone. Personally, this isn’t my preference because keeping my phone screen on while knitting drains the battery. But I know some people love this option and it works great for me. Also, I don’t use an Apple Watch or other wearable device, but if you do, that might be another option worth exploring!
4. Chain Row Counters
Another option to consider is a chain row counter! These are a little different because they sit right on your knitting needle, acting as both a stitch marker and a row counter. Below is an example of one particular style that my local yarn shop, Mother of Purl, carries.
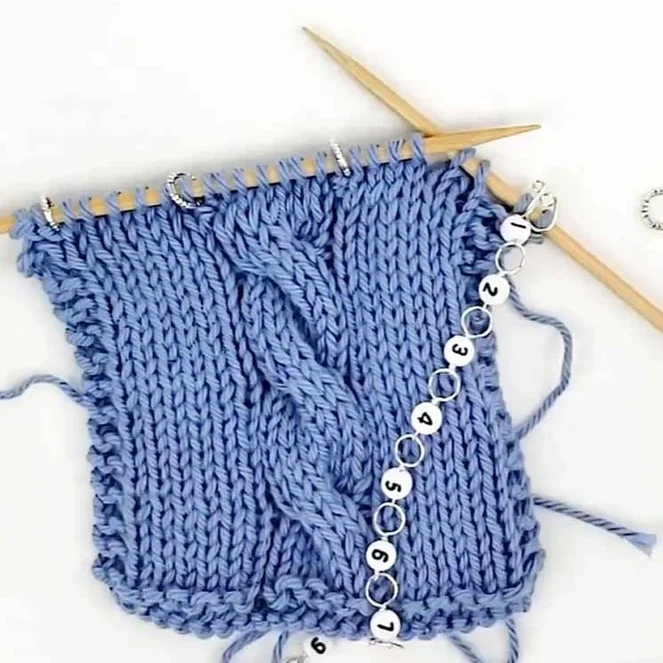
They consist of a chain of connected rings, each representing a different row number. You place your needle through the first ring, just as you would with a regular stitch marker. Then, each time you reach the counter, instead of simply slipping it from one needle to the other, you move to the next ring in the chain. This way, you always know which row you’re on just by looking at the number!
Here’s a video from the company Twice Sheared Sheep (one of the companies who make them) that demonstrates exactly how they work! And here’s link to Katrinkles version as well (along with a video demo).
What’s great about this option is that it’s dual-purpose – it can act as a stitch marker as well as a row counter. They do tend to be more expensive (the ones I’ve seen at yarn shops range in price between $20-$30), but I think it’s such a great idea and worth trying at some point! Especially if you find you often forget to use a clicker at the end of each row, or if you’re traveling and want a counter tool that stays right on your knitting.
In Conclusion…
As you can see, there are lots of different ways to keep track of your knitting rows, and what works best may depend on the project you’re working on! And these are just a few of the different tools out there – there are also other ones you can explore and it’s always good to check in your local yarn shop to see what options they have as well.
Do you have a favorite way to keep track of your rows? Or perhaps another method I haven’t mentioned here? I’d love to hear about it! Reach out to me here.