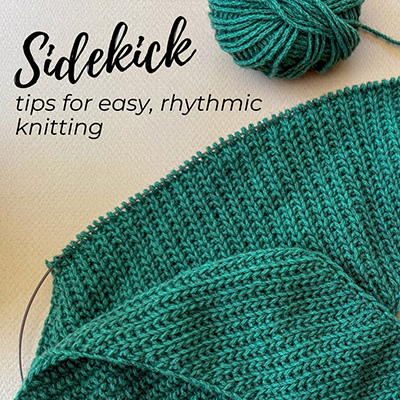
One of my favorite pattern releases from the last year or so has been my Sidekick scarf. One reason is because it strikes that perfect balance between an interesting stitch pattern and an easy, rhythmic knit that’s great for movie watching, traveling or winding down at the end of the day.
And once the stitch pattern clicks, it really becomes the kind of project you barely need to think about. But in order to make it that kind of project, there are a few things you may find helpful. So in this blog post I wanted to share 5 tips that I think can help make the knitting experience feel even more intuitive and easy to memorize with this design. I hope you find it helpful!
Tip #1: Place a locking stitch marker on the RS of the fabric
After working the Initial Set-Up section, place a locking stitch marker on the outside of the RS of the fabric.

Once established, the pattern is made up of 4 rows that repeat over and over again. And one of the easiest ways to memorize those rows is to always know whether you’re on the RS or WS.
As the scarf grows, this becomes easy to spot visually (the RS is smooth and the WS is bumpy), but in the beginning it can be harder to tell. A locking stitch marker gives you an instant visual cue.
Tip #2: The first stitch of every row is slipped purlwise
No matter which row you’re on, the first stitch is always slipped purlwise.
The only difference is yarn position:
- On RS rows, hold the yarn in back
- On WS rows, hold the yarn in front
That consistency makes the rhythm of the pattern much easier to settle into.
Tip #3: Every WS row is exactly the same
Rows 2 and 4 (your WS rows) are identical. And the shaping also always happens on the WS rows.
So once you get comfortable with the p2tog and pfb shaping, every WS row becomes very easy to recognize and memorize.
Tip #4: The RS rows are almost identical
This is probably the most important tip!
Rows 1 and 3 are nearly the same. The only difference is this:
- On Row 1, you repeat the stitch pattern until the last 2 stitches
- On Row 3, you repeat it until the last stitch
But here’s the helpful thing to remember: every RS row ends with “p1, k1.”
Keeping that in mind makes it much easier to quickly recognize where you are in the repeat.
What this means in practice is that some rows (Row 1) will have two purl stitches before the final k1, while others (Row 3) will only have one.
Tip #5: Watch the slip stitch columns
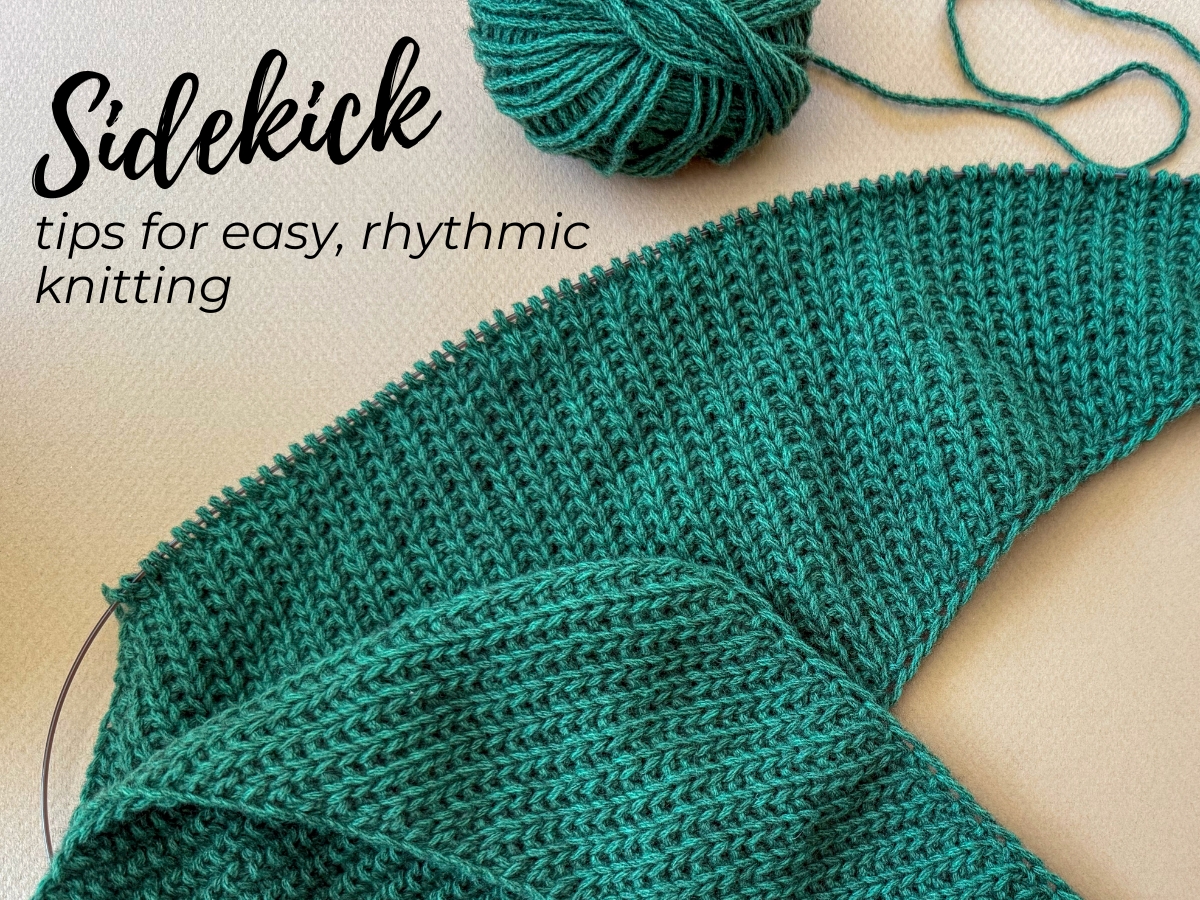
On RS rows, you’re always either slipping or purling a stitch. The slipped stitches create vertical columns of flat “V” shapes on the RS of the fabric (as you can see in the photo below).

As you knit, it can be helpful to occasionally glance down and make sure you’re always slipping the stitches in those “V” columns. It’s a great way to stay in rhythm and catch mistakes early.
Bonus Tip: Don’t be afraid to go up a needle size
Because the stitch pattern uses slip stitches, the fabric can feel denser than standard stockinette stitch.
So if the knitting feels tight, or if the pfb stitches are difficult to work comfortably, try going up a needle size. Depending on the yarn you’re using, this can make the knitting experience feel much smoother and more relaxed.
For example, if your yarn label suggests a US 7 needle, I would personally consider trying a US 8 instead.
I hope these tips will help make the Sidekick scarf that perfect, relaxing knit project that you can turn to whenever you need a little comfort knitting! And for more helpful tips & tricks (including video tutorials on working the stitch pattern and shaping), make sure to check out the Sidekick Tips page.