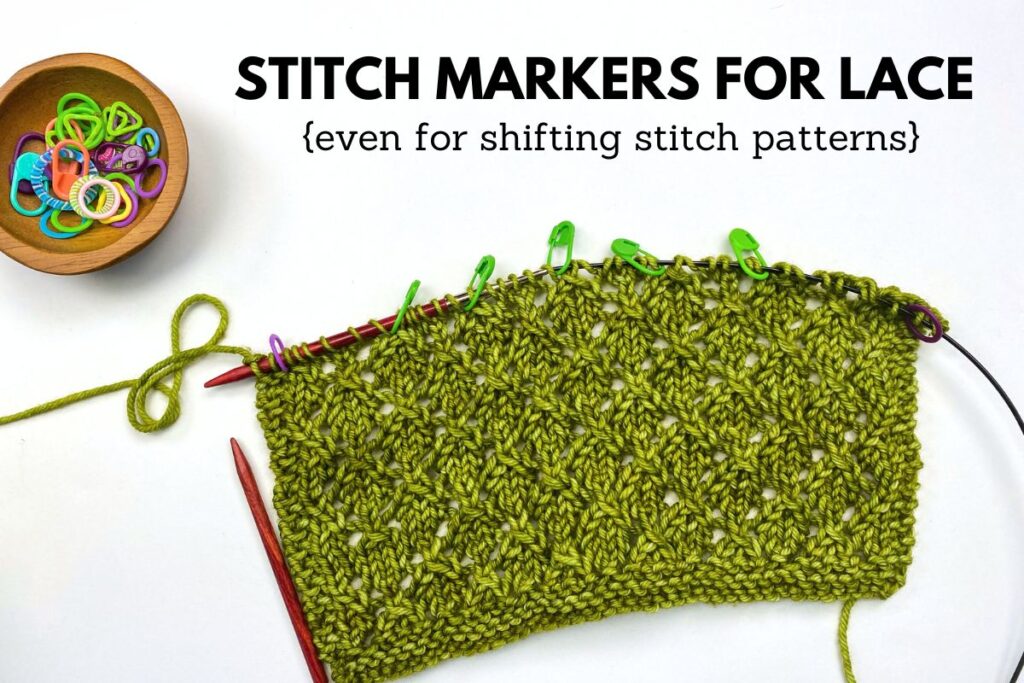
In previous blog posts I’ve talked about how you can utilize stitch markers for lots of different helpful purposes. One of the most helpful uses I have found is using them to mark repeats in a lace stitch pattern. In this blog post I’ll be answering the following common questions about using stitch markers with lace:
- Why is using stitch markers helpful with lace?
- How do you place markers with a lace stitch pattern?
- Can you use stitch markers for all lace patterns?
- What’s a “non-shifting” vs “shifting” lace stitch pattern (and how does it affect the use of lace markers)?
And, I share a new video lesson where I show you how to place markers for lace, how to work the lace pattern in my Farro Vest, and how to adjust your stitch markers if you are working on a “shifting” lace stitch pattern such as that used in the Farro Vest!
Why is using stitch markers helpful with lace?
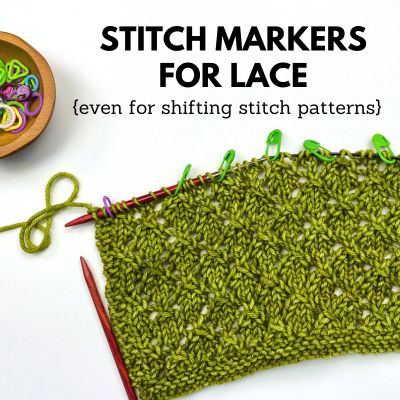
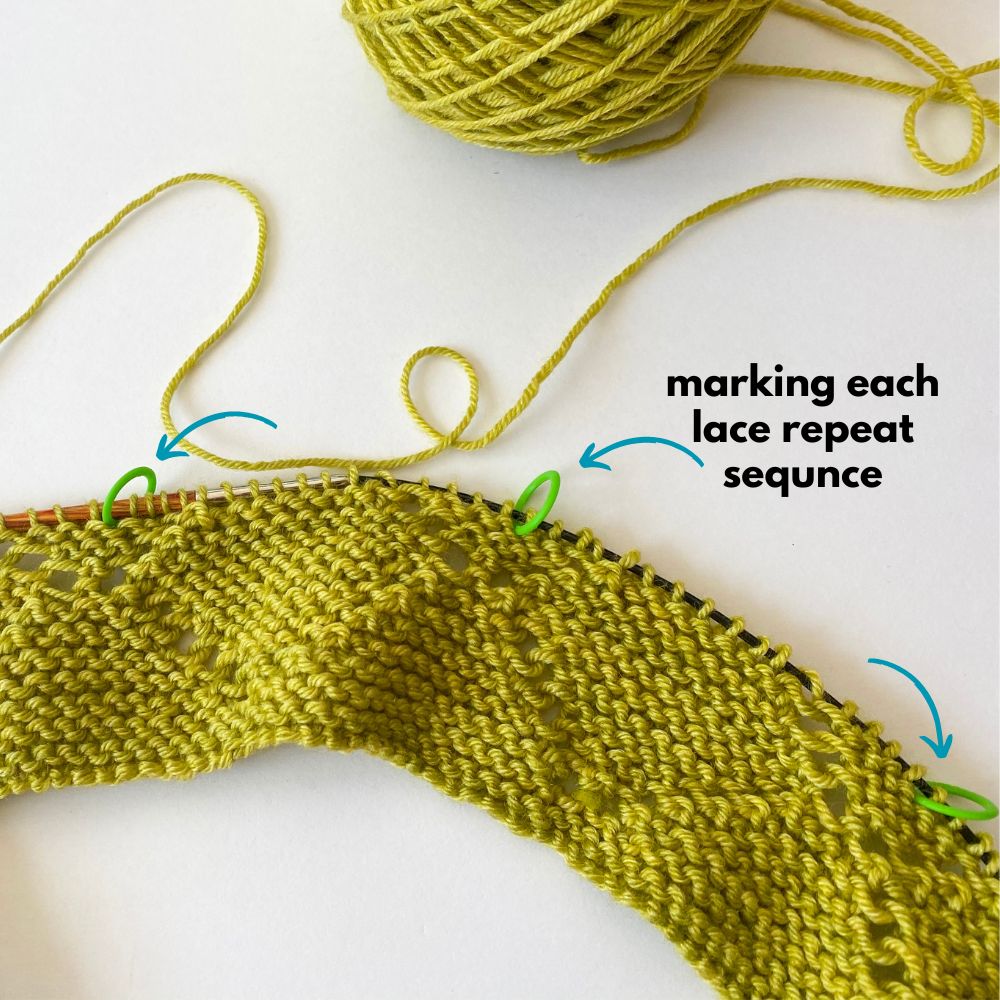
Stitch markers are a great way to keep track of the repeated sequence in your lace stitch pattern.
In the above photo, I’ve placed stitch markers at each repeated sequence in my particular stitch pattern. It’s a stitch pattern that is a 16 stitch repeat so I have placed lace markers every 16 stitches. This is helpful to do because then you can more easily detect if a mistake is made. How? In most lace stitch patterns, although the decorative eyelets are created with yarn-over increases, they are always paired with a decrease stitch and so your stitch count always remains the same (note: there are always exceptions to this, but in general this is most often the case). So after working each repeated sequence in-between your markers, you should always have the same number of stitches.
And so this is one of the benefits of separating each sequence with markers – you can count the stitches in-between them after every row just to make sure no mistakes were made. And if you notice a count is off, it’s much easier to tink back and fix it in the moment than working another row or two and then discovering the issue.
How do you place lace markers?
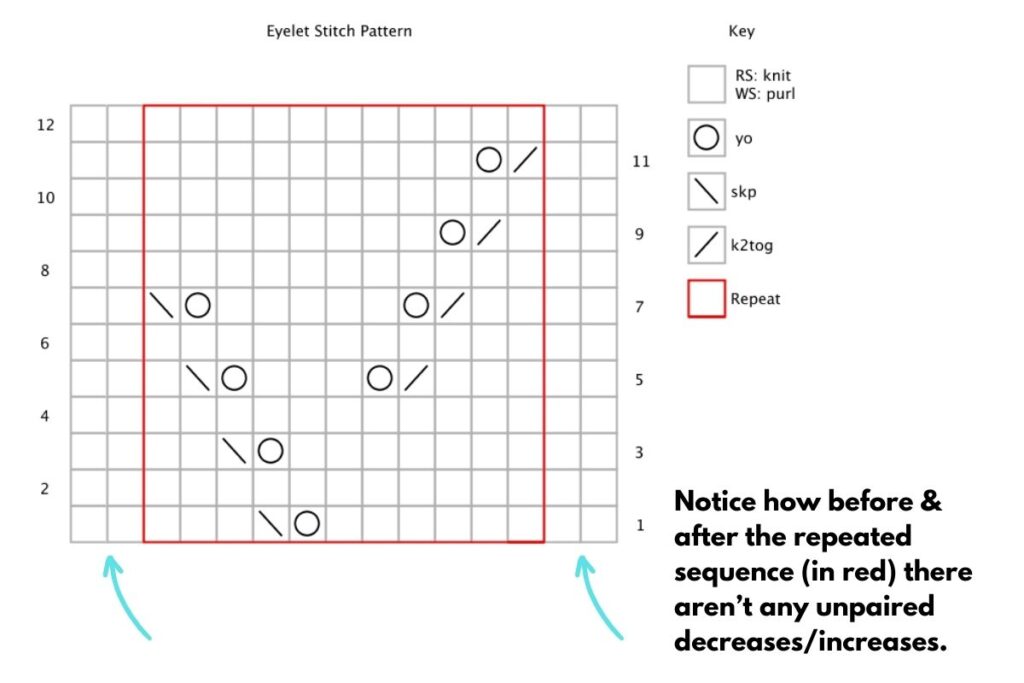
Let me give you a typical example, using the simple eyelet lace stitch pattern that features in my Salt Marsh Wrap design.
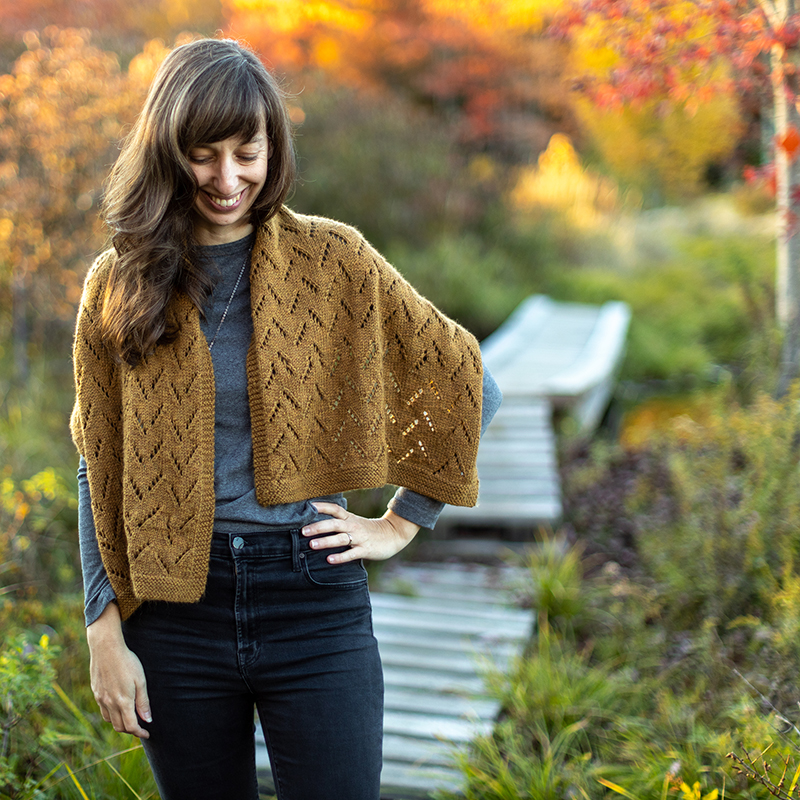
In the pattern I have the stitch pattern written out as well as charted, but to explain how to utilize stitch markers for it I think showing it in chart form provides the best visualization. So the chart for this stitch pattern is below – if you are brand new to reading charts, I recommend you first read my Chart Reading Basics blog post.
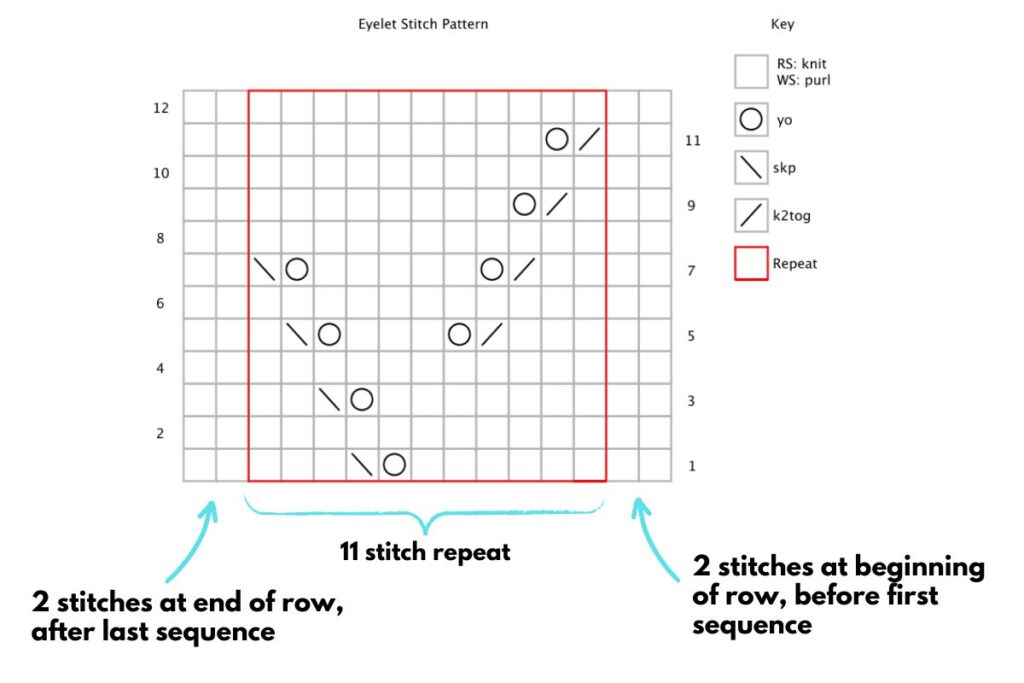
The above chart shows that the stitch pattern starts with 2 knit stitches and then you have an 11-stitch repeat (the area with the red border). So to utilize stitch markers to mark off each repeated sequence in this pattern I would place my first lace marker 2 stitches in from the beginning of the row and then place additional lace markers every 11 stitches. My last lace marker should be 2 stitches in from the end.
And this way, after each RS row, I could count in-between markers and I should always have 11 stitches in-between each (and 2 stitches on either end).
Can I use stitch markers for ALL lace patterns?
When a lace stitch pattern doesn’t shift, the stitch markers remain in the same spot on every row and always have the same number of stitches on either side of the repeat (at the beginning and end of row). The lace chart above for Salt Marsh Wrap is a perfect example of that. So using stitch markers in patterns like this is easy-peasy. BUT, there are some lace stitch patterns that in fact shift. And this means that there is a row in the stitch pattern where your marker placement will be off. However, there is a workaround that allows you to still use stitch markers in this situations! But before we get to the solution, let me explain first how to identify lace patterns that don’t shift versus ones that do shift…
What’s a “non-shifting” lace stitch pattern?
A non-shifting lace stitch pattern is one where the number of stitches you have on either side of the repeated sequence remains constant the entire time. Either there are no decreases/increases outside of the repeated sequence or, if there are, then a decrease is always paired with an increase (thus keeping the stitch count the same). So let’s look at the same chart example from above for my Salt Marsh Wrap – this is a non-shifting lace stitch pattern:
There are no “unpaired” decreases or increases before and after the repeated sequence – just knit and purl stitches. So this tells me this stitch pattern is non-shifting and I can place markers for my repeated sequences and have no issues. But not all lace patterns are this straight forward…
What’s a “shifting” lace stitch pattern?
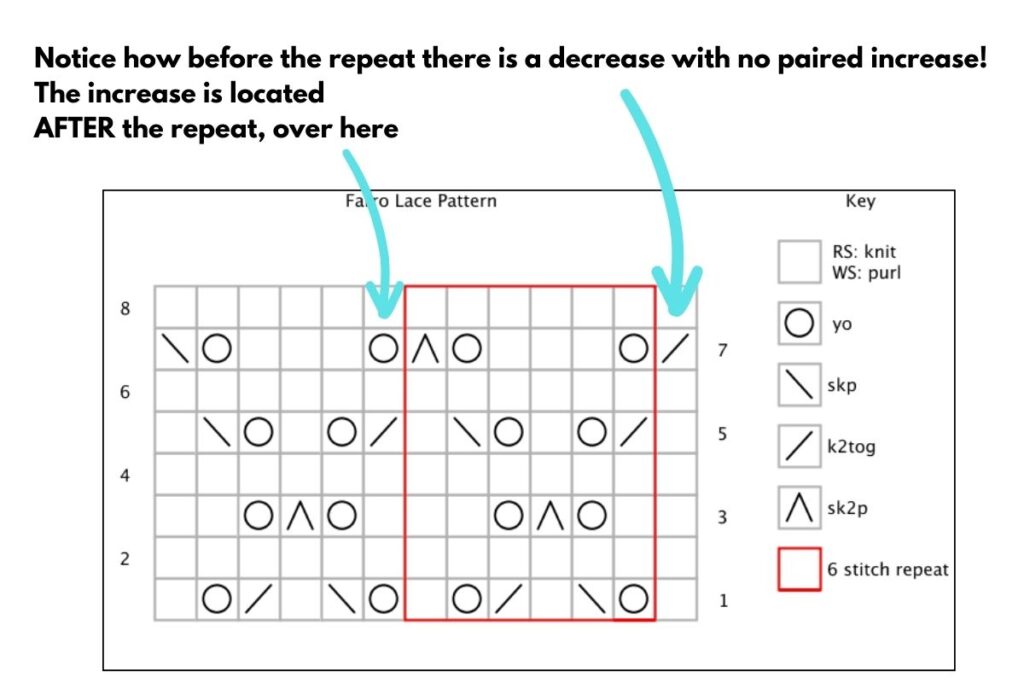
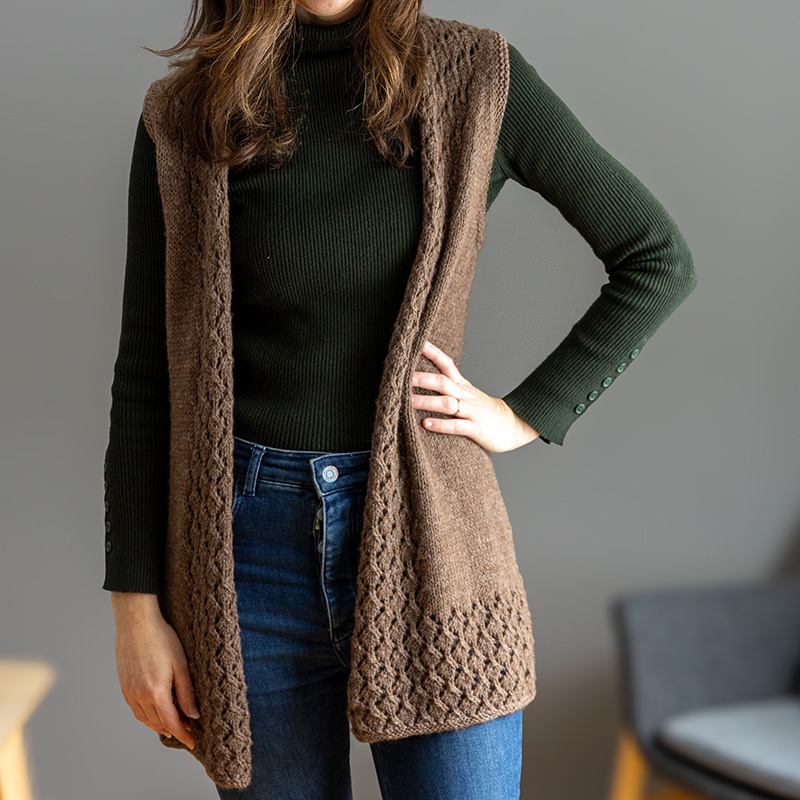
Some lace stitch patterns may have a row where there’s an unpaired decrease before the first repeat sequence. When I say unpaired, I mean it’s a decrease stitch with no accompanying increase stitch within its same section (so in the area before the repeated sequence). Below is a great example of this – it’s the lace stitch pattern featured in my Farro Vest:
Compared to the non-shifting example, you can clearly see how there is a decrease stitch at the beginning of row 7 before the repeated sequence but no paired increase. The extra increase is actually at the end of the pattern, after the repeated sequence. So when you see this lonely decrease with no paired increase in the same section, then you know this is a lace pattern that shifts and that means you’ll need to make an adjustment if utilizing markers to help keep track of the sequences.
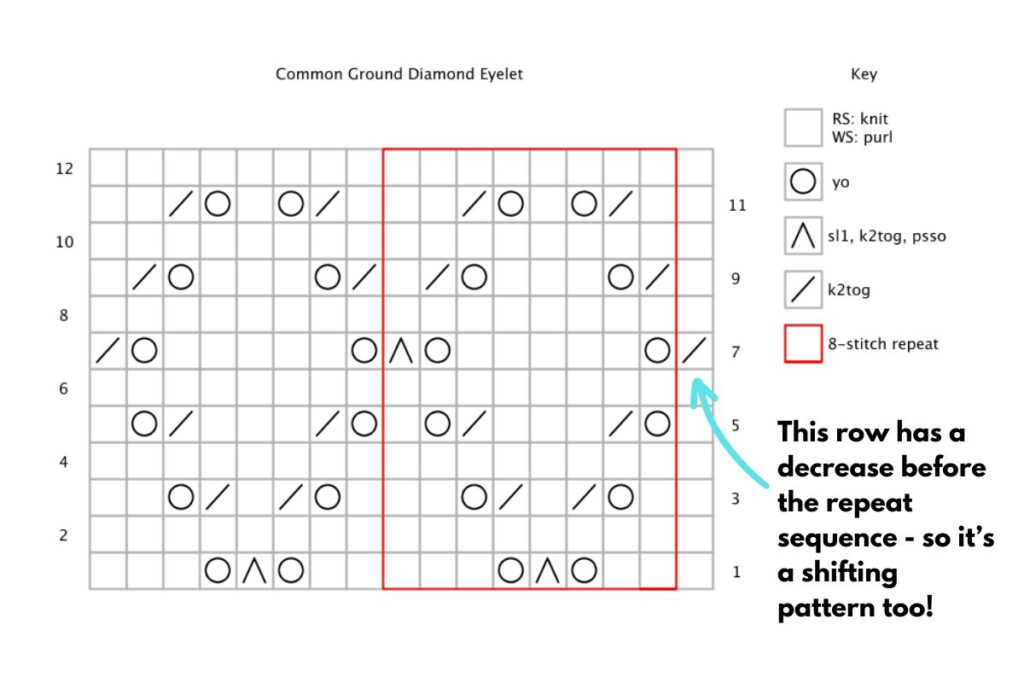
Here’s another example of a shifting lace pattern – it’s featured in my Common Ground cardigan and it’s very similar to the Farro pattern where on 1 row (row 7) there is an unpaired decrease before the repeated sequence:

How can you use stitch markers if your lace pattern shifts?
Looking at both of our example lace patterns above, it makes sense if you’re uncertain how a shifting lace pattern would work with stitch markers. Because in the above patterns, your first lace marker is 1 stitch in from the beginning. But on Row 7, it starts with a “k2tog” – so how can you work a k2tog if there’s only 1 stitch before the marker? Here is where the workaround comes in…
The easiest method I have found is using removable/locking stitch markers as your lace markers. And then when you encounter this “shifting” row, if it looks like our above examples, you unlock each of your lace markers and move them 1 stitch over to the left. By shifting each of your markers in this way, you’re shifting with the stitch pattern. And by the end of the row, the number of stitches you have on either side of the first and last lace marker will go back to how it was before the shifting row.
The direction and amount of stitches you move your stitch marker will depend on the particular stitch pattern but in my experience I most often encounter scenarios like the above ones – where the shift row involves an unpaired decrease before the repeated sequence and I simply move the lace markers on that particular row 1 stitch over to the left. But just keep in mind that that’s not always the case and you need to look over the chart to know for sure.
Watch my video lesson if you want to see all of this in action!
In my video lesson below, I demonstrate how to work all 8 rows in the shifting stitch pattern featured above (that’s used in my Farro Vest), utilizing stitch markers and including how to shift the stitch markers at the beginning of row 7. Watch the full lesson below!
Helpful Tip When Working with Locking Stitch Markers
When working with removable/locking stitch markers, they dangle. This typically doesn’t cause an issue unless a yarn-over is worked right next to it. If you are working on a lace pattern that would have a yarn-over right next to one of these markers, just be conscious of making sure the yarn-over doesn’t get tangled up in the dangle of the stitch marker. It’s just a helpful tip to keep in mind!
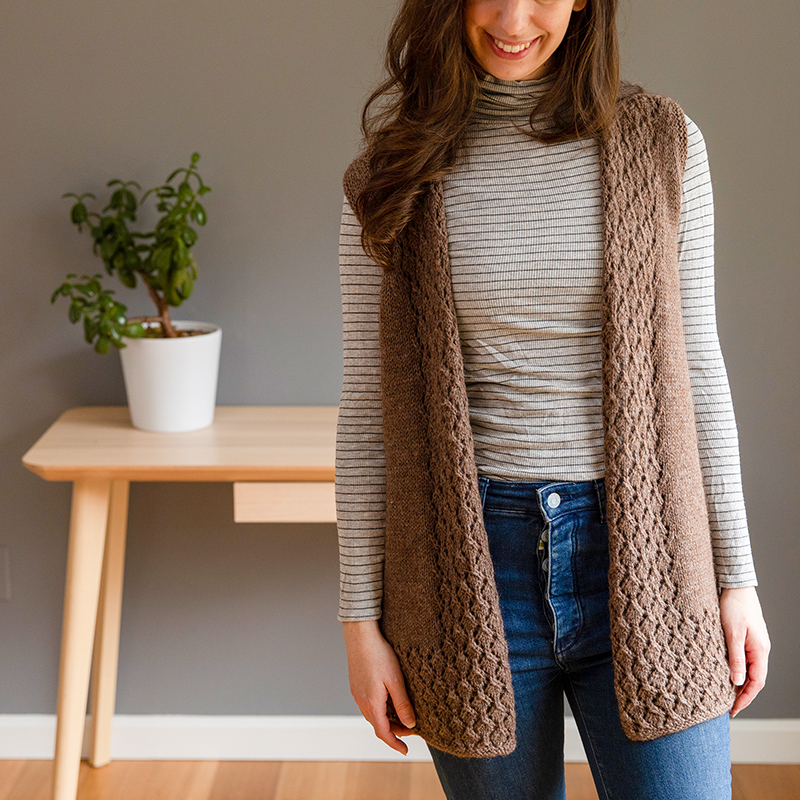
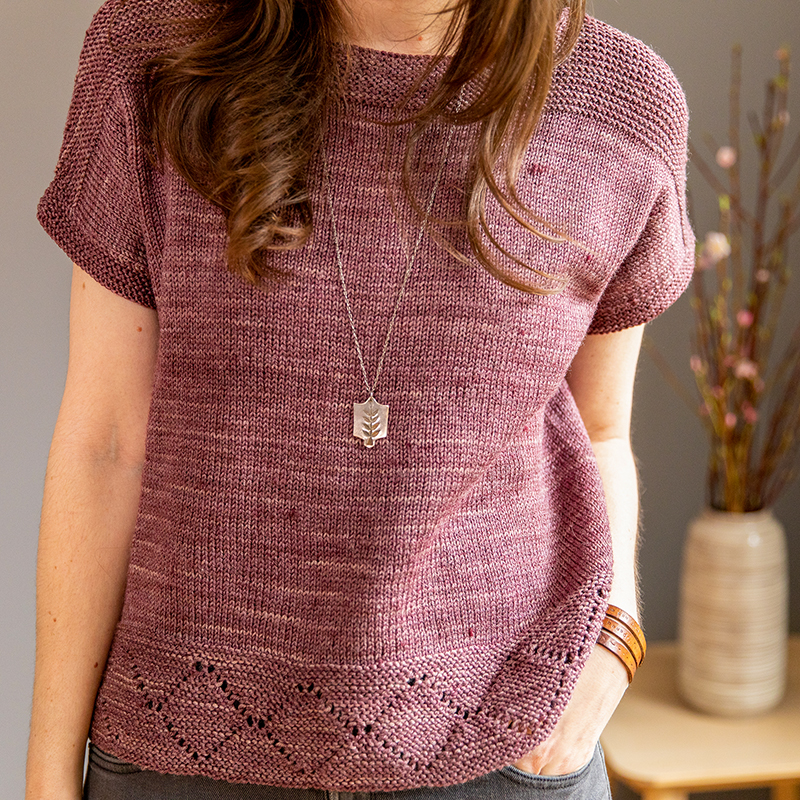
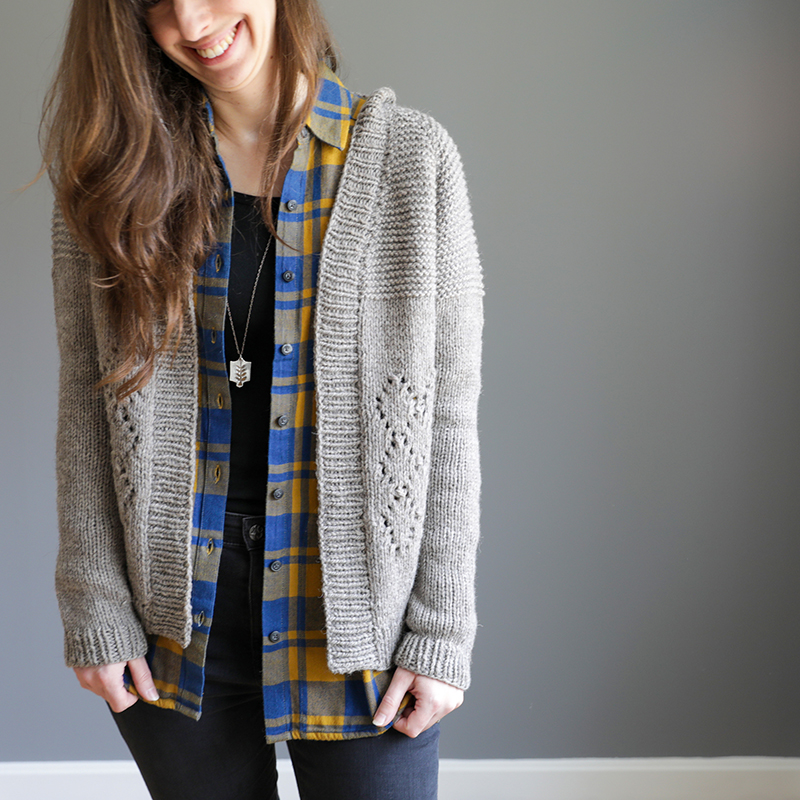
I hope this blog post has been helpful, both for explaining how to use stitch markers for lace and also “shifting” lace patterns (and how you can still use markers for them!). And if you want to give it a try with one of my patterns, below are links to designs that have lace and would be great options to consider:
