If you’ve been knitting for a little bit then you probably have encountered the knitting technique “ssk“. It’s a type of decrease stitch, and often you will see it paired with a “k2tog”. This is because a “ssk” is a left-leaning decrease and a “k2tog” is a right-leaning decrease. So if you’re working on a project where the designer wants the decreases to mirror each other (say, at the sides of a sweater), they’ll have you ssk on one side and k2tog on the other side.
k2tog is the simplest type of decrease and there’s only one way to do it. But ssk is slightly different – you may encounter different variations of it and different designers or publishers may instruct you to do it different ways. In this blog post I’m going to walk you through the 3 most common ways I’ve seen the ssk worked.
SSK version 1:
Version 1 is the way I was taught and it’s the way I tend to use each time I work a ssk. It’s not because it’s any better than the other methods out there – it’s just what I’ve been most familiar with and out of habit I usually always do it this way! Below are photos that show you how to work it, but you can also watch my video tutorial here.
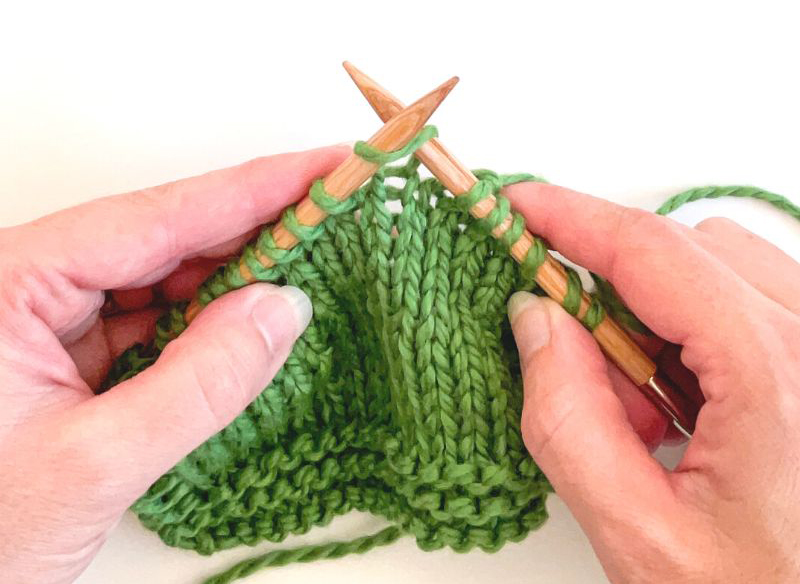
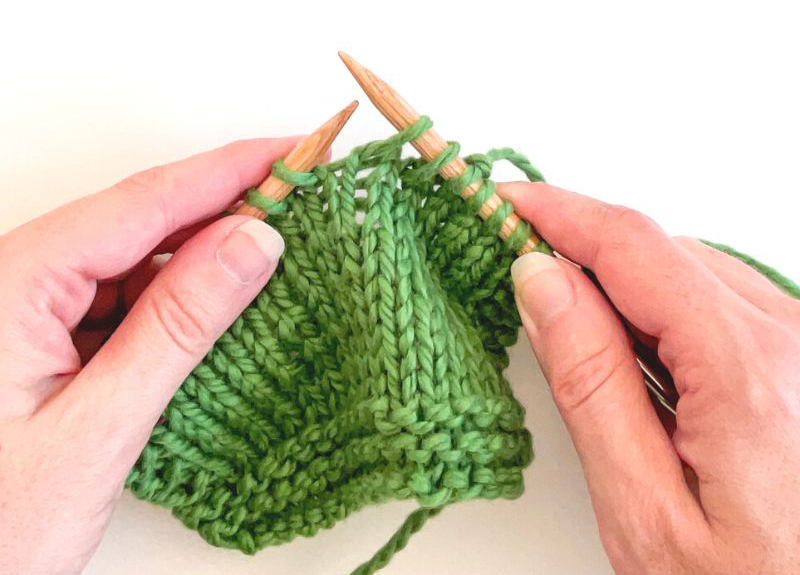
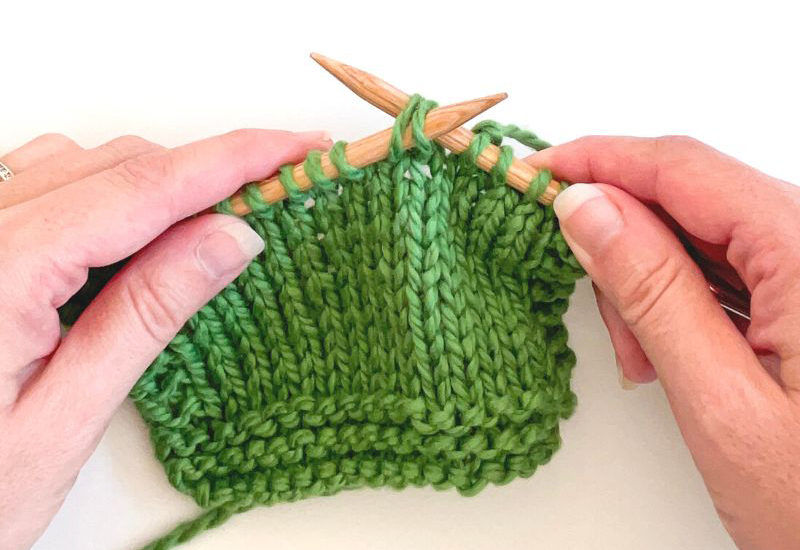
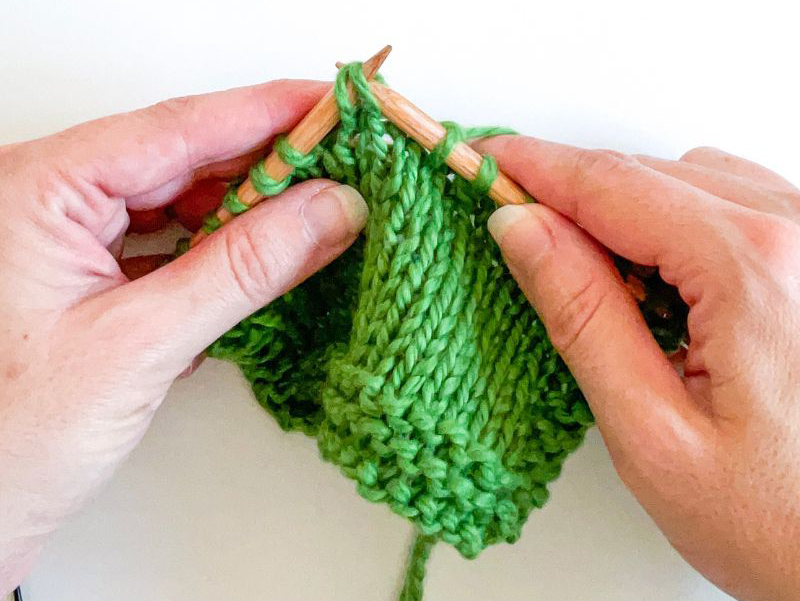
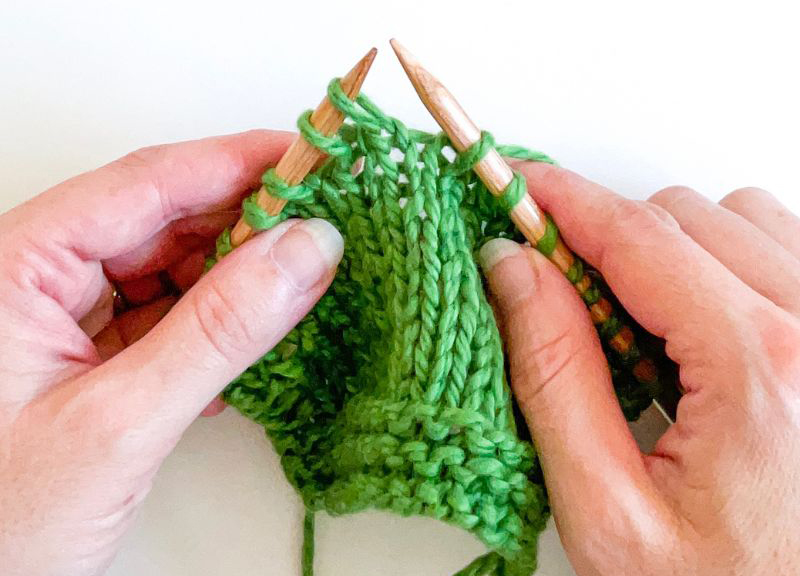
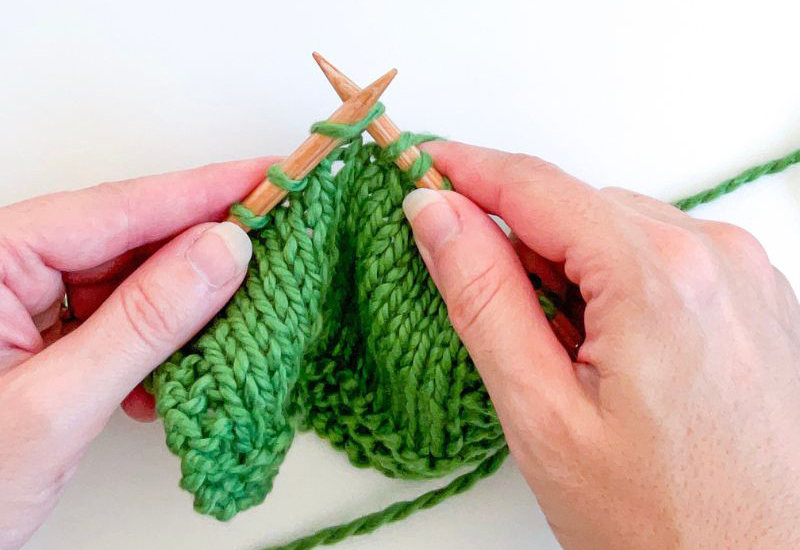
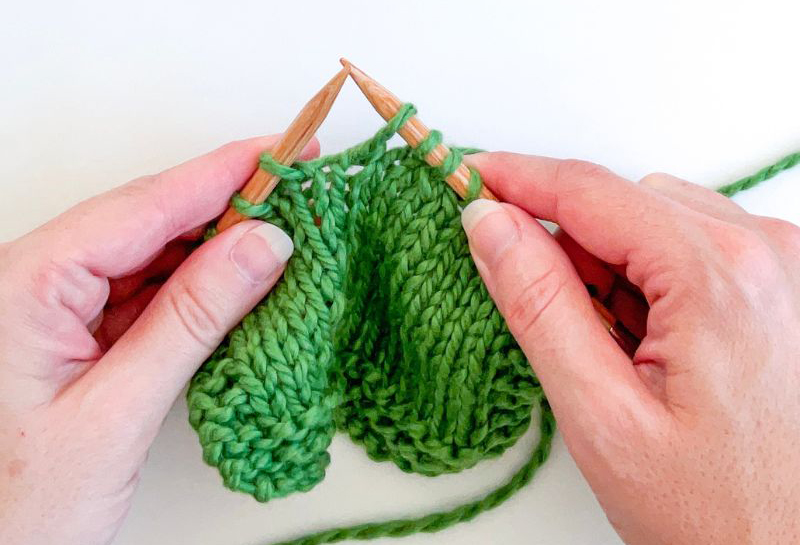
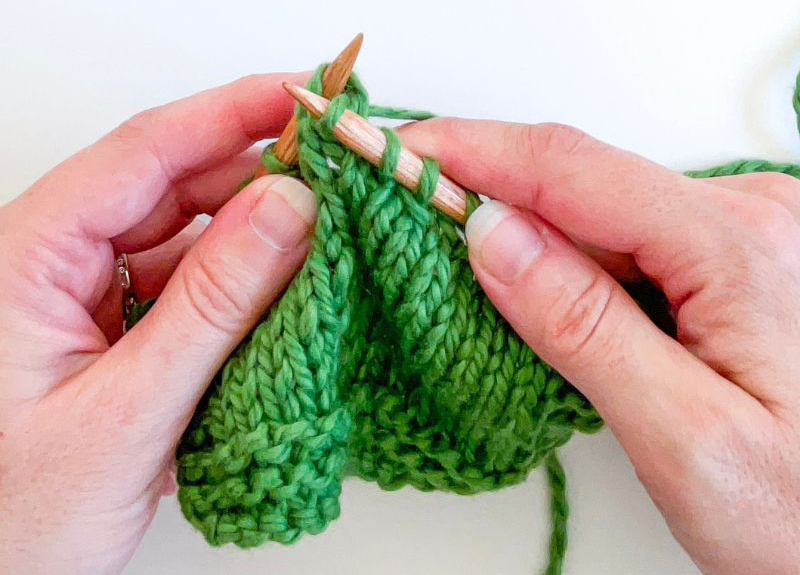
STEP 1: Slip the next 2 stitches knitwise (so as if to knit) one at a time from the left needle to the right needle:
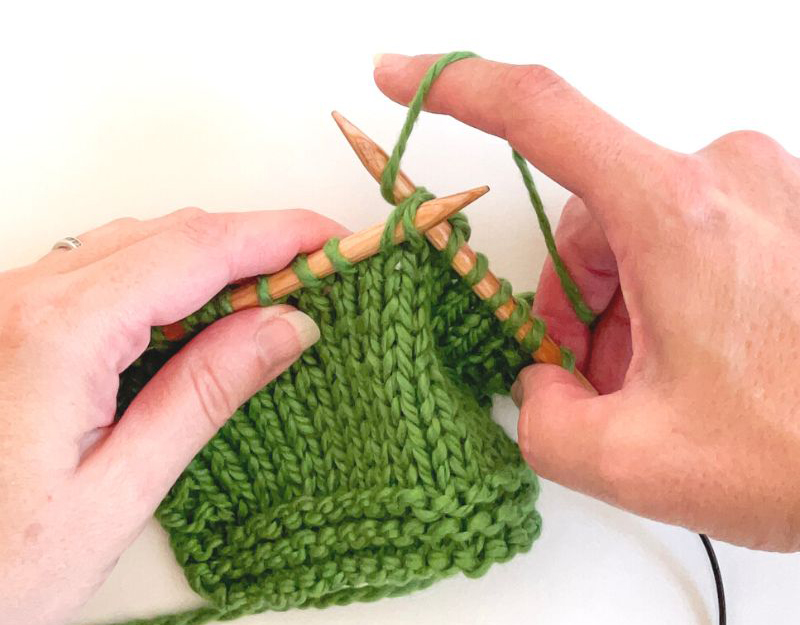
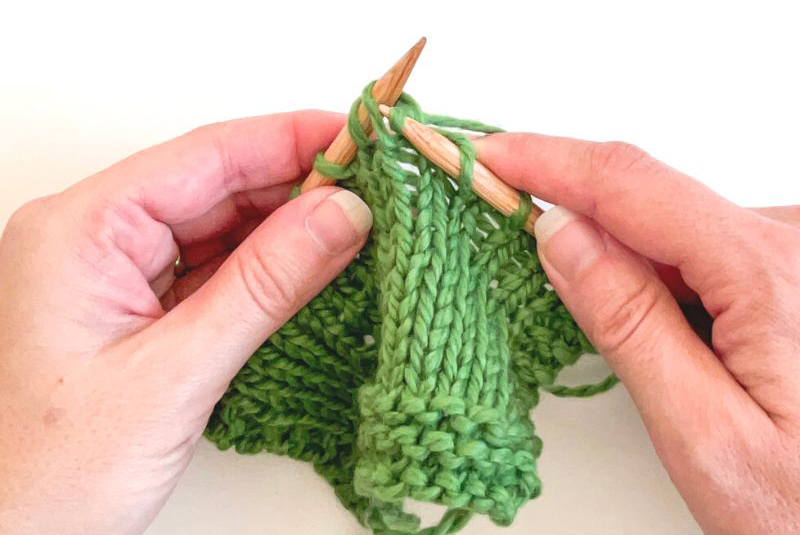
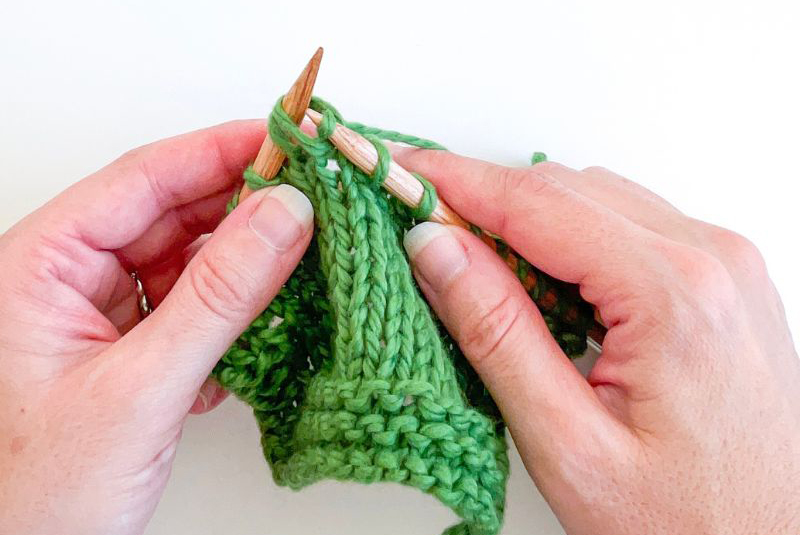
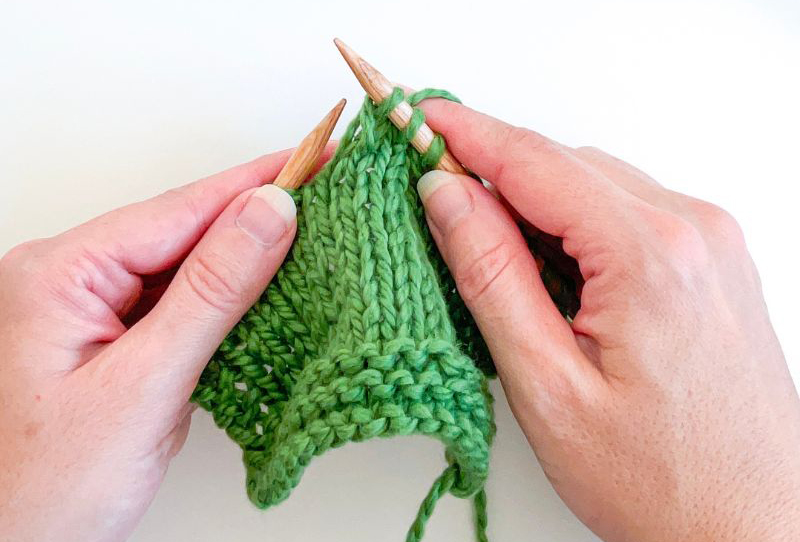
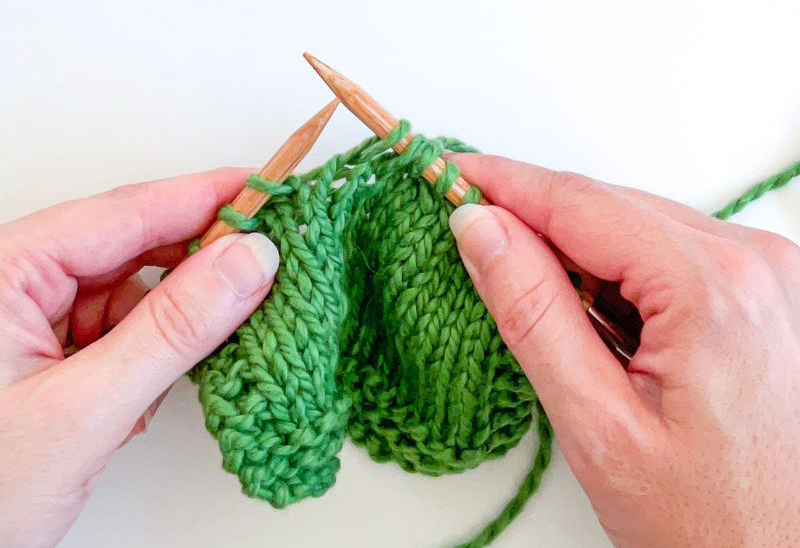
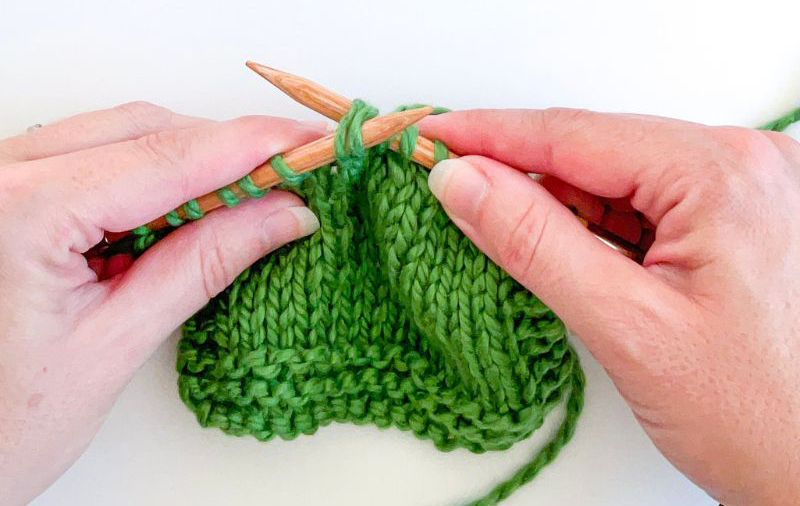
STEP 2: Insert the left needle into the fronts of the slipped stitches and knit them together:
SSK version 2:
Another way you’ll see the ssk technique worked is very similar to my version 1, but the physical maneuvers are just worked a bit differently.
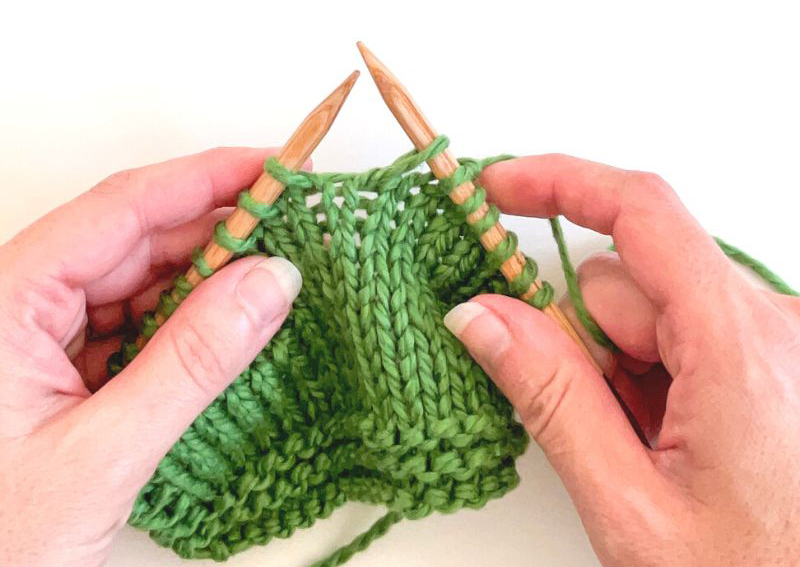
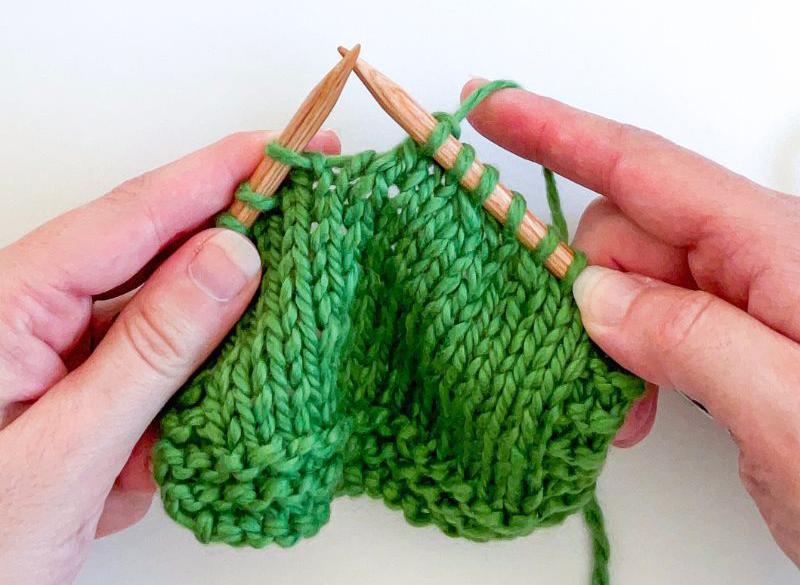
STEP 1: Just like version 1, slip the next 2 stitches knitwise (so as if to knit) one at a time from the left needle to the right needle:
STEP 2: Slip these 2 stitches back to the left needle in their new position:

SSK version 3
This third version is one that a friend had once shown me and unlike versions 1 and 2 that look basically the same, this version will produce a slightly different look. It’s still left-leaning, but I find it appears a bit flatter. This may work better for you in certain situations or certain yarns. Or just worth a try if you don’t like how your regular ssk’s are looking.
STEP 1: Just like versions 1 and 2, you will slip the next stitch knitwise from left needle to right needle.
STEP 2: Unlike the other 2 versions, for the second stitch, instead of slipping it knitwise you will slip it purlwise from left needle to right needle:
STEP 3: Just like in version 1, insert the left needle into the fronts of the slipped stitches and knit them together:
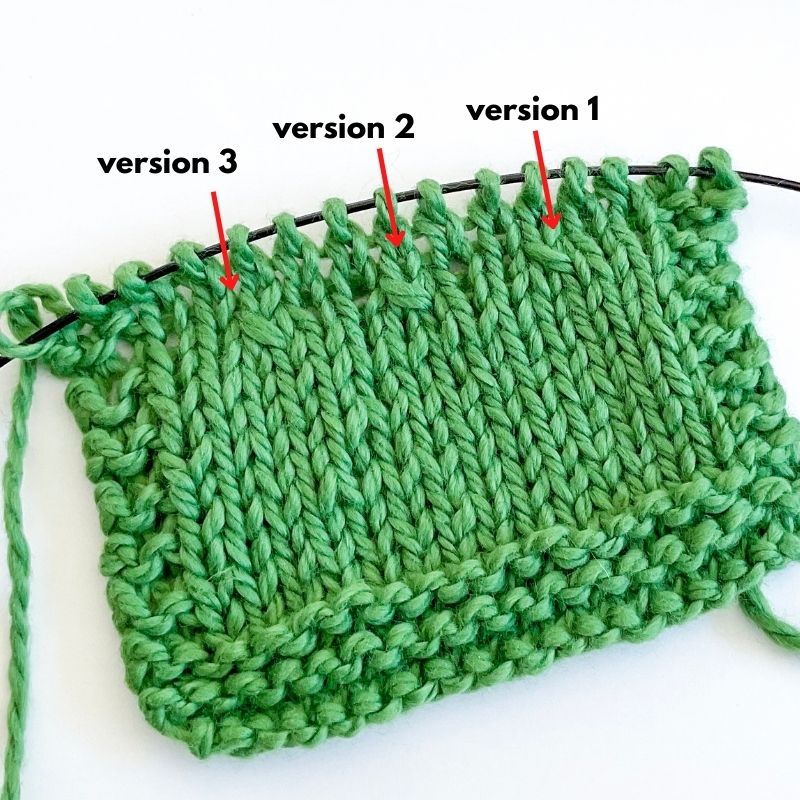
So how different do the 3 versions look?
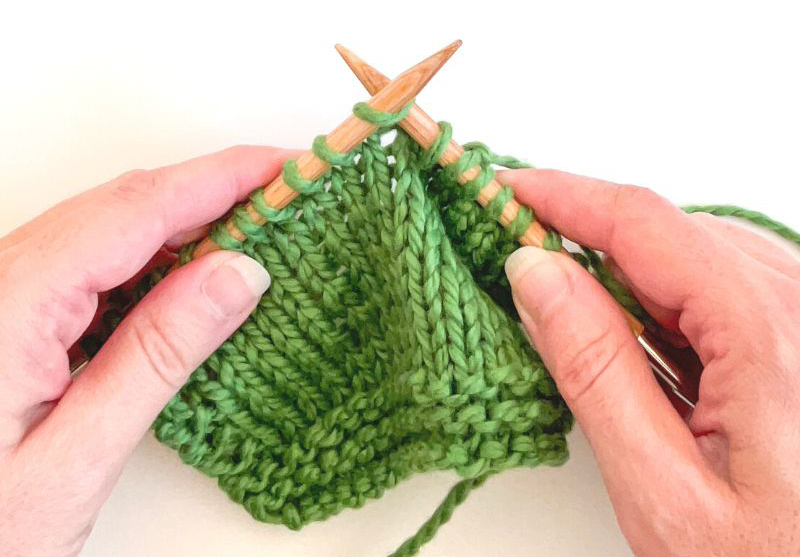
The photo below shows the 3 different ssk versions I outlined above, all in the same row (so you can see them side-by-side).
Versions 1 and 2 are basically identical, as you are working the stitches the same way (just using different hand maneuvers to accomplish it). They may have some slight visual differences just due to tension differences. Version 3 may look a bit more different just because you are slipping the first stitch knitwise and the second stitch purlwise. This subtle difference I think just gives the stitch a flatter appearance (in my opinion).
I hope reviewing these 3 different versions has been helpful! And if you’ve been having problems working a ssk, perhaps trying a new way to do it may be just what you need.

