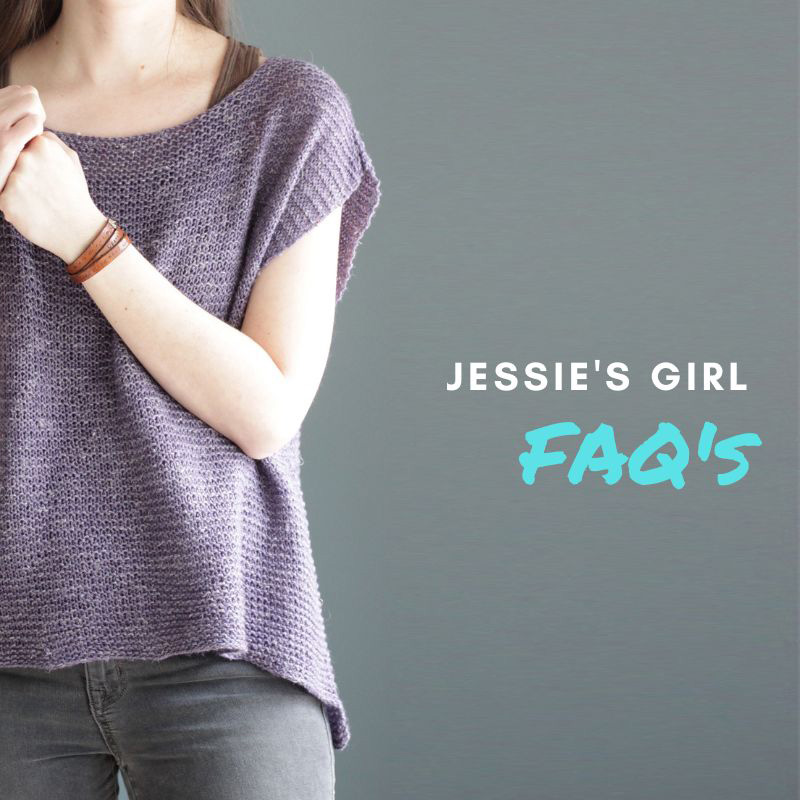
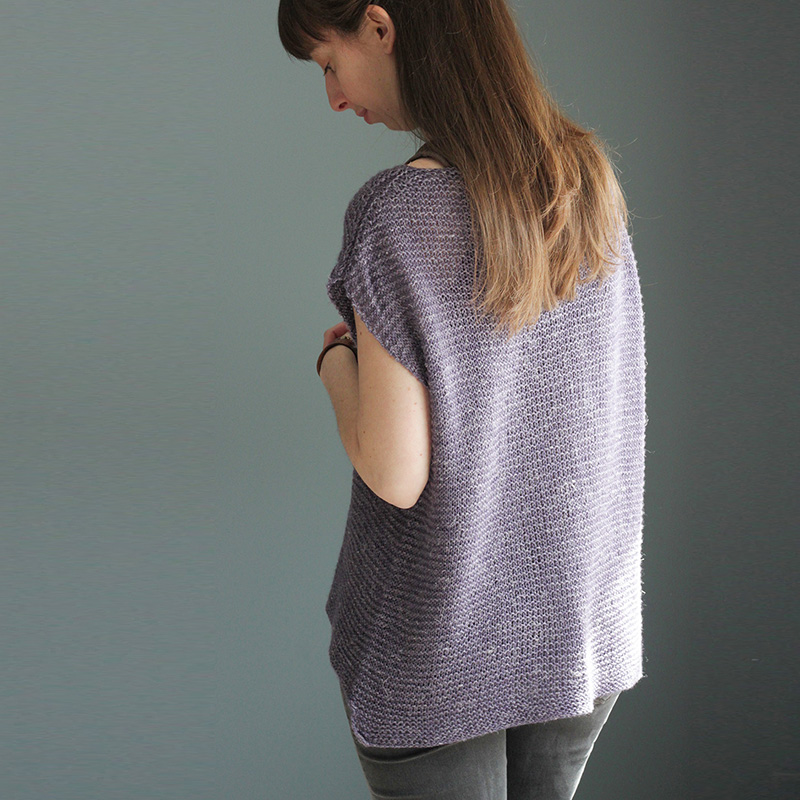
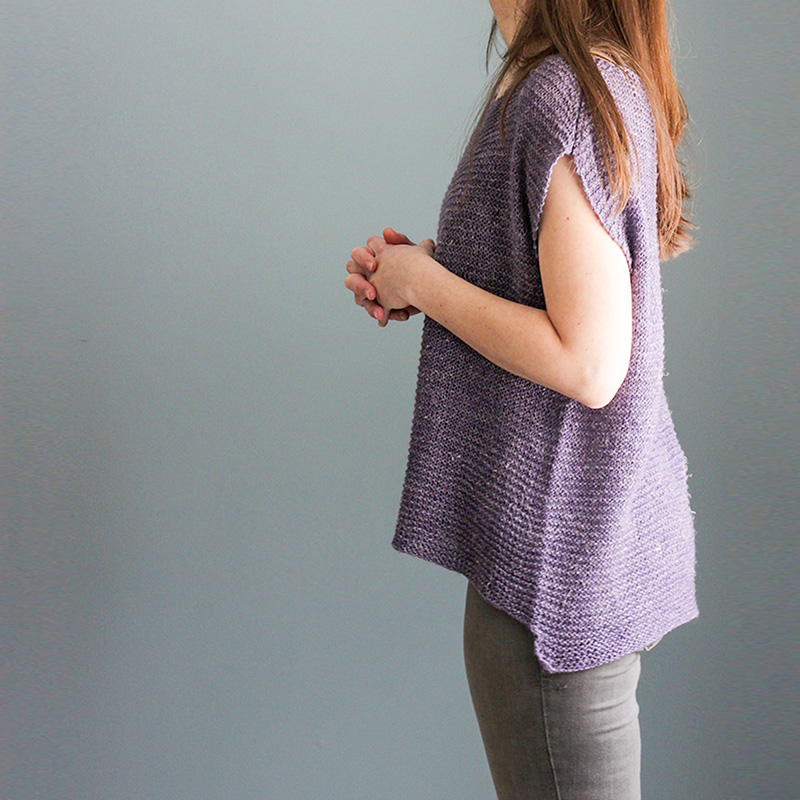
Over 7 years ago I first published Jessie’s Girl! This oversized, sleeveless pullover is one of my favorite things to wear in the warmer months. It’s perfect over a tank and although it’s a super simple piece, it’s hi/lo split hem gives it a bit of a modern flair.
Over the years, there are 3 questions that I get asked a lot when it comes to this piece – below I will help to answer these popular questions!
- What are the best yarn options?
- What size should I pick?
- How do I adjust for a different gauge?
Question #1: What are the best yarn options?
When I designed Jessie’s Girl, my intent was to create a loose and drapey sleeveless top – something you could throw over a tank top in the warmer months and would have some flow and not be clingy. So of course I wanted to pick a yarn whose fiber content would help with this drapey and flowy look I was going for. The yarn I used was Knit One Crochet Too’s Batiste which is a sport-weight yarn that is 50% Merino, 30% Linen and 20% Silk. This combination allowed for a few things:
- The linen and silk made it nice and drapey and warm-weather friendly.
- Having some merino in it was good because merino helps give the fiber some elasticity and memory – 100% linen or cotton, as you may have experienced yourself, has no or little elasticity. The merino helps the garment retain a bit of shape. Merino also gives the fabric a softer feel – 100% linen is cooler to the touch (and sometimes ‘crunchy’ when you knit with it). Merino provides a bit more of that softer hand.
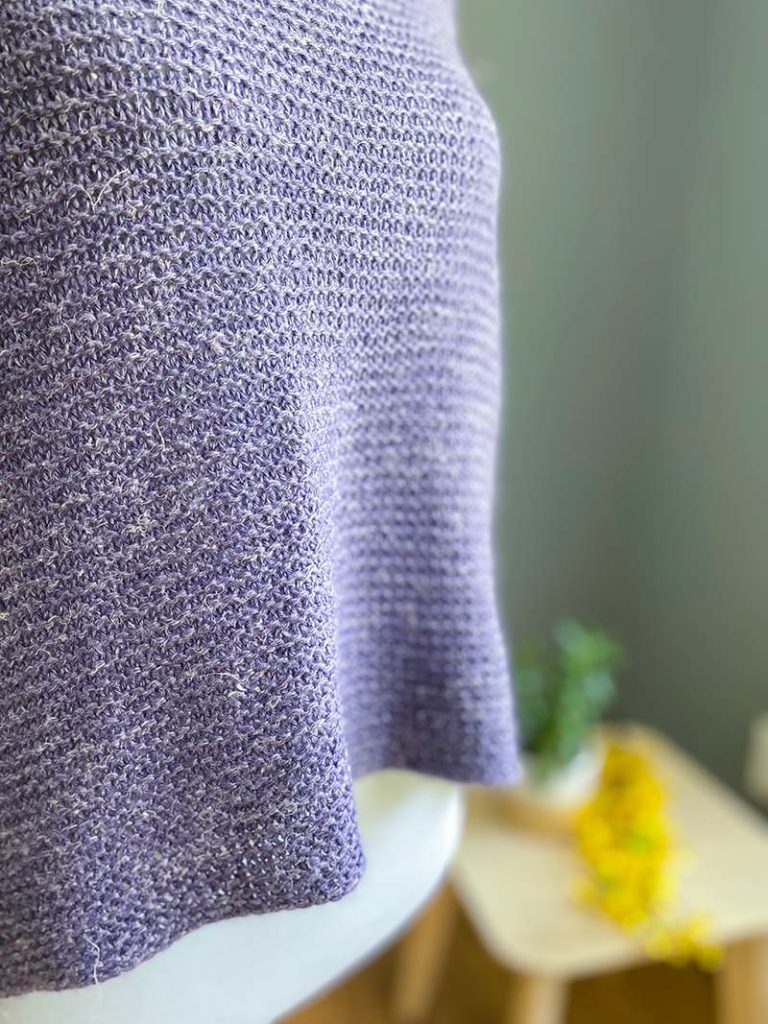
- The linen gives some texture in the garment. Because the stitch is loose (I knit sport-weight yarn on a US 8 needle instead of a US 5 or 6 like you typically find in that weight yarn), this means the stitches are more open. By picking a yarn that has some texture in it (which linen provides), it helps to fill in the gaps a bit in those loose stitches. Here’s a close-up to show you what I mean…
If you’re looking to substitute yarns but still want your Jessie’s Girl to drape like my version, here are my tips:
- Look for yarns that have a similar fiber content blend. Other yarns that are close to this yarn-weight and have a similar blend of fibers is: Manos del Uruguay Milo, Malabrigo Susurro, Berroco Remix Light and Juniper Moon Farm Zooey DK (my tips page also gives some additional ideas).
- If you want to use a yarn that is considered more of a worsted-weight (so a heavier yarn), you can definitely do that! Just keep in mind that in the Garter stitch pattern, it may have slightly less flow and drape.
Question #2: What size should I pick?
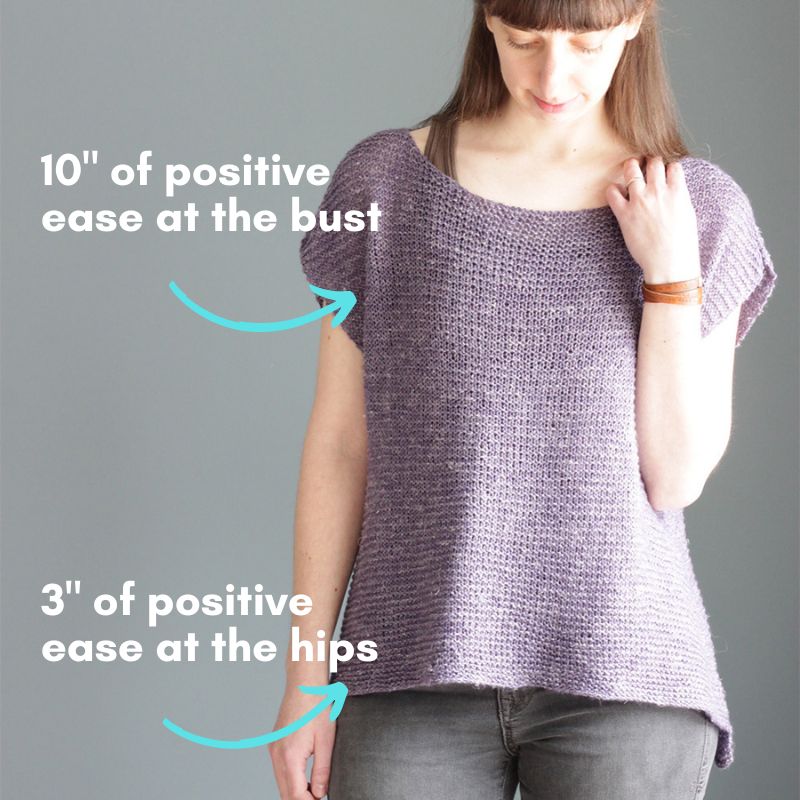
The other popular question I get is in regards to picking a size. In the pattern I suggest picking a size whose finished measurement is approximately 7-11″ larger than your actual bust measurement. This allows the garment to drape off of your shoulders and flow down the rest of your body. But when it comes to this type of silhouette and construction, it’s also helpful to keep in mind your other circumferences (hips and waist).
In order to get that garment “flow” from your shoulders on-down, you want positive ease at each of these measurements. So if you’re like me and your hips are larger than your bust (my hips are a good 7″ wider than my bust), then you should also make sure that the size you pick is larger than your hips – it doesn’t need the same amount of ease, but there should at least be some positive ease (1″ at a minimum). The photo below shows the difference in the amount of positive ease I’m wearing my Jessie’s Girl with at the time of the photograph. And the same goes with your waist as well if that happens to be your largest circumference. For more information about what positive ease is all about, check out my blog post here.
Of course if you prefer a more close-fitting silhouette, you can definitely do that too! Just pick a size then that has a bit less ease. The great thing with knitting is that you can customize things to suit your own personal style and desired fit.
Question #3: How do I adjust for a different gauge?
In Jessie’s Girl, the gauge is 17 sts & 25 rnds = 4″ in Garter stitch in the round. Let’s first focus on stitch gauge because that is the most important part. If you can’t match stitch gauge, or just prefer your chosen yarn at a different gauge, then you just need to figure out how your particular stitch gauge will impact the size. Here is how you do it:
- Step 1: Figure out your per inch stitch gauge.
- For example, if in your after-blocked swatch you measure 20 stitches = 4″ (instead of the pattern gauge of 17 stitches = 4″), then divide 20 by 4 to get your per inch stitch gauge (in this example that would be 5 stitches per inch).
- Step 2: Figure out which of the sizes you would ideally like your Jessie’s Girl to measure. This is considered your desired size.
- In this example, I’ll say that I would ideally like to make size 2 that has a finished measurement of 48.5″. So that is my desired size.
- Step 3: In the pattern, at the end of the “Joining Front” section you will find the total stitch count you’ll have after joining the Back and Front together. Take this stitch count number of your desired size and divide it by your per inch stitch gauge. This number is what your finished circumference will be at your stitch gauge.
- In this example where I have a gauge of 5 stitches per inch and my desired size is size 2, the measurement I get when I divide my stitch count (at this point) by 5 = 41.2″. I wanted closer to 48.5″, so I think size 2 will be too small for me. So now I’ll test out some other sizes – I’ll divide the size 3 stitch count by 5 and I get 44.5″. That’s much closer! But let try the size 4 stitch count – when I divide that by 5 I get 48.5″.
- So if I want to match size 2’s measurement in the pattern exactly but at my stitch gauge, I would need to cast-on for size 4.
- Step 4: Now that you know which size you want to cast-on, what other adjustments do you need to make?
- The only other major one you need to keep in mind is in the “Front Piece” and “Back Piece” sections, before the shoulder shaping is started. In this area you are told to knit a certain number of rows, or until it measures a certain number of inches. Pay attention to the number of inches based on your desired size, not the size you are knitting.
- So in my example, I cast-on for size 4, but I want the armhole depth to measure that of size 2, so I’ll be sure to make sure the number of inches I knit my armhole depth matches what’s listed for size 2.
Step 4 brings up the question of row gauge. What if you match the pattern’s stitch gauge, but not row gauge? That’s an easy one! Then you’ll just need to follow the number of inches given for the body and armhole depth, and not the number of rows listed. But just keep in mind that your garment may grown in length – this is why it’s important to measure your swatch before blocking as well as after so then you will know how much you can expect your length to grow.
I hope that reviewing these popular FAQ’s for Jessie’s Girl has been helpful! If you have any questions about the techniques used in Jessie’s Girl, make sure to review my Jessie’s Girl Tips page where I provide tutorials of all of the techniques used. If you have any other questions, feel free to reach out.

