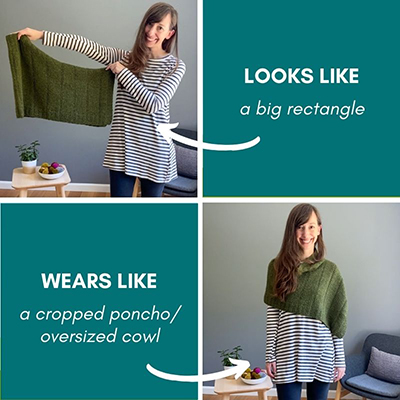
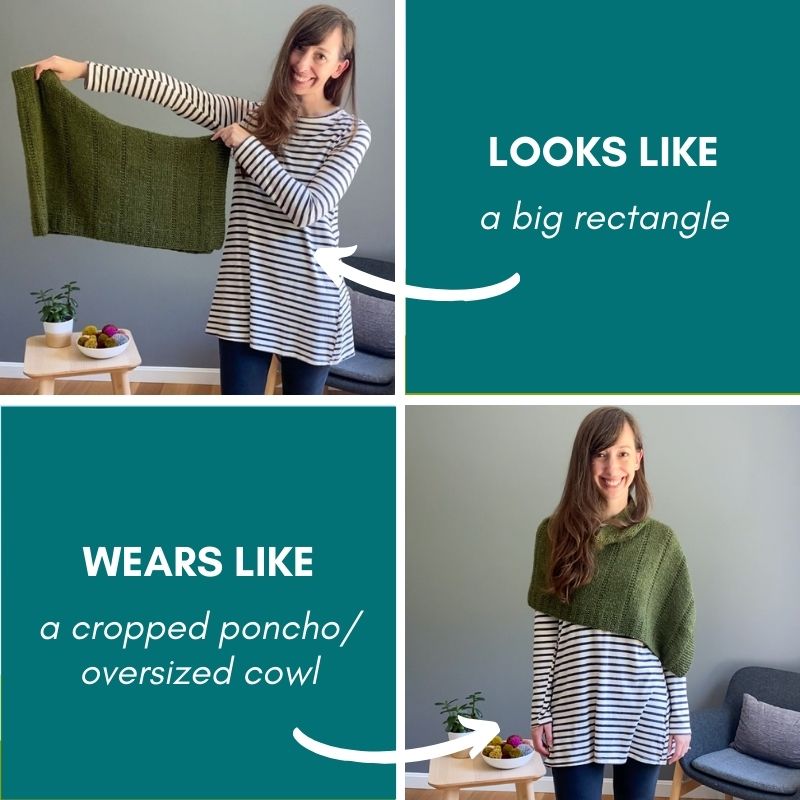
I love to layer when it comes to my clothing and style. So I’m always looking for different ways I can use knitwear for layering – one of my older designs (or perhaps better described as “tried and true”!) that I seem to turn to time and time again is my Ponchetta! Originally designed in 2015 (with a recent revamp just this Fall), it’s a cropped poncho, although someone once referred to it as an “abbreviated poncho” and I think that is such a great description for it too. Because you wear it like a poncho – there’s an opening for your head and it drapes over your shoulders with no armholes, kind of like a cowl. But it’s much shorter than you typically see in ponchos, and one end of it is open – this combination of it being shorter and open on one end makes it super versatile and easy to wear! That’s why I like to call it an “accessory garment” because it’s kind of a little of both. When you knit it, you’re basically just knitting a big rectangle. And then the magic happens when you put it together!
Because the pattern has been around for almost 6 years, I feel like I have so many more tips to share about it now! I recently revamped the pattern a bit (just to clarify a few areas a bit better and adjust a couple of measurements based on input I’ve received through the years), so I thought it would be fun to do a blog post where I share some of these additional tips, as well as share a gallery of some beautiful finished Ponchetta’s!
Ponchetta Gallery
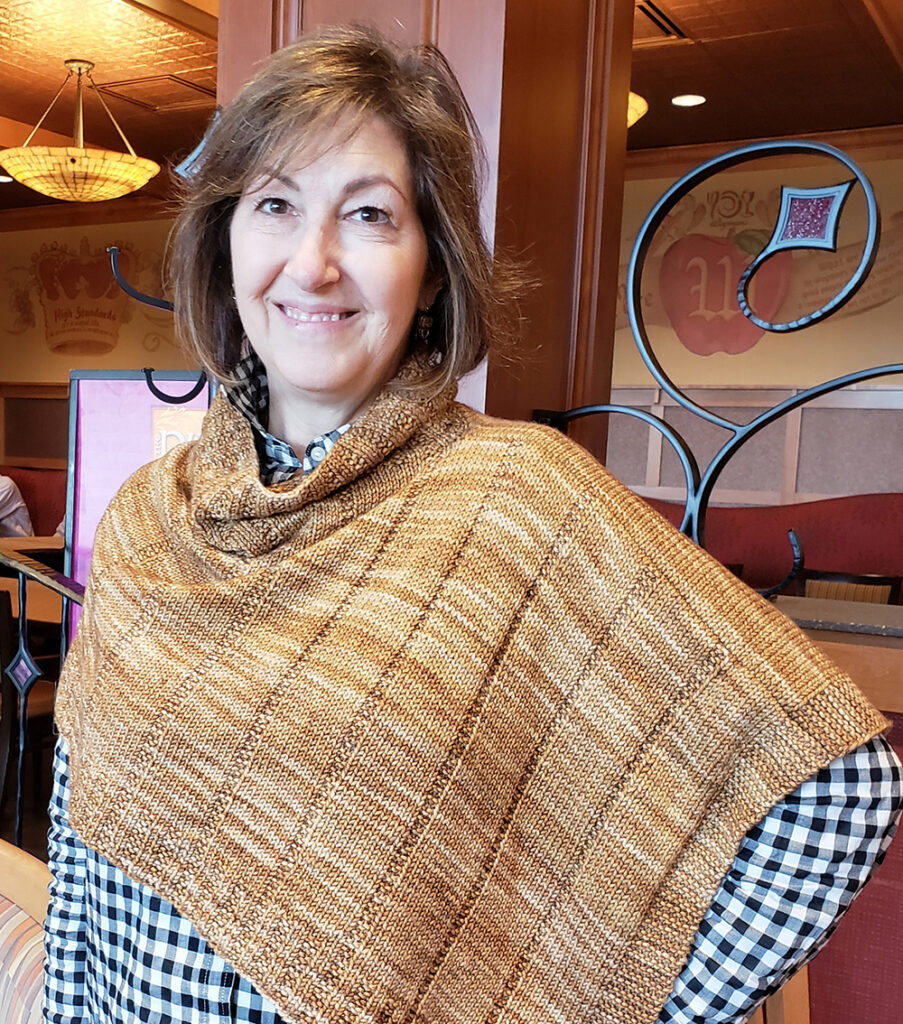
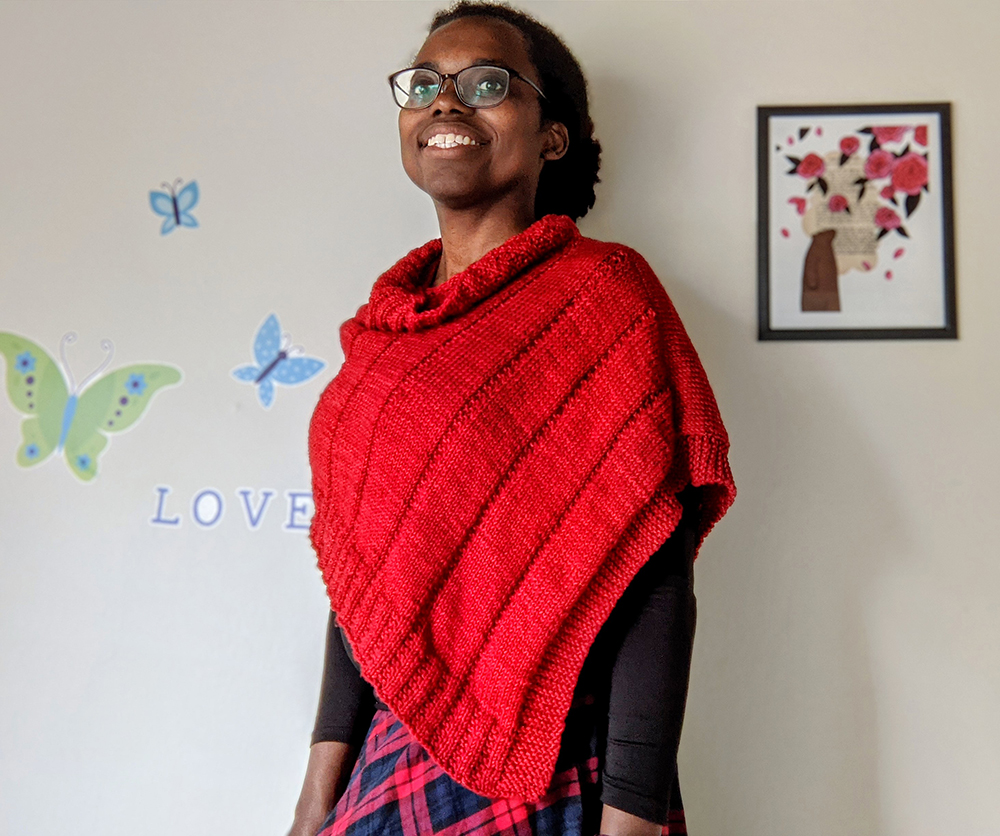
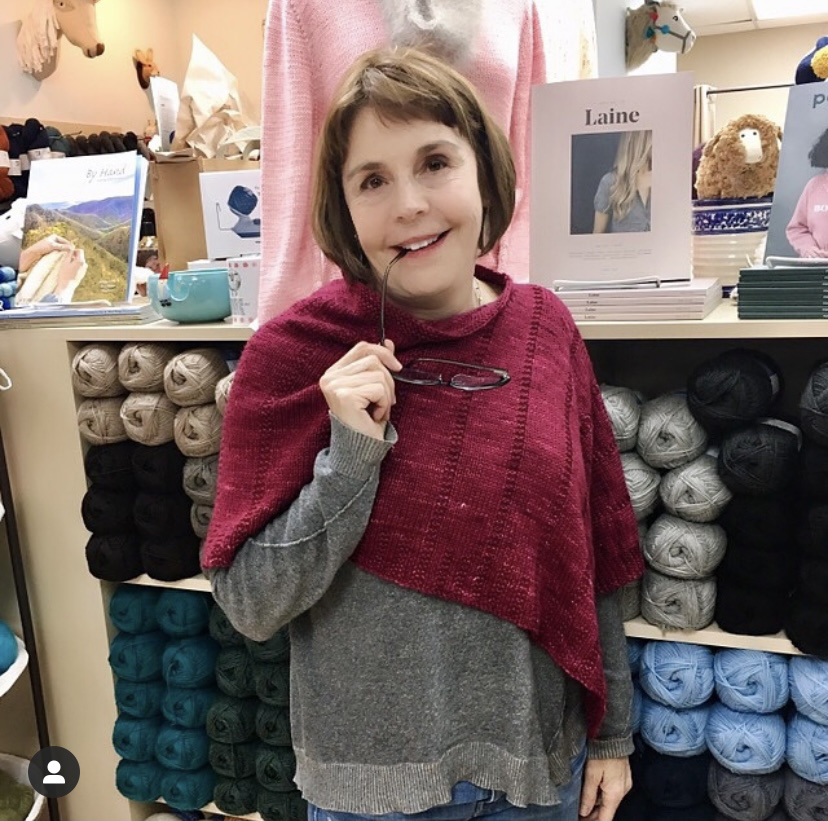
Let’s start with the finished Ponchetta gallery! Here are some finished Ponchettas by some very talented knitters. Thank you so much to each of you for allowing me to share your beautiful work and to provide this inspiration!
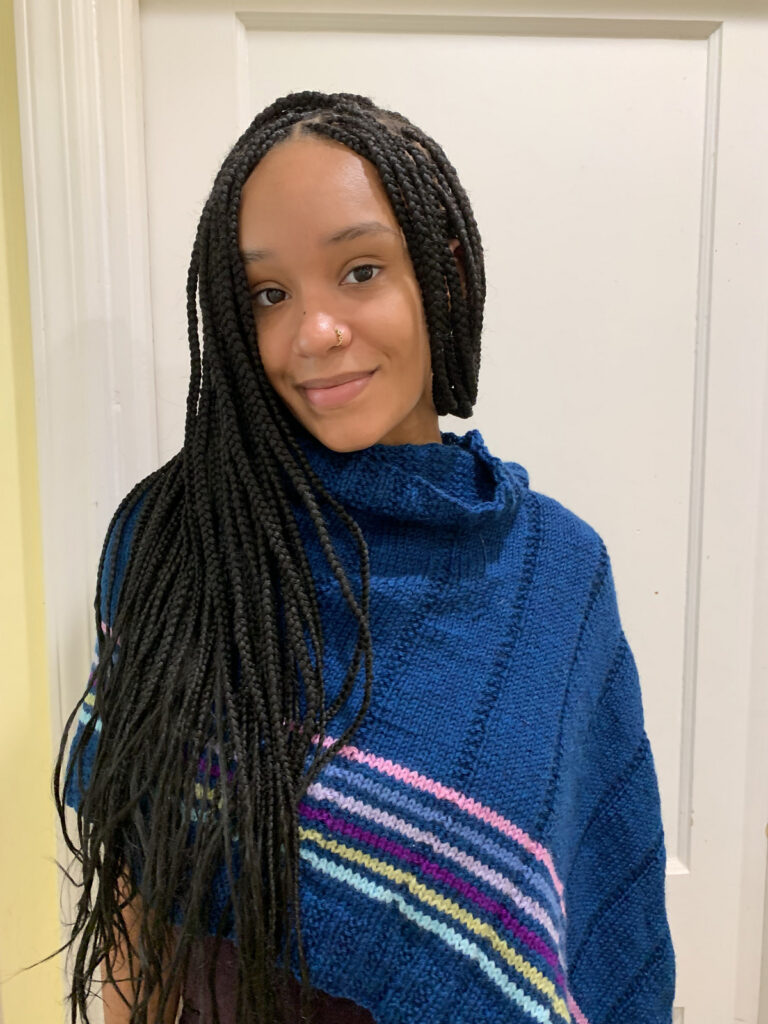
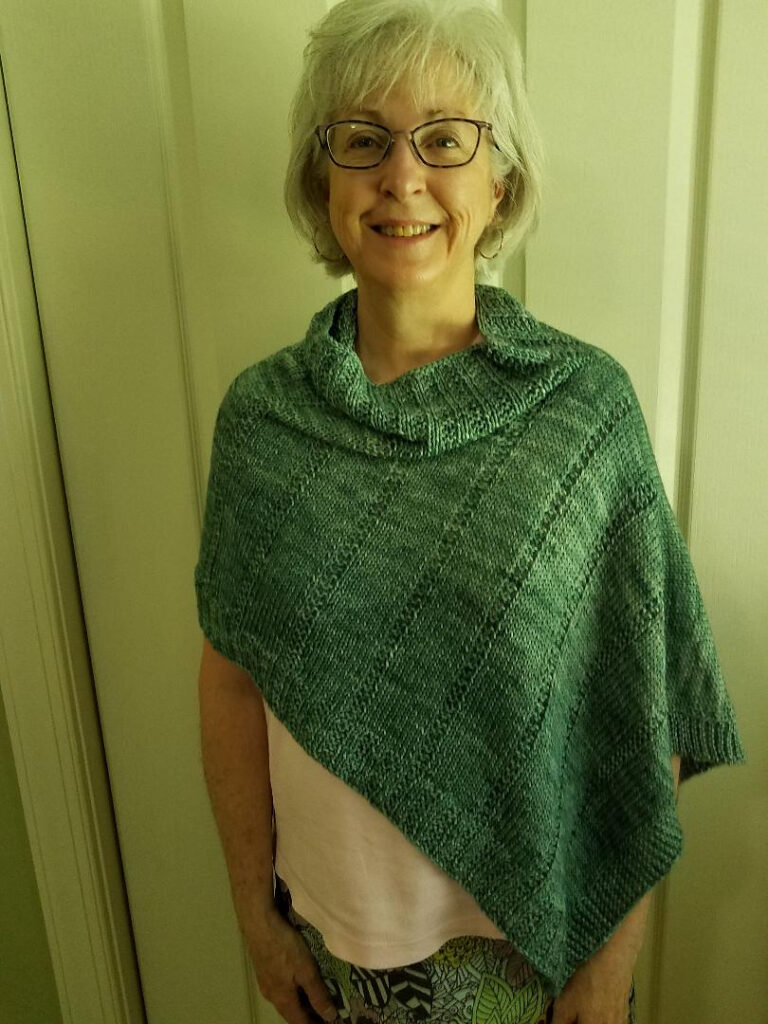
Ponchetta Pattern Tips:
Over the last 6 years, the biggest questions I get about Ponchetta are about sizing, yarn and the technique of putting Ponchetta together. Below are tips on all three of these topics!
Picking a Size:
Ponchetta is super versatile and really depends on how you want to wear it. In the latest version of the pattern I provide two methods of measuring yourself to determine which size you should make. One is based on the overall finished circumference of the piece compared to your actual bust/chest measurement. Based on this, I suggest picking a size whose finished circumference is approx. 12-20″ larger than your actual full bust/chest measurement. For example, my chest is 33.5″ and I’m wearing size 1 whose full circumference is 49.5″, so I’m wearing it with 16″ of positive ease at the chest.
But since this isn’t a sweater, I want to stress that picking a size this way is just one method. The other method I recommend you check is to compare the garment’s side-to-side width with your actual outer shoulder-to-outer shoulder width. The difference between the two (the garment width and your shoulder-to-shoulder width) is the amount of extra fabric you want to hang on the open side of Ponchetta (we’ll call that the “overhang”). Let me explain this more:
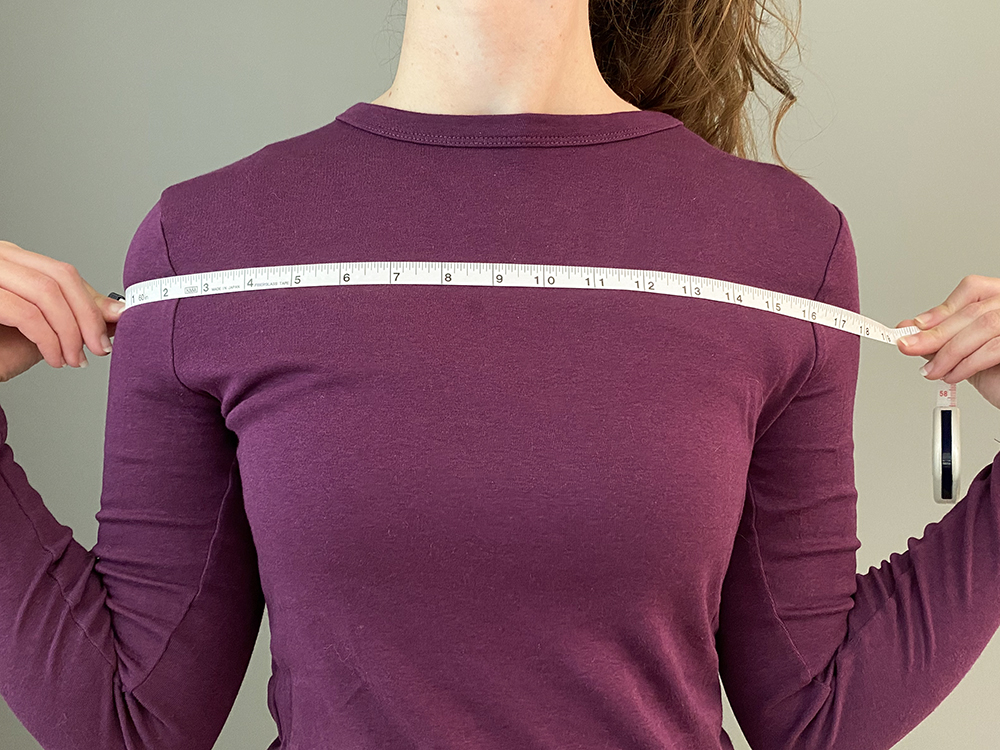
Not sure where to measure your outer shoulder-to-outer shoulder? Let me show you how I did it. Approximately 3″ down from my outer shoulder bone, I placed a tape measure starting at the middle of my outer shoulder and then measured across to the other side in the same location. See below:
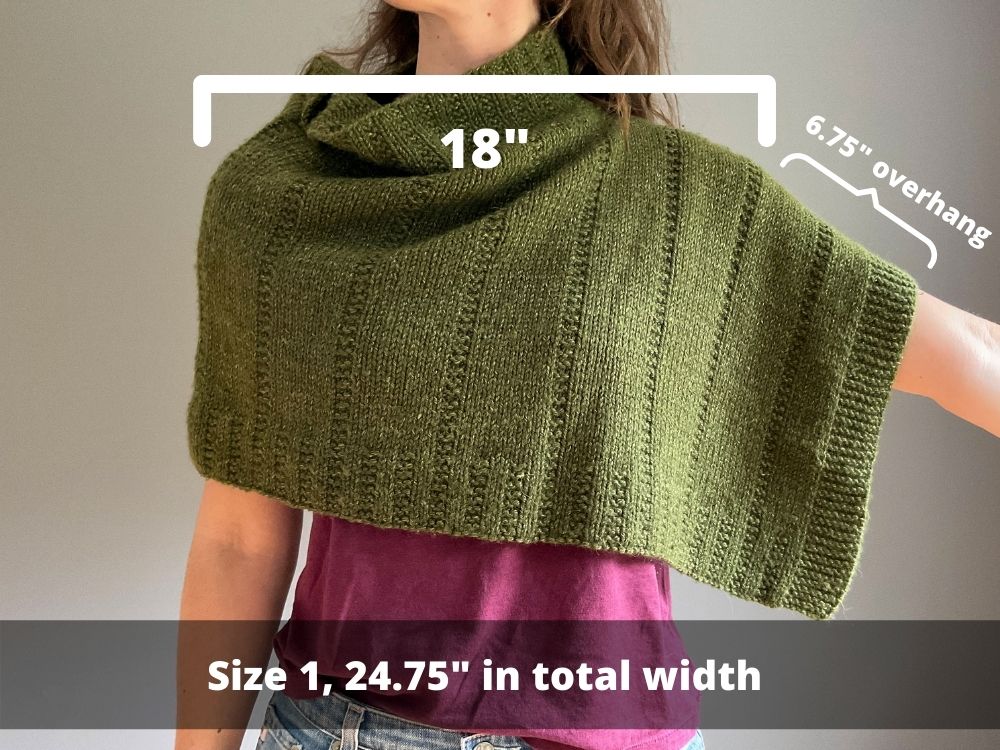
If you look closely, you’ll see that my outer shoulder-to-outer shoulder measures approximately 18″. Now let me show you how this translates in Ponchetta. Below I’m wearing the size 1 which has a width of 24.75″ from side to side:
As you can see above, size 1 gives me approximately 6.75″ of “overhang” (formula is: ponchetta width – my shoulder width = side overhang). For a small poncho like this, 6.75″ works well. But if I wanted a more generous fit, I may want my overhang to be more substantial. If I went up a size to size 2, the width would be 26.75″ and so my overhang would increase by 2″ which would give me that more a fit closer to a traditional poncho sweater.
What about the length?
With each increase in size, the length from hem to shoulder increases by .75″ (in the latest version of the pattern). In previous versions, I had suggested slightly longer lengths (especially for some of the larger sizes) but from input I’ve received through the years, I decided to suggest slightly shorter lengths in this latest version. However, the length of your Ponchetta is totally up to you and will depend on your own measurements and where you want it to fall on your own body. I wanted to provide general length guidance in the pattern, but because everyone’s height is so different, and because some people may want to wear it with more coverage over the front vs how I’m wearing it in my sample, I want to stress that the lengths I provided in the pattern are just a starting point and you can customize it however you like (some may want it shorter so it’s more like a capelet/cowl, others may want it longer for a more sweater poncho type fit). For reference, the length of mine that I’m wearing in the photos measures exactly 13.5″ from hem to shoulder.
Also, this is where your bust measurement may be more of a factor – those with larger busts may need longer lengths if you would like your Ponchetta to cover your chest completely. Determining what length is best for you is simple – just measure down from the top of your shoulder to where you would like the bottom of Ponchetta to hit – that measurement becomes your desired length! If it’s going to be dramatically longer than the length listed in the pattern (more than a couple of inches), then I would recommend getting an extra skein of yarn just to be safe.
Yarn Options
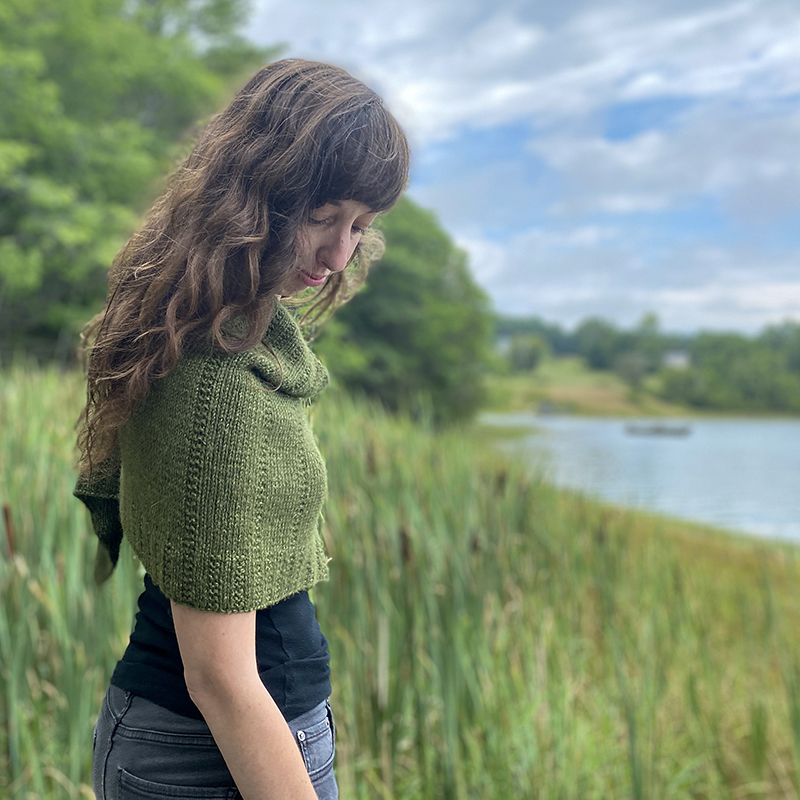
Ponchetta calls for worsted-weight yarn. In my original sample, I used Hikoo’s Simplinatural, a worsted weight merino/alpaca/silk blend. I knit this sample 6 years ago and the above and below picture were all taken in the last month, so it shows you how well this yarn has held up (especially considering this Ponchetta was a yarn shop sample for many years too!). But there are lots of other great yarn options out there too – you can see in the above gallery that an array of different worsted-weight yarns were used. Below I’ve also listed a few other favorites of mine (in addition to the Hikoo Simplinatural):
- Malabrigo Rios
- Manos del Uruguay Alegria Grande or Maxima
- Berroco Vintage or Ultra Alpaca
- Juniper Moon Farm Moonshine
- Knitpicks Wool of the Andes Worsted
Can I use another yarn weight?
Yes! You’ll just have to do a little pattern modification when it comes to picking a size. In the above gallery, you can see that Debra used a DK-weight yarn, so her gauge was a bit tighter than what the pattern called for. To account for this tighter gauge, she made a size larger, but used the length measurement of the size she wanted. If you have specific questions about how to adapt Ponchetta to a different yarn-weight, feel free to reach out to me.
Putting together Ponchetta
The other question I often get about Ponchetta has to do with the step in the pattern where it goes from being a big rectangle to being a wearable garment (the “Join Left Shoulder” section in the instructions)! The technique used it not hard at all, but it’s a very visual process so I have created a little photo tutorial that walks you through the steps. Click here to view this tutorial!
I hope the gallery and tips has inspired you to want to make your very own Ponchetta this Fall/Winter! If you have any follow-up questions, feel free to reach out.

