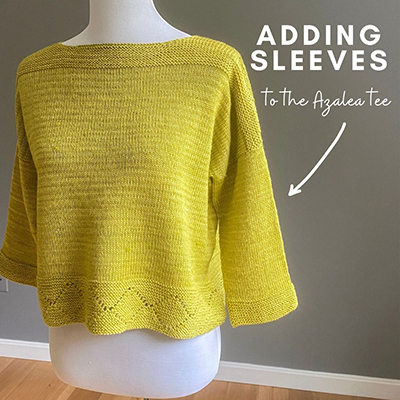
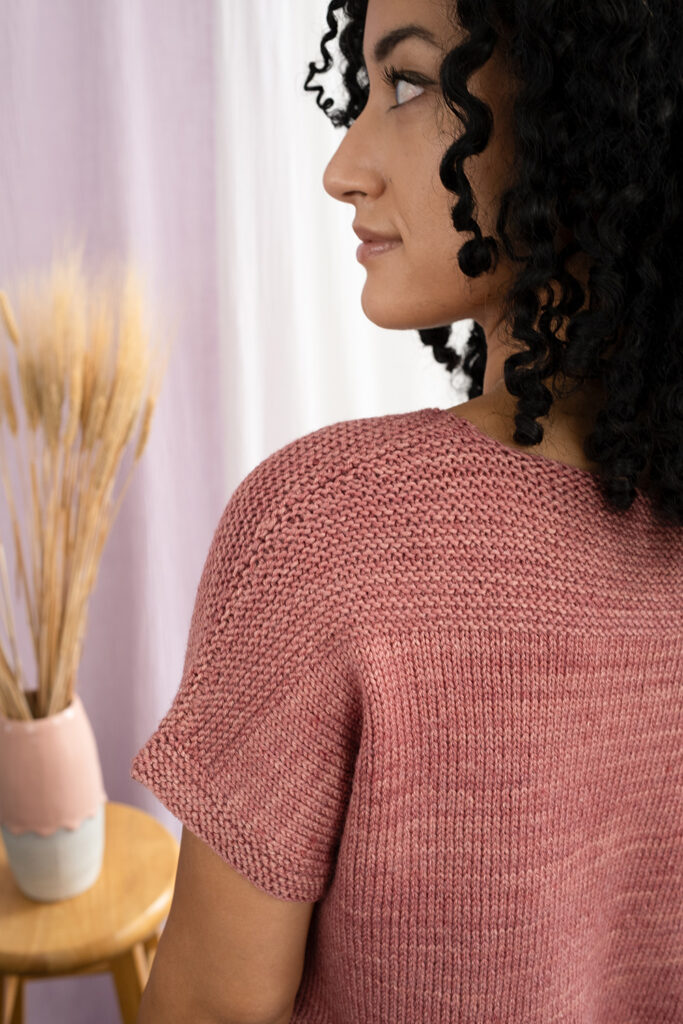
My Azalea top is one of the new designs released this Spring as part of my collection with Manos del Uruguay yarns/Fairmount Fibers. It uses the sport-weight yarn Feliz by Manos and it’s a boxy, flowy top perfect for Spring and Summer layering! The original featured short sleeves that were created just be picking up stitches around each armhole and working the trim in Garter stitch:
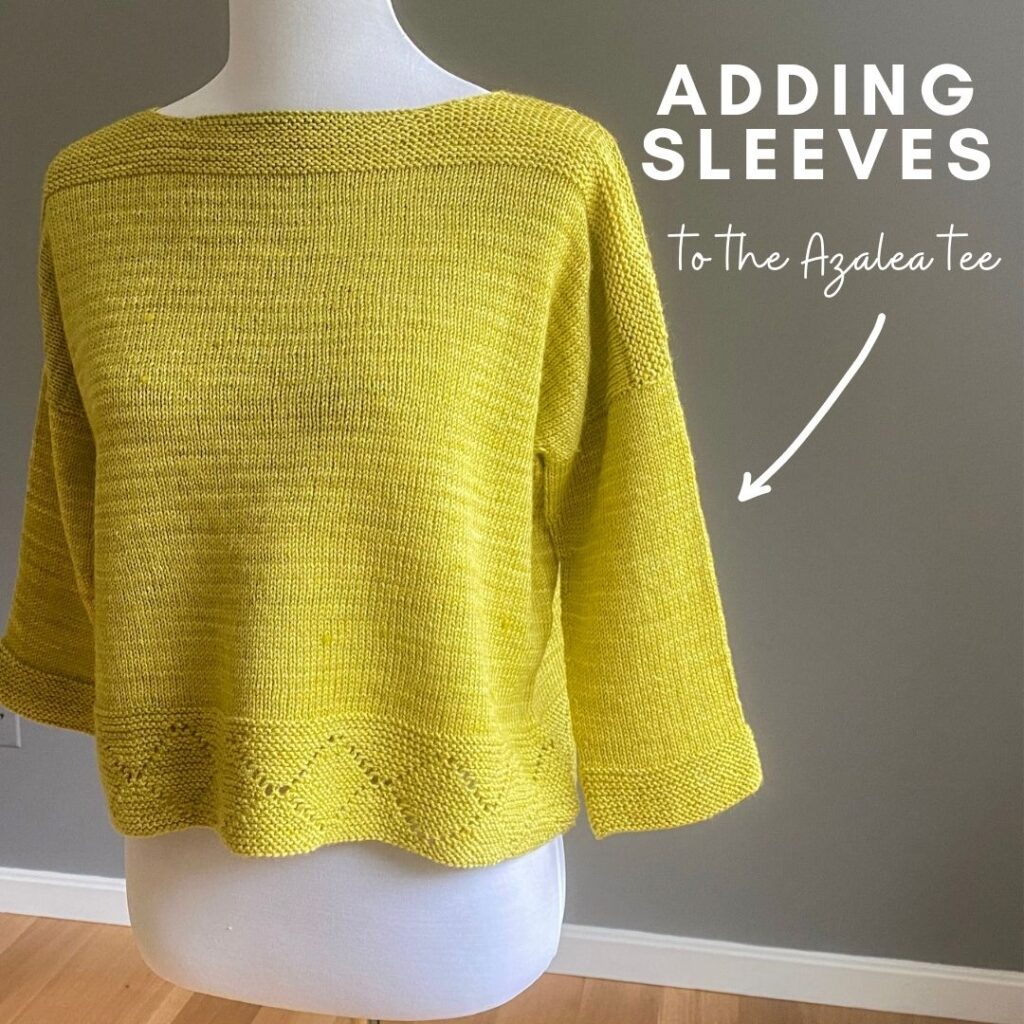
However, as part of the Azalea knitalong going on right now, I had decided to turn my Azalea’s short sleeves into 3/4 length sleeves! It’s relatively easy to do in drop-shoulder constructions like Azalea. So in this blog post I’ll be explaining how I did it so you can too!
In the pattern you are instructed to pick up stitches around the armhole to create the trim – so if you are making the sleeves longer, you’re still going to follow the pattern as written, except that you won’t use the smaller needle – you’ll use the US 6 (or whatever needle size you used for the body of your garment). But other than that, for the picking up of stitches you can follow the pattern as written (note: read my “Tips” section below if you had altered your armhole depth).
By following the instructions I have below, the sleeves will measure approx. 10.5″ from the armhole (remembering that in a drop-shoulder piece like this that the armhole falls further down on the arm) and your cuff measurement will be approx. 10 (10.5, 10.5, 11) (11.25, 11.5, 11.5, 12) (12, 12.5, 12.5, 13)”. So it’s tapered, but still a relatively wide cuff for a more relaxed fit. However, this is easily tweaked to your own preferences. Again, read my “Tips” section below for info about changing things up a bit.
Yardage Amounts
How many extra yarn will you need to make these 3/4″ sleeves? It will take approximately: 180 (200, 210, 220) (225, 245, 265, 290) (310, 320, 325, 335). If you have a bunch of Manos Feliz left and you’re wondering if it’s enough yarn, here’s how you can figure out exactly how much yardage you have left:
- Step 1: Weigh your leftover skein(s) on a kitchen scale to determine how many grams you have – let’s call that number of grams “x”.
- Step 2: Multiple “x” by the number of yards in a full skein of that yarn – in the case of Feliz, this is 350 as there are 350 yds in 1 full skein of Feliz. The number you get after doing this multiplication is “y”.
- Step 3: Divide “y” by the number of grams in a full skein of that yarn – in the case of Feliz, this is 100 as 1 skein weighs 100g. The number you get after doing this division is the number of yards you have left!
Instructions for creating 3/4 length sleeves:
- Follow pick-up instructions from pattern in the “Armhole Edgings” section, but with the US 6 needle (or whatever size needle you used to obtain gauge).
- Work in St st in the rnd (so knitting every rnd) for 18 (18, 18, 18) (14, 14, 14, 14) (10, 10, 6, 6) rnds.
- Next rnd – decrease rnd: k1, ssk k to 3 sts before end, k2tog, k1 – 2 sts decreased.
- Continue working in St st in the rnd, repeating above decrease rnd every:
- 11 (9, 7, 6) (6, 6, 5, 5) (5, 5, 4, 4)th rnd: 2 (4, 4, 9) (8, 6, 2, 2) (2, 2, 12, 3) time(s)
- And then every 10 (8, 8, 0) (5, 5, 4, 4) (4, 4, 3, 3)th/rd rnd: 3 (2, 4, 9) (2, 2, 7, 12) (13, 13, 6, 18) times.
- Total sts after all decreases: 54 (58, 58, 60) (62, 64, 64, 66) (66, 68, 68, 72)
- Then continue working in St st in the rnd for 4 more rnds or until measures 9″, or 1.5″ less than desired sleeve length.
- Cuff: Switch to US 5 needles (or 1 needle size smaller than used for sleeve):
- Rnd 1: knit to end.
- Rnd 2: purl to end
- Rep above rnds 1-2: 8 times, or until measures approx. 1.5″, ending after working a knit round.
- BO all sts purlwise.
Tips for Adjusting Sleeves
Tip #1: What to do if you picked up a different number of stitches around the armhole
If you had altered your armhole depth, or for one reason or another you needed to pick up a different number of stitches than listed in the pattern, don’t worry! Just focus on picking up 2 sts for every 3 rows around the armhole, or if that doesn’t seem like enough (i.e, it seems like too few stitches for the circumference you want), you can pick up at a ratio of 3 sts for every 4 rows instead. Then you can follow the instructions I have noted above. However, you may need to work an extra decrease rnd or two. I would start by following the instructions above, but about half way through, start trying on your sleeve to see if you think you’ll need more decreases than what is left in the instructions. If you do, then follow Tip #2 (or you can send me an email and I can give you tips on altering based on the stitch count you have after picking up).
Tip #2: Add decrease rounds for more taper
When you are about half way through the decrease instructions, I recommend trying it on to see how it’s looking on you. Everyone’s arms are so unique so you may find you want more decrease rounds for more of a taper. If you think you’ll want more decrease rounds but still keep the approx. 10.5″ sleeve length, then start working your remaining decreases closer together (i.e, if the instructions are to work it every 6th rnd, start doing it every 4th instead), and then you’ll have more space to add in an extra decrease round or two. If you want to make your sleeves a bit longer, then you can follow the same sequence as listed in the instructions, but just do it 1 or 2 (or more) additional times.
Tip #3: Remove decrease rounds for less taper
Perhaps you want less of a taper in your sleeve. It’s similar to tip #2, but you’ll do the opposite. So if you try on your sleeve and it’s already feeling kind of slim but you still have more decreases to go, you can work a couple more decrease rounds but have them more spaced out (so if the instructions say every 8th rnd, maybe do every 10th or 12th rnd instead), eliminating the last decrease round or two.
Tip #4: Try it on as you go and it’s ok to rip out
The great thing with this type of construction is that you can try it on as you go and tweak the amount of decrease rounds (or how you have them spaced out) as you go. And this may go without saying, but don’t stress if you try your sleeve on half way through and it’s just not looking right. Sleeves are so customizable so feel free to rip out – whether just to the first decrease round or the entire thing. At least the instructions above will give you a starting point but feel free to tweak it so that it works best for you. Just make sure to take notes on what changes you might make so that you can replicate them on the second sleeve.


