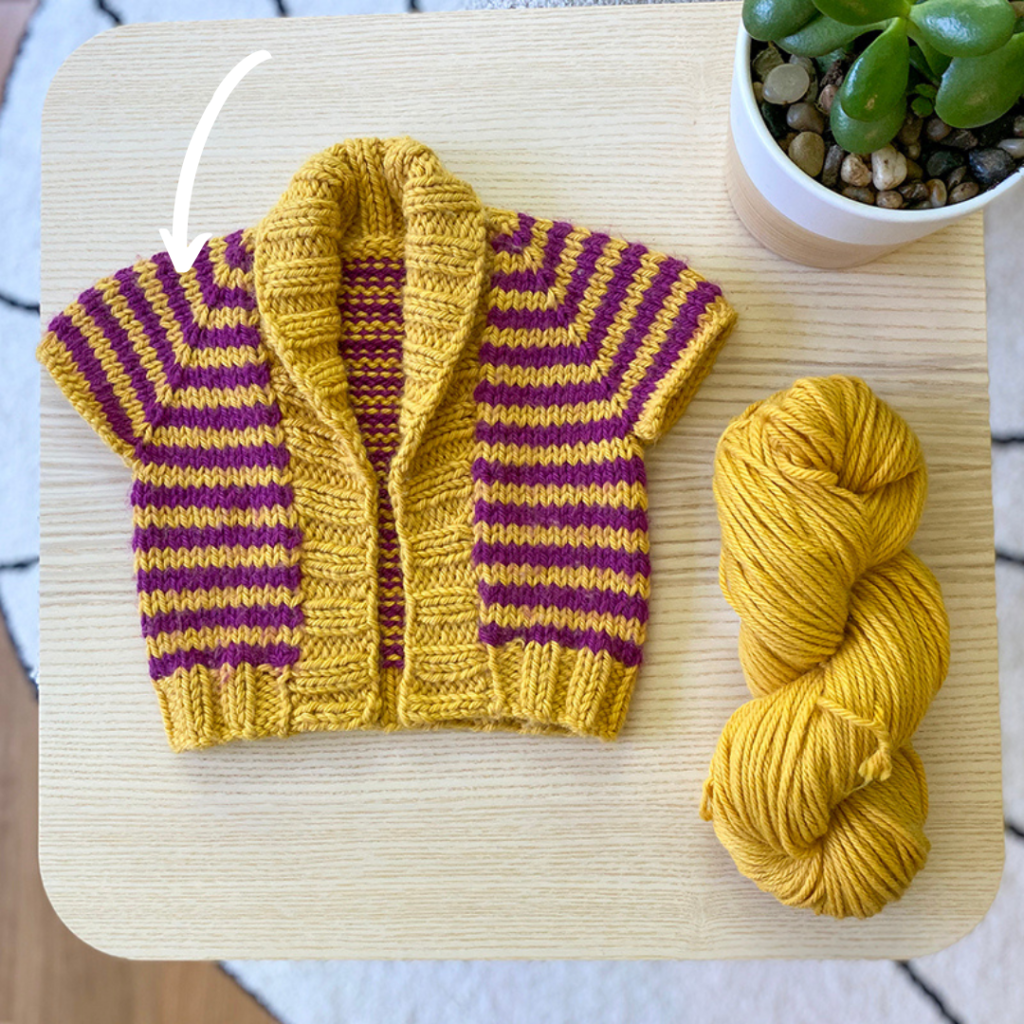
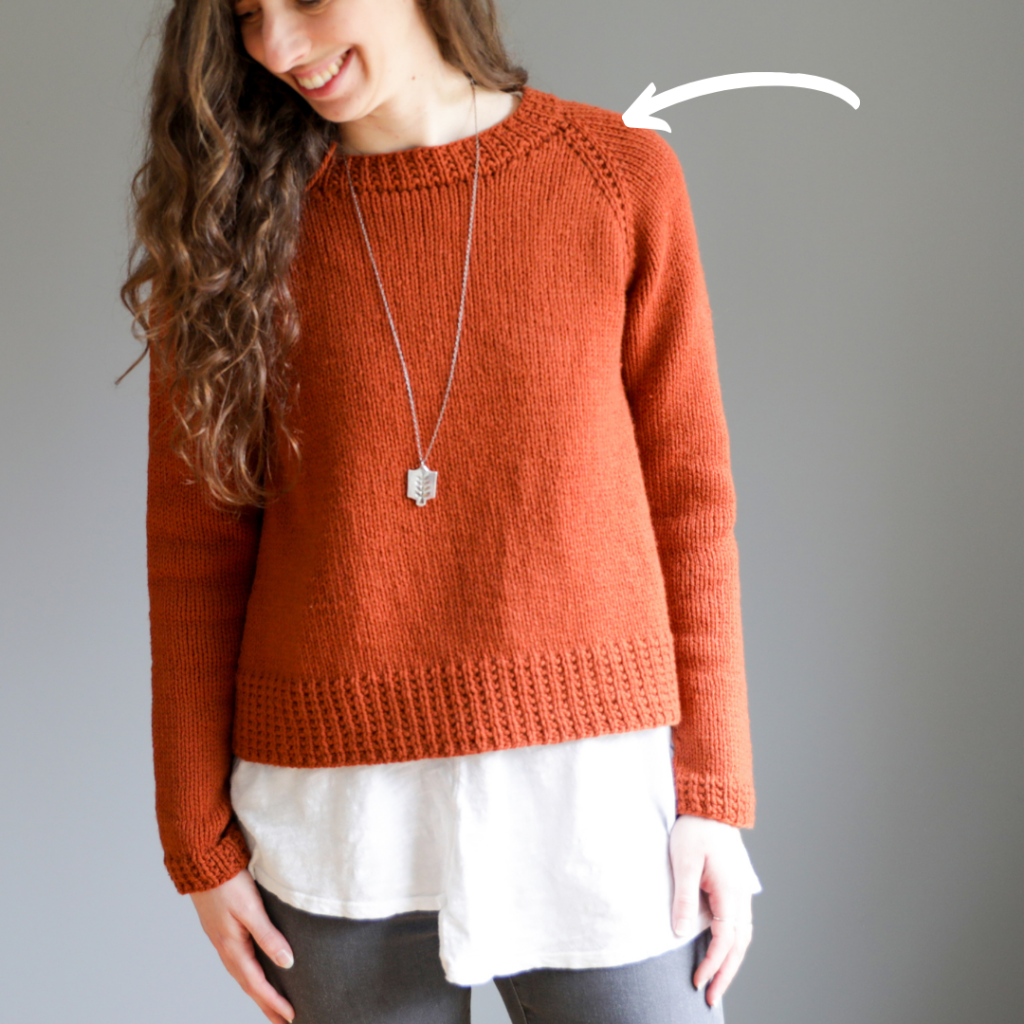
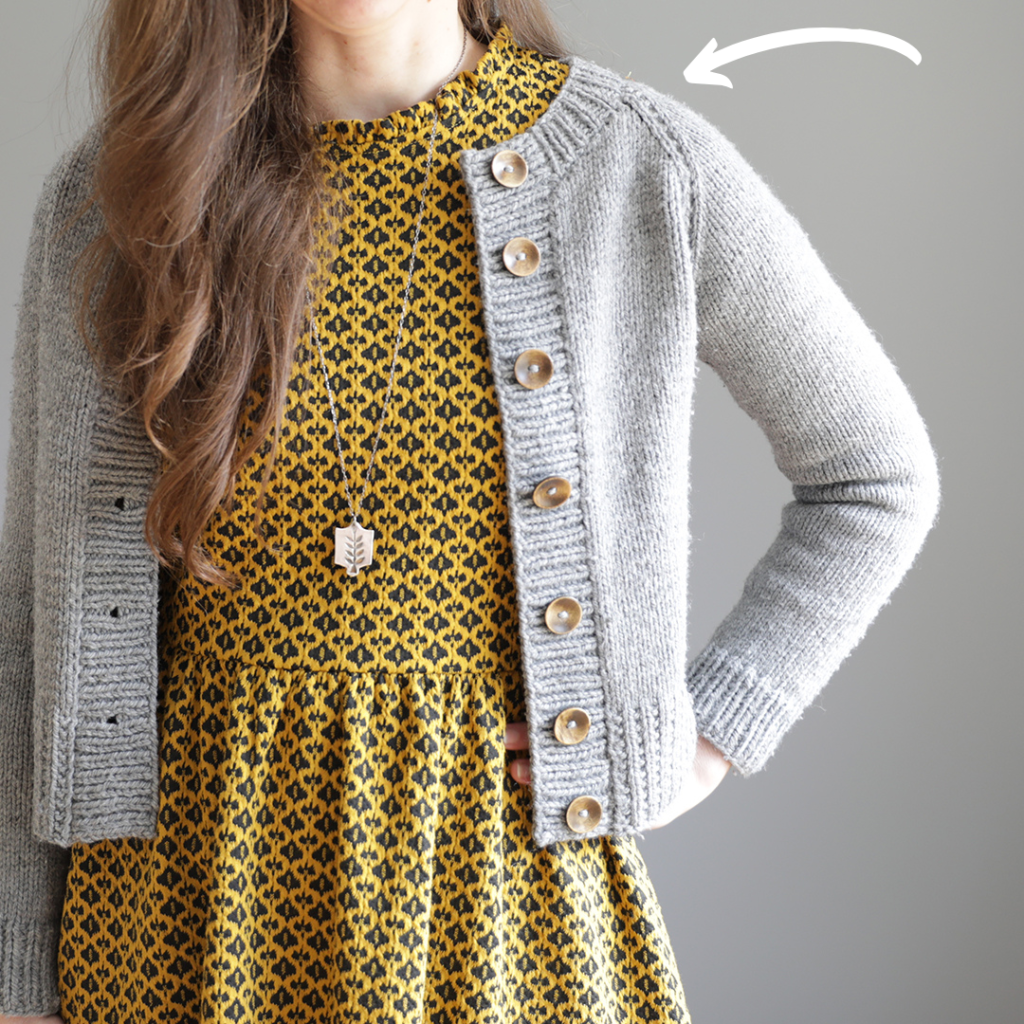
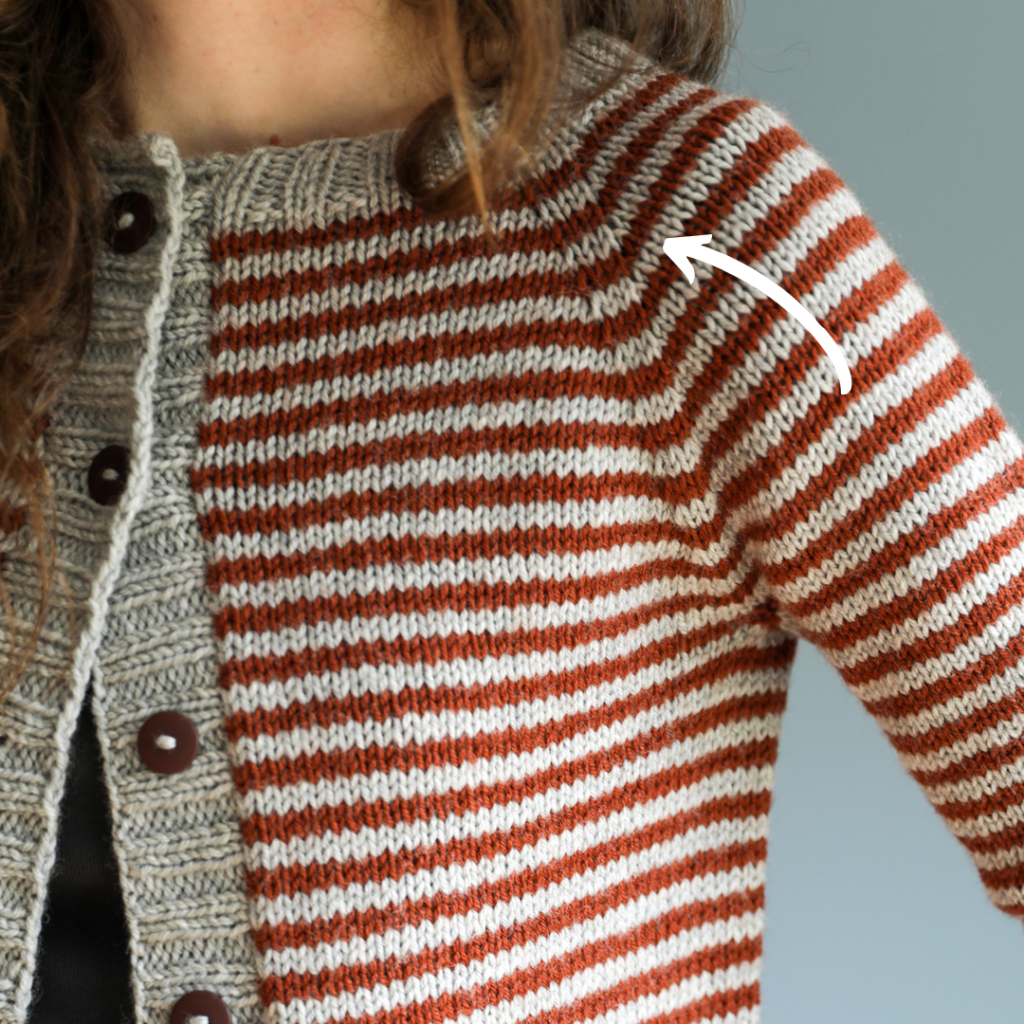
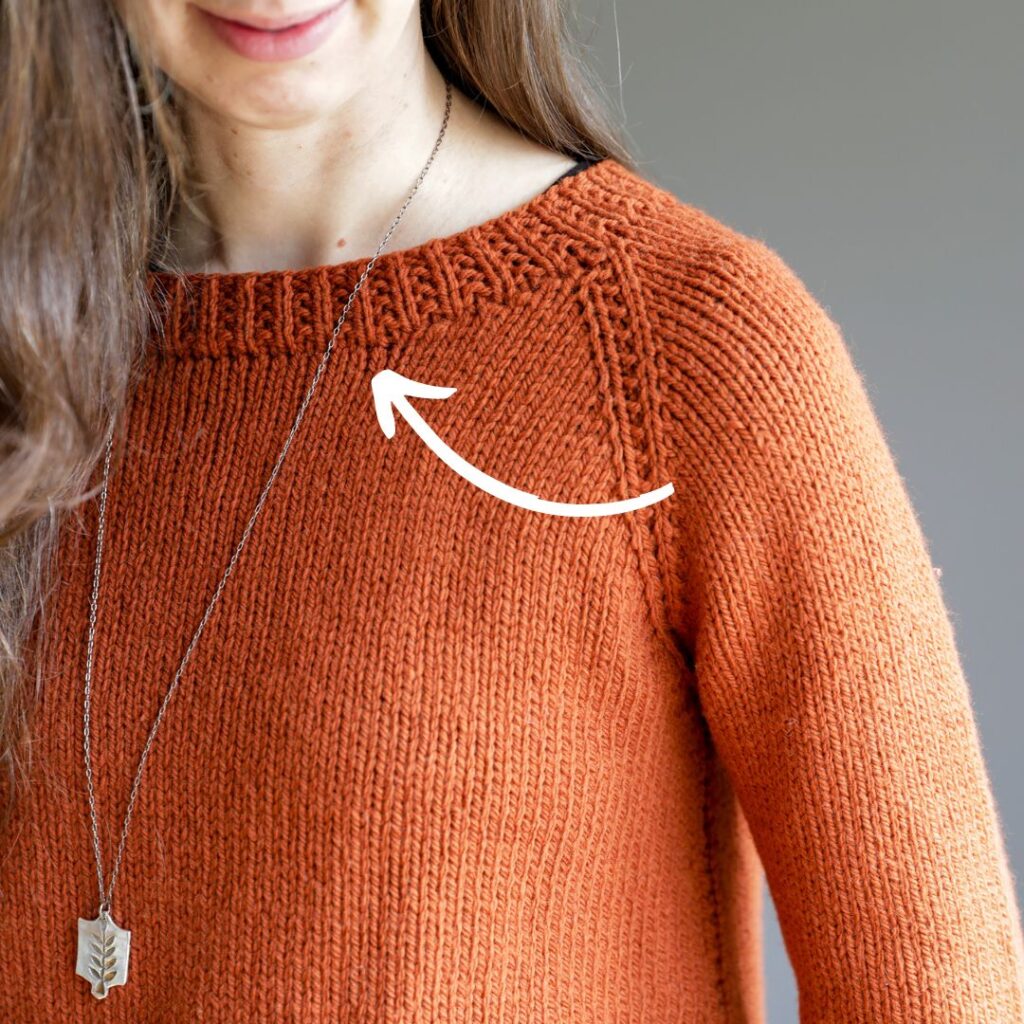
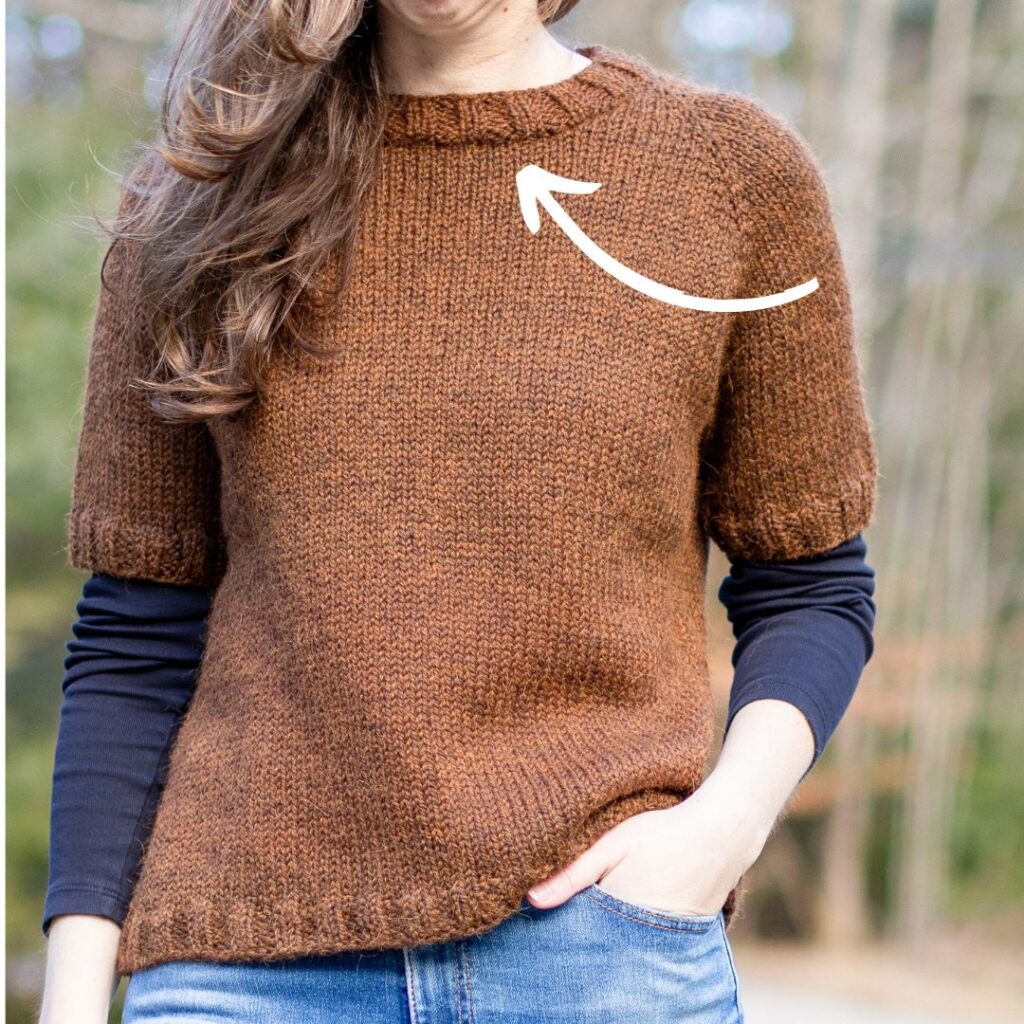
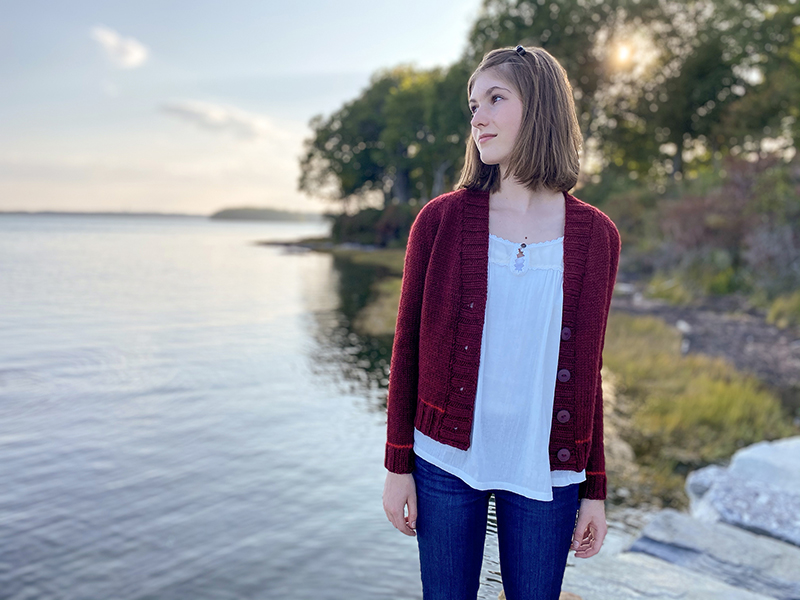
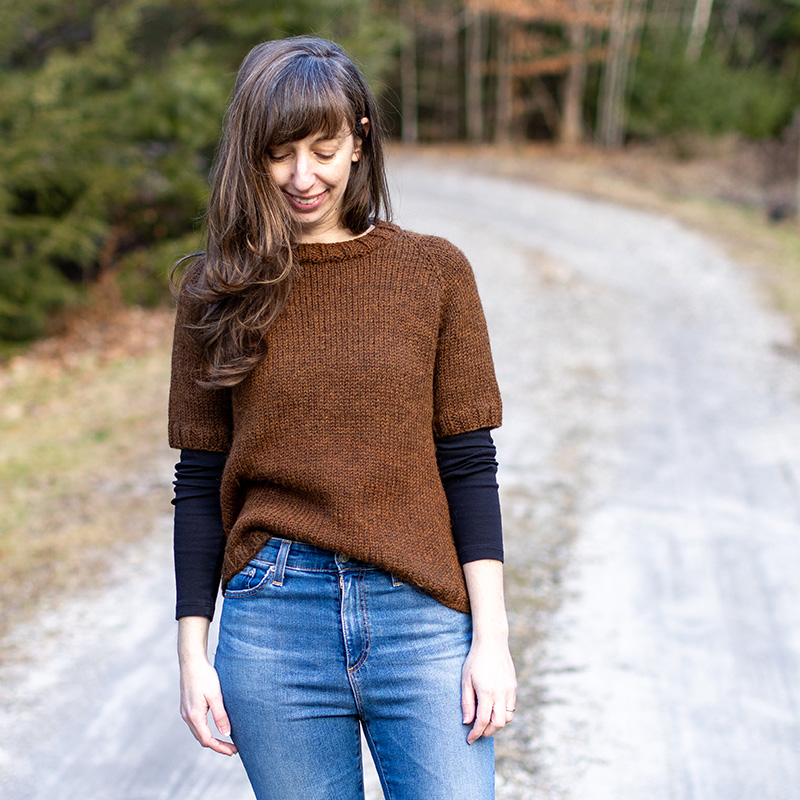
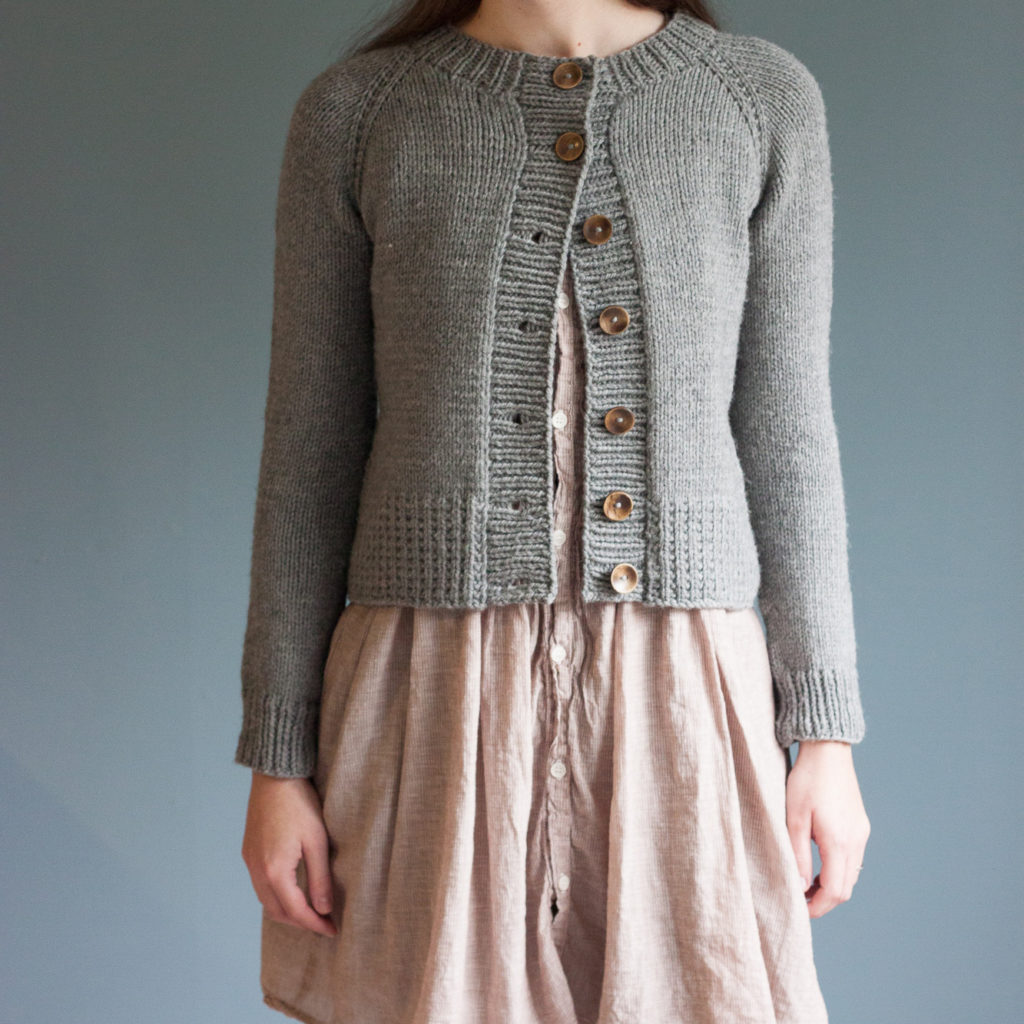
My favorite sweater construction is top-down – this means you literally start knitting at the top, i.e, the neck. You work your way from the neck down to the underarms, working increases along the way to grow the sweater out. Where and how you make these increases depends on the style of sweater – in my top-down patterns, I typically do raglan shaping. You can tell a sweater has raglan construction when you see 2 diagonal lines on each side (and on both the front and the back), starting at the inside neck and ending at the underarm. The style of these “lines” can be different depending on the design, but here are some examples of what it looks like this:
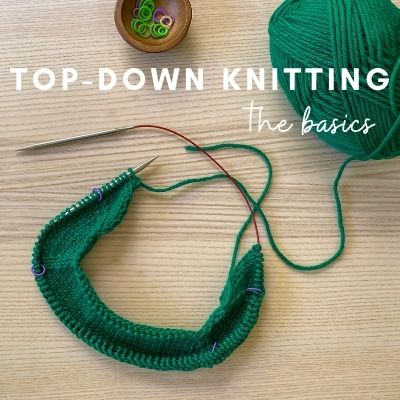
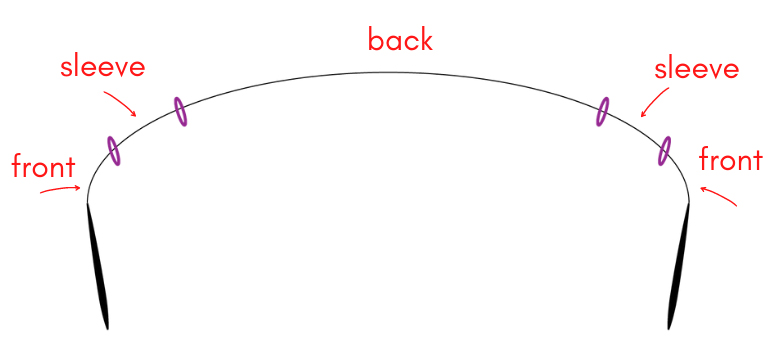
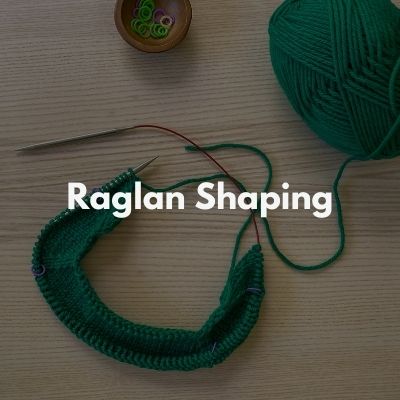
In this style you place markers right after you cast-on, at the locations of each of these diagonal lines. It typically looks like this (although sometimes 2 markers are placed at each diagonal line if you are working a particular stitch pattern):
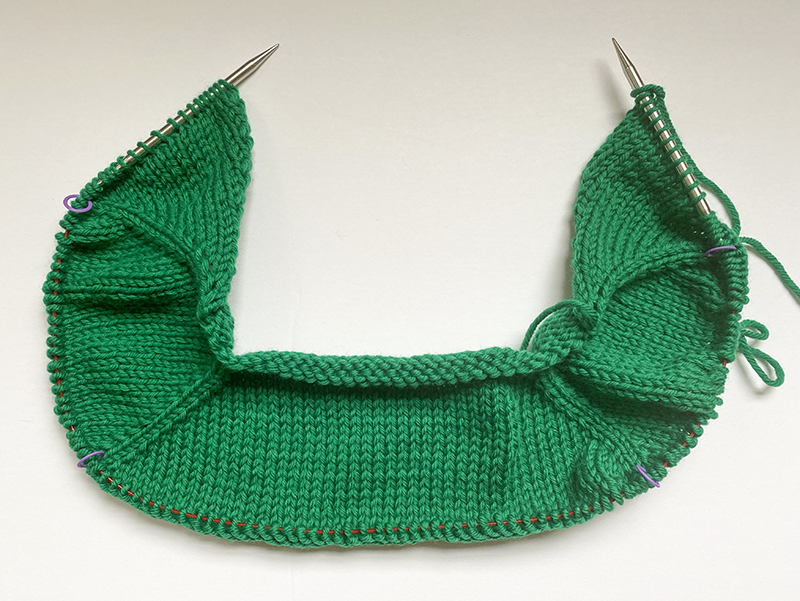
You work increases on either side of each of these markers (in order to grow the sweater) – each pattern will be different in terms of how often you work these increases. And then after a couple of inches, it will start to look like this!
Top-Down Knitting Steps:
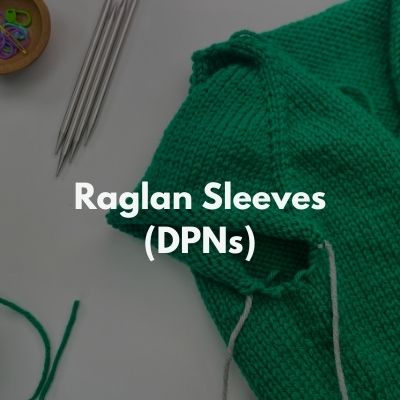
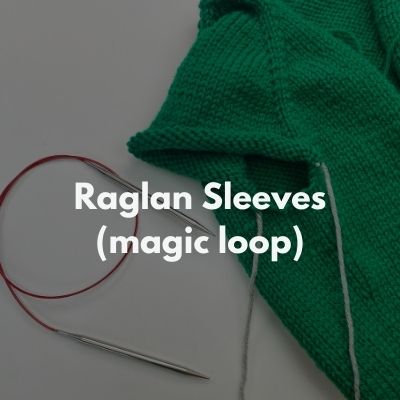
Below are video tutorials for each of the steps in my typical top-down knitting patterns, using my Audrey’s Cardigan pattern as our demo in most of these tutorials:
Additional tutorial if working a pullover-style
The above tutorials are based on working a cardigan – is a pullover any different? In general no, but there is typically one important additional technique worked. If it’s constructed with neckline shaping (such as in my Ramona Pullover or Mud Season), it starts just like a cardigan, but then after 1-3″ or so, you’ll be instructed to cast-on stitches for your center front and join to work in the round.
For a video lesson on how to work this important step in top-down pullovers, click here!
The Underarm Divide
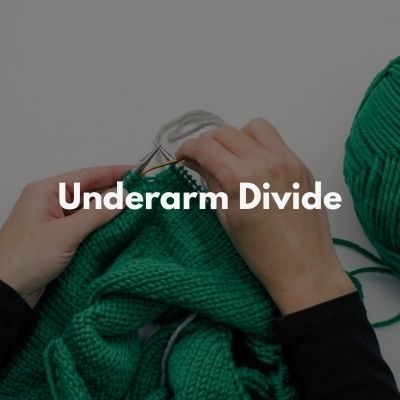
The “Underarm Divide” (or sometimes called “Front/Back Separation”) is usually the place where people get a little stuck on because it’s a bit hard to visualize what’s going on in this step just through written words in a pattern. I also know it’s a popular question because my original blog post about this topic back in 2010 remains one of my most popular pages!
In this step you separate the sleeve stitches from the rest of the sweater by transferring these stitches to a piece of scrap yarn or stitch holder and then casting-on stitches (that serve as your underarm stitches, connecting the front with the back).
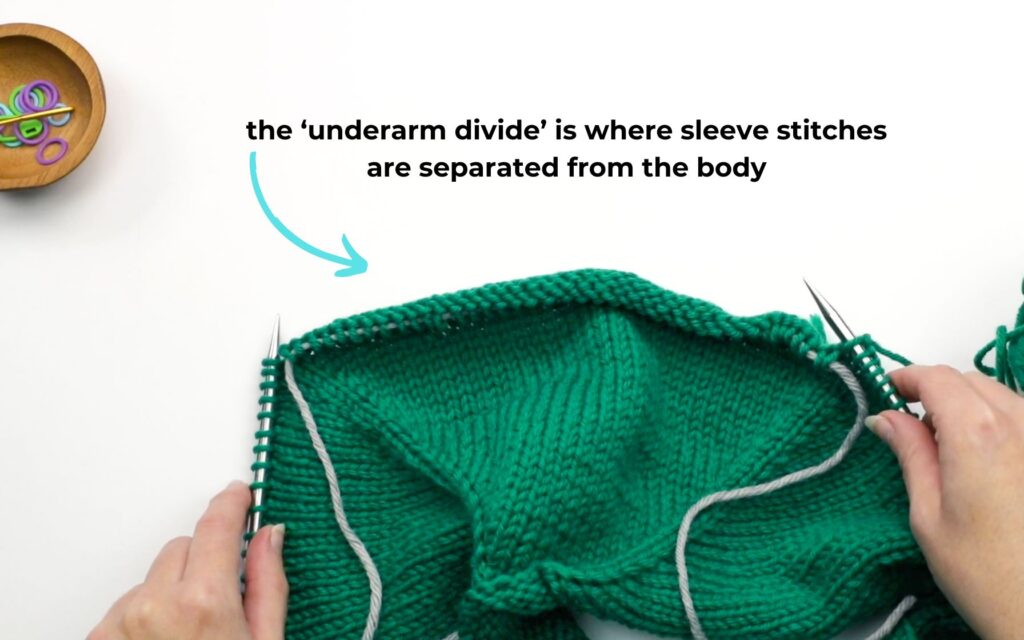
Click here to read the blog post! In that blog post I provide both photo as well as video tutorials for this process.
What I love about top-down sweaters
- They make sweater-knitting seamless! Because you are working all sections of your sweater at one time, there is no seaming at the end! And even for your sleeves, when you separate them at the underarms, you later transfer them back onto needles and work them in the round to the cuffs.
- You can easily modify. Once you become a bit comfortable with this construction, you’ll find that you can easily tweak things to work for your unique body. You can add more increases or less, or work your raglan rows longer – it’s simple to adjust as you can. And because you’re working from the top-down, that means that you can more easily adjust the length of the body (because you can try it on and see exactly how it will look on your body!).
- Instant gratification! Because you start with such few stitches at the neck, your rows go by fast and you really start to see progress quickly as you increase your way down to the underarms. Sometimes that can make the rest of the body and sleeves feel like they are taking so much longer, but I just love that feeling at the beginning of a project where in an evening or two you go from a row of cast-on stitches to something that actually looks like a sweater!
First Top-Down Sweater Ideas
If you have never knit a sweater before (or never a top-down style), here are my top 4 suggestions for you:
Little Coffee Bean
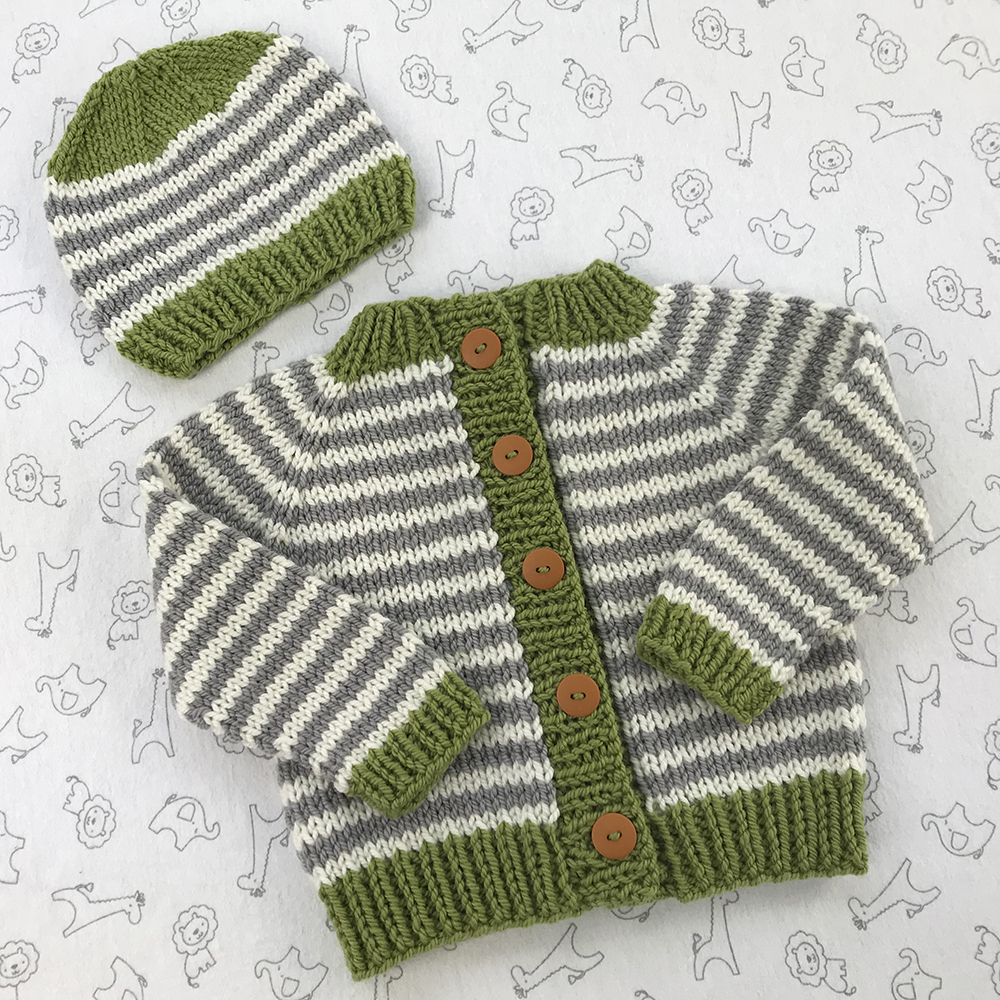
Starting with a baby sweater is a great way to try out knitting a sweater! Above is my Little Coffee Bean bulky-weight pattern, and I also have a free version that is the original worsted-weight version.
Audrey’s Cardigan
As mentioned above, this is the cardigan that I did the KAL for recently and all of the tutorial videos are specifically about this pattern, so it’s a great option for your first sweater. In fact, for the KAL, many of the participants had never made a sweater before (click here to read my blog post about that!).
Mud Season
Originally published in 2010 but completely revamped in 2024, Mud Season is a great first raglan sweater because it’s simple and fast to make (you use bulky-weight yarn). Plus the pattern is free as well!
Ramona Cardigan
Originally published back in 2013, Ramona Cardigan remains my most popular pattern! And I’ve heard from many knitters how it was their first sweater, and many yarn shops have also used it for their “first sweater” workshops. So it’s a great option to consider too.
Ready to make your own top-down sweater?
I hope this little bit of background information about top-down sweaters has been helpful! If you have any questions, feel free to reach out to me!

