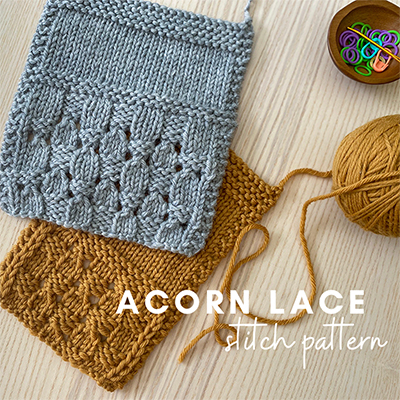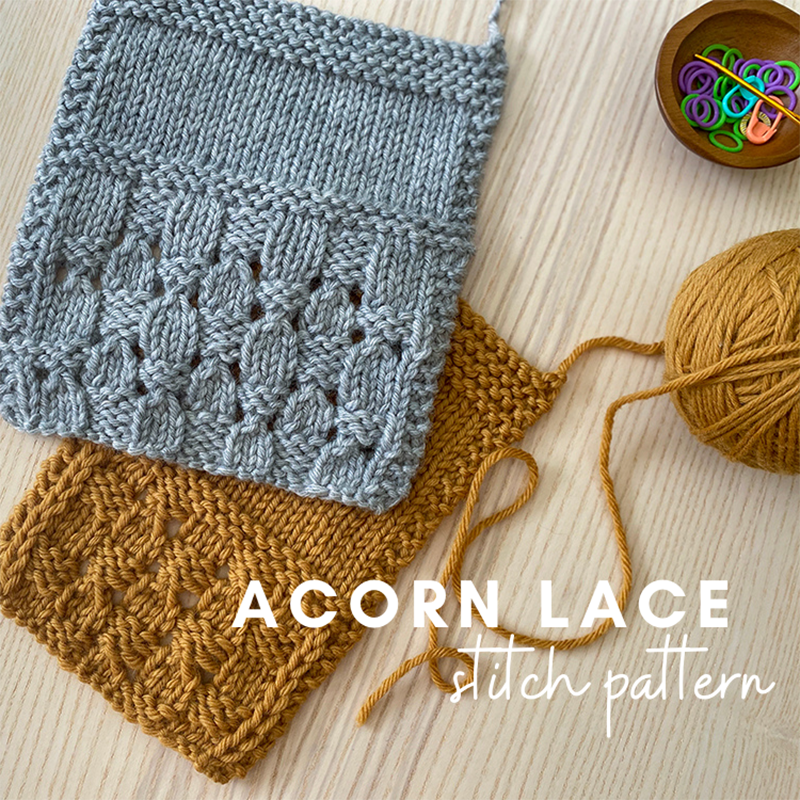
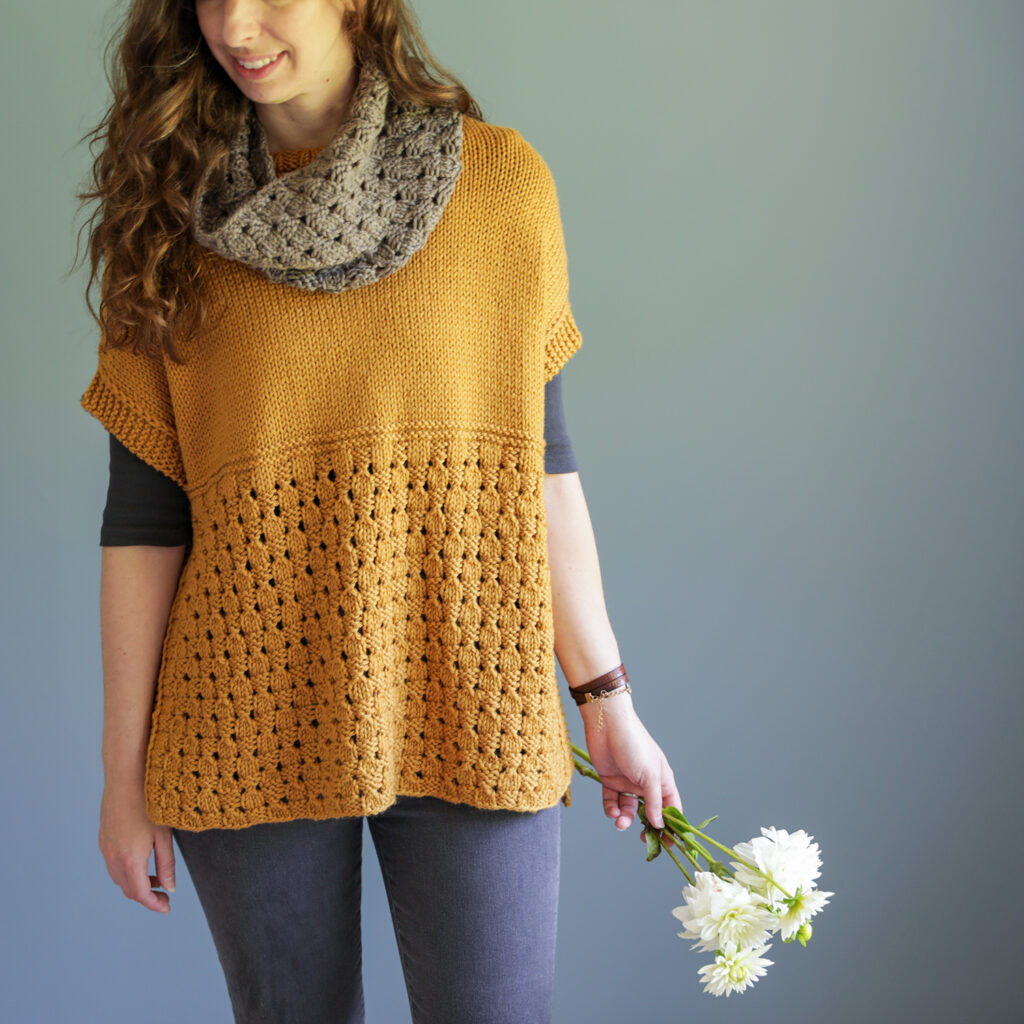
Fall is around the corner, so I thought it would be fun to talk about a fall-inspired stitch pattern – the Acorn Lace! I used this stitch pattern in my Happy Harvest poncho, which is just celebrating it’s one-year anniversary. What I love about this stitch is that it uses simple stitches to create such a pretty basketweave design (and it looks way more complicated than it actually is!).
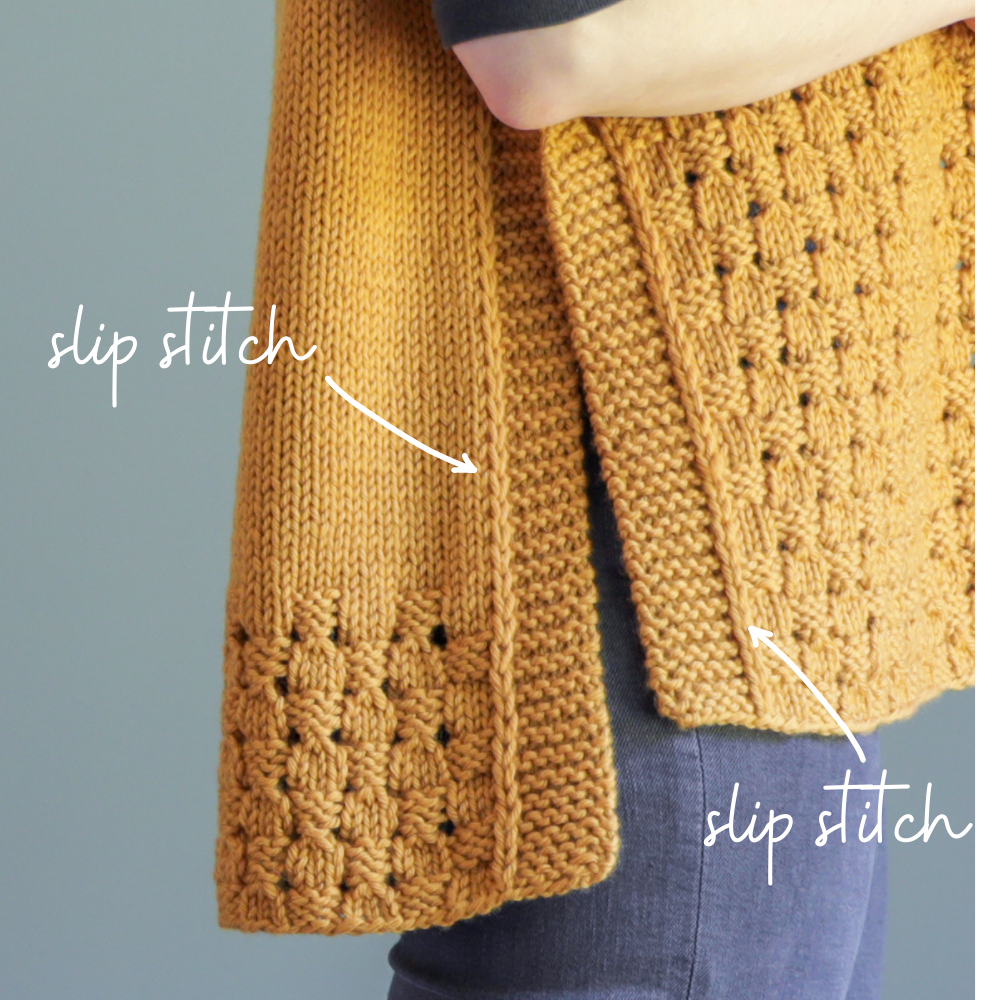
Below I have broken down the main stitches used in this stitch pattern. In my version that I used in Happy Harvest, I framed the basketweave pattern with a slip stitch and garter stitch edging on each side, so in the swatch photos below you’ll see a marker 2 stitches in from each edge (with those 2 edge stitches always worked in Garter stitch, i.e, always knit). If you want to practice on a swatch, cast-on 21 stitches and place markers 2 stitches in from each edge (so you’ll have 19 stitches in-between the markers), and work the stitch pattern noted below in-between these markers.
How to work a “sl1”
On every right-side row, between the Garter stitch edging and the basketweave pattern, I work a “sl1”. This is what creates the neat raised column you see that helps to separate these stitch patterns:
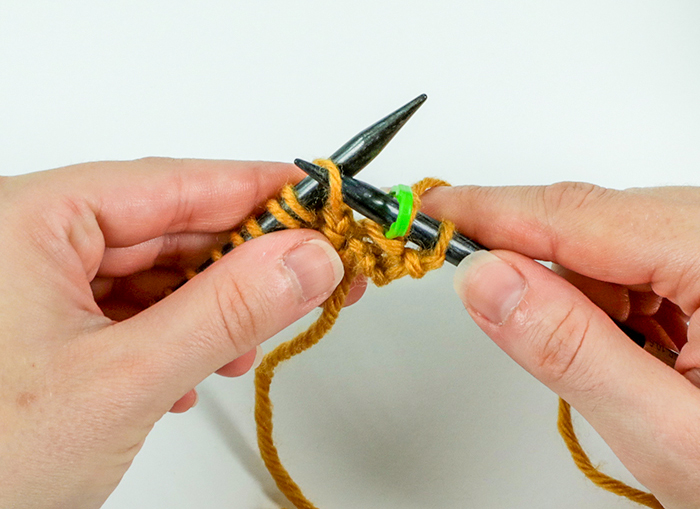
Here’s how you work a “sl1” (and it doesn’t matter if it’s at the beginning or the end of the row – it’s worked the same regardless). First, insert the right needle into the next stitch on the left needle as if you purl (but keeping the yarn held in the back):
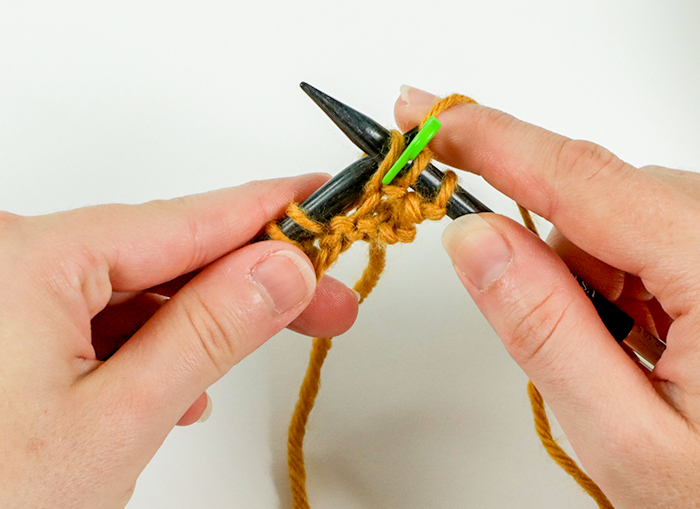
Then slip it onto the right needle without working it – that’s it!:
How to work “yo, k3tog, yo”
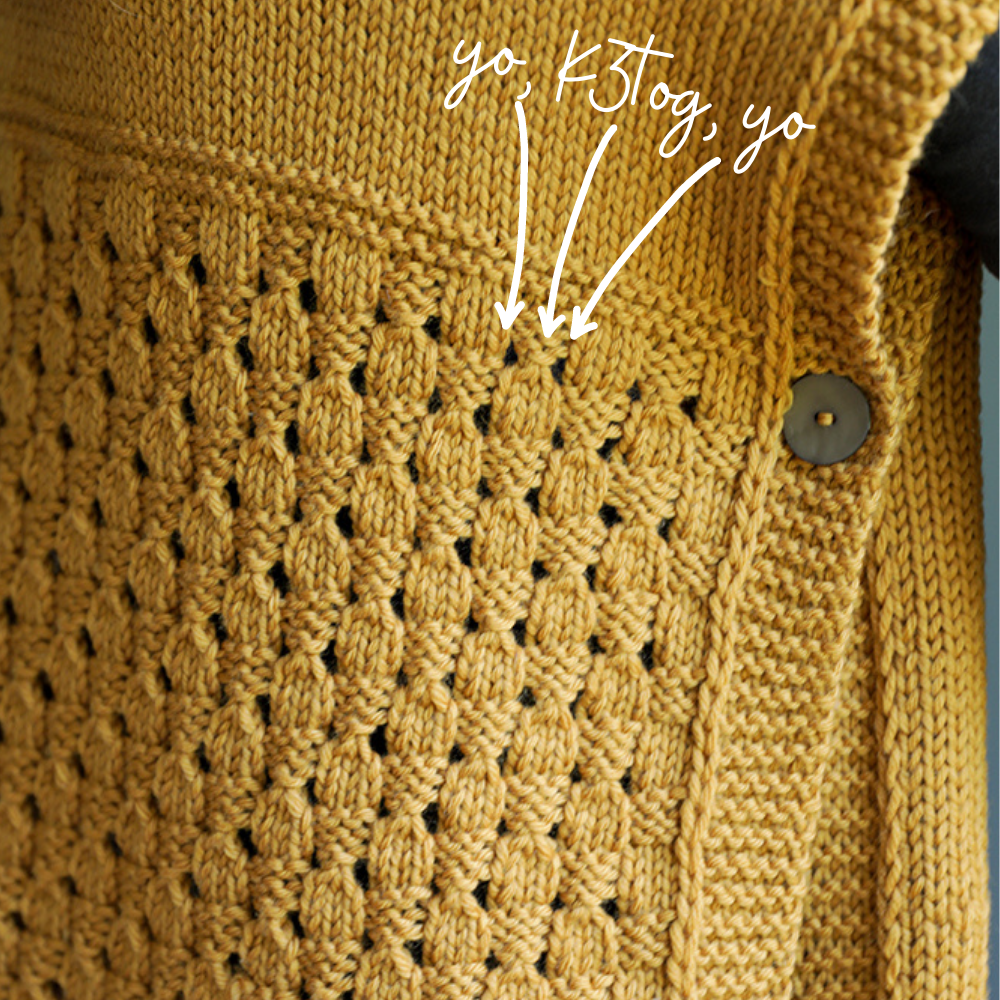
The main part of the Acorn Lace stitch pattern (that isn’t just simple knits or purls) is the “yo, k3tog, yo”, This is what creates an eyelet, followed by the cinched up stitch (that looks like an acorn top!), followed by another eyelet. Here’s a visual:
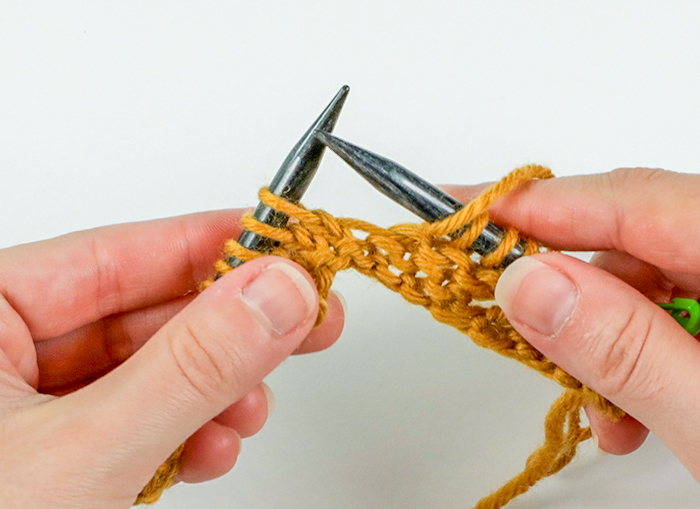
Here’s how you work a “yo, k3tog, yo”. To create the first “yo”, just bring the yarn to the front of your work:
Then to work the k3tog, insert the right needle into the fronts of the next 3 stitches on the left needle (still keeping the yarn to the front of the work):
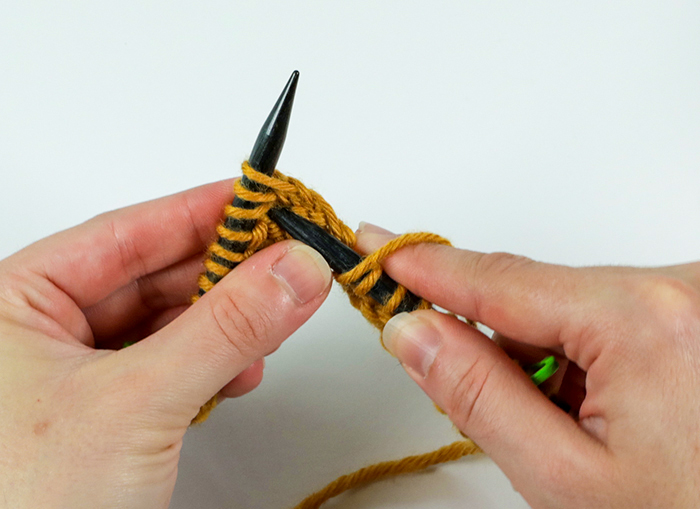
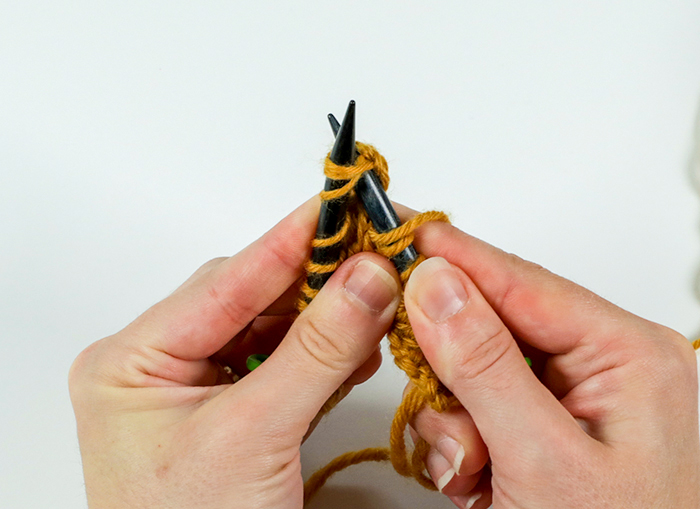
Then wrap the yarn around the right needle to knit these 3 stitches together:
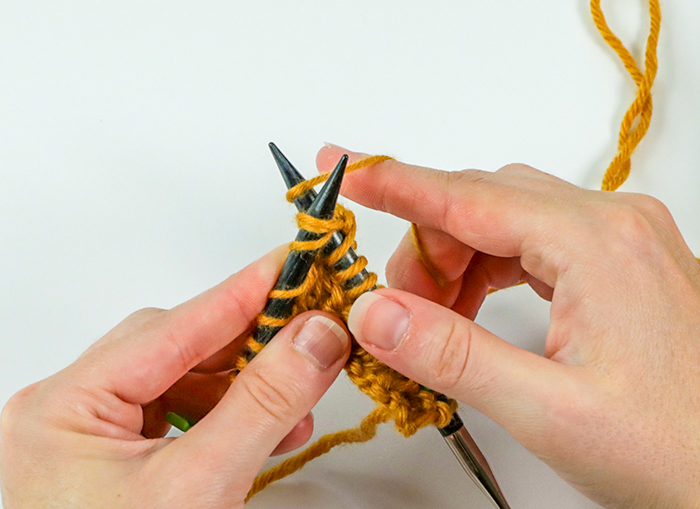
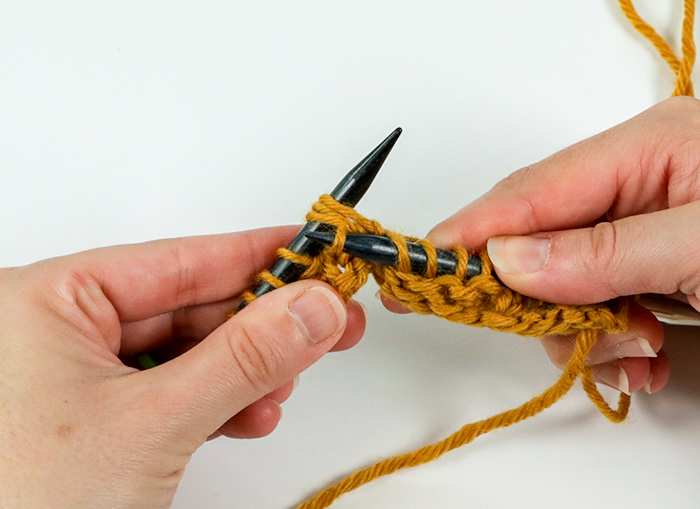
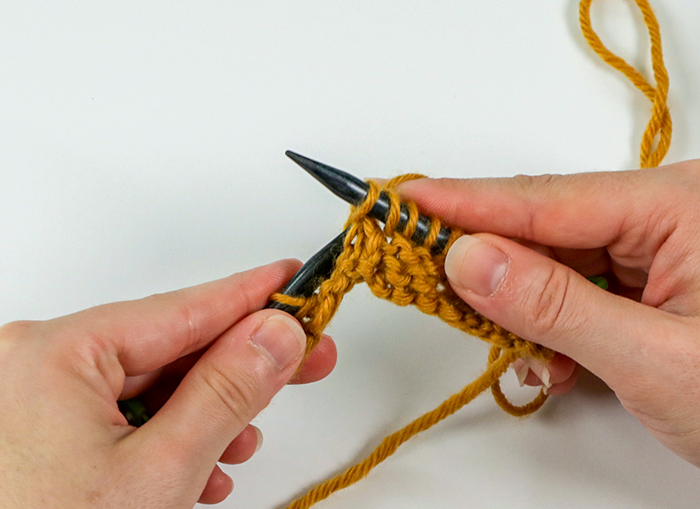
Then to work the second “yo”, bring the yarn to the front of the work again and keep it there as you work the next stitch (this second “yo” is always followed be a “k3”):
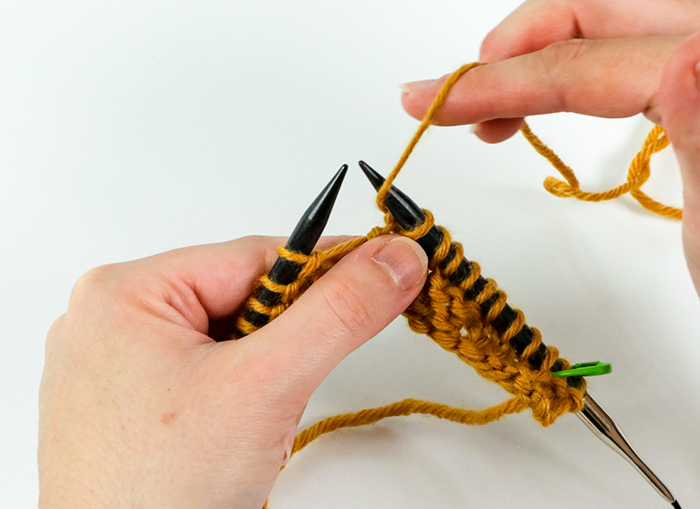
And that’s it! The rest of the stitches in this stitch pattern are just knits and purls. The most important thing that will help you be successful with this stitch pattern is just to make sure you keep track of which row you are on. There are lots of different techniques you can use, but my favorite is simply using a post-it note – just put it under the row you are working on (whether you are following the written-out instructions or the chart). Simple but does the job!
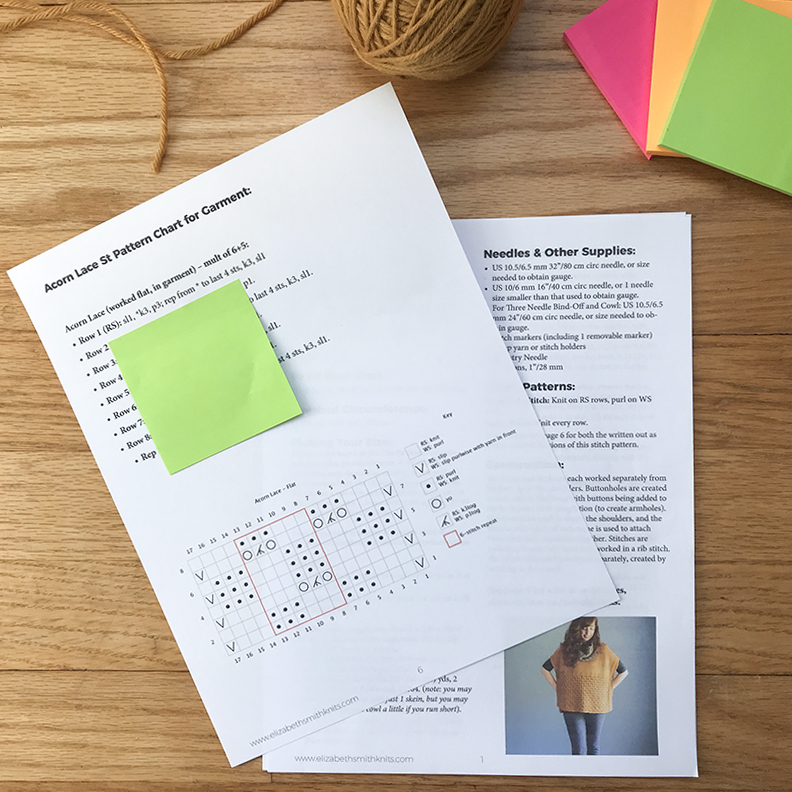
Click below if you would like more information about the Happy Harvest poncho pattern!
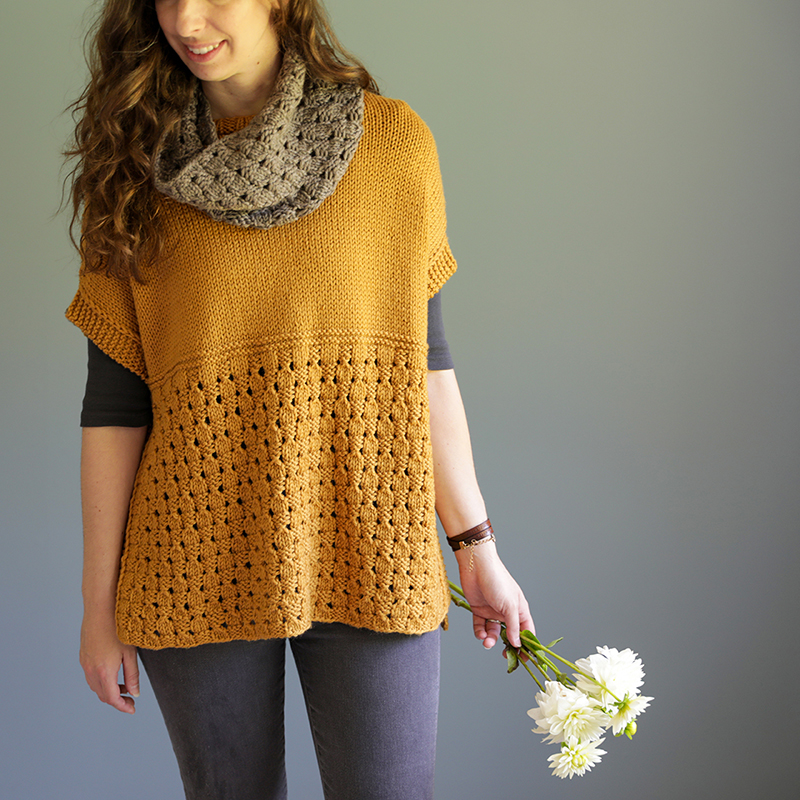
Happy Harvest
Introducing Happy Harvest! This design has been a collaboration between myself and the wonderful folks at Berroco Yarns.
Happy Harvest is a seamless poncho/oversized sweater vest using Berroco’s Ultra Wool Chunky yarn. It’s a quick knit that combines a fun acorn lace stitch pattern with simple garter and stockinette stitch. It uses 2 colors – a main color for most of the garment and a contrasting color for the top portion of the back and the cowl. It features button closures at each side (to create armholes), a hi/lo hemline and a separate, removable cowl that can be worn with or without the garment (or with a completely different outfit!). Scroll down for all of the pattern details regarding gauge, yardage, etc.
This is the PDF version of the pattern. After going through the checkout you will receive an email with a downloadable PDF link. If you prefer to purchase through Ravelry, click here.

