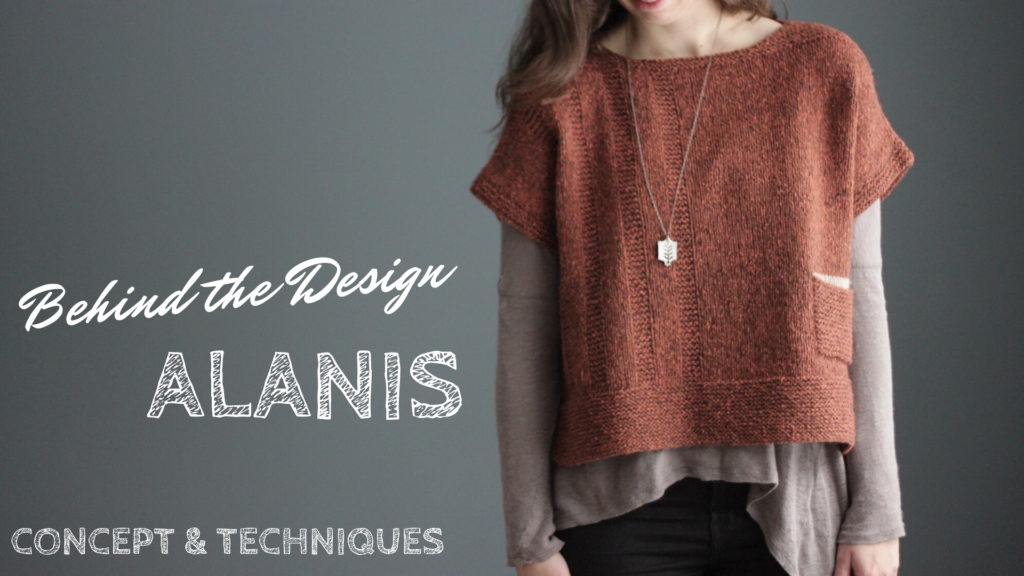
A fun new feature I have planned for my website/blog for 2020 is to take a deeper dive into some of my customer’s favorite designs and give you some background info about the original inspiration, my design process, customer photos and other interesting tidbits. Kind of like VH1’s old “Behind the Music” series, but with less drama (unless you consider ripping out months worth of work ‘drama’, which definitely happens!).
First up in this year-long series is my Alanis!
Concept & Design
Alanis was originally published in December of 2017 and is one of my favorite designs over the last 10 years. It’s one of those types of pieces that is simple to knit but still has lots of little details that keep it interesting and engaging. Here’s a little insider tidbit – the finished version you see is actually the second version of this design – my first was similar in shape and construction, but I just wasn’t 100% happy with it when all was said and done. It was too plain and I felt like it was missing something. Want to see this never-before-seen original version? See below, and I think you’ll see what I’m saying – it’s fine, but it’s definitely missing something.
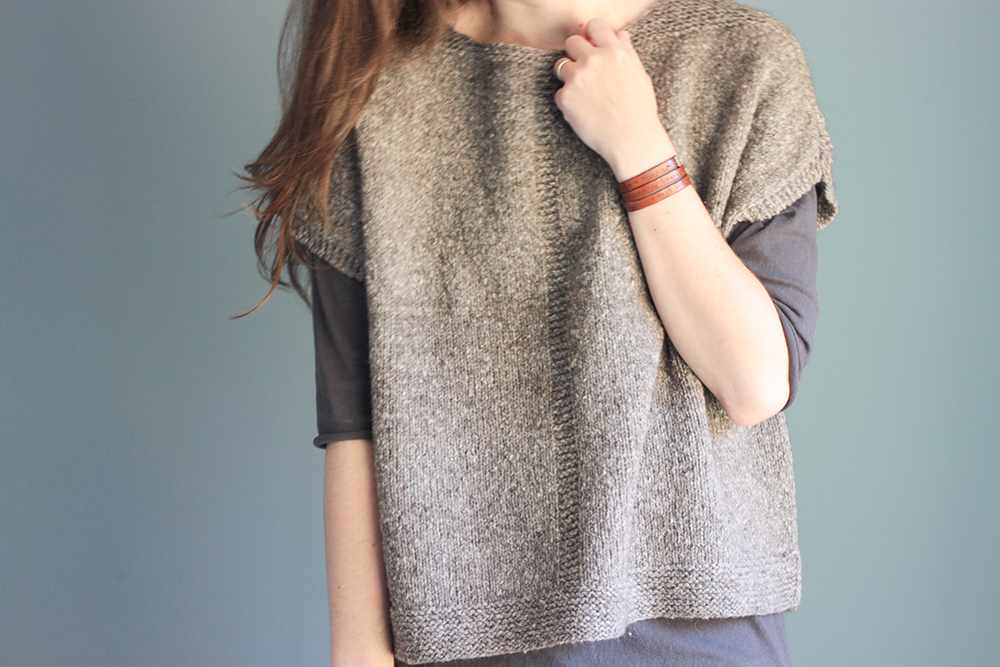
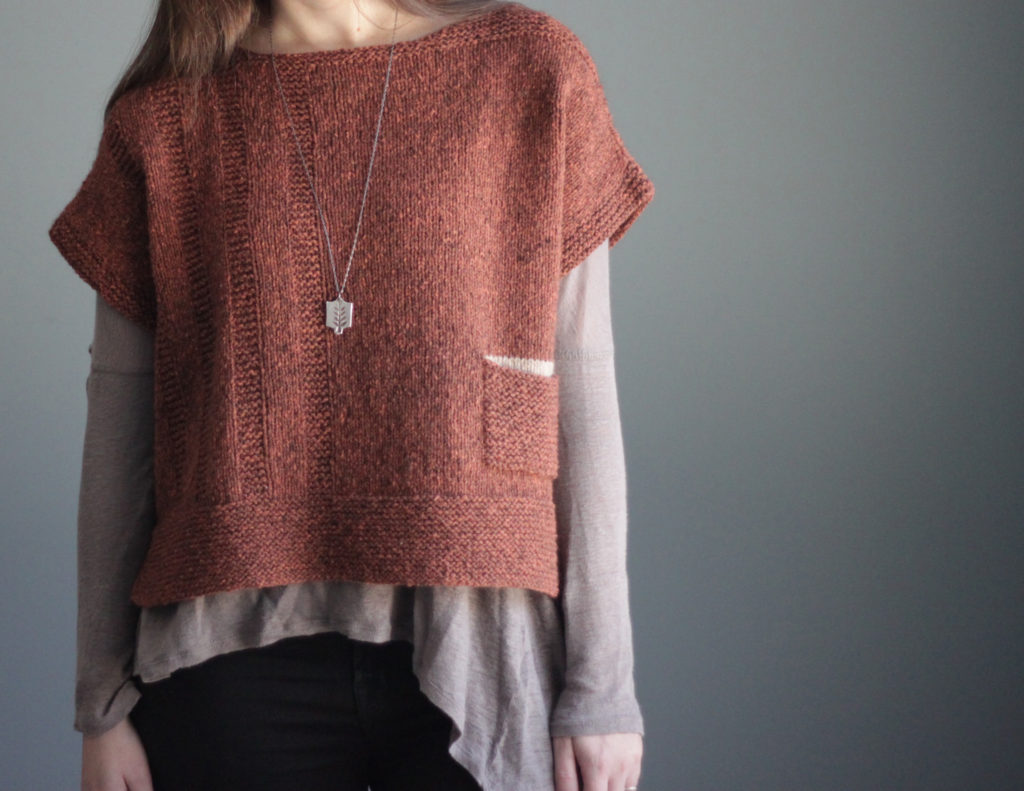
As frustrating as it can be to put so much time into something only to scrap it, I’m so glad I did. Trusting my creative intuition has taken me a long time but I’m getting there! Here is the final version – just a few more details but they make all the difference:
The Techniques
So let’s talk about those details. Here are my 4 favorite technical details about Alanis:
1) Split Hem
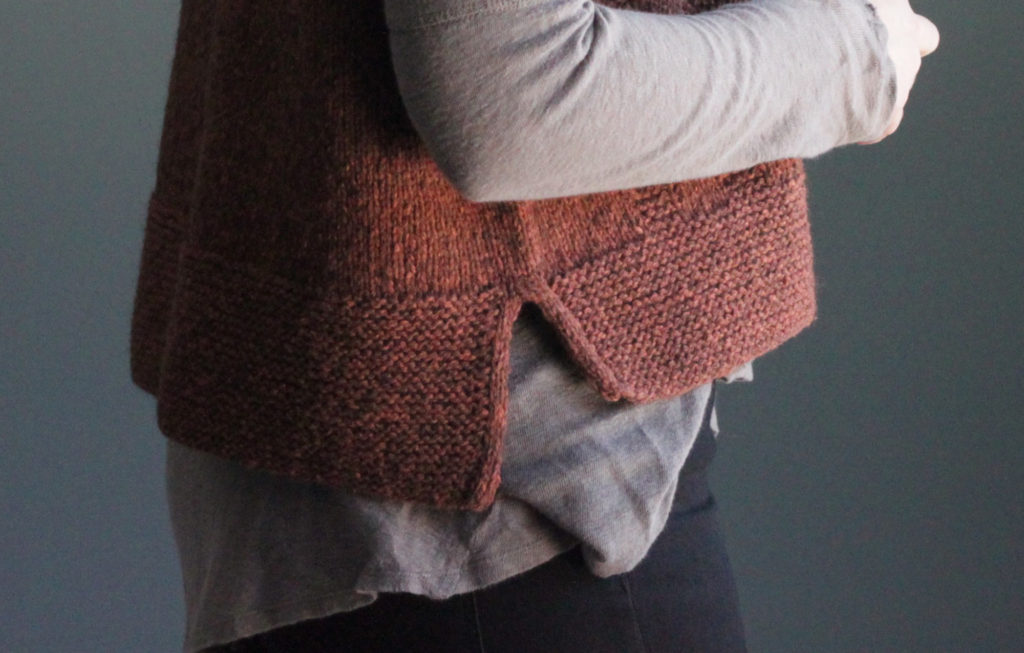
I just love the look of a split hem and it’s such a simple, yet impactful detail. And in Alanis, I added an additional detail of having that edge be an Icord edge. This kind of edging is very simple – on every row, you slip the first 3 stitches from left needle to right needle as if to purl, always holding the yarn on the WS of the work when doing so (so that means on wrong-side rows that you hold the yarn in front, and on right-side rows you hold the yarn in the back). That’s it! It creates a super clean edge that frames the garter stitch texture so well. There are lots of ways to do icord edging though – this particular way worked well for me but I’ve seen some knitters prefer slightly modified approaches. If you’d like to try another method, check out this tutorial from Giftofknitting.com.
Tip: If you find that it looks a little loose and/or sloppy, don’t fret – one thing you can try is making sure that when you knit the next stitch (after slipping the first 3), that you give the yarn an extra good tug, keeping the edge as tight as possible.
2) Asymmetrical, Garter Stitch Panels
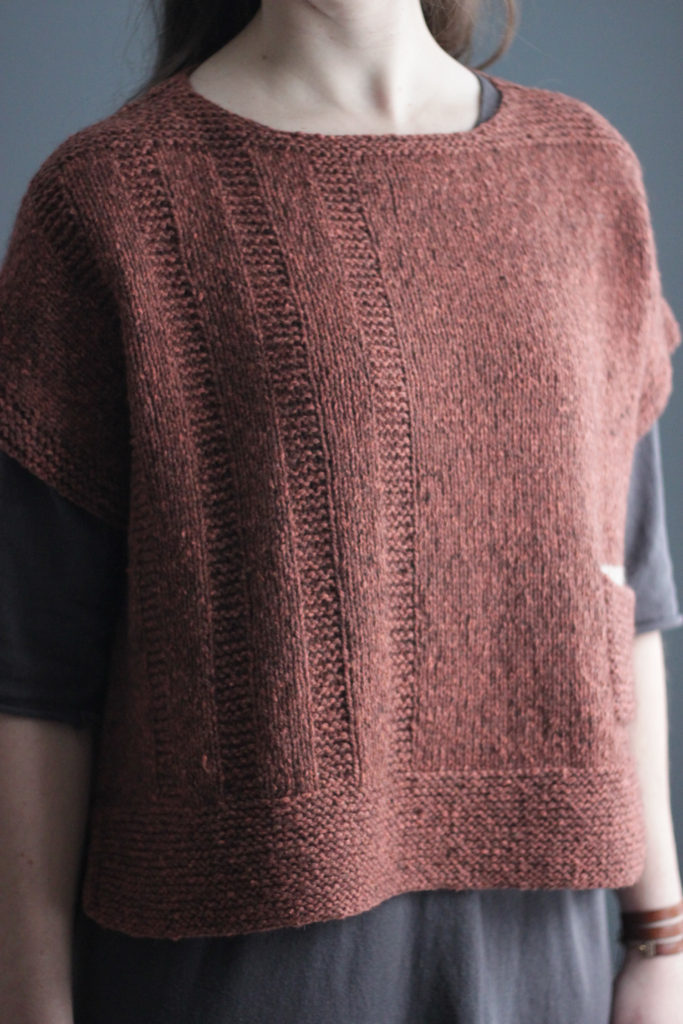
These columns of textured stitches are simply garter stitch panels. After you work each Front and Back hem, you join the piece to work in the round and then you place markers for each of these 4-stitch panel columns. Then moving forward you always work these 4 stitches in between each set of markers in Garter stitch. Aesthetically, I love how these columns blend right into the garter stitch at the bottom hem and at the top of the shoulders. And by having them only on the right side of the front of the body, it gives a very cool and modern vibe.
3) The Pocket
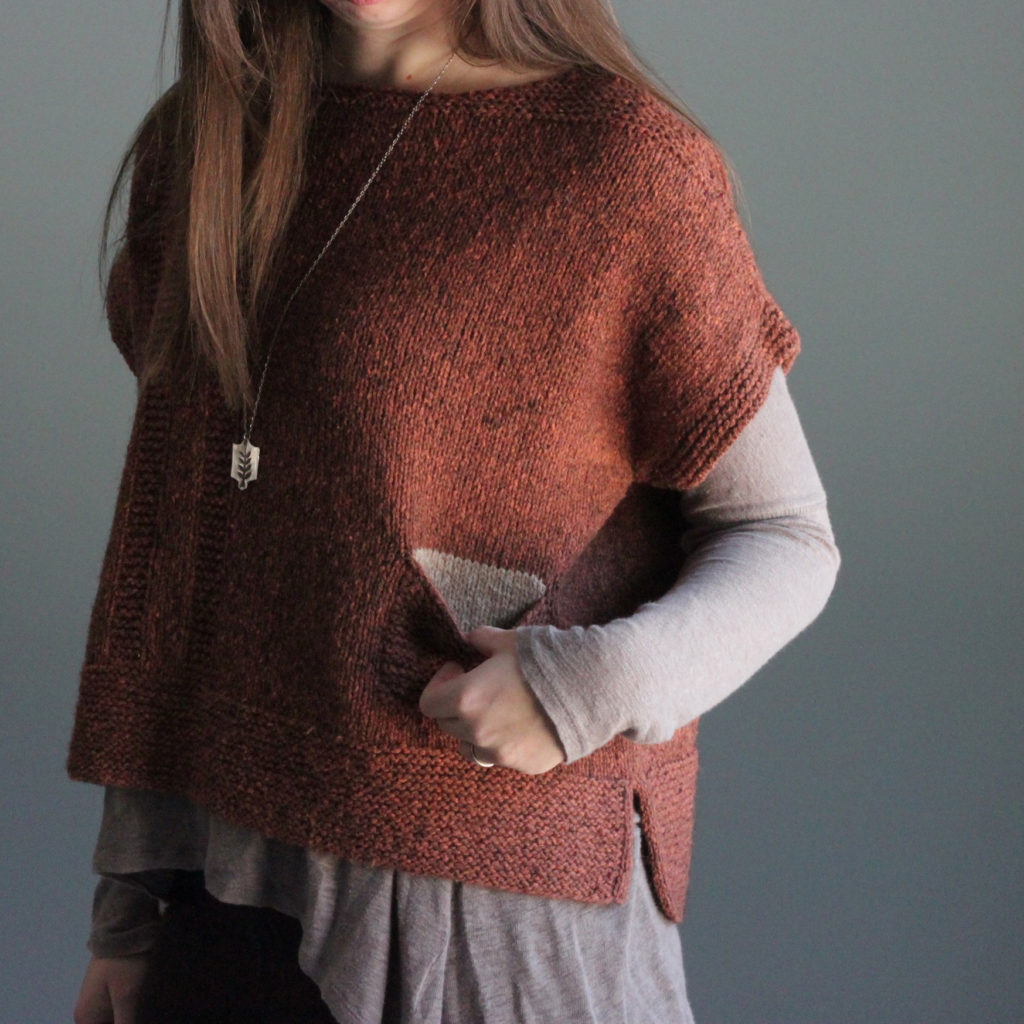
Who’s not impressed with a pocket, am I right!? And this little inset pocket is not that difficult to create, I promise! When designing this pocket, I wanted the outside of it to mimic the same garter stitch texture that you see throughout the piece. And for the pocket lining, I thought a contrasting color would be a perfect way to create a little different visual interest – you only see the very top of the lining when you are wearing the garment, so it’s just a little ‘pop’ that adds a little fun to the piece. Probably the trickiest part of a pocket is at the very end when you have to sew down the sides to the inside of the garment. But don’t worry – I have a great photo tutorial to help with this!
4) Garter Stitch Neckline & Shoulders
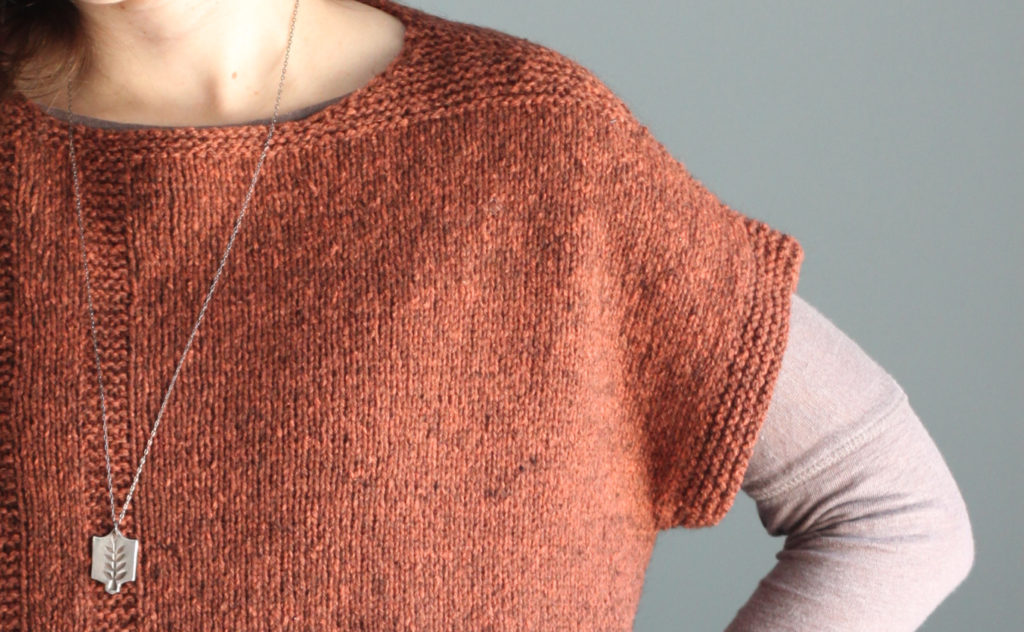
Whenever I design pieces that have a boxy body, I try to make sure that the shoulder/neck areas have a more tailored look – this helps to create balance and an overall flattering look. To achieve a not-so-boxy shoulder area, short rows are used to shape them (this is what creates the slope that keeps the armhole tailored). I use the “wrap & turn” short row technique – click here for a great photo and video tutorial from Purl Soho that I love. An additional detail I incorporated was having the top portion of the shoulders be worked in garter stitch. There were 2 reasons for this: 1) garter stitch creates a cleaner edge around the neckline and 2) having texture at the top of the shoulders brings the eye up for a flattering look (since there is so much garter stitch at the bottom hem, this balances things out). A nice blend of form & function. It may be a small detail, but sometimes the smallest things can make all the difference!
Why ‘Alanis’?
Coming up with a pattern name can sometimes be tricky! Every designer draws from their own different inspiration when coming up with names and for me, music is often my inspiration source. Music has always been really inspiring and meaningful to me, whether as a music-maker myself or just an avid listener. My music playlist is always going as I’m working on my designs, so it’s no surprise when musician names or song titles/lyrics wind up becoming part of my design process! And Alanis is a perfect example of this. Because the pocket in this design was such an important visual element, I couldn’t help but think of the song “Hand in my Pocket” by Alanis Morissette…
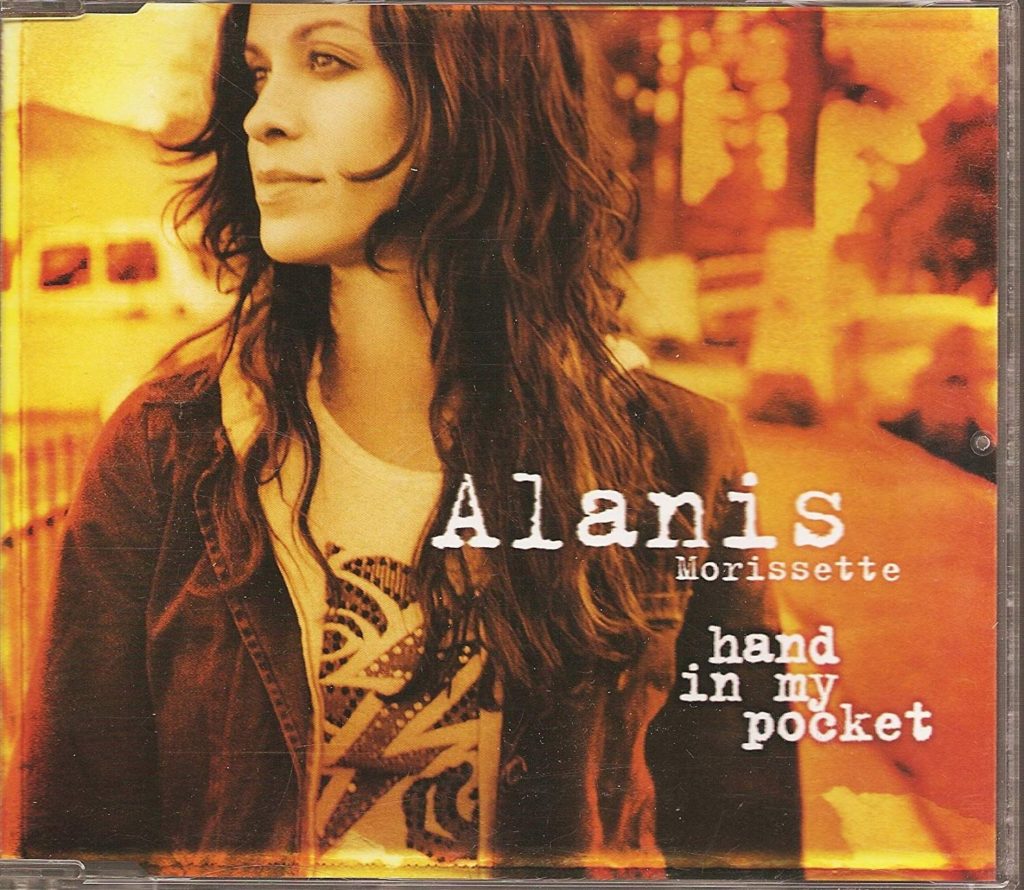
This classic 90’s song brings me right back to my teenage years (and the song definitely has passed the test of time – it’s still so good!). Combined with the feeling that this design had just a bit of an edge (just like Ms. Morissette) with its asymmetrical design elements and hi/lo split hem, Alanis just seemed like the perfect name for this piece.
Coming up in Part 2…
Part 2 of the “Alanis: Behind the Design” series, features a gallery of finished Alanis photos from knitters from all around the world! I’ll share their photos and the yarn they chose to knit with. Click here to read it now!

