Woods Road Vest Tips
On this page you’ll find tips & tutorials to help you make your own Woods Road Vest! I cover the following topics:
- Sizing tips
- Yarn information & ideas
- Gauge tips
- Technique tutorials:
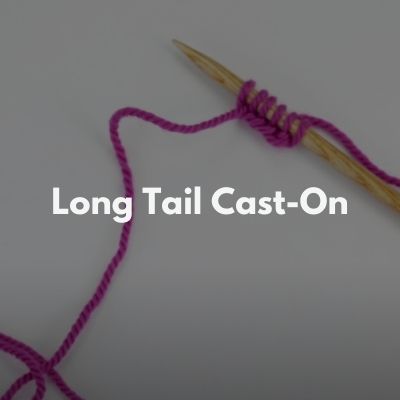
- Long tail cast-on
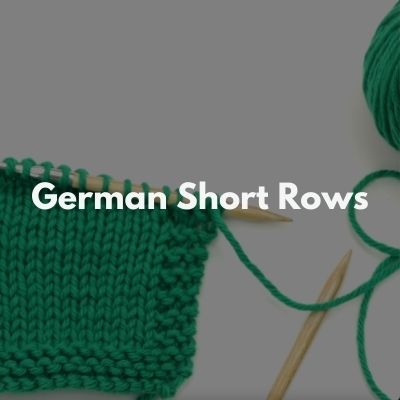
- German short rows
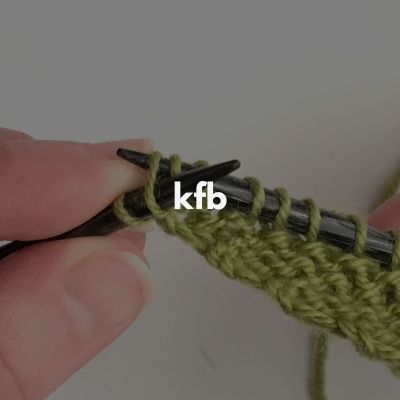
- kfb increase
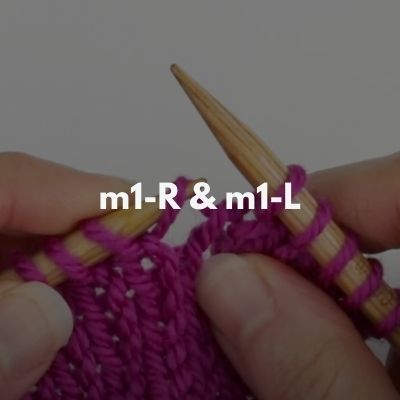
- m1-R & m1-L increases
- cable cast-on
- ssk & k2tog decreases
- Binding-off in pattern
- Three needle bind-off
- Blocking
- Placing locking markers at start of upper back
- Tips on working back armhole depth (and how to adjust if your row gauge is off)
- How to start upper left section
- How to start upper right section
- Underarm Connect
- Body Shaping & Adjusting Length
- Working the Front Bands
- Working the Armhole Trim
- Attaching buttons
Sizing Tips
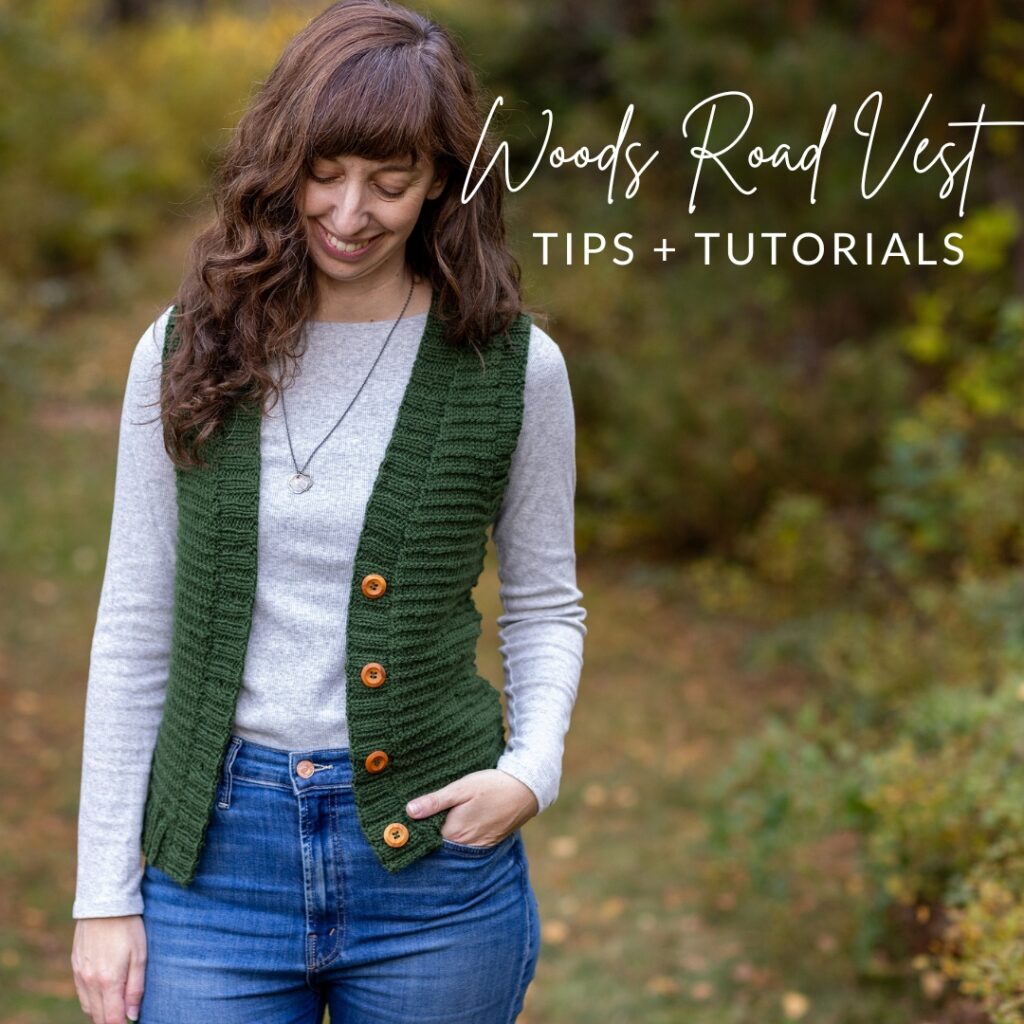
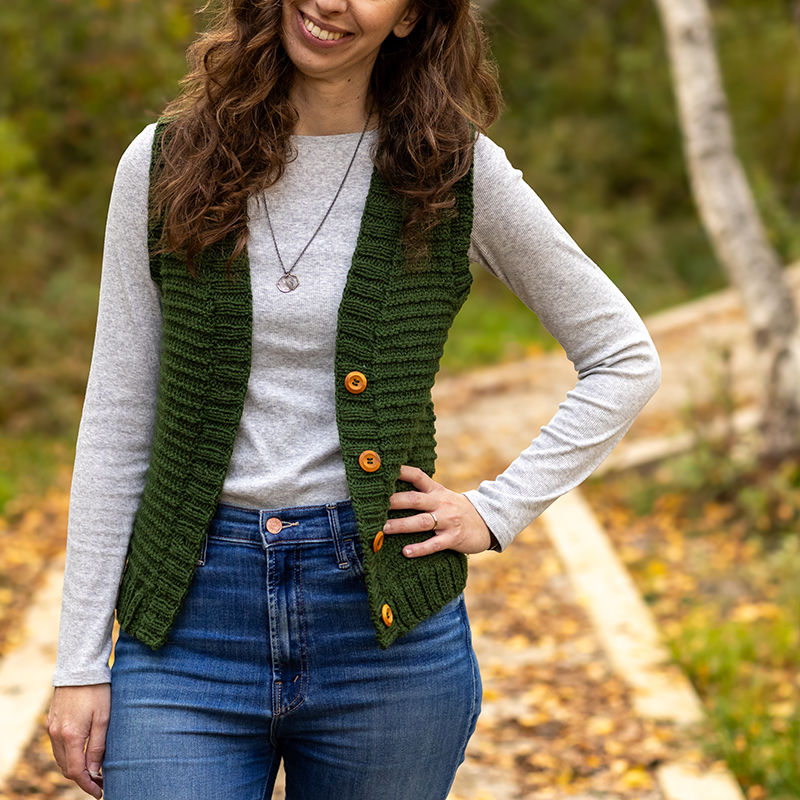
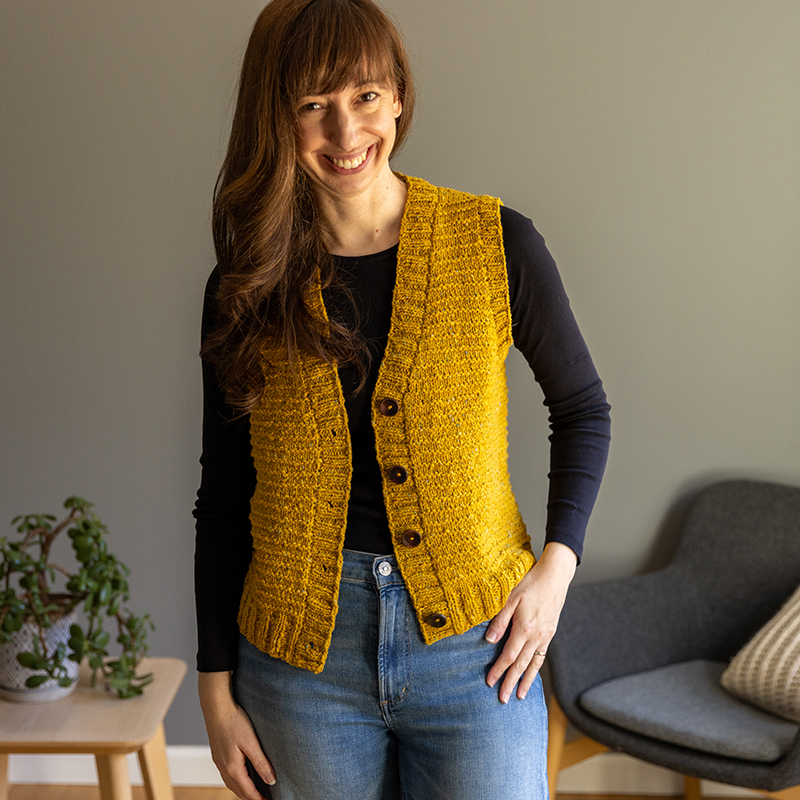
I suggest picking a size whose finished bust circumference is approx. 0-4″ larger than your actual bust measurement, depending on your desired fit. An important thing to decide is whether or not you plan to wear your vest buttoned or if you will likely wear it more open-style. If you plan to never button it then you can get away with less (or no) positive ease because your fronts don’t necessarily have to overlap. Here are some visuals to help describe this. In the green vest (as pictured in the pattern), I’m wearing it with no ease whatsoever. As you can see, this gives a fitted look and is works well if you want a open-style layering type of look. In the yellow vest, I’m wearing it with approx 2-3″/5-8 cm of positive ease. This allows me to button it comfortably if I want to (but still doesn’t look too oversized either).
So my general suggestions is that if you want it open-style and fitted, then you can choose a size on the lower end of that range and if you want to be able to button it and have a more standard fit, then you can choose a size on the higher end of that range.
When in doubt, I suggest measuring the widths of other vests or layering tops that you have in your closet that you want your Woods Road Vest to fit similarly to. Then compare that to the “B” measurement in the schematic (this is the back width at bust measurement). Since ease is personal and so dependent on a) how you want to wear your vest and b) your personal style, this exercise can be helpful in figuring out your preferred fit for this project.
For more info about the concept of ease, click here to read my blog post. And here is a follow-up post that provides more tips on finding your preferred fit.
Yarn information & ideas
Woods Road Vest calls for worsted-weight or light aran-weight yarn. The stitch gauge is 17 sts = 4″ (or 4.25 sts per inch), and that gauge is typically easily achieved with worsted but there are also yarns I’d consider as “light aran” that would work as well (such as the one I used in the sample, The Croft Aran by West Yorkshire Spinners). I’d consider Croft Aran a heavy worsted/light aran-weight and a nice option to consider for this pattern. It’s 100% shetland wool and comes in lots of beautiful solid or dappled colorways.
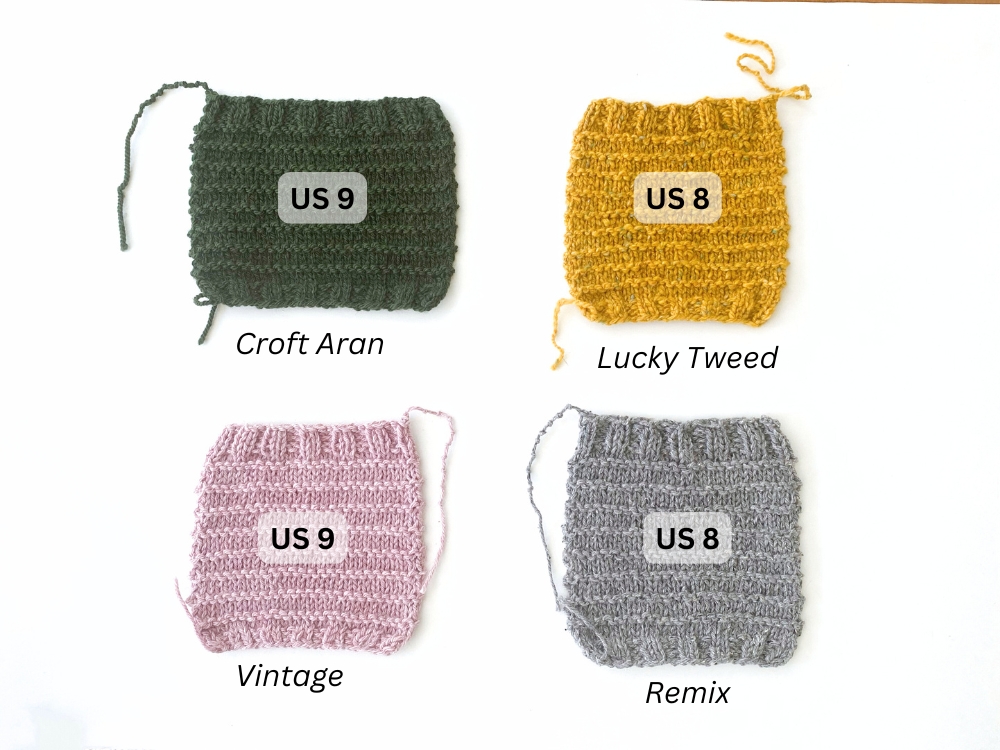
Depending on the yarn you pick, the needle size you’ll need to obtain the stitch gauge of 17 sts = 4″ will vary. As an example, below are 4 swatches I did in 4 different yarns. They all have the pattern stitch gauge of 17 sts = 4″, but the needle size I needed to use in order to obtain that gauge ranged from US 7-9.
The top 2 yarns, The Croft Aran by West Yorkshire Spinners and Lucky Tweed by Kelbourne Woolens are both classified on Ravelry as “aran-weight”. With Croft I needed a US 9 needle but with Lucky Tweed I needed a US 8 needle. It just goes to show how different yarns, both classified as “aran” can knit up a little differently.
The bottom 2 yarns, Vintage by Berroco and Remix by Berroco are both classified on Ravelry as “worsted-weight”. With Vintage I needed a US 9 needle but with Remix I needed a US 8 needle. Note: If you’re looking for yarn that would work well for warmer climates, either of these 2 yarns would be great options to consider.
Want some other yarn ideas in addition to the ones above? Below are some other ideas as well:
- Berroco Ultra Alpaca
- Brooklyn Tweed Shelter
- Juniper Moon Farm Cumulus (a cotton option)
- Peace Fleece
What if you found the perfect yarn, but you can’t quite get the exact right gauge? Check out my gauge tips below.
Gauge tips
In Woods Road Vest, attaining stitch gauge is more important than row gauge, so if you can’t get the exact right row gauge that is ok. If your row gauge is off, you can adjust the lengths of your armhole depth and body length as needed to accommodate it. And I have tips below on exactly how to do this.
But what if you can’t get the exact right stitch gauge, or, you prefer the fabric at a different gauge. For example, in the Lucky Tweed swatch above, although I was able to get pattern gauge on a US 7 needle, the fabric feels pretty dense to me and I really preferred the fabric on the US 8 needle, but that gave me a stitch gauge of 16 stitches = 4″ (instead of the pattern gauge of 17 stitches = 4″). Because of the simple silhouette of this vest, knitting at a slightly different gauge is totally possible – you just might need to knit a different size in order to get the finished width you prefer.
How other gauges will effect the size:
If your gauge is a little looser at 16 stitches = 4″: Then this will make your vest circumference approx. 2 (2, 2.5, 2.5, 3) (3, 3, 3.5, 3.5, 4)” LARGER. For some of the smaller sizes, this may not be enough of a difference to warrant knitting a different size, but for some of the larger sizes it might.
If your gauge is a little tighter at 18 stitches = 4″: This this will make your vest circumference approx. 1.5 (2, 2, 2, 2) (3, 3, 3, 3, 3.5)” SMALLER. Again, for some sizes this may not be enough to warrant making a different size but for others it might.
Technique Tutorials
Below are tutorials for the techniques used in this pattern. Note: m1p-R & m1p-L are missing because I’m working on the videos for those now. In the meantime, you can refer to this tutorial from Purl Soho.
Placing locking markers at start of upper back
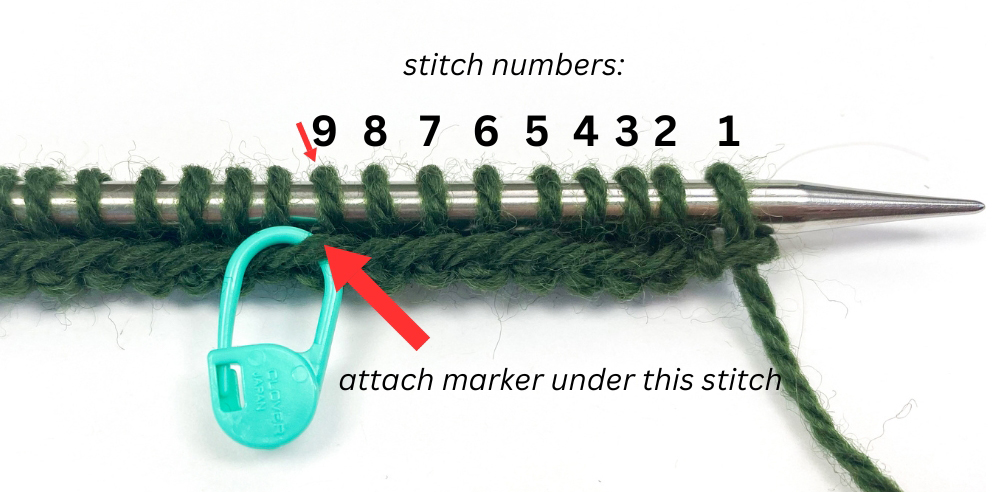
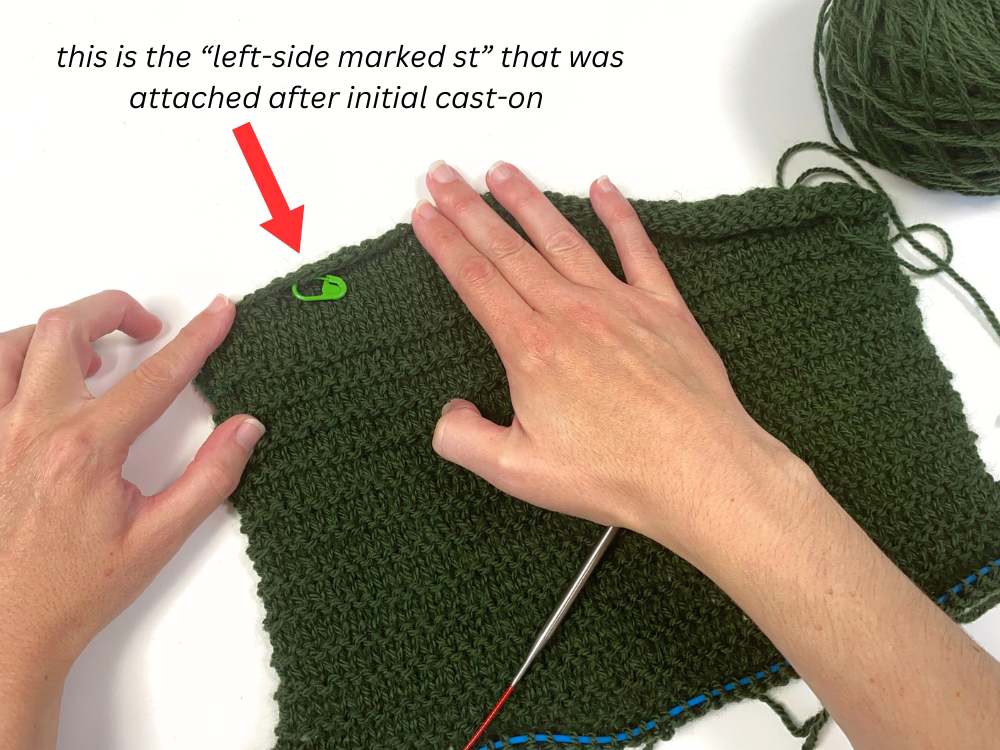
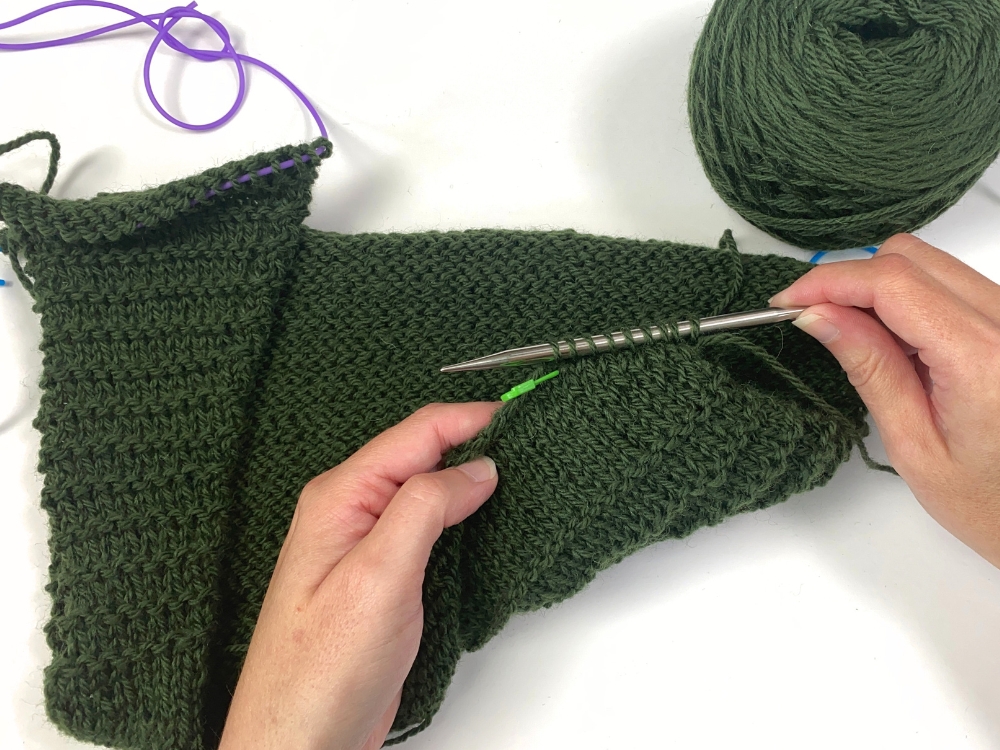
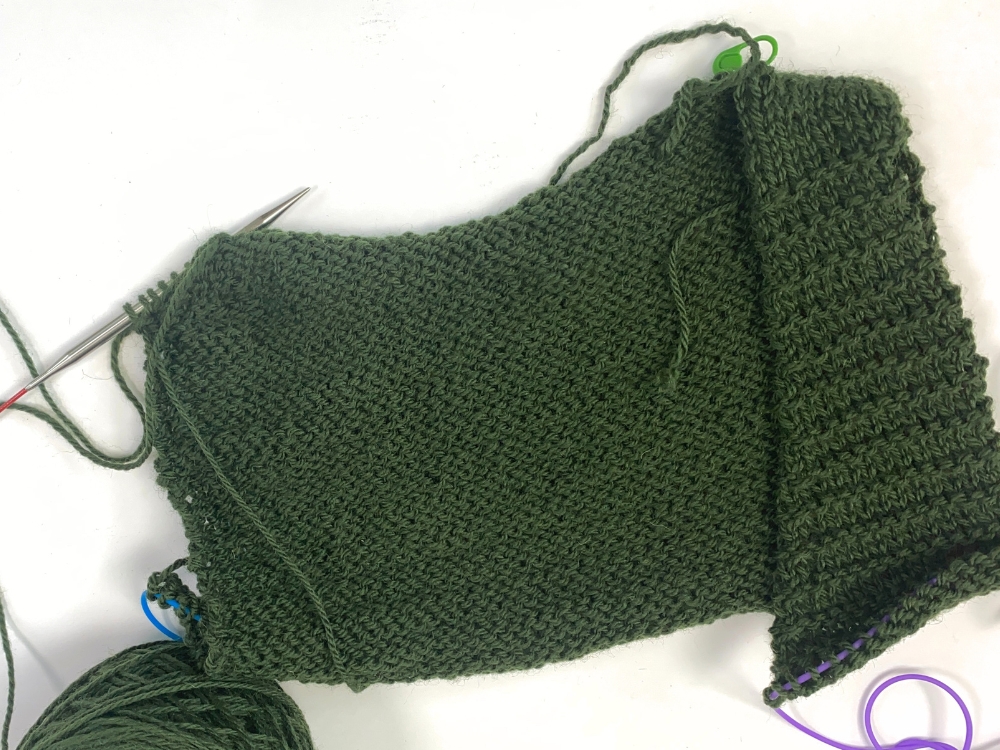
After casting-on, you’re instructed to place 2 locking stitch markers on the RS of the fabric. So you’re not placing markers on the needles but on the fabric itself. So for example, for size 1, it says to attach a locking st marker on the 9th st in from each edge. Here is what that looks like:
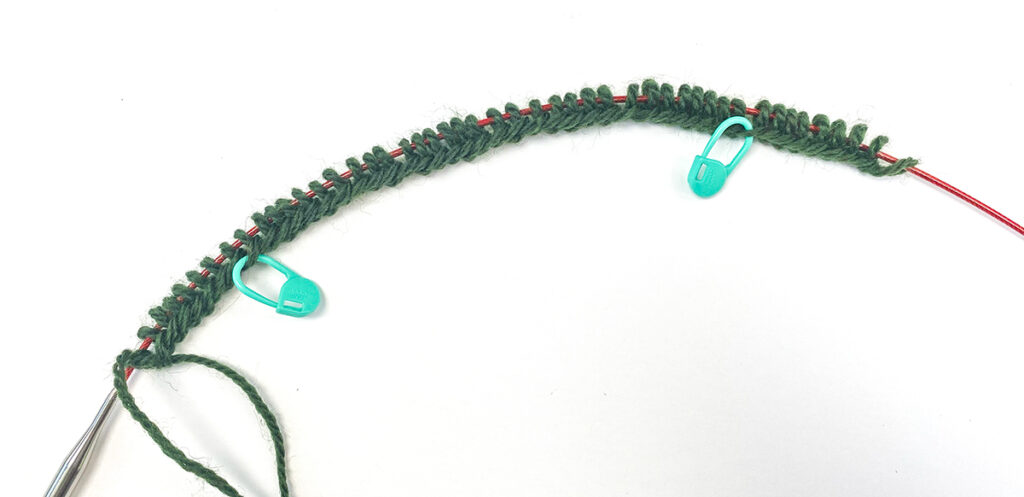
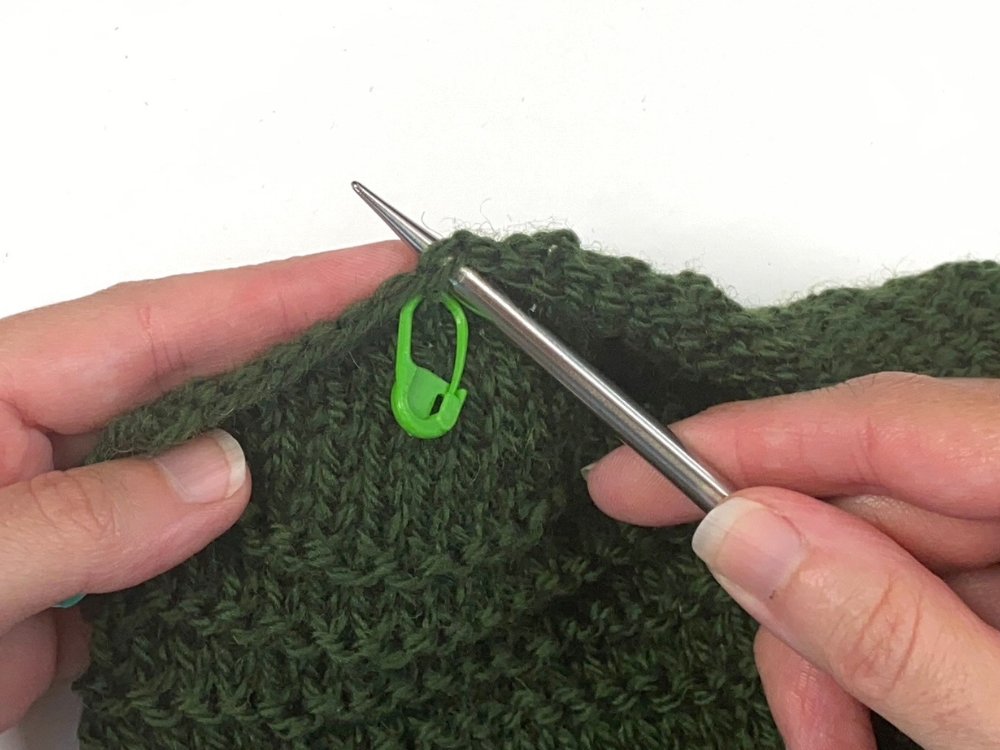
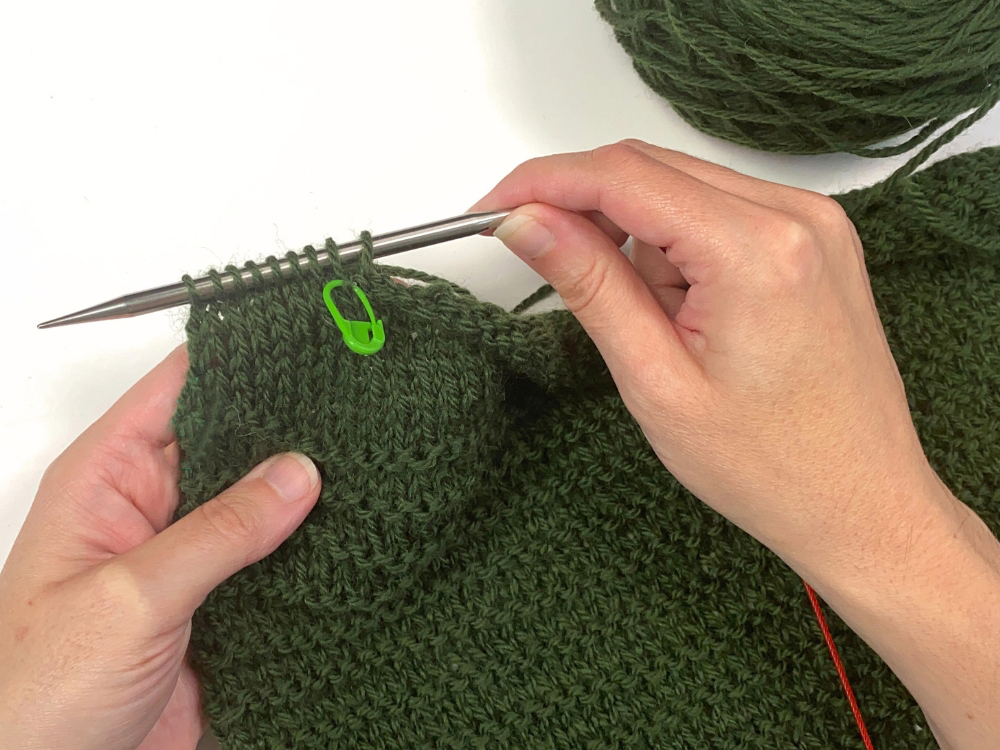
And here is an upclose shot. This shows the marker being attached to the 9th stitch (since this is for size 1):
Tips on working back armhole depth (and making adjustments)
In the “Upper Back” section (top of first column on page 3), you’re instructed to repeat rows 1-4 a certain number of times, or until it measures a particular length from the top of the shoulder at the outer edge. If your gauge is off, you can choose to work less or more repeats in order to achieve that particular measurement.
Tip on measuring the armhole depth:
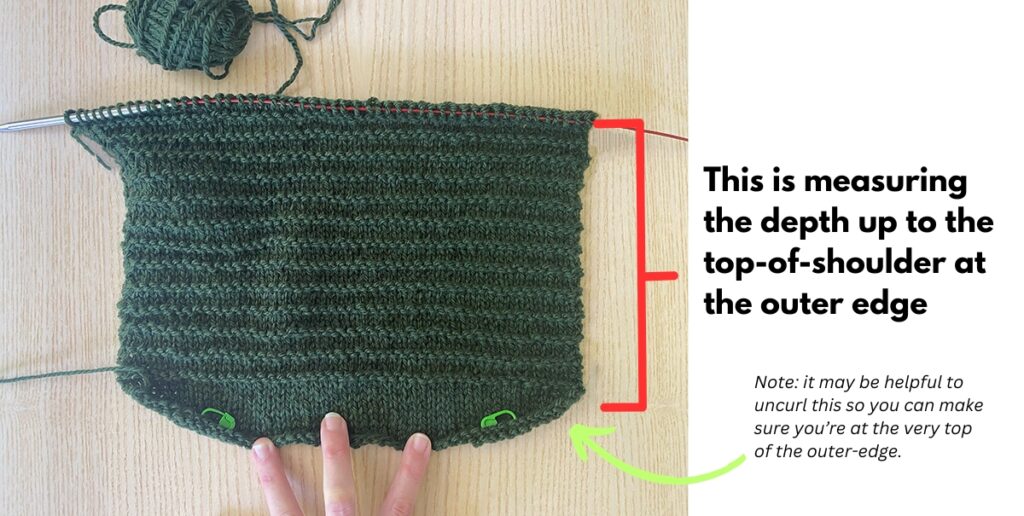
Because short rows were worked up at the shoulder, when measuring the armhole depth you want to make sure your measuring the outer edge and not inner shoulder since that is where we worked the short rows (and so extra depth was added there). The image below shows where best to measure…
When measuring, it can be helpful to ensure your top edge is uncurled so you are indeed measuring at the very top. For reference, there will be approximately .5-.75″ worth of fabric above the first garter ridge (which is kind of hard to see in the above photo since that edge is curled so I wanted to make sure to mention that!).
Important Note: The measurement given at this point is not your full armhole depth measurement. After the “Upper Back” section is complete, you still have
10 (14, 14, 18, 18) (22, 22, 26, 26, 34) rows to work in your armhole depth in the next 2 sections (in these rows you will shape the armhole). This works out to approx 1.5 (2, 2, 2.5, 2.5) (3, 3, 3.5, 3.5, 4.75)”/4 (5, 5, 6, 6) (8, 8, 9, 9, 12) cm in additional depth still to be worked.
What if your row gauge is different and you need to make an adjustment?
If your row gauge is different from the pattern, you can either add or remove one of the repeats from this section. For example if your row gauge was looser at 6.5 rows = 1″ (instead of 7.25 rows = 1″), then you may want to remove 1 repeat. And if your gauge was tighter at, say, 8 rows = 1″, then you may want to add 1 repeat.
Here’s the key though: if you add or remove a repeat, make note of how many because you will need to replicate this on the Left & Right Fronts (see below on how these adjustments are handled on the Fronts). Below are tips on where I suggest these rows are removed/added on the Front in these situations.
If you ADDED 1 repeat in the Back Armhole Depth
- In the “Left Front Armhole Depth – Part 1”, and “Right Front Armhole Depth – Part 1”, after working rows 1-8 the first time (so before working the repeats listed in that section), repeat rows 5-8 1 time. Then proceed with the instructions as written, repeating all of rows 1-8 however many times it says for your size.
If you REMOVED 1 repeat in the Back Armhole Depth:
- In the “Left Front Armhole Depth – Part 1”, and “Right Front Armhole Depth – Part 1”, when working the repeats of rows 1-8, on the last repeat you work, omit rows 5-8.
So what should you do if you added or removed more than 1 repeat in the Back Armhole Depth? A lot will depend on exactly which size you are making. But the key is that you want to add them or take them away somewhere in the Front’s armhole depths part 1 or 2, but you don’t want it to affect the neck increases. If you are a newer knitter (or newer at making pattern adjustments), and you have more than 1 repeat to either remove or add from the front armhole depth’s, send me an email and I can help you based on your specific situation.
Remember: superwash yarn may stretch after blocking
When measuring, keep in mind that superwash yarns especially have a tendency to grow after-blocking. So what you’re measuring now may not be what it measures after you block. This is why I always recommend measuring your swatch before blocking as well as after so that you know if your fabric will grow or not in length.
So if you work the specified rows and measure your depth and it’s shorter than what is listed in the pattern, you may not want to add an extra repeat if you’re working with a superwash yarn or a fiber that you know will grow in length after you block.
How to start upper left section
After you’ve worked the back from the top (your cast-on edge) down the underarm, it’s time to start the upper Left section. In that section you’re instructed to pick-up & knit Left Shoulder sts from your Back cast-on, starting with the leftside “marked stitch”. When you look at the upper Back, where you did your original cast-on, you will have 2 marked sts – one on the left-side and one on the right-side.
To start the upper Left, you need to pick-up and knit the left-side shoulder sts from your upper Back, starting with the left-side marked stitch and ending at the outer left shoulder. Below are visuals of this whole process:
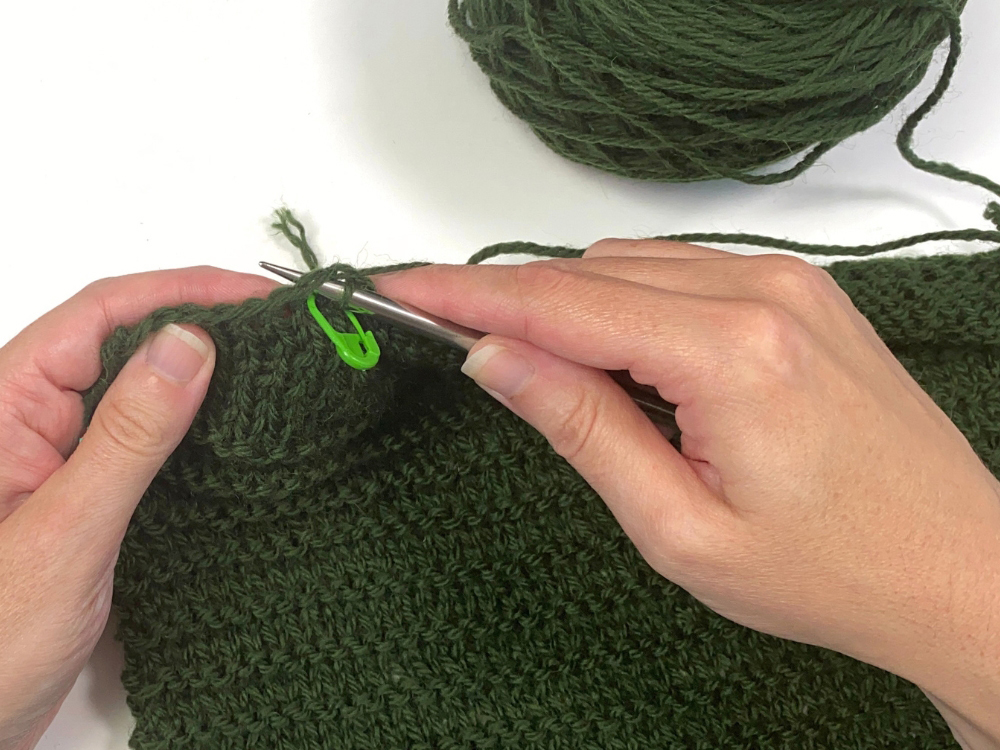
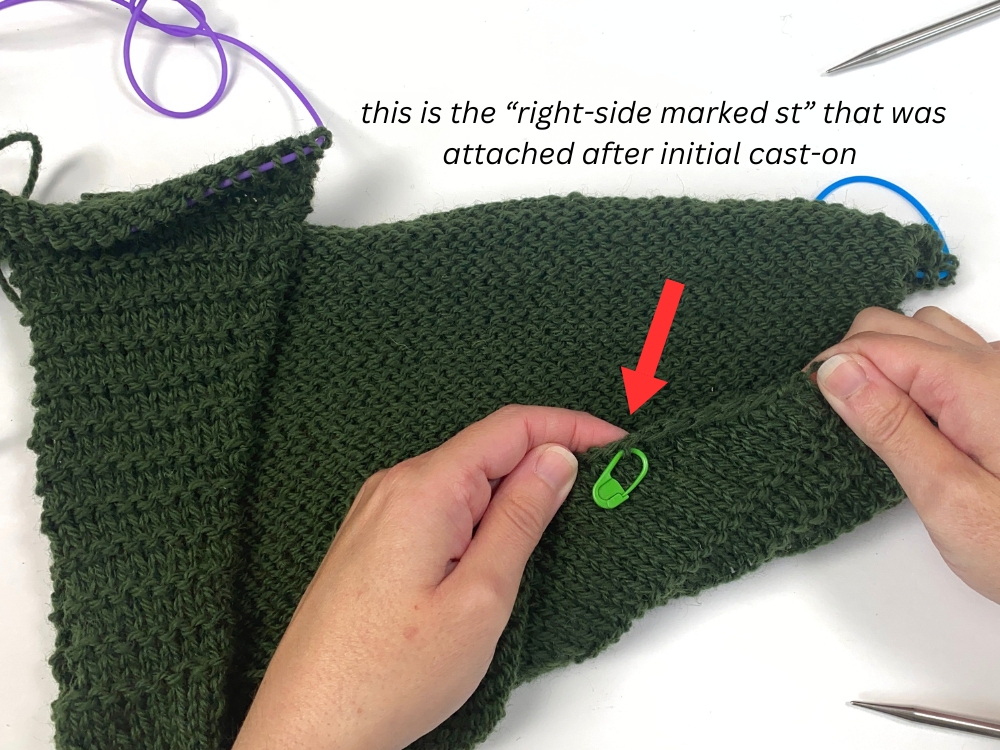
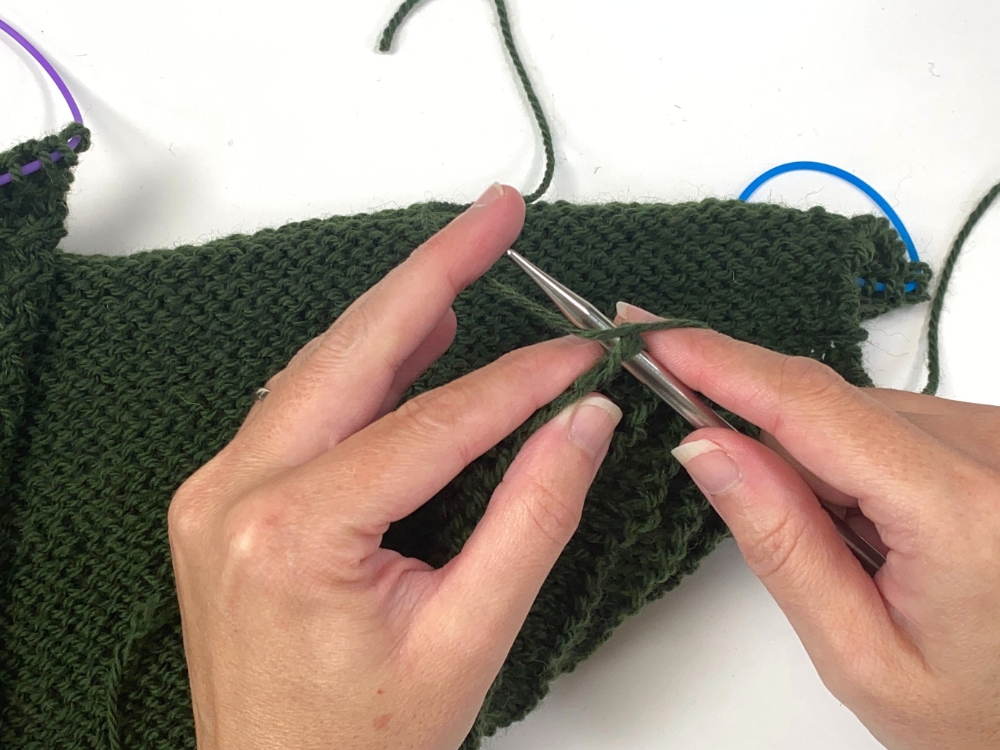
With the RS of the upper Back facing you, identify your left-side marked stitch:
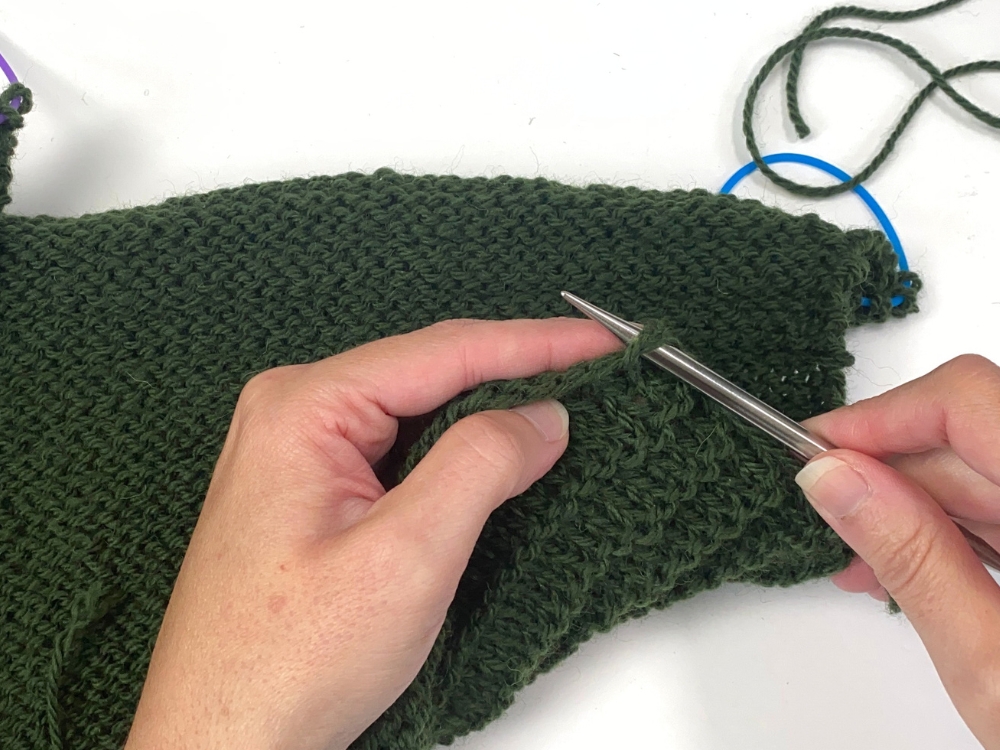
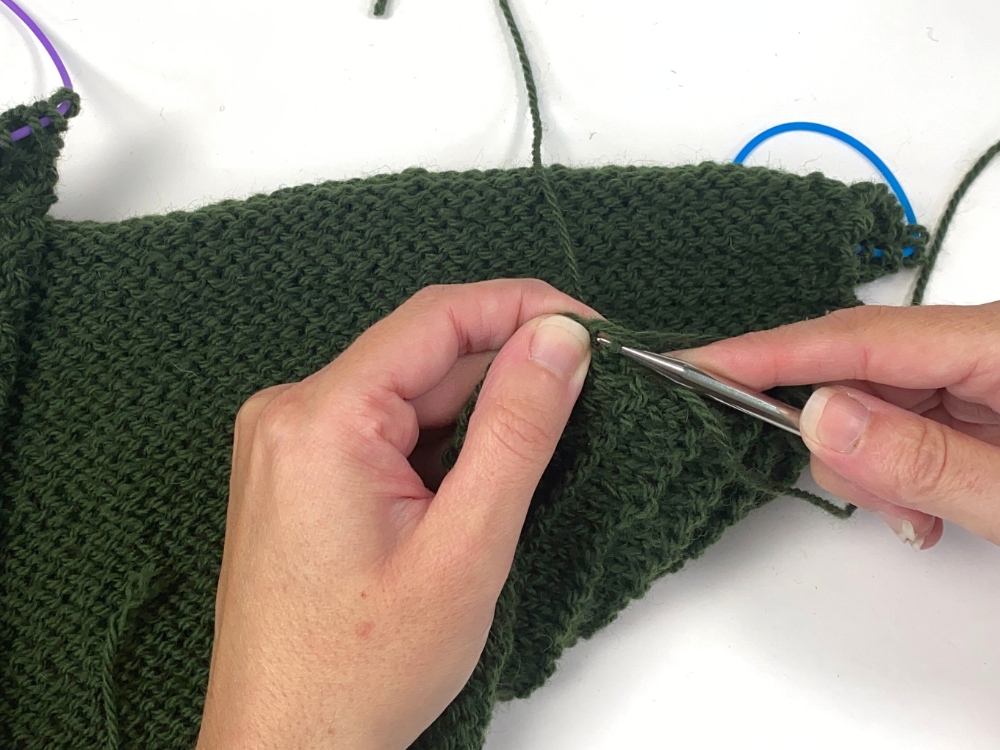
So to start the upper Left, I’ll insert my needle tip into this marked stitch (into both legs of the cast-on stitch):
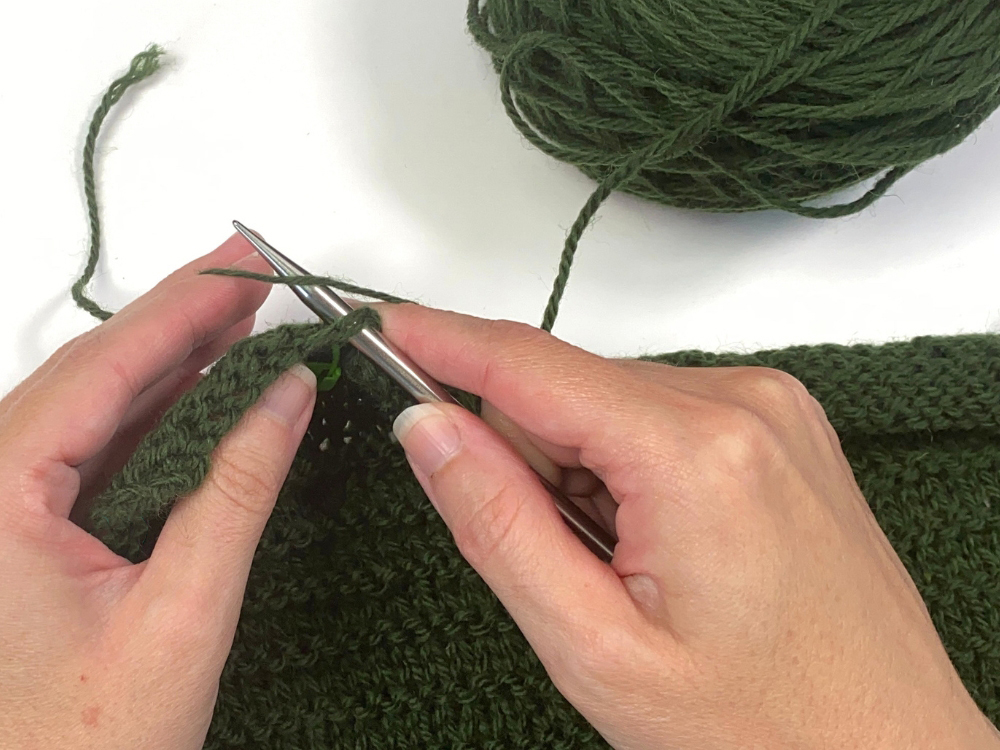
Then I will join the yarn by draping it over the top of the needle like this:
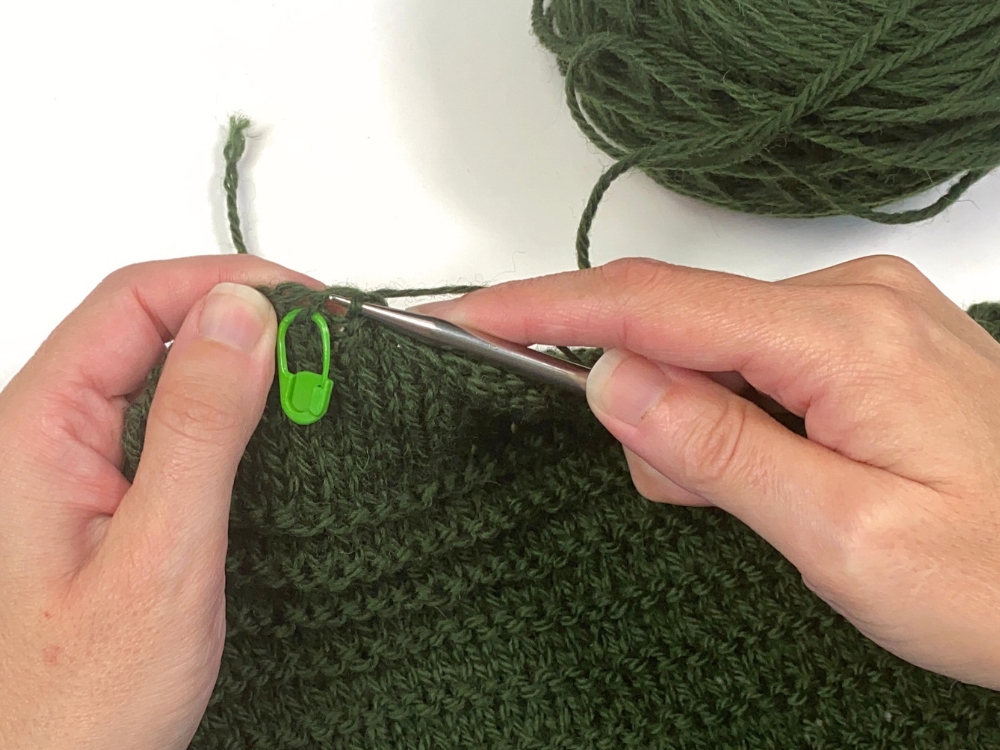
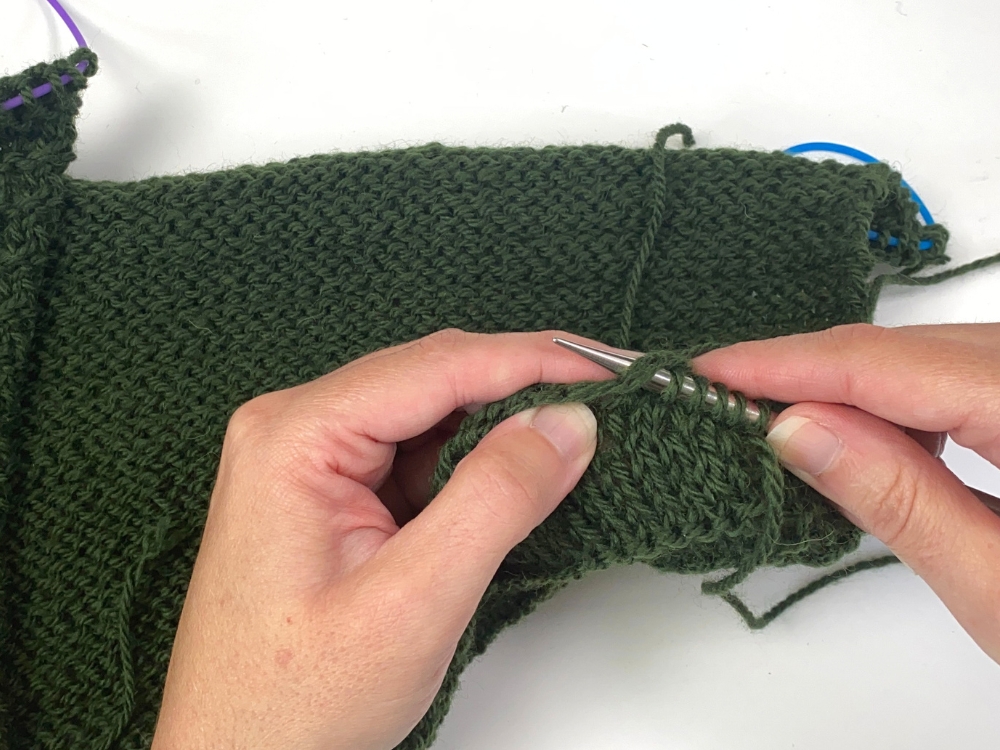
And then I will knit that first stitch:
Then I will continue to pick-up and k the remaining cast-on sts to the end (the exact number listed in the pattern, depending on your size:
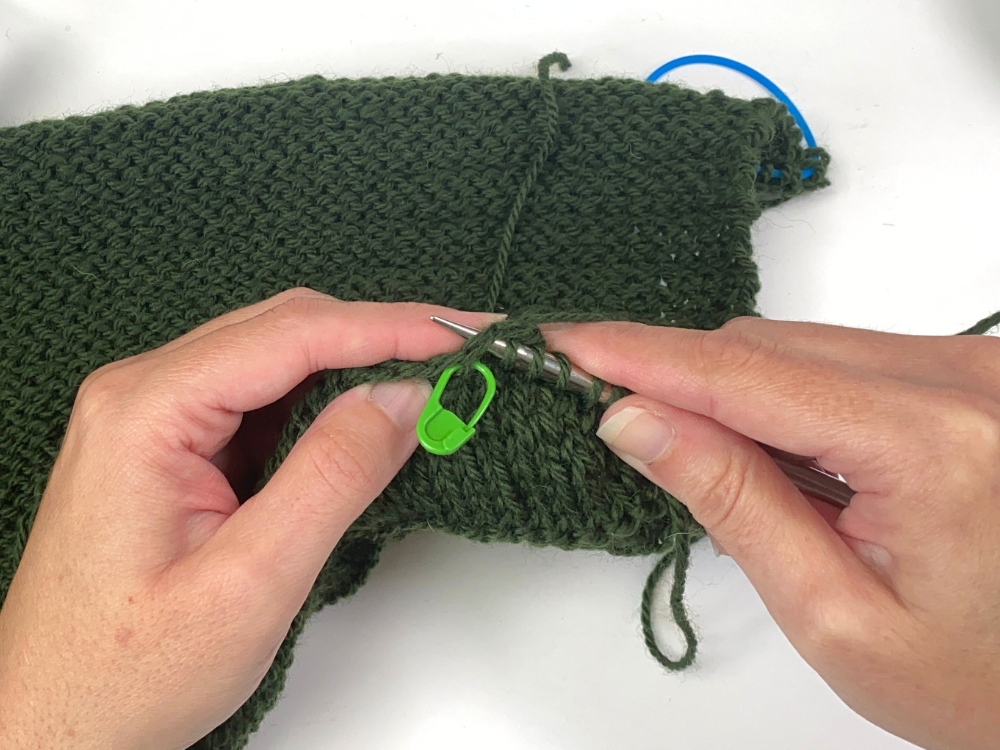
Once everything is picked-up and knit, it will look like this:
How to start upper right section
Starting the upper Right section is similar to how you started the upper Left, with 1 small difference. You’ll start picking-up and knitting the right-end cast-on stitches from the upper Back from the outer edge inwards toward the marked st (instead of starting at the marked st). The below visuals show this.
With the RS of the upper Back facing you, identify your right-side marked stitch – you won’t start with this stitch but you will end with it.
So to start the upper Right, I’ll insert my needle tip into the first cast-on stitch at the edge of the right-end (into both lefts of the cast-on stitch):
Then I will join the yarn by draping it over the top of the needle like this:
And then I will knit that first stitch:
Then I will continue to pick-up and k the remaining cast-on sts to the end (the exact number listed in the pattern, depending on your size:
And here is what it looks like when you pick-up the last st, your “right-end marked st”:
Once everything is picked-up and knit, it will look like this:
And here’s another view of what it looks like at this point, as you start the first row of the upper Right:
Underarm Connect
In the “Underarm Connect” section you will connect your 3 pieces together and cast-on sts for each underarm as you do so. For a step-by-step photo tutorial of this technique, visit this page.
Body Shaping & Adjusting Length
As written, Woods Road Vest provides 2 different body options – either no shaping or waist-shaping. For either, adjusting the length is very easy. Here are some tips:
- For the no body shaping version, simply repeat rows 1-4 in the pattern until you’re 2″ less than the desired length you want (as written I say 10.5″ since the total is 12.5″ but you can work it more or less).
- For the waist-shaping version, you can alter the length in the “waist-shaping part 3” section, either repeating rows 1-4 more or less times.
- For either, an important thing to remember is that your garment may grow in length after blocking, especially if you’re using a superwash fiber. This is why measuring your swatch before and after blocking can be so helpful so you would know whether or not your fiber may cause growth in the blocking process. If you didn’t do that, then generally I advise to assume that superwash fibers will grow at least 1″ during blocking so I’d generally recommend to make your vest a little shorter than you think you want it to allow for this.
Working the Front Bands
For more details and photo tutorials on working the Front Bands (picking-up and knitting the sts, the buttonhole placement and working the buttonholes), visit this page.
Working the Armhole Trim
For more details and photo tutorials on working the Armhole Trim (specifically, picking-up stitches around your armhole), visit this page.
Attaching Buttons
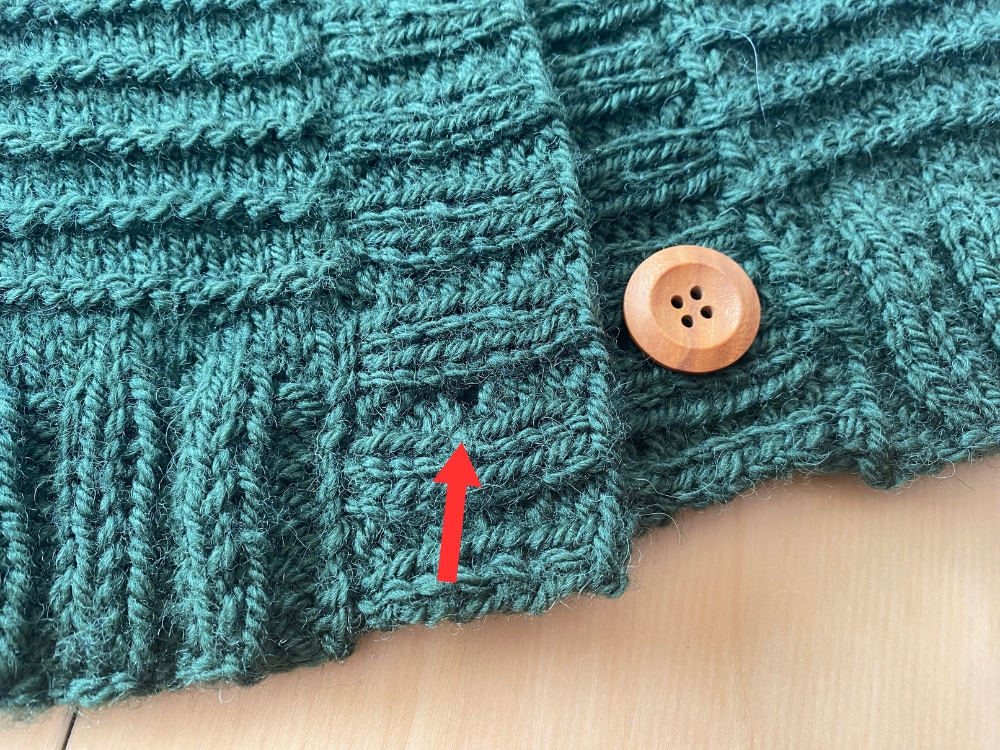
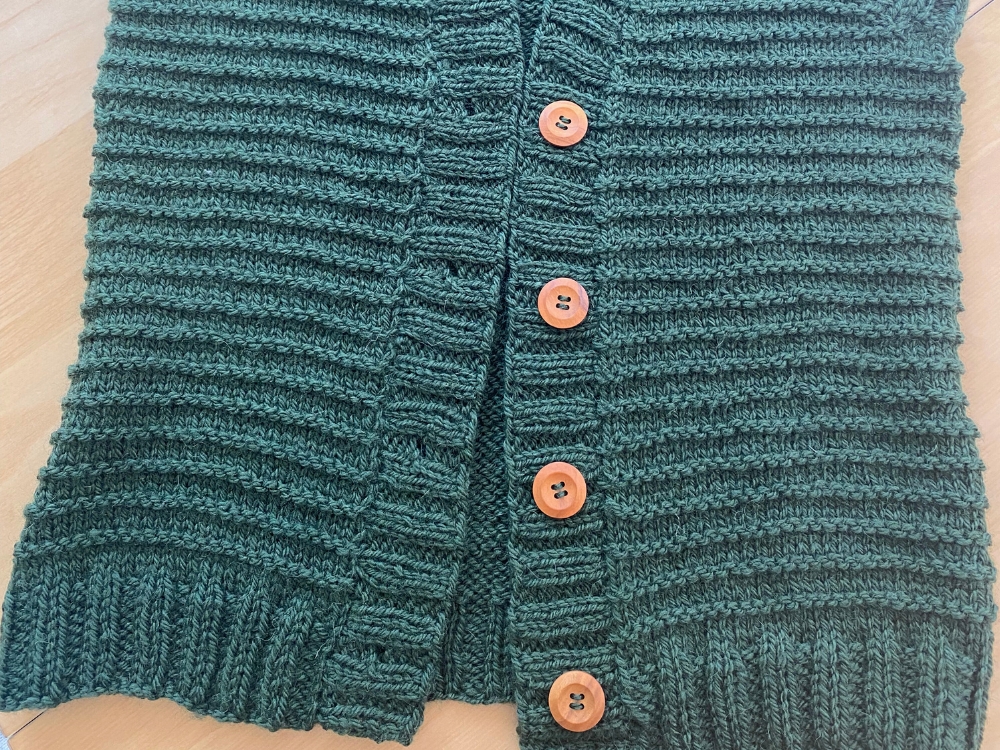
After blocking, it’s time to attach the buttons. Before sewing a button down, you need to properly place it. You’ll notice that the Right Band buttonholes are always in the purl “groove” of the ribbing. So you just need to count the number of “grooves” on the Left Band and make sure it matches with the Left Band. In the photo below, my bottom buttonhole is in the 2nd “groove” up from the bottom. So on the Left Band, I’ll place my button in the center of the second “groove” up from the bottom as well.
To sew my buttons down, I have this photo tutorial to show how I like to do it. Once I was done, it looked like this:

