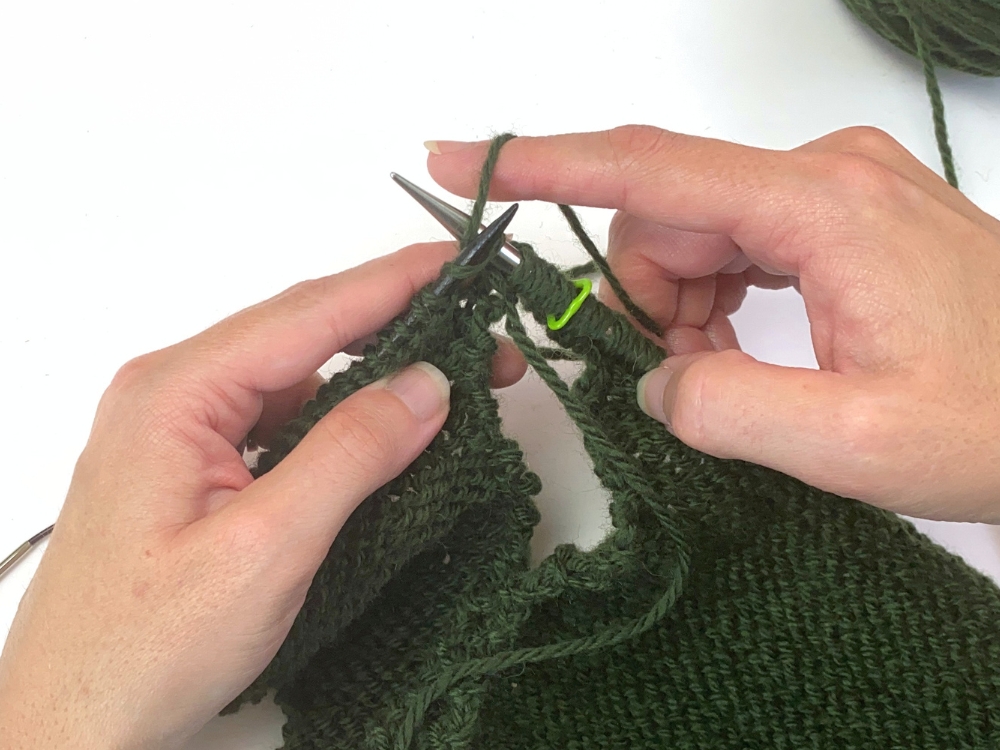
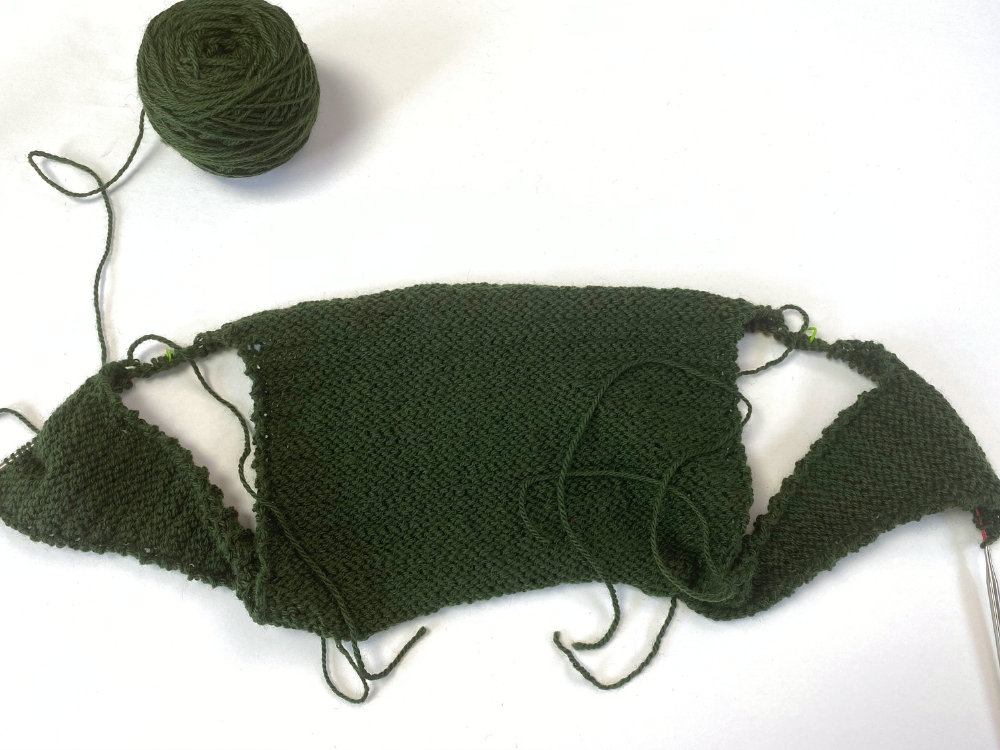
Woods Road Vest Underarm Connect
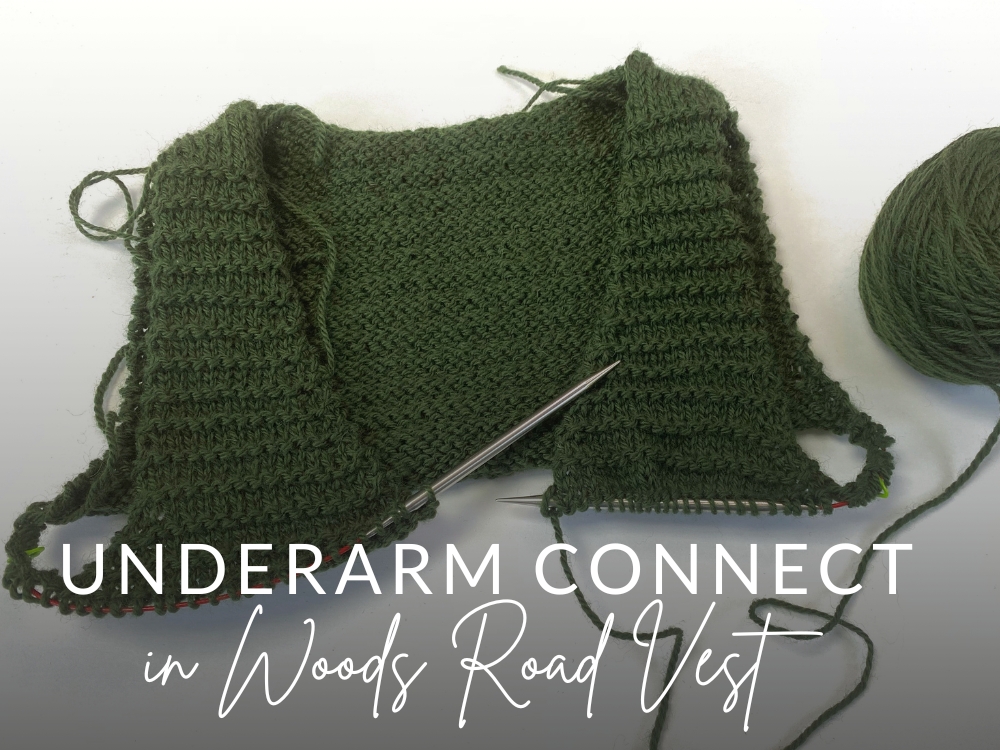
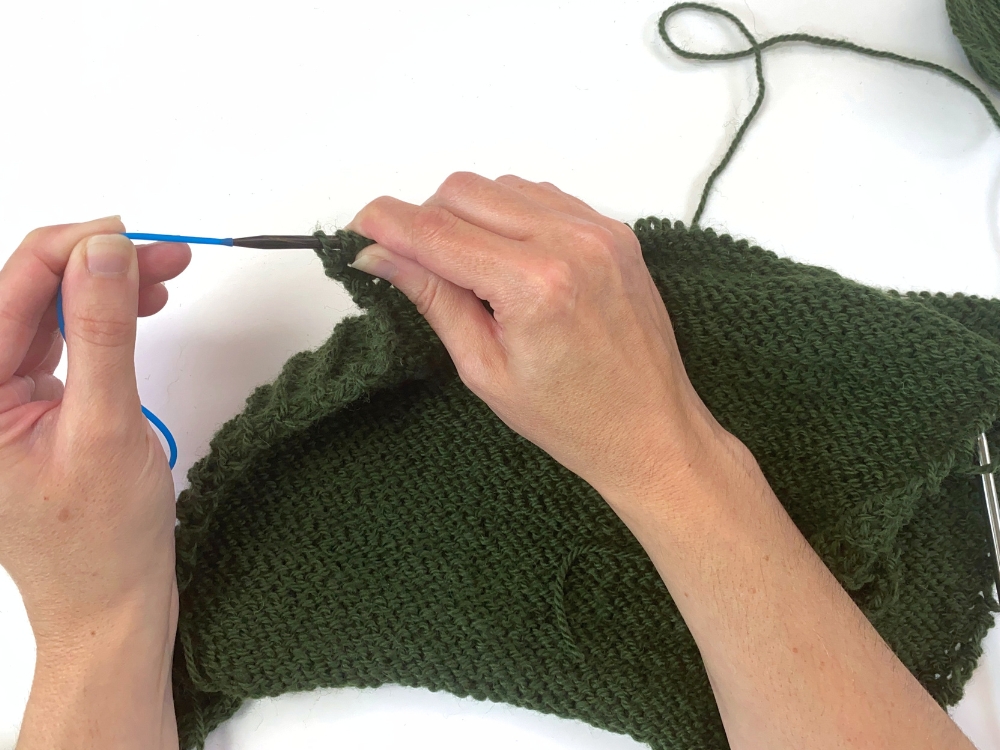
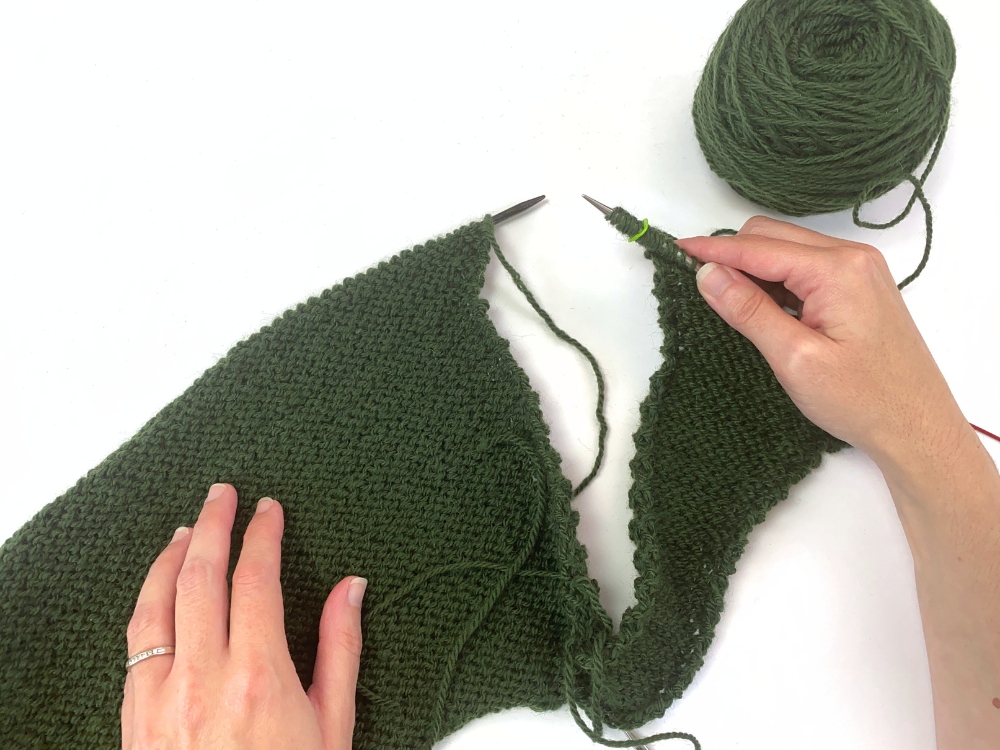
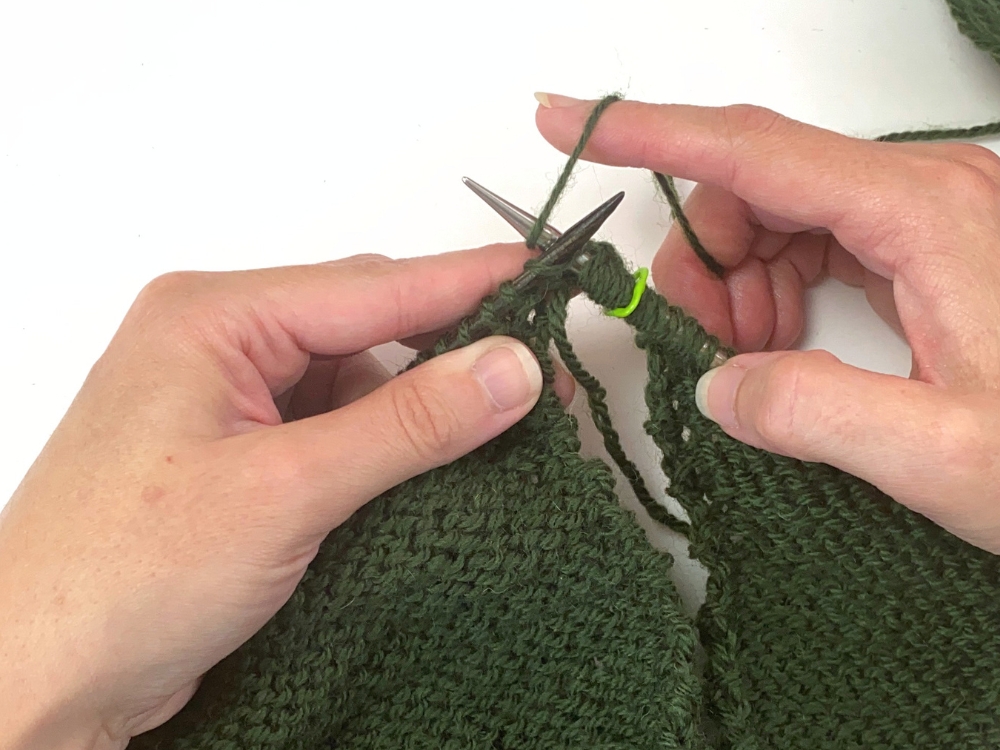
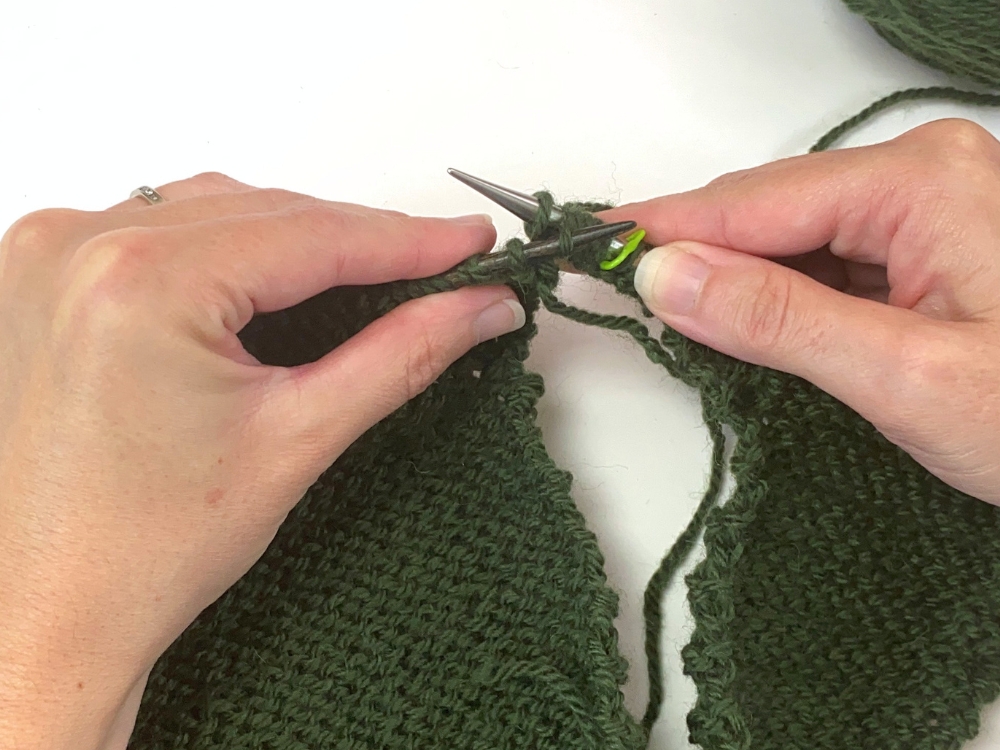
On this page, I provide a photo tutorial of each of the steps involved in working the “Underarm Connect” section of my Woods Road Vest:
Step 1:
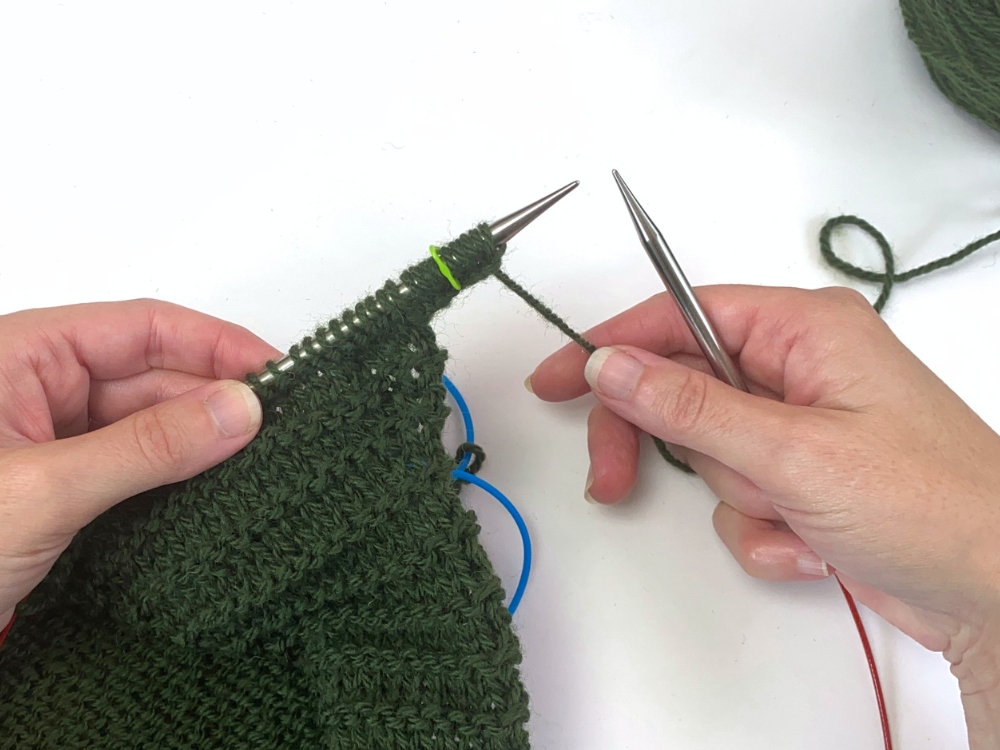
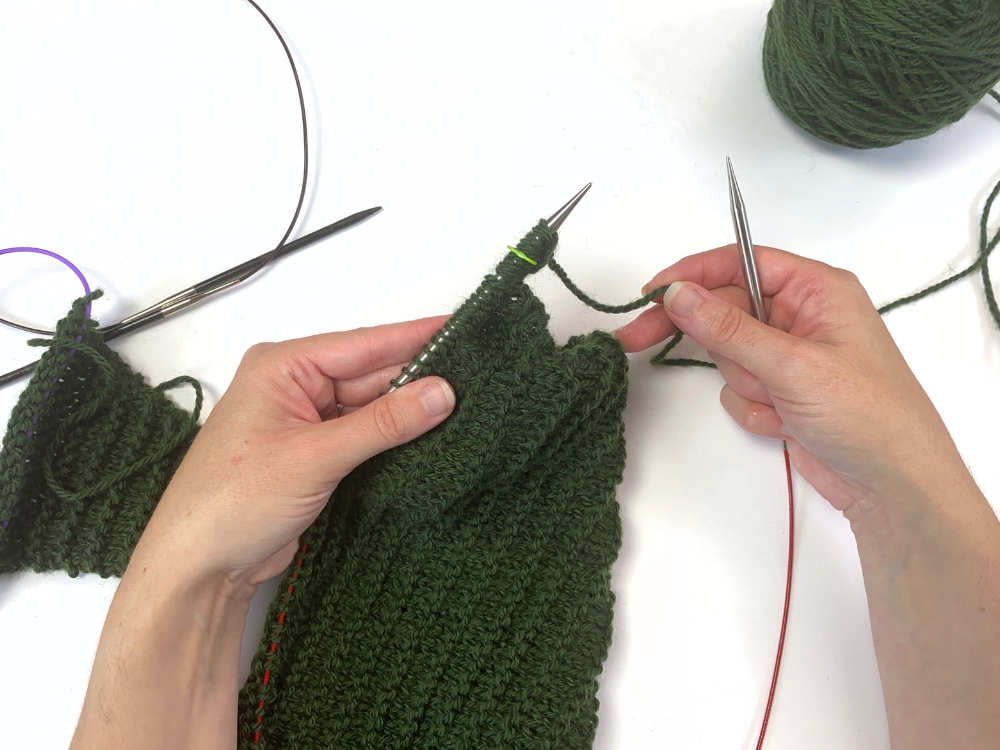
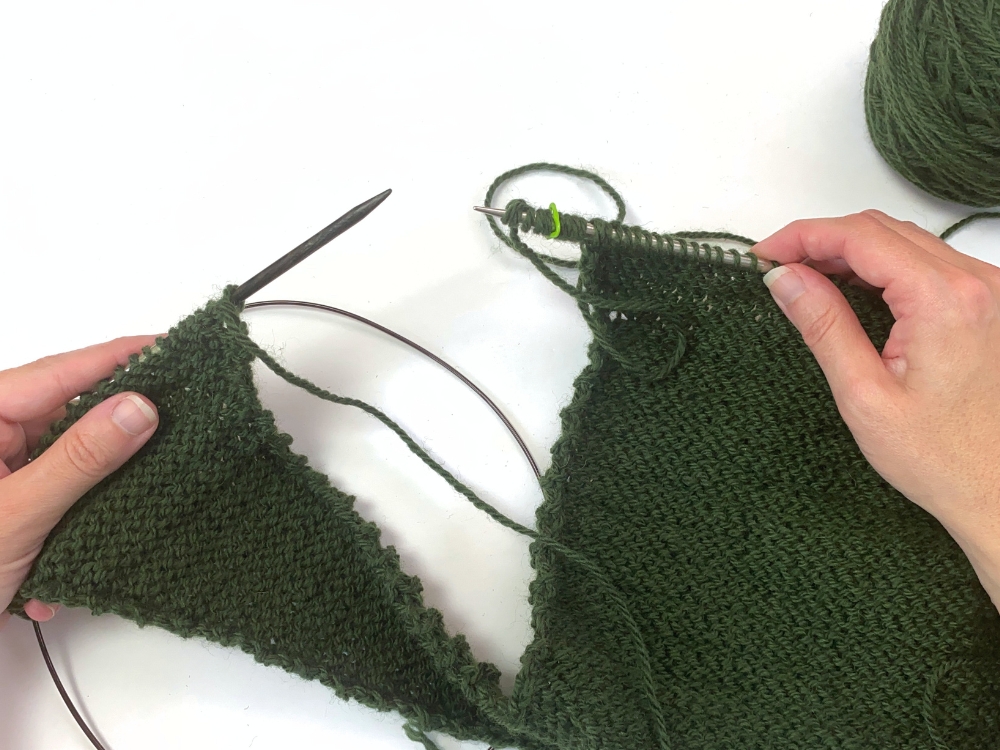
In this step you’ll simply continue on your Right Front on a WS row, knitting to the end (since we’re on a “ridge row”):
Step 2:
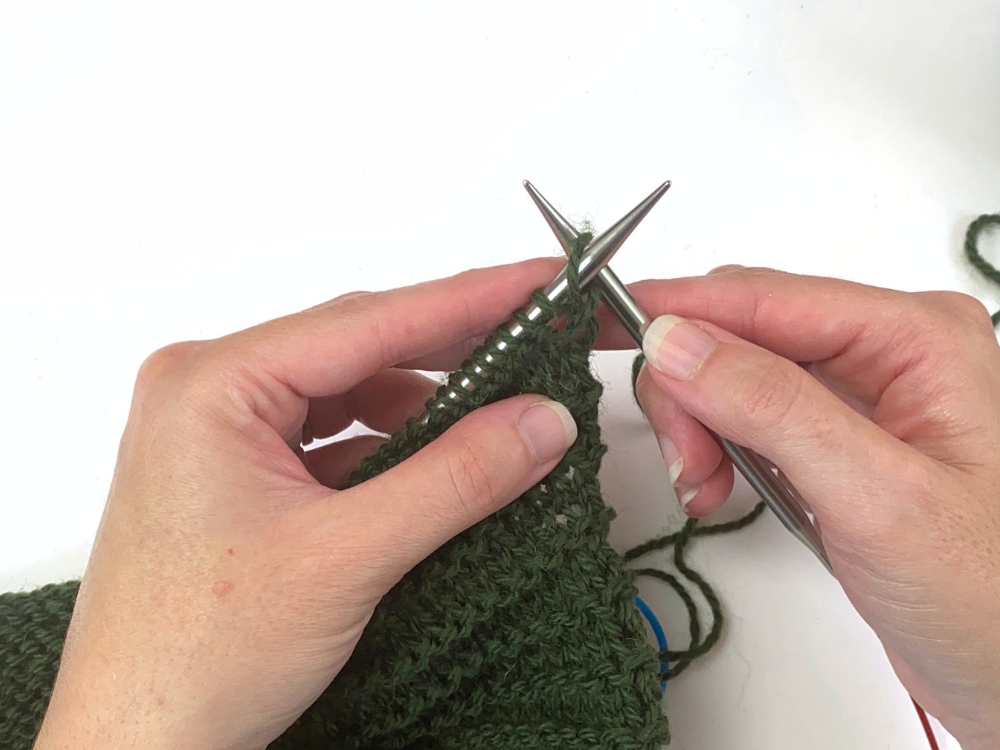
In Step 2, the first thing to do is to turn the Right Front so that the RS is now facing you:
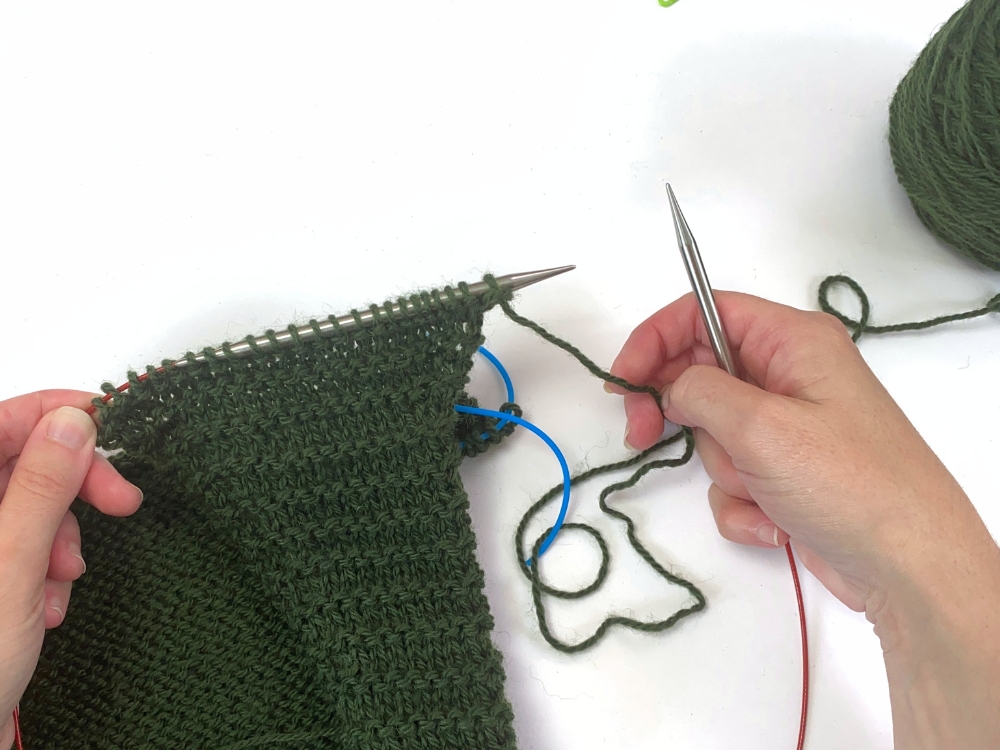
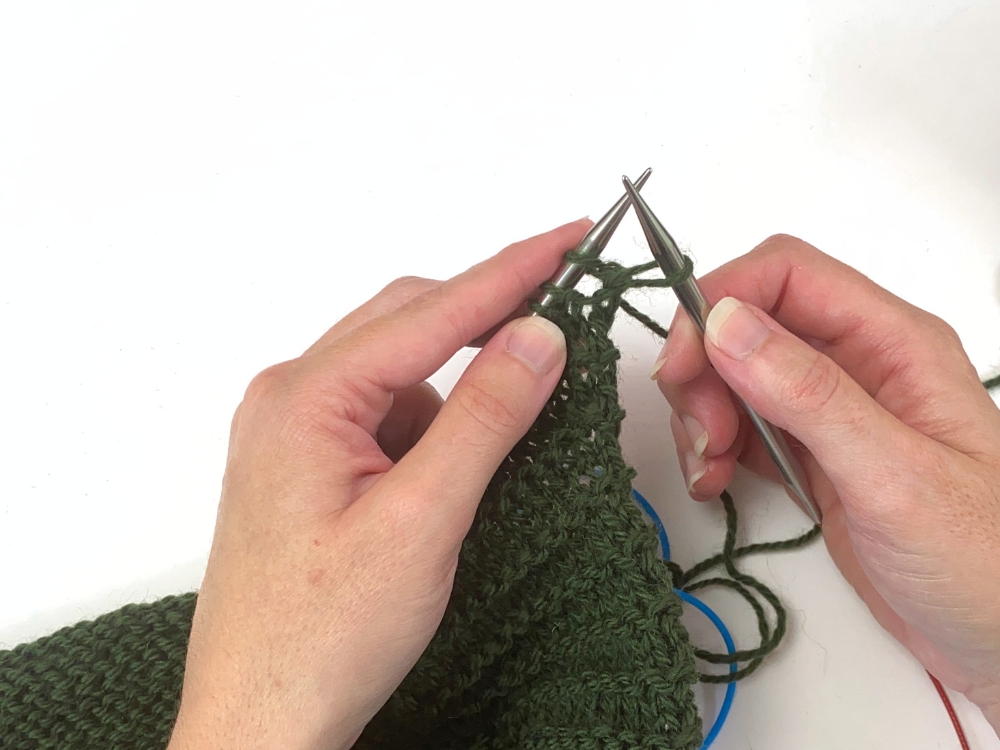
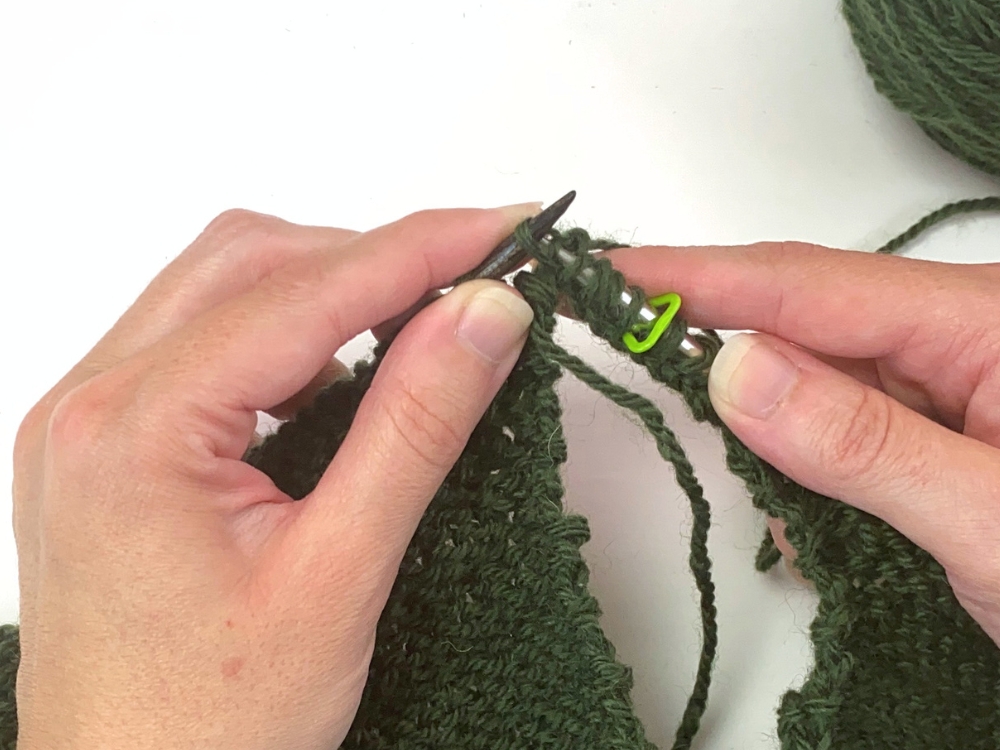
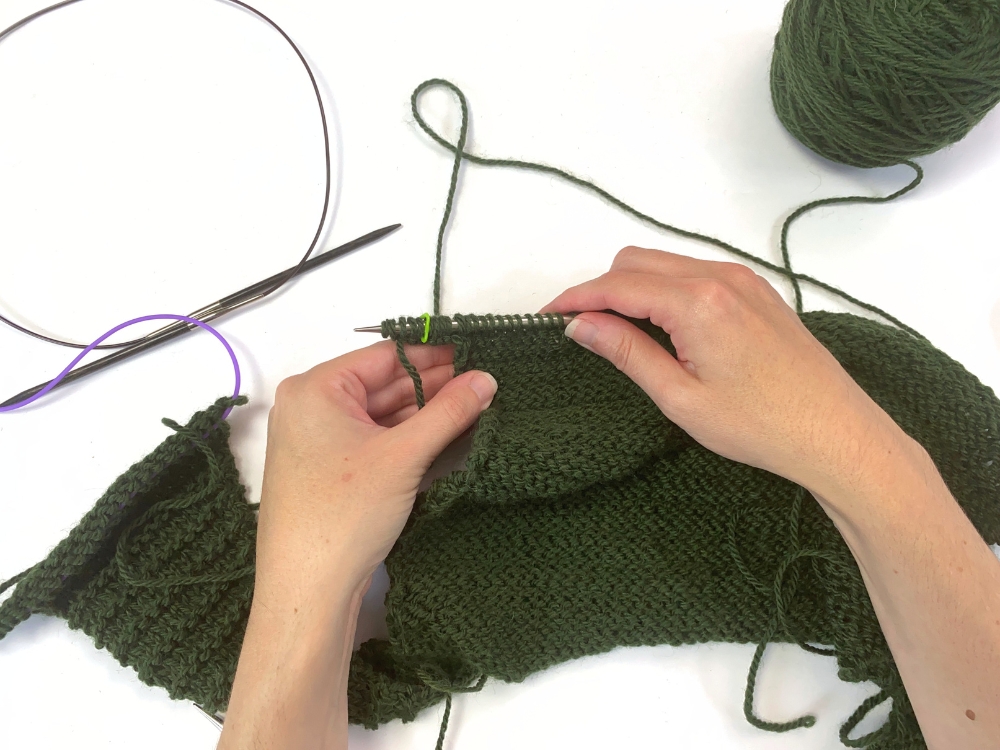
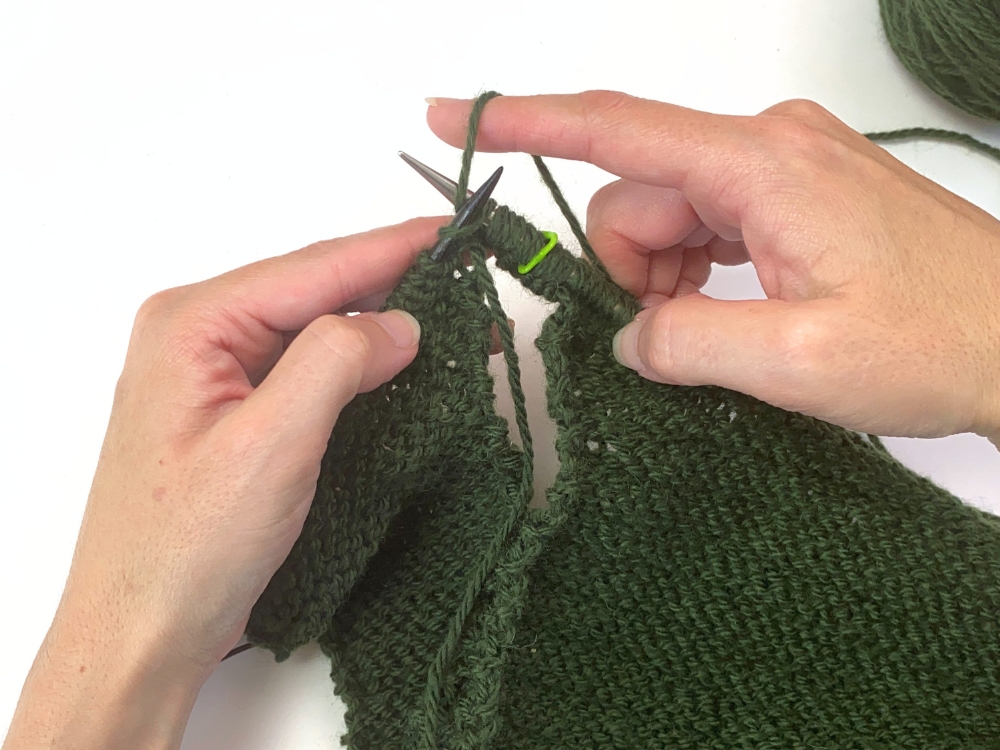
Then, you’ll be using the cable cast-on technique to cast-on stitches. For a basic video lesson on how to work the cable cast-on, click here. The photos below show me cable casting-on my first stitch:
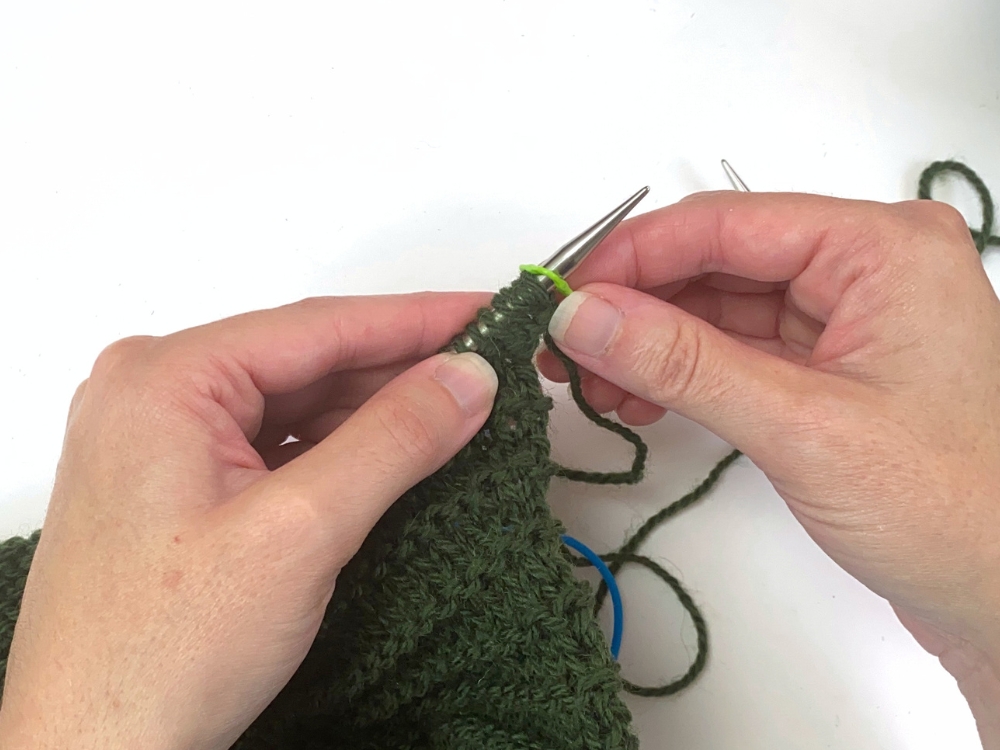
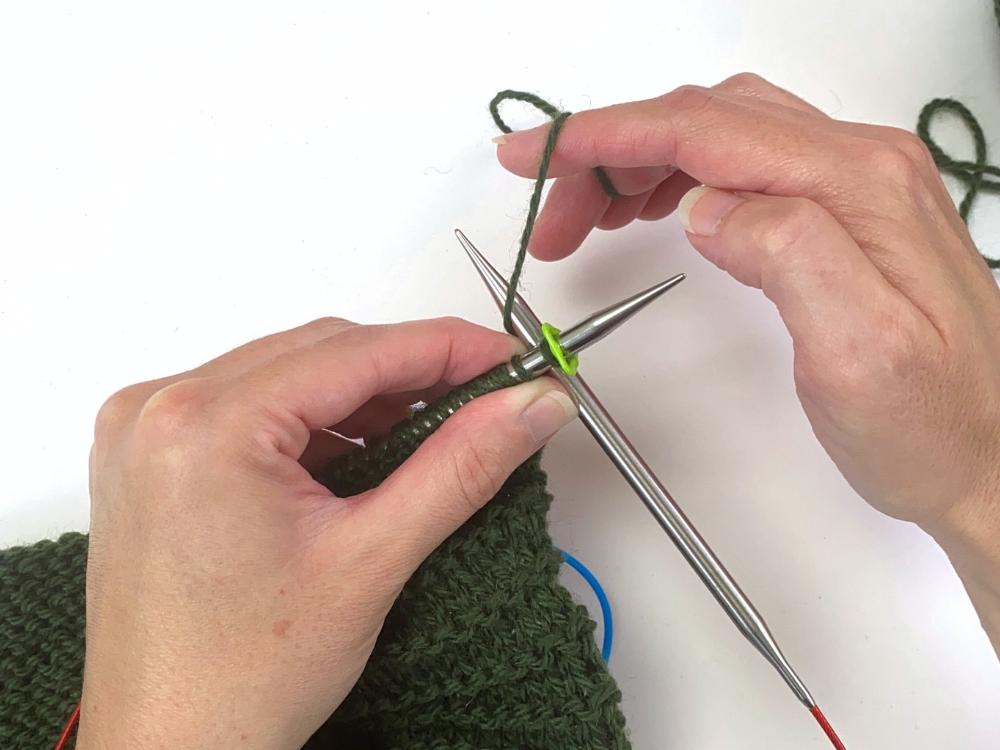
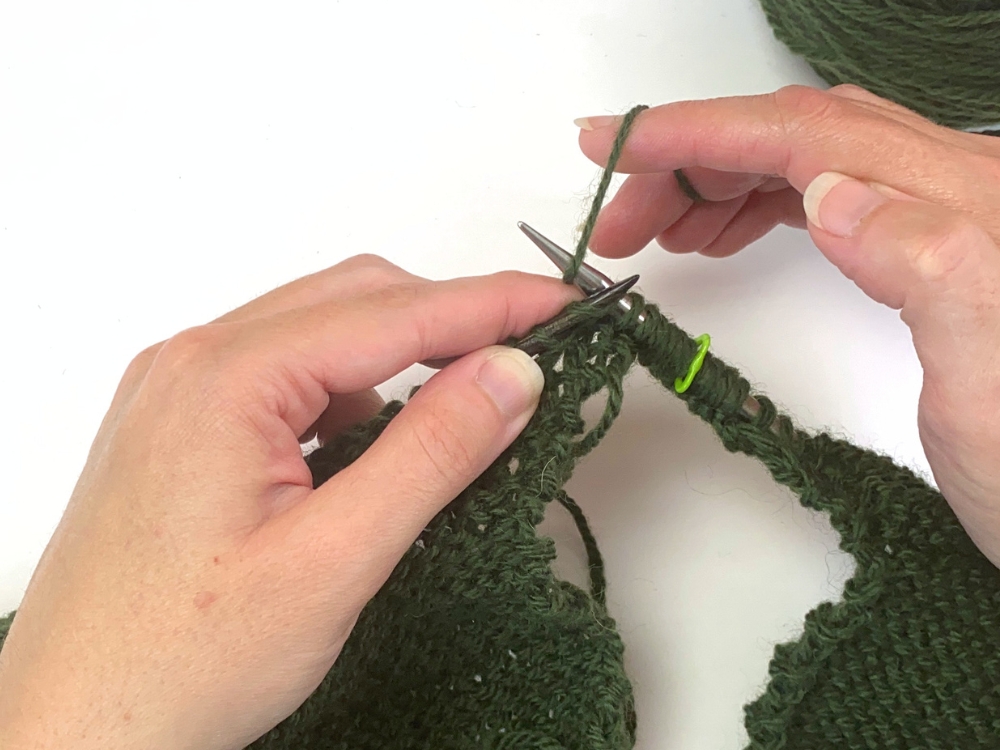
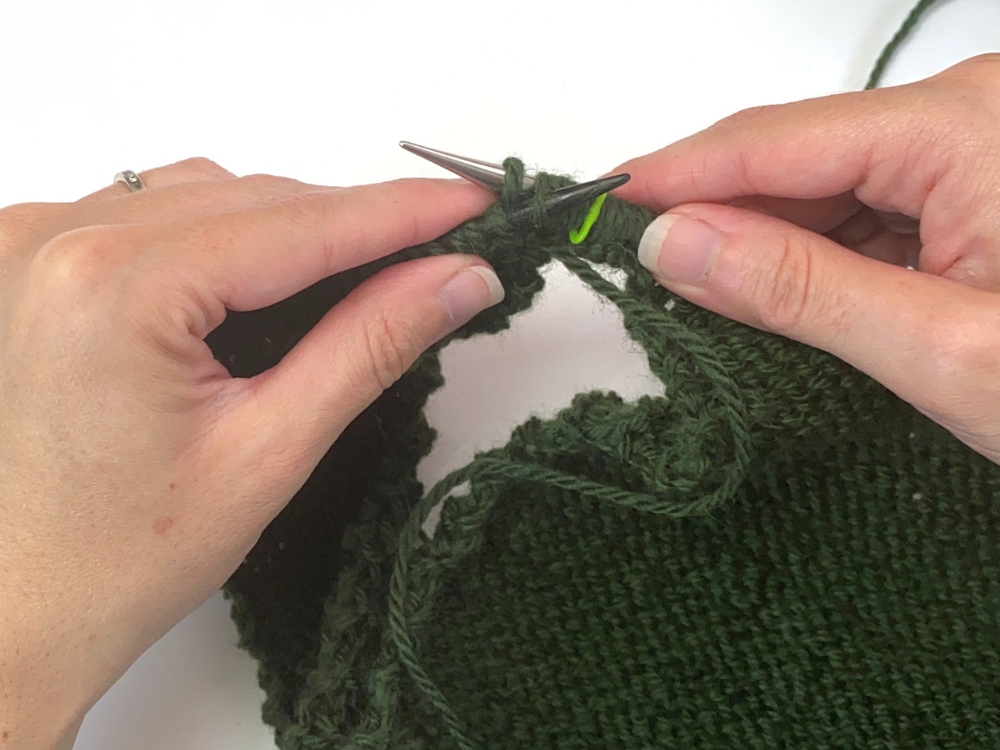
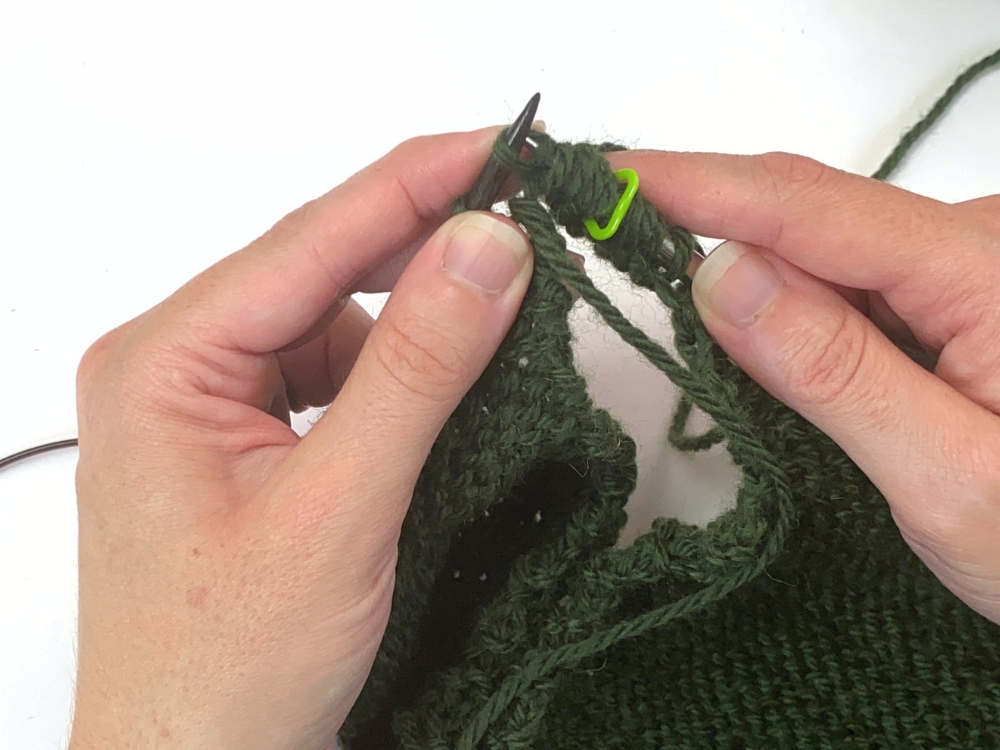
Then it says to “pm for side” and cable cast-on additional stitches (note: on this side of the marker, you’ll be casting-on 1 more stitch then you did on the other side of the marker – that is intentional and you will see why shortly). In the photos below, you’ll see me placing the marker, then starting to cable casting-on again, and then what it looks like once all of the stitches have been cast-on.
Then the last part of Step 2 is to just turn the work again so the WS is once again facing you:
Step 3:
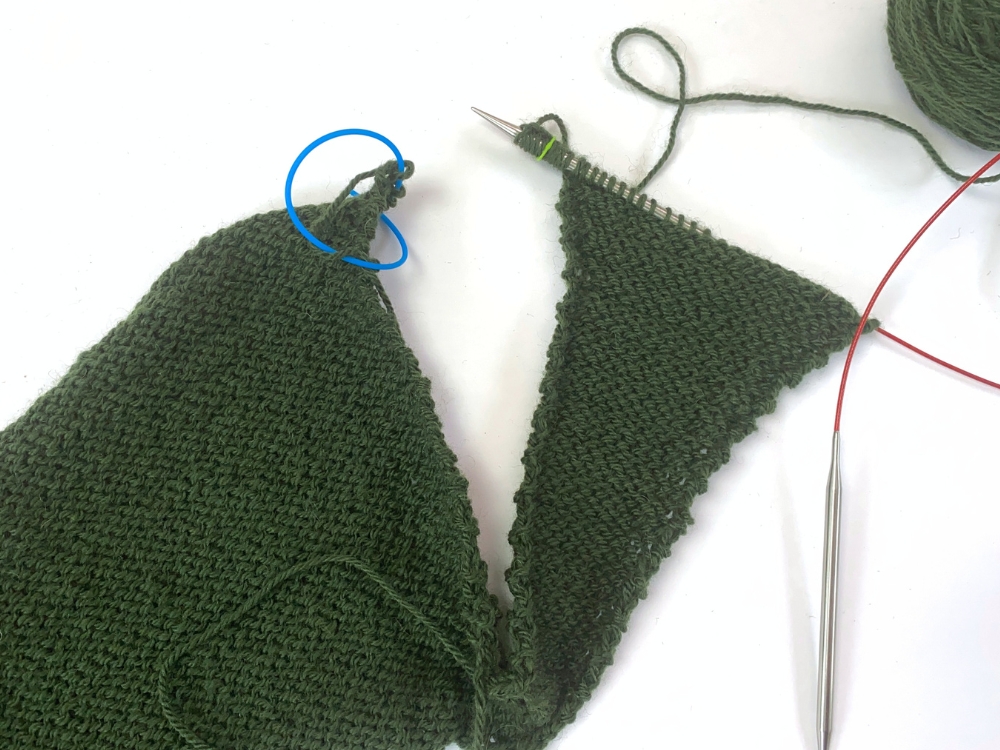
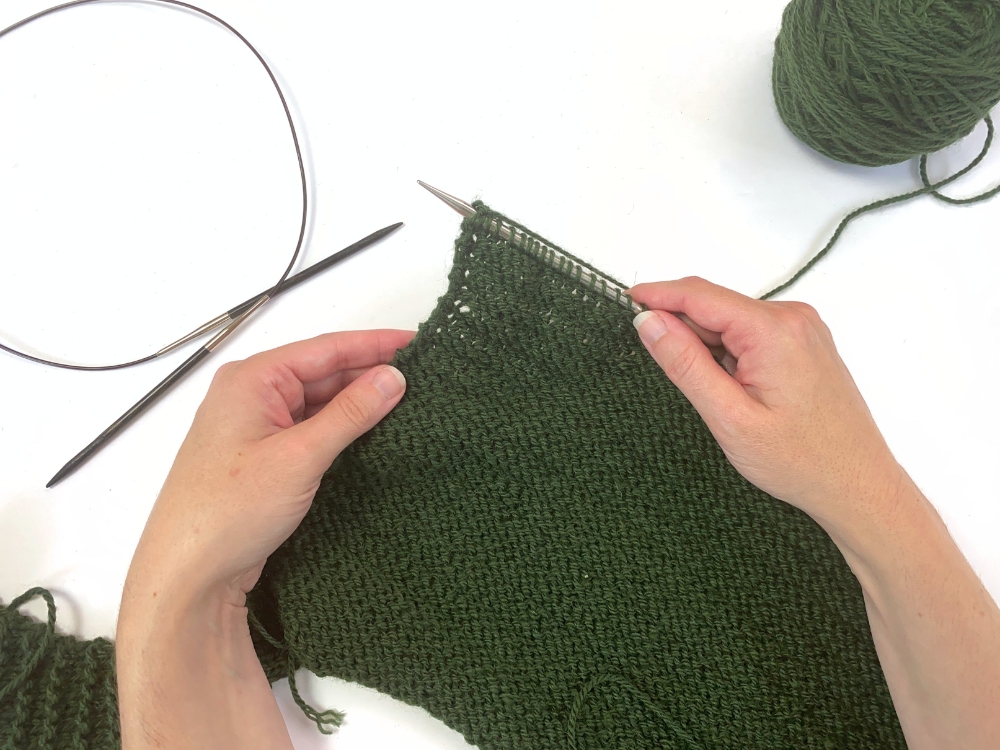
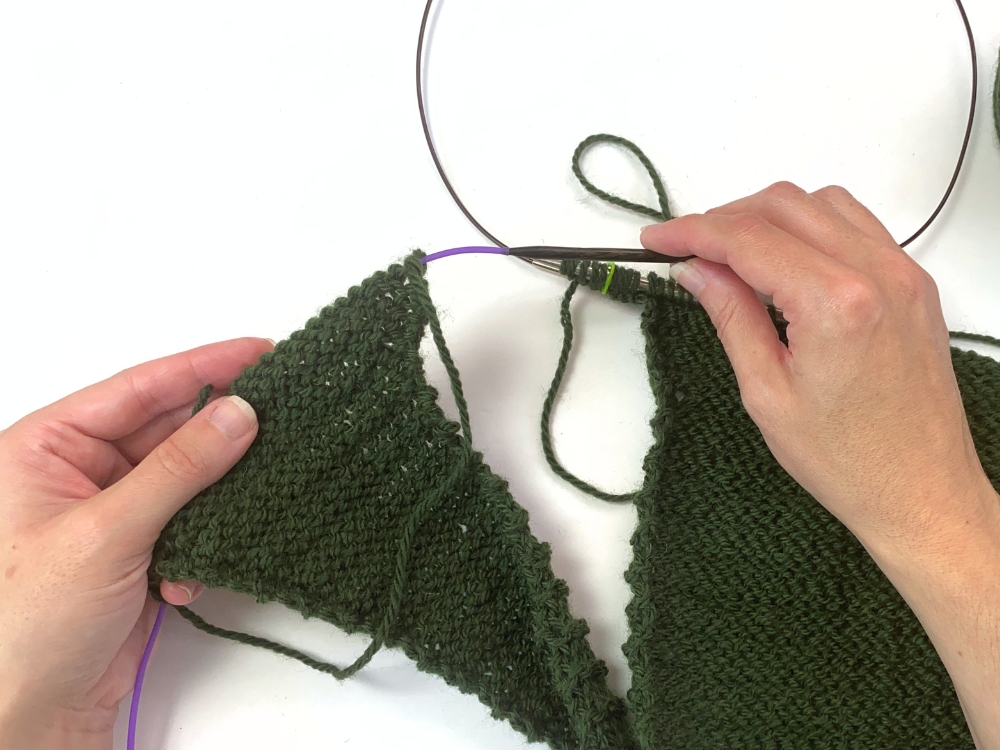
In Step 3, you first will need to transfer the Back sts that are currently on a holder onto a 24″ circular. In my photos below, I am transferring the Back sts from a stitch holder cord onto the circular:
And then you just need to turn the work so the WS is facing you again:
Step 4:
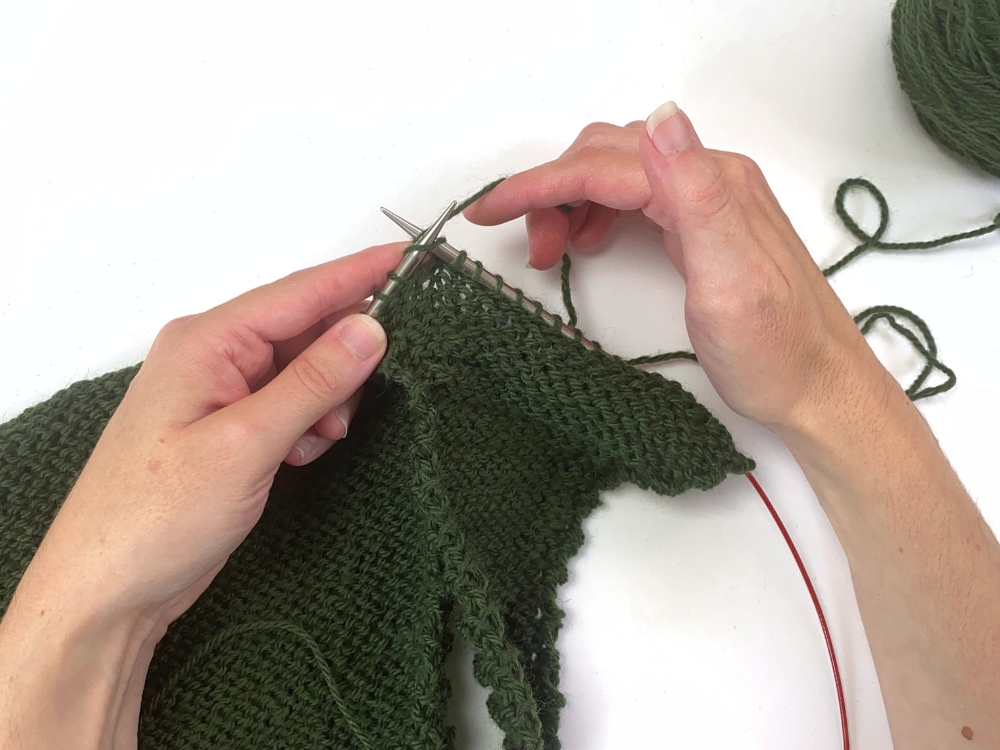
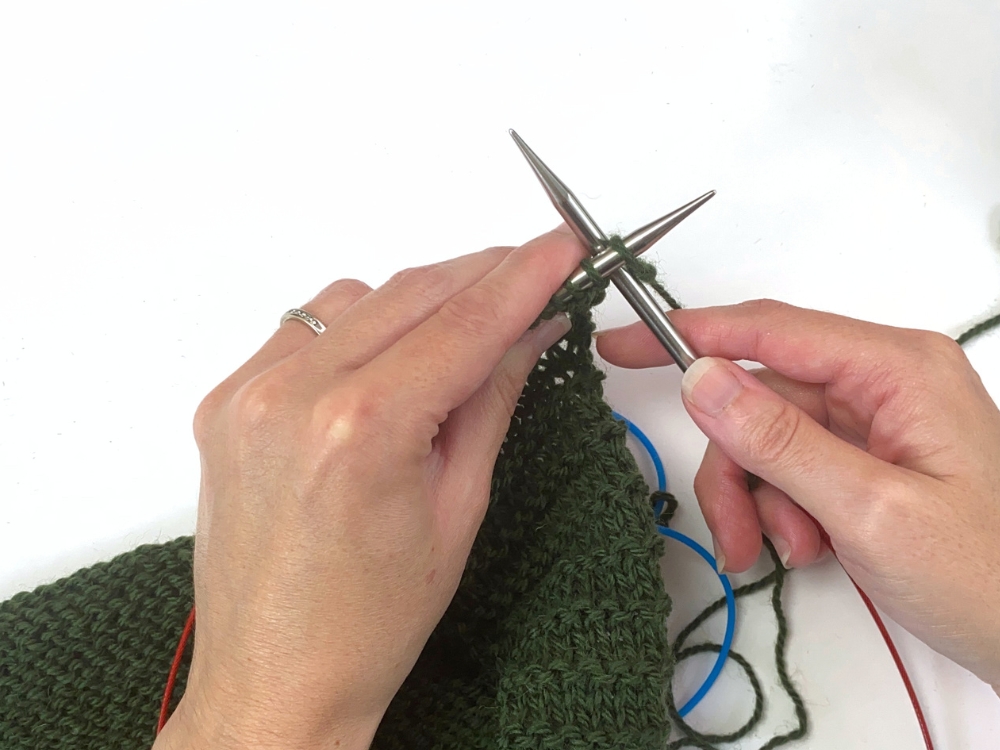
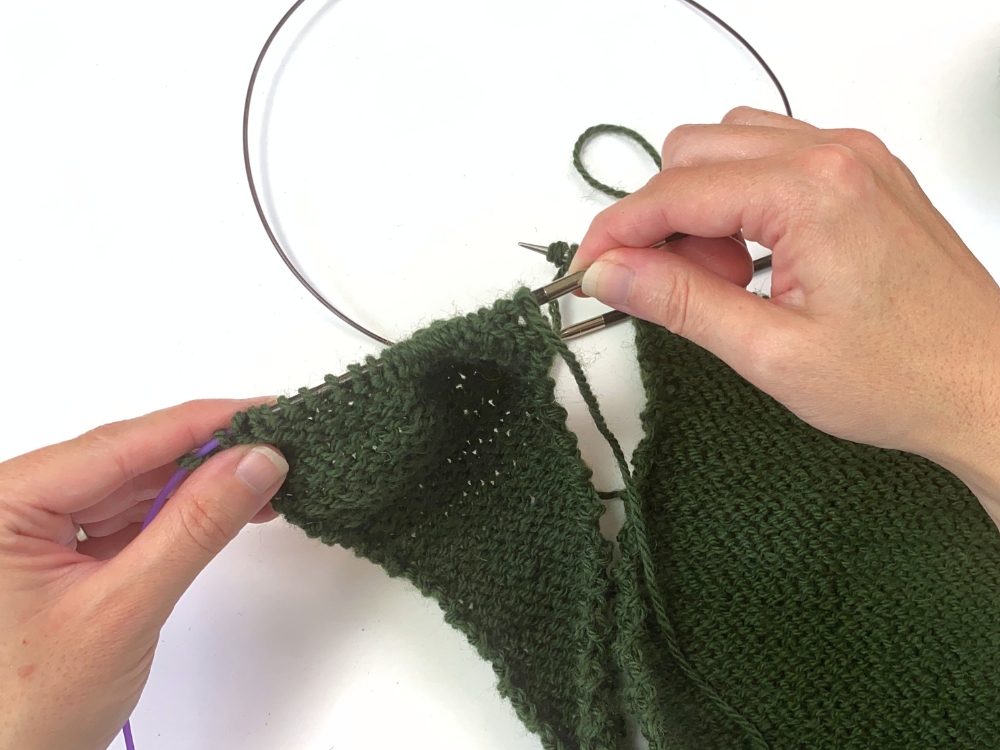
In step 4, the first thing you will do is to join your Right Front and Back together by knitting the first stitch on the back needle onto the needle containing the Right Front sts.
After you’ve done this, you then insert the left needle into the front of the second-stitch-in on the right needle as I’m doing below:
And then you will lift that stitch up and over the last stitch on the right needle and off of the needle (so 1 stitch has been decreased), as shown below. This helps to reinforce the side of the underarm and is why you had cast-on 1 more stitch on that side of the marker.
Step 5:
In this step you’ll simply knit across all of your Back sts – when you get to the end and all of your Back sts are now on the same circ as your Right Front, you can then put the circ that had contained the Back sts aside.
Step 6:
In this step, you’ll be working the same steps as you had worked at the other underarm. First, you’ll turn the work so the RS is facing you (the first image below). Then you’ll begin your cable casting-on (second image below). And then once you are all done, it will look like the third image below.
Then you will turn the work again so the WS is facing you again:
Step 7:
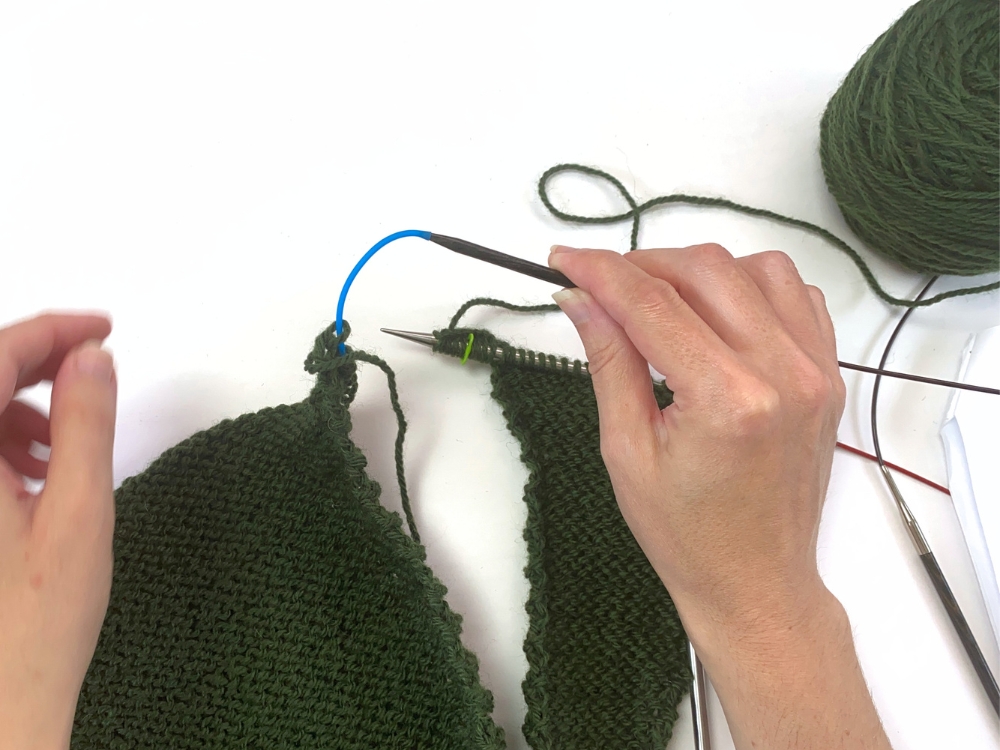
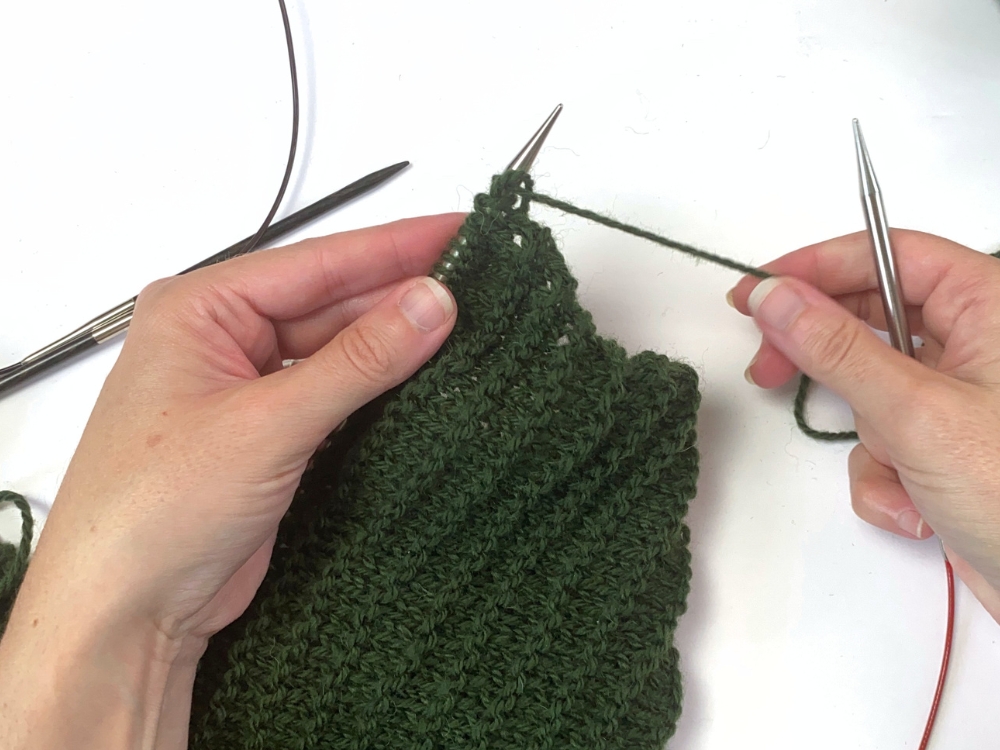
In this step, it’s similar to how things were worked on the Back. First, you’ll transfer the Left Front sts from the holder onto the 24″ circ. Below are photos of me transferring from the stitch holder cord onto the circ and then making sure the work is positioned so the WS is facing me.
Step 8:
In this step, just like we did on the Back, I’ll knit the first stitch of the Left Front onto my main circ. And then I’ll insert the left needle into the second-stitch-in on the right needle and left it up and over the last stitch on the right needle and off of the needle.
Step 9:
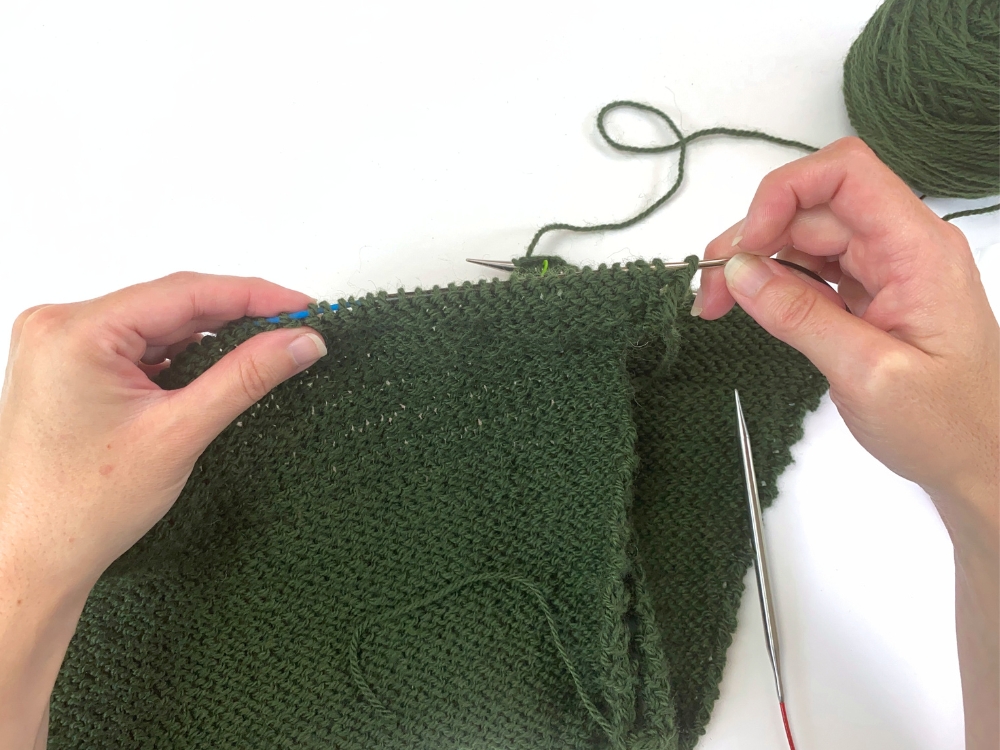
Then in step 9 I’ll simply knit to the end of the Left Front…
…And once I do that, my piece is all now joined together! It will look like the image below, with 2 markers now placed that mark the sides of the garment:

