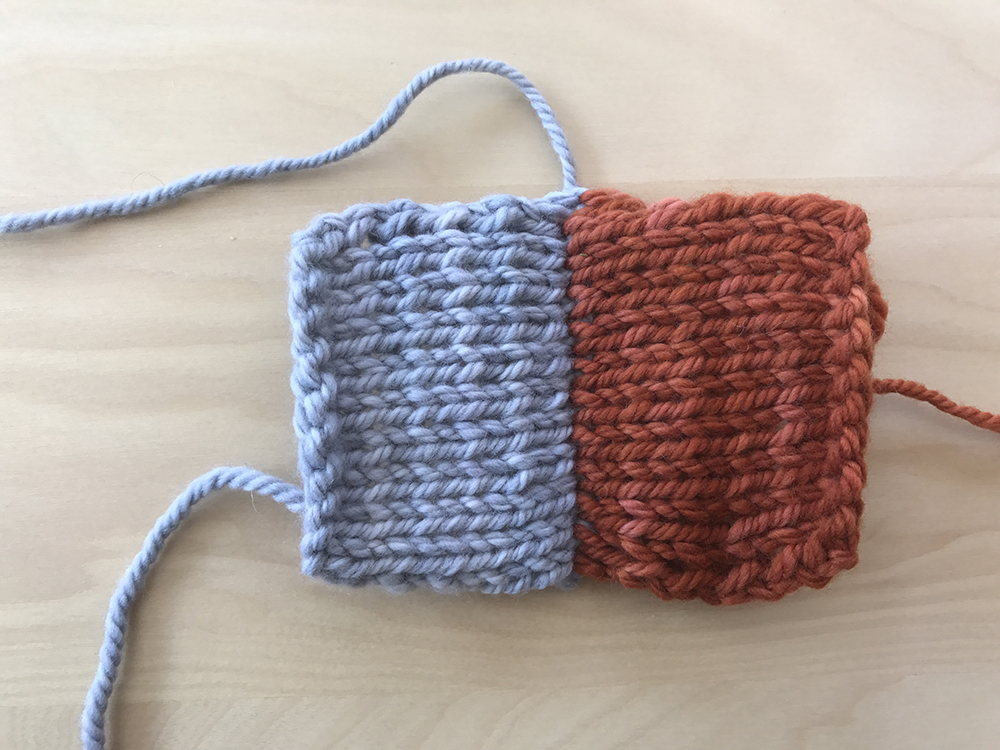
How to Three Needle Bind-Off
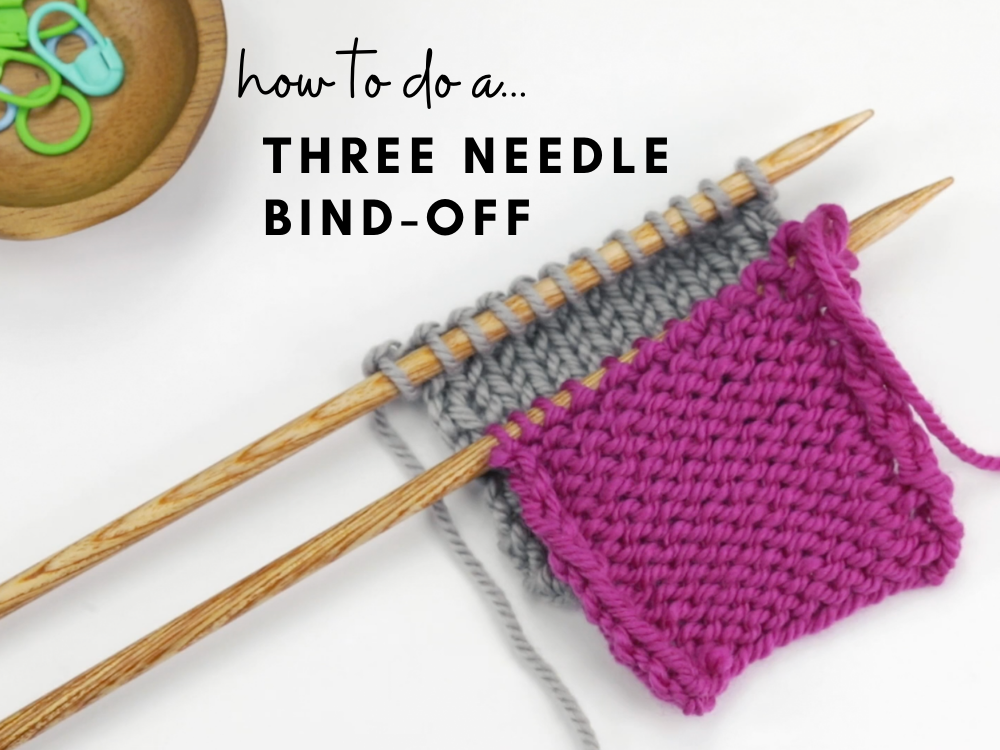
Many of my patterns use the three needle bind-off technique. It’s a way to seam together stitches in a “seamless” way, i.e., without hand sewing. Often you will see this technique used to seam together the tops of shoulders – it’s not only an easy technique but it also provides a very sturdy and clean seam. I have both video and photo tutorials of this technique.
Video Tutorials:
If you would like to see this technique done in more context, the below video shows me using the Three Needle Bind-Off to attach the shoulders of a sweater together (using my Azalea top as the example):
Photo Tutorial:
Step 1: Place the 2 sides together, with right side’s facing each other (so the wrong-side of the fabric is facing you):
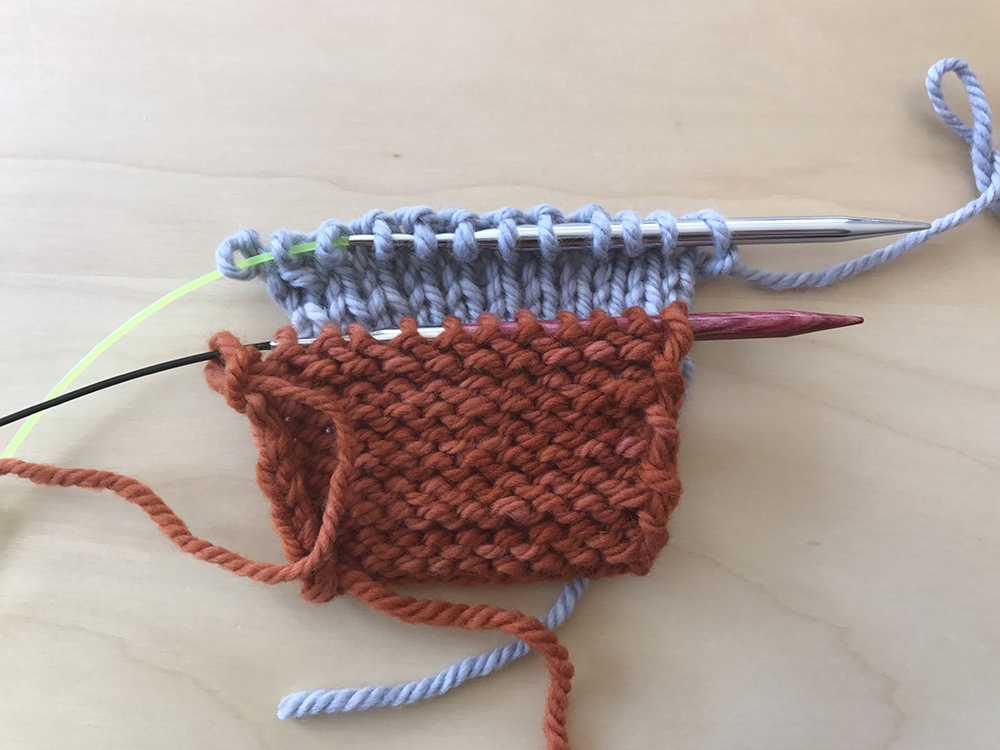
Step 2: Line up stitches on each needle so they are running parallel to each other:
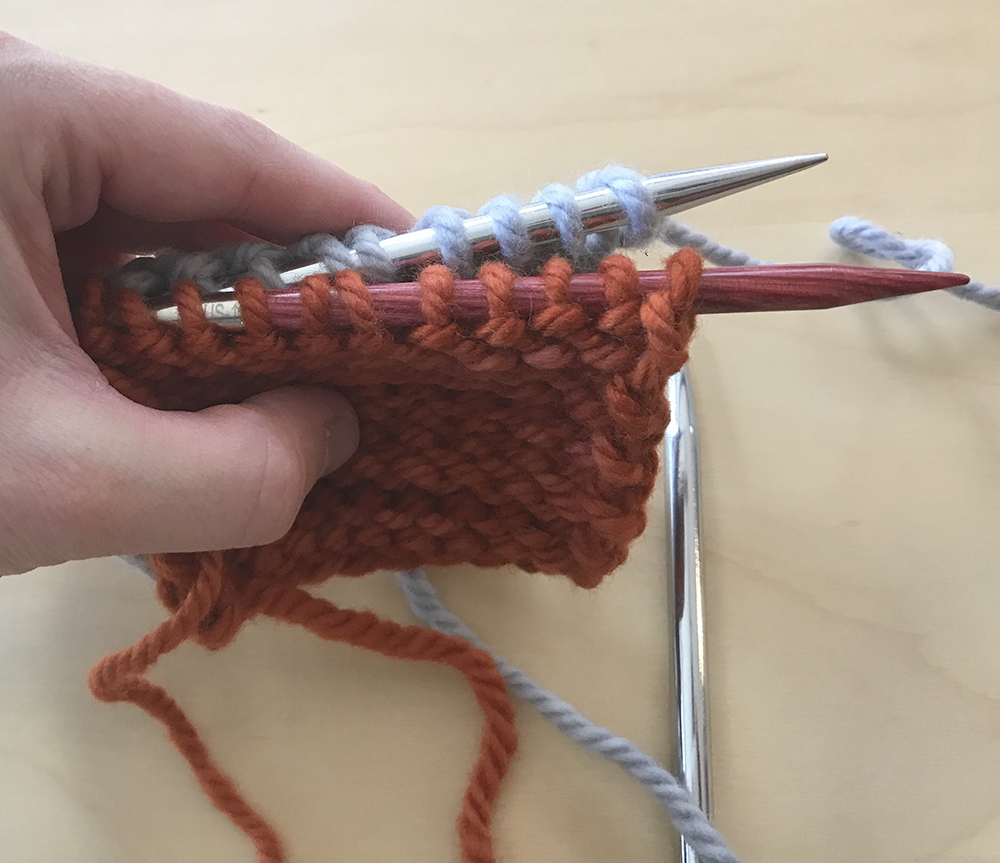
Step 3: Insert an empty needle (this serves as your “third” needle) into the first stitch on BOTH the front needle as well as the back needle, and knit them together.
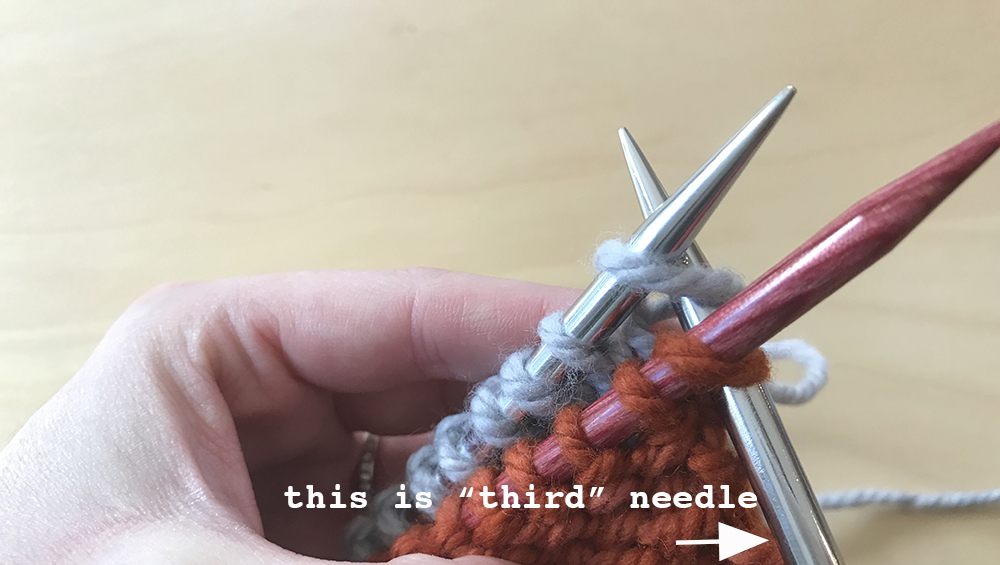
You will have 1 stitch on the third needle.
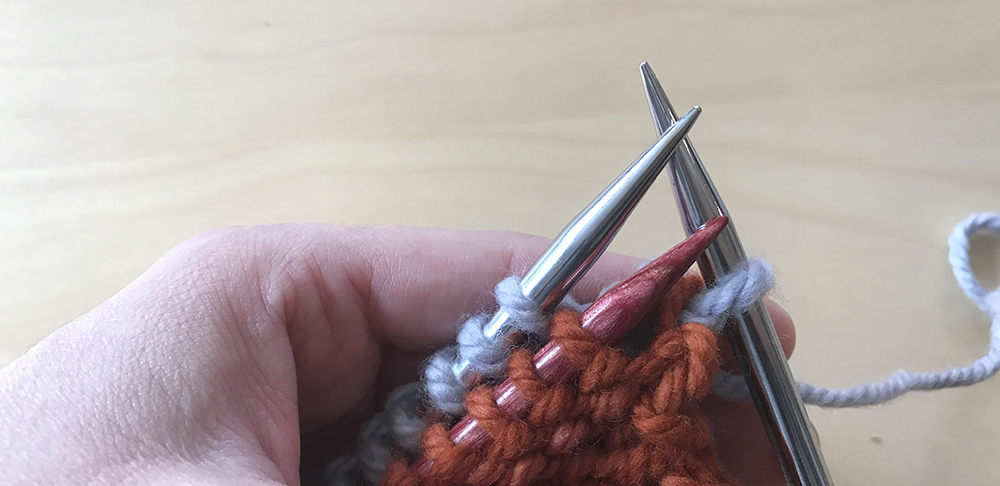
Step 4: Repeat step 3, so you will have 2 stitches on the “third” needle:

Step 5: Insert tip of one of left side needles (doesn’t matter which one) into the first stitch on the right side needle (your “third” needle), and lift it over the second stitch on the right side needle, thus binding off 1 stitch. One stitch remains on the “third” needle.

Repeat steps 3-5 until all no stitches remain on the left side needles. Cut yarn and weave end through the last stitch on “third” needle.
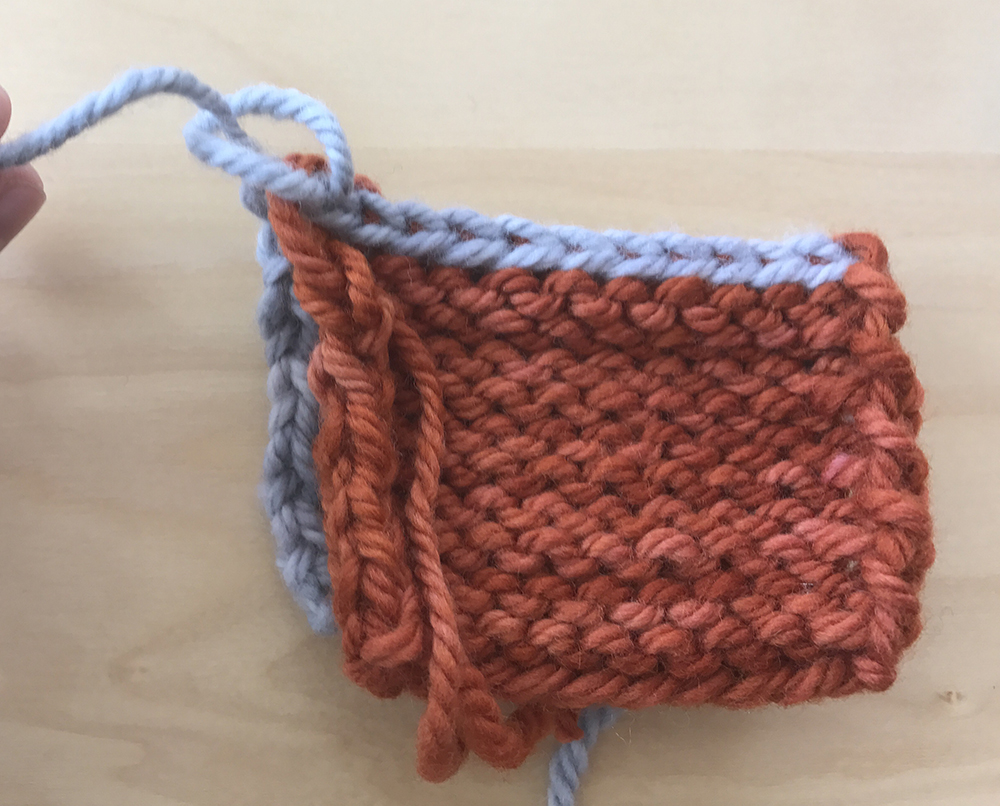
Your pieces have now been seamed together!
