Jessie’s Girl Tips
On this page you’ll find some tips and tutorials for making your own Jessie’s Girl top! I cover the following the topics:
- Picking a size
- Choosing a yarn that will drape well
- Swatching tips
- Adjusting size for a different gauge
- Technique tutorials:
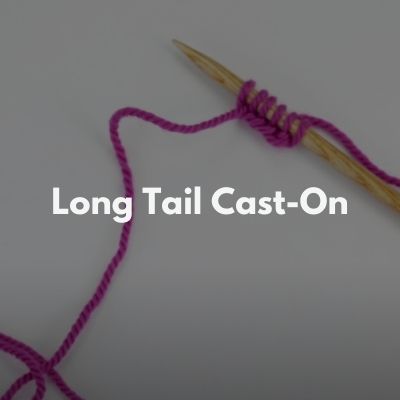
- Long tail cast-on
- Cable cast-on
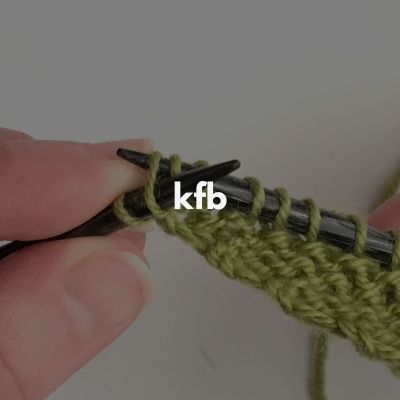
- kfb (knit front & back)
- Wrap & turn short rows (in garter stitch)
- Sloped bind-off method (used for neck shaping)
- Three needle bind-off
Picking a size
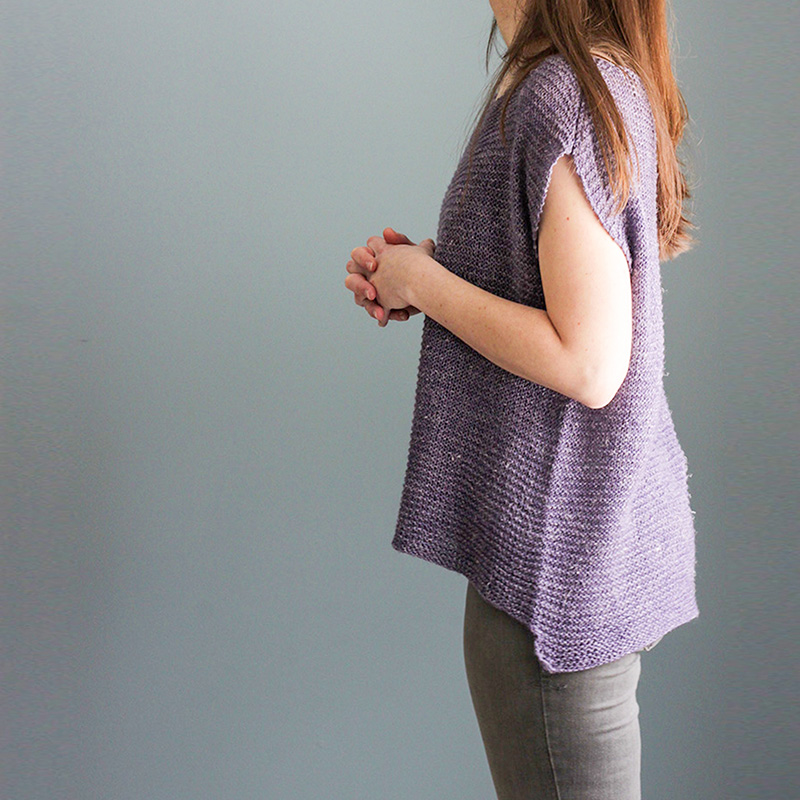
My idea for Jessie’s Girl was for it to be a super drapey and oversized top. But, you can make your own suited to your own style. If you want to also make it a bit oversized and drapey, pick a size whose finished measurements are around 7-11″ larger than your actual bust measurement. Example: if your actual bust is 40″, then I would suggest knitting the 48.5″ size. If you are in-between sizes, then it will just depend on if you prefer it a bit more oversized or just a little less.
If you want a more fitted look, then just choose a size whose finished measurements have less ease (around 4-7″ of positive ease). I recommend looking over all of the finished pictures posted on Ravelry to get a sense of how others have knit and styled it. And if you want to learn more about ease in knitting, check out my blog post here.
Note: older versions of the pattern had listed sizes as S, M, L, etc. If you are looking at finished photos on Ravelry and want to see how the old sizing labels compare with the new ones, please see below:
- S = size 1
- M = size 2
- L = size 3
- XL = size 4
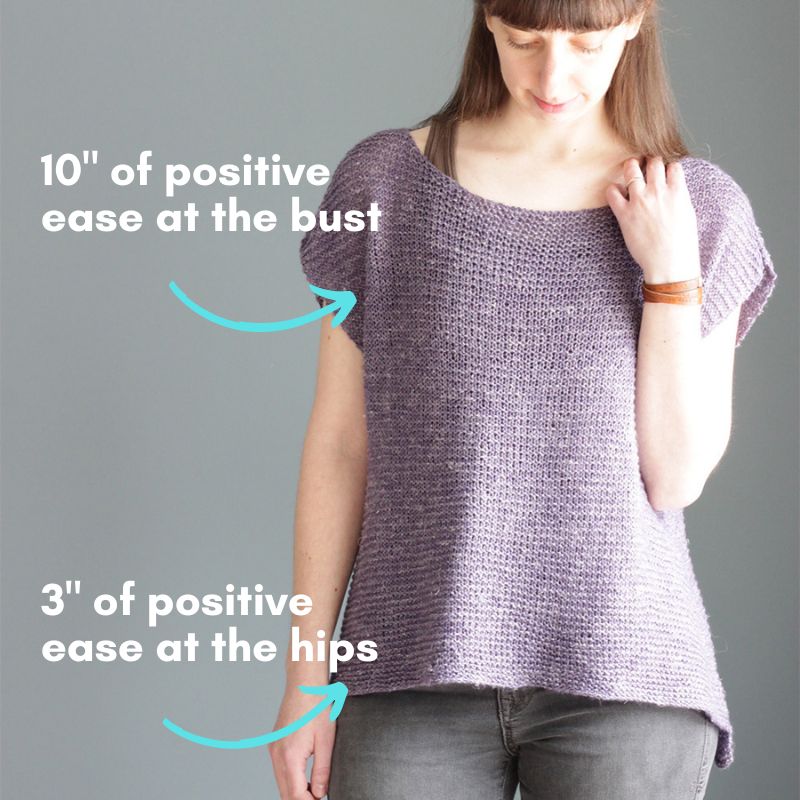
The other thing to keep in mind with picking a size is considering your other circumferences, such as hips and waist. If you want that flowy/drapey look, you’ll want to make sure the size you pick allows for at least some positive ease at the waist and hips as well. It doesn’t need to be as much, but at least some positive ease at all of these circumferences will allow for the garment to drape off of the shoulders and have ‘flow’ all the way down to the hem. Here’s an example of the amount of ease I’m wearing Jessie’s Girl at both my bust and my hips:
Here’s another sizing tip. If you are petite and want a size that is smaller that size 1, you can just knit your Jessie’s Girl at a tighter gauge. Check out my “Adjusting size for a different gauge” section below for tips about this…
Choosing a yarn that will drape well
I designed Jessie’s Girl to be knit with a sport or DK weight yarn, knit up on a larger-than-usual needle size so that the stitch pattern would be a bit loose and drapey. So an important part of this is choosing a yarn that will drape well. I used Knit One Crochet Too’s Batiste, a beautiful sport-weight merino/linen/silk blend – the linen and silk in it really give it that nice drape. It’s one of my favorite warm-weather-friendly yarns! Other yarns that people have used are:
- Juniper Moon Farm Zooey
- Universal Yarn Bamboo Pop
- Manos del Uruguay Milo
- Elsbeth Lavold Hempathy
- Elsbeth Lavold Silky Wool
- Berroco Meraki
- Malabrigo Susurro
- Knitpicks Cotlin
- Berroco Remix Light
Swatching Tips
Most of the body of Jessie’s Girl is knit in Garter stitch in the round, meaning you knit 1 round, then purl 1 round. It’s important to gauge swatch in the round to get an accurate gauge for this piece. Click here to read my tutorial about this or my video below:
Another important tip about swatching for Jessie’s Girl: I recommend blocking your swatch. Because you’re knitting with sport/DK-weight yarn on a larger-than-usual knitting size (to get the pattern gauge of 4.25 sts = 1″), this means that the fabric is more likely to stretch after blocking (especially if you use a blend of fibers). So it’s a good idea to:
- Make your swatch in the round
- Measure your stitches and rounds in your swatch before blocking (tip: in garter stitch, 1 garter ridge = 2 rounds).
- Block your swatch
- Re-measure your stitches and rounds to see how much it changed after blocking. I find with garter stitch in the round that my swatch grows in length much more than in width. So if this happens to you as well, just know that you should make your Jessie’s Girl a little shorter than you think so you’re accounting for the extra growth you’ll get post-blocking.
- Matching stitch gauge is more important than matching row gauge. You can accommodate a different row gauge by knitting more or less rows for your lengths.
For more swatching tips, you can read my tutorial here.
Adjusting size for a different gauge
Thanks to Jessie’s Girl simplicity, if you want to knit this pattern at a slightly different gauge than that listed in the pattern (it’s listed in the pattern as 17 sts = 4″), it’s definitely doable! To accommodate a different gauge, you’ll just need to knit a different size. Below are some tips about this:
- If your gauge is tighter, i.e, you’re fitting more stitches within a 4″ measurement, then your garment width will come out smaller. How much smaller depends on how far off you are from the pattern gauge. Example: if you are getting a stitch gauge of 18 sts = 4″, then the finished measurement will come out approx. 2-4″ smaller than the finished measurement listed in the pattern (it depends on which size for where it falls within that 2-4″ range).
- If your gauge is looser, i.e, you’re fitting less stitches within a 4″ measurement, then your garment width will come out larger. Again, how much larger depends on how far off you are from the pattern gauge. Example: if you are getting a stitch gauge of 16 sts = 4″, then the finished measurement will come out approx. 2-4″ larger than the finished measurement listed in the pattern (depending on which size you are looking at).
- To figure out this exact calculation yourself follow these steps:
- Step 1: On page 2, at the end of the “Joining Round”, I provide a total stitch count for each size. Take the number for the size you were thinking of making (and a size below or above as well) and divide each by your particular per inch stitch gauge (so if you were getting 18 sts = 4″, your per inch stitch gauge is 4.5 since 18 divided by 4 = 4.5).
- Step 2: The number you come up with in step 1 is what your finished measurement will be at your particular gauge. Compare this to the finished measurements listed on page 1 in the pattern to see how much more or less it will be.
- Just keep in mind that if you do wind up knitting a different size, that when you get to the armhole depth section, you should knit until it measures the measurement listed for the size you wanted.
Techniques Used in Jessie’s Girl
Below are links to all of the tutorials for the knitting techniques used in Jessie’s Girl:

