Neck Shaping in Azalea
On this page you’ll find tutorials on working the Front neck shaping in Azalea! But I also use this technique in some other patterns, so the information you’ll find here should be helpful for those patterns as well (such as: Jessie’s Girl, Azul, Castaway & Laguna.
The first step in neck shaping is binding-off the stitches in-between your markers (important note: when binding-off in the middle of your work, after you remove the 2nd marker, you still need to bind-off 1 more stitch in order to BO the correct number of stitches). After you do this, you’ll be working on your Left and Right Fronts separately, starting with the Left Front (Right and Left are from the perspective of wearing the garment).
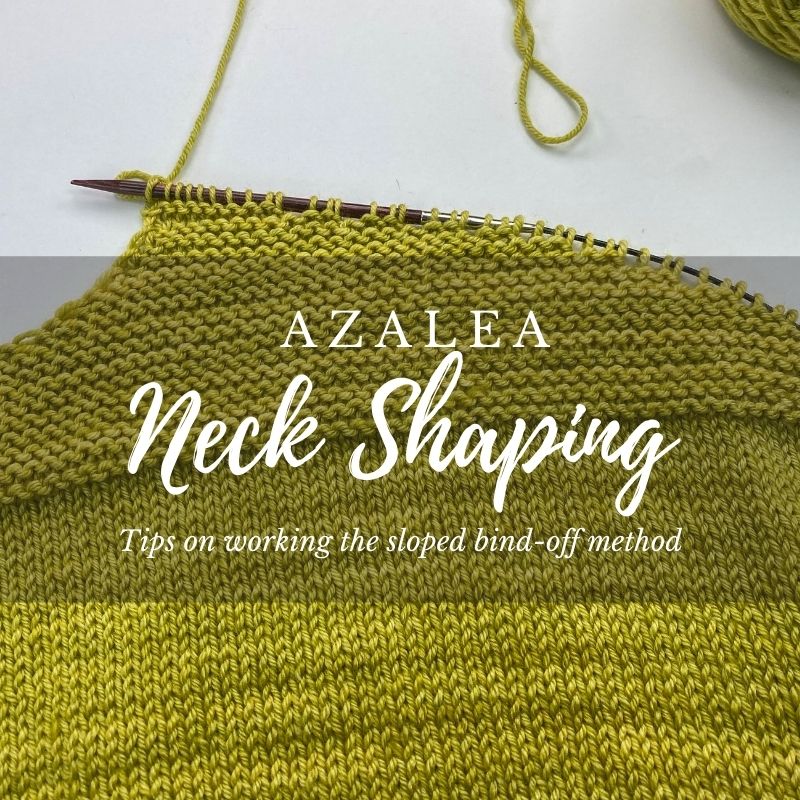
I use the sloped bind-off method for my neck shaping – this creates a pretty edge that doesn’t have to be picked up and worked in any kind of trim afterwards because it looks nice “raw”.
Check out my video below where I walk you through this entire bind-off process as well how to work the sloped bind-off technique!
In the video I walk you through the Left Front, but what about the Right Front? The technique is similar on the Right Front, but there is something I want to point out: when starting the Right Front, you’re instructed to slip 2 stitches purlwise and then pass the first st over the second, and then after this is done you will join your yarn and work the 2nd BO as instructed. The instructions don’t specify where you actually join the yarn so I thought it would be helpful to make note of it here.
I have two additional tips I wanted to give, pertaining to the end of the Left and Right Fronts…
Tip #1: What to do with the long tails…
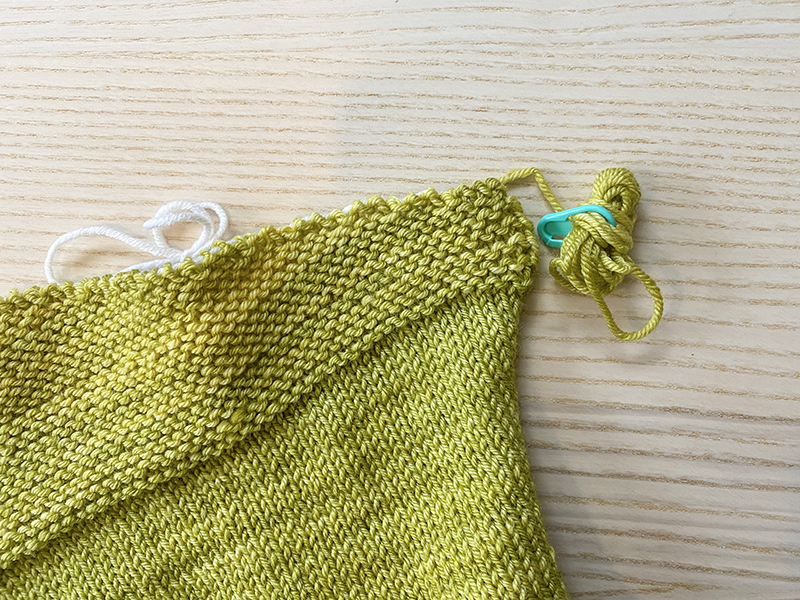
You’re instructed to leave a long tail, 4 times the length of the shoulder. Because this long tail can be cumbersome, I like to wrap it up a bit and then secure it with a removable stitch marker – here is what it looks like:
Tip #2: You can use scrap yarn as your stitch holder
Similar to when we separated the Back, I like to use scrap yarn as my stitch holder and as you can see in the photo above, I used it again for my Front stitches too.
I hope these tips about working your Front neck shaping have been helpful!


