Ice Maker Tips
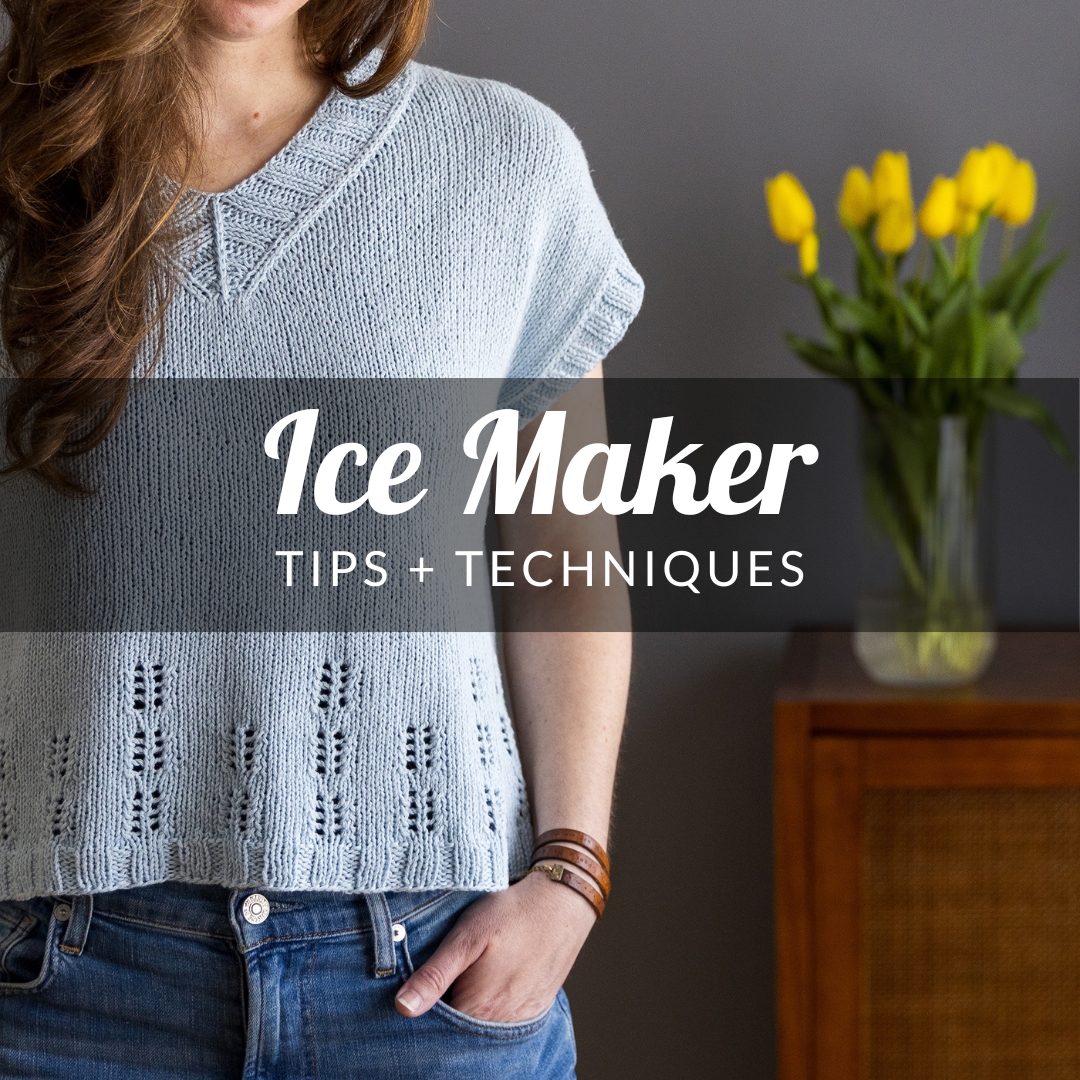
On this page you’ll find tips and tutorials for all the techniques used in my Ice Breaker top! I review the following topics on this page:
- Working back at the underarm
- Working v-neck trim
- Making sleeves longer
- The following knitting techniques:
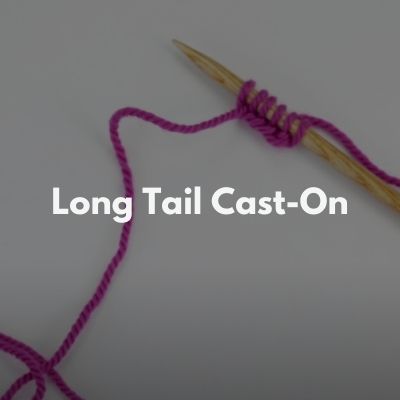
- Long-tail cast-on
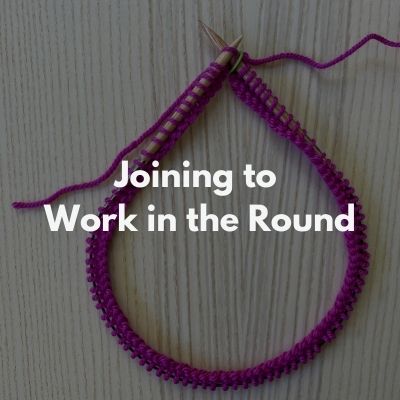
- Joining to work in the round
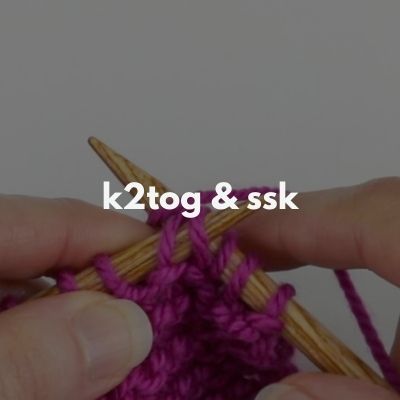
- k2tog & ssk decrease
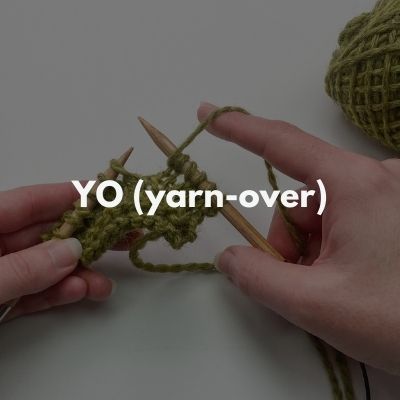
- YO increase
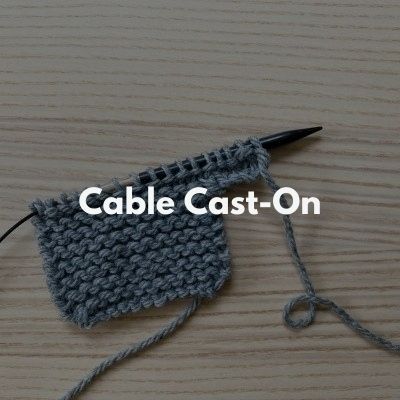
- Cable cast-on
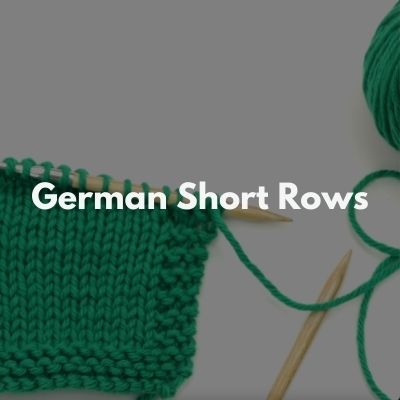
- German short rows (working the “DS”)
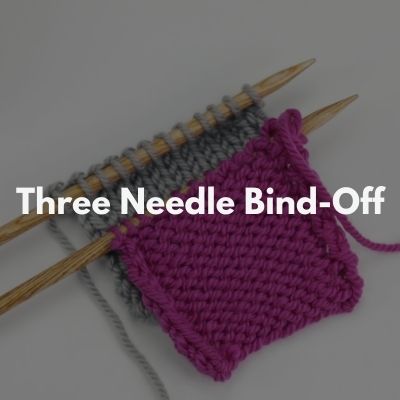
- Three needle bind-off
Picking a size
There are 10 different sizes to pick from when knitting your own Ice Maker. Because of the drop-shoulder construction, I recommend picking a size that is approximately 5-10″ larger than your actual bust measurement. For example, if your actual bust is around 36″, then I would suggest picking a size whose finished circumference is between 41-46″ (so either size 3 or 4). Of course you could choose a size with less or more ease than that range depending on the look you are going for and the type of fiber you want to use.
And to learn more about “positive ease”, especially as it relates to drop-shoulder constructions, read my tutorial here.
One very important thing to note about sizing and Ice Maker and if you choose to use a plant-based fiber like I did in my sample:
Plant-based fibers have little elasticity to them. This means they provide nice drape and the qualities of the plant-based fiber are such that they will keep you cool in the warmer temperatures. However, one thing to keep in mind is that the lack of elasticity in these yarns (the thing that gives them such nice drape) can affect certain aspects of the fabric, such as:
- It can cause fluctuations in your gauge since they don’t have much “give” to them as you knit. But in this piece, this is ok because I designed it in such a way that it would be quite forgiving.
- Example #1: Using a drop-shoulder construction allows for lots of garment flow and allows for a wide-range of ease amounts.
- Example #2: I kept the v-neck high so that if your row gauge loosened or stretched you would still have plenty of coverage.
- It can cause the fabric to stretch with wear.
- So if you are knitting with 100% cotton and you are in-between sizes, I would suggest going with the smaller of the two.
- Also related to this, and if you choose a 100% cotton yarn, you may want to avoid knitting your garment too long because it will likely stretch even more with wear.
You can learn more about knitting with Summer fibers in this blog post.
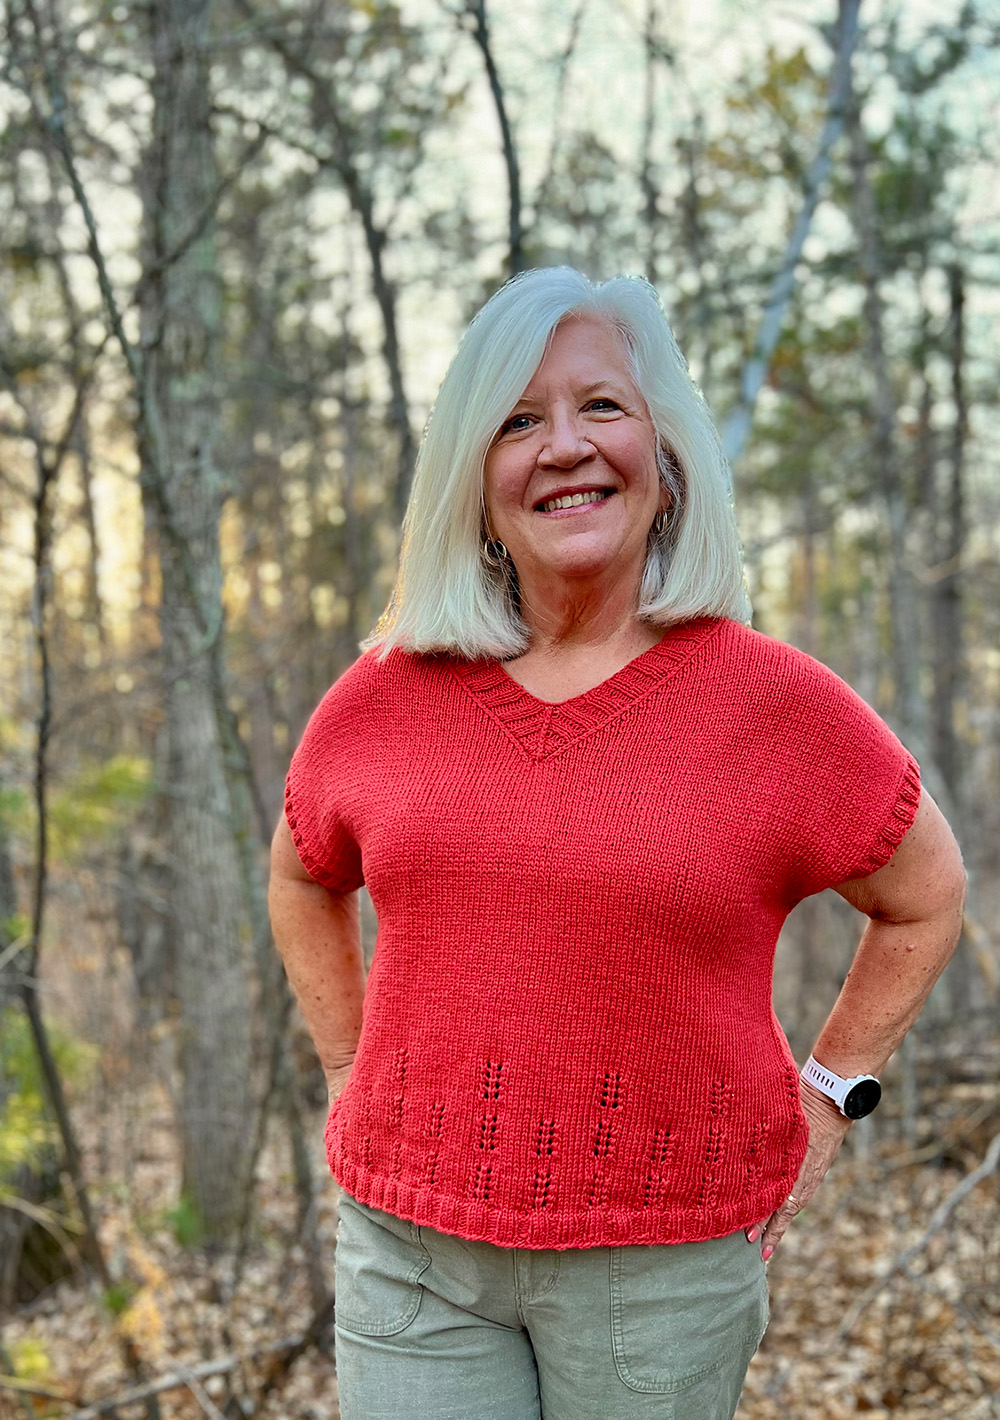
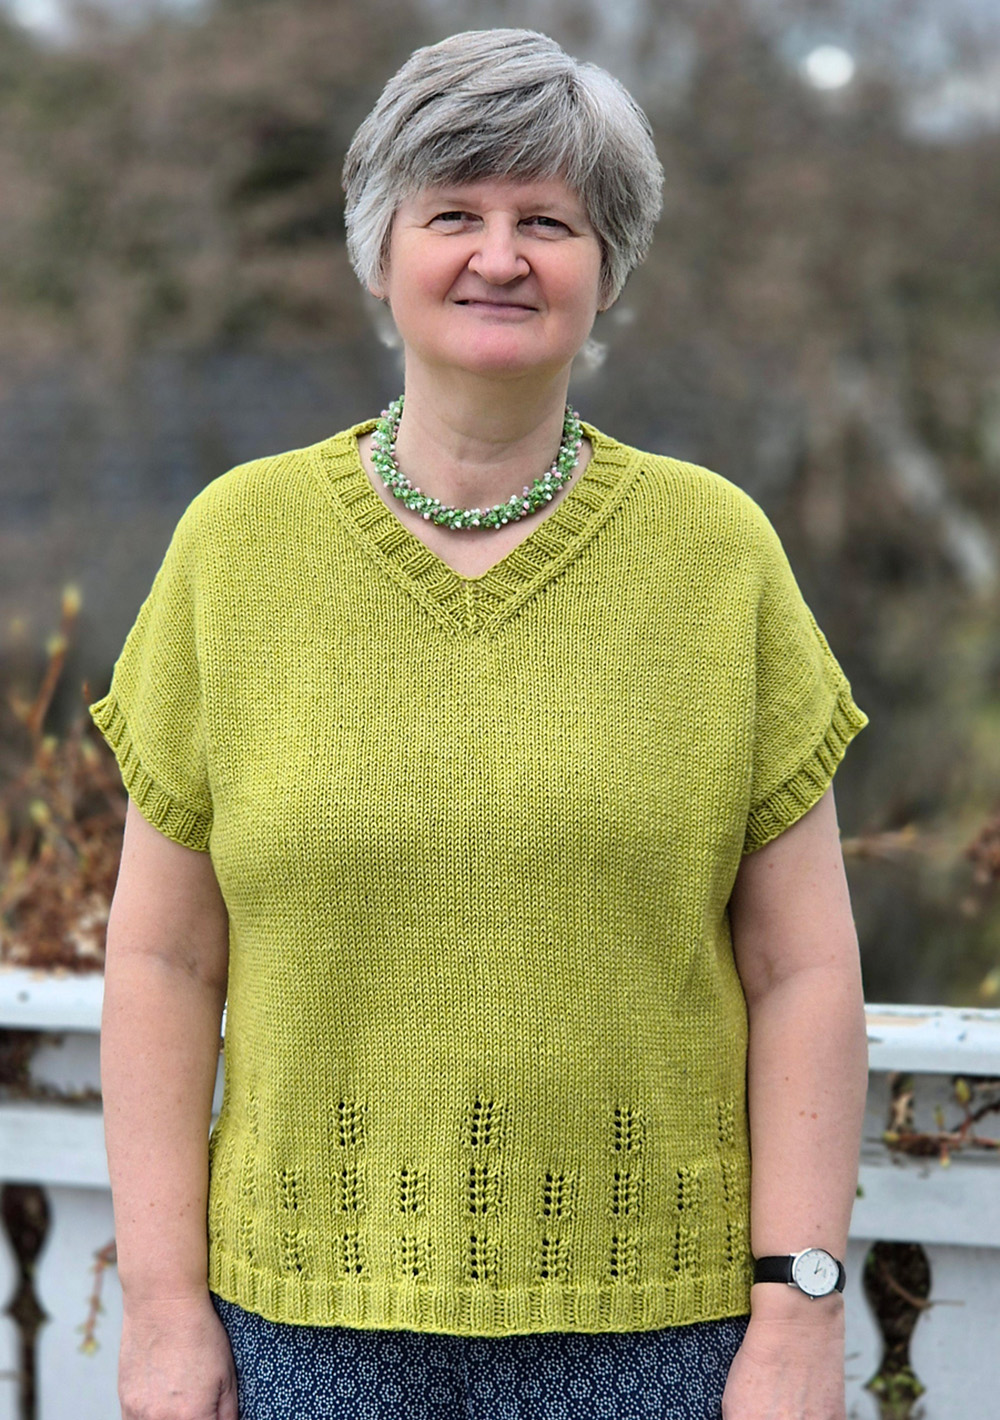
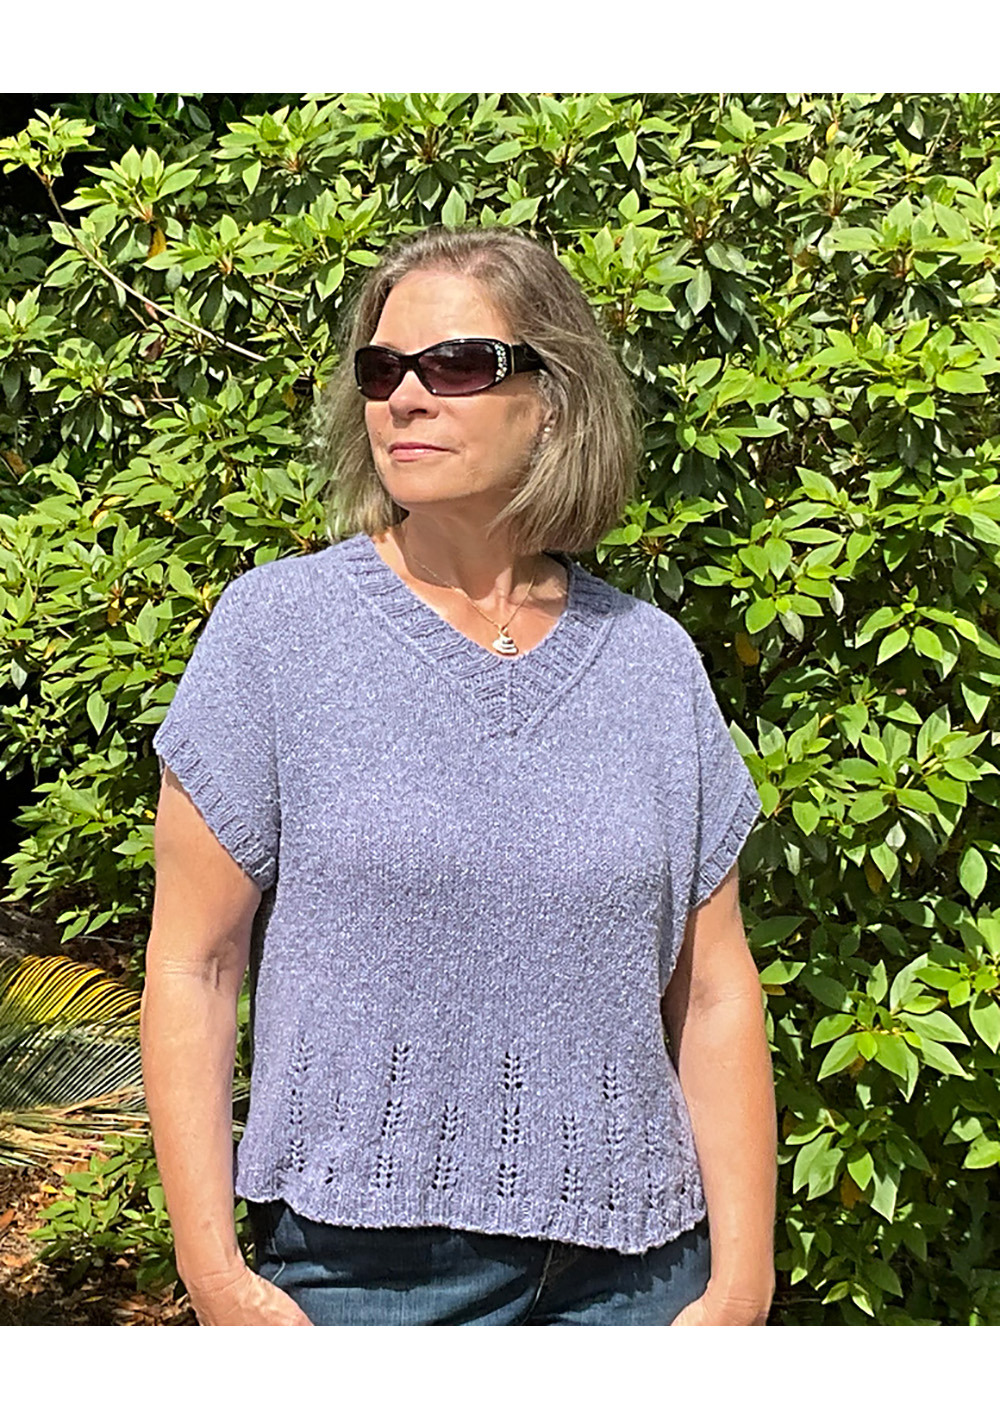
Here are just a handful of examples from my Ice Maker test knitters so you can see examples of different amounts of ease:
You can check out ALL of my test knitters photos (and ease amounts) in this blog post.
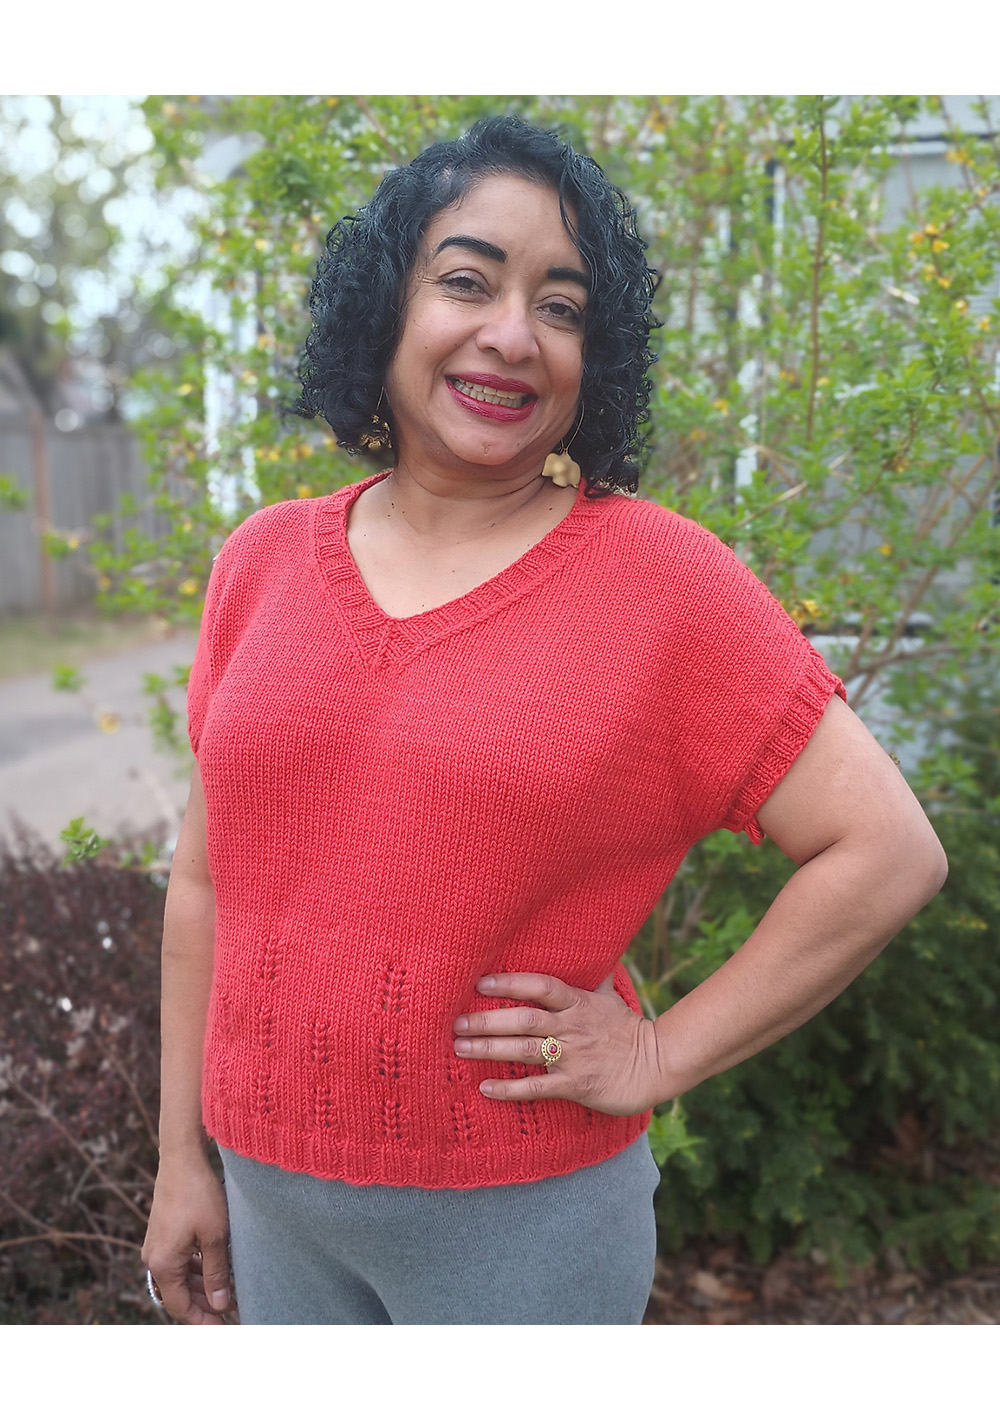
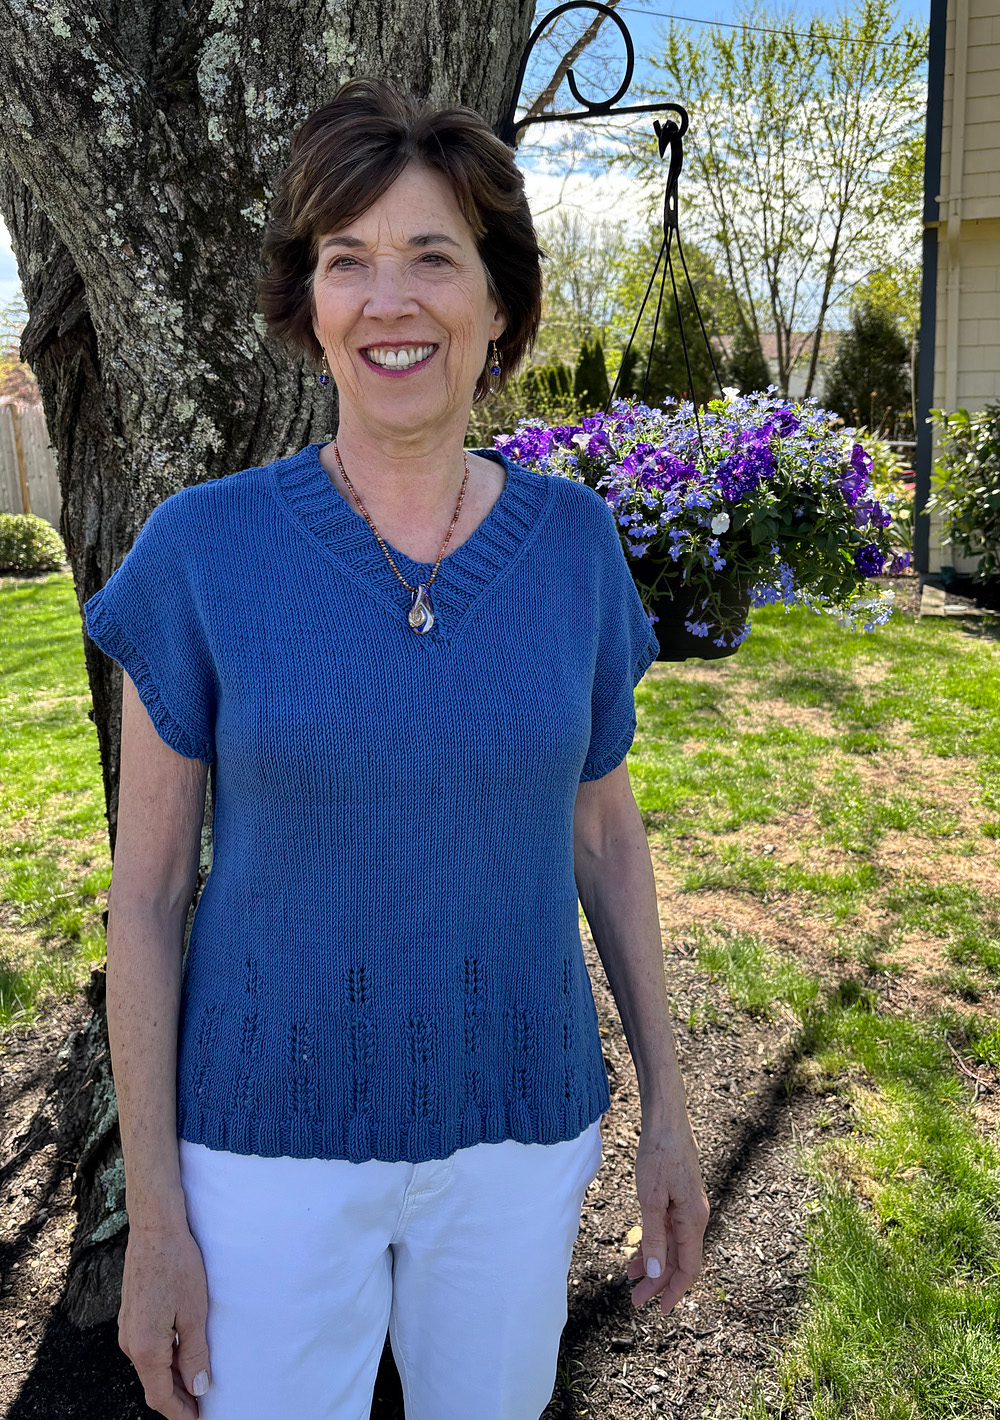
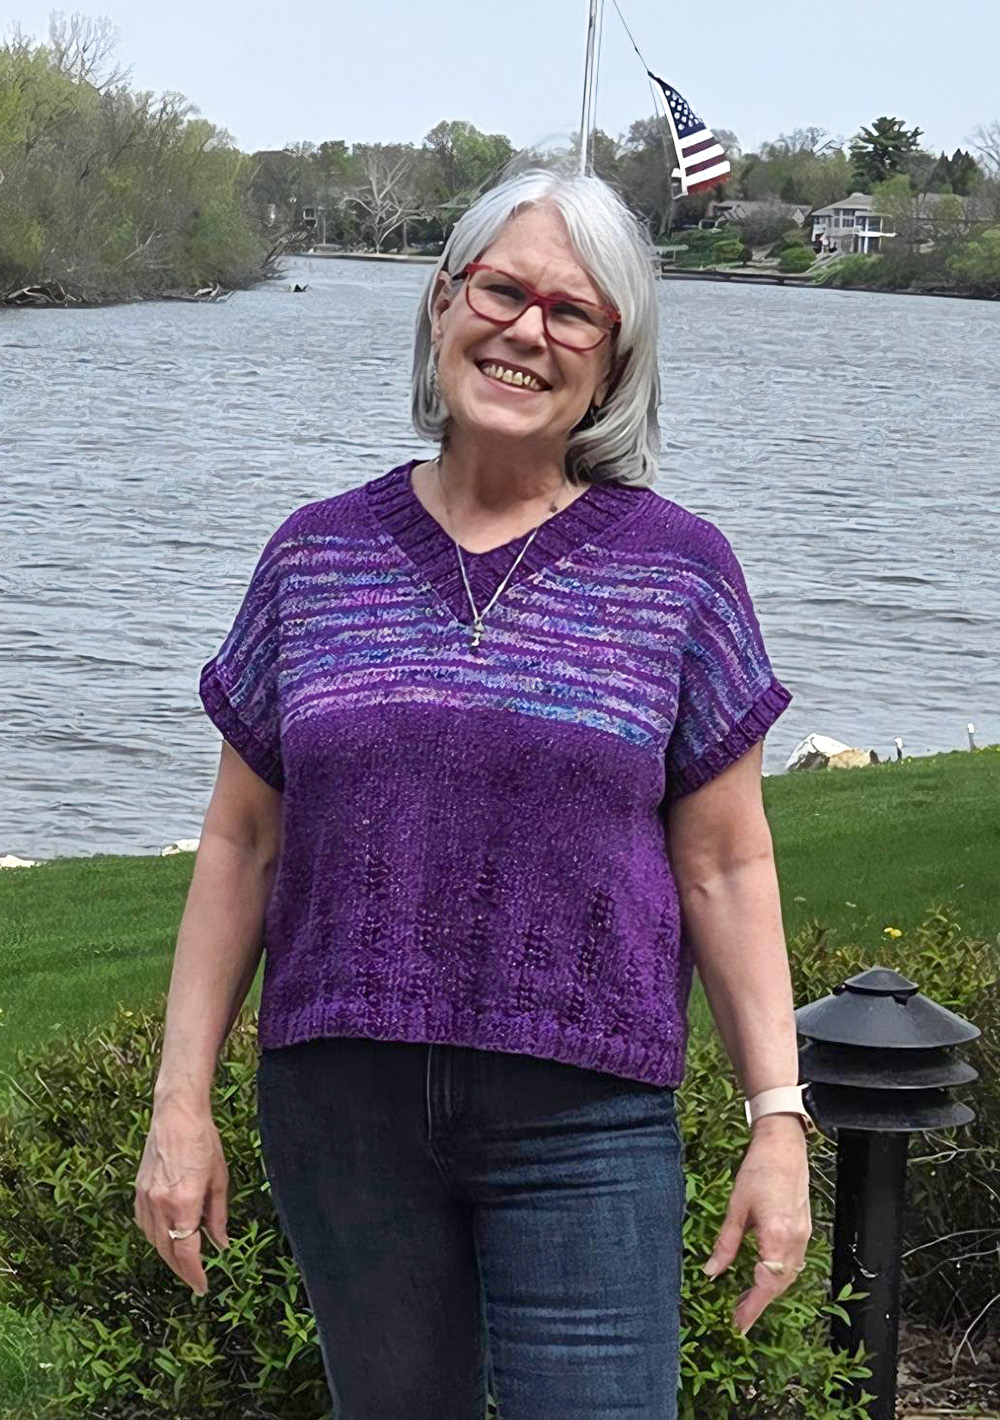
Cary is wearing with 6″ of positive ease (and added length to the body), and used Sandnes Garn Line.
Yarn options
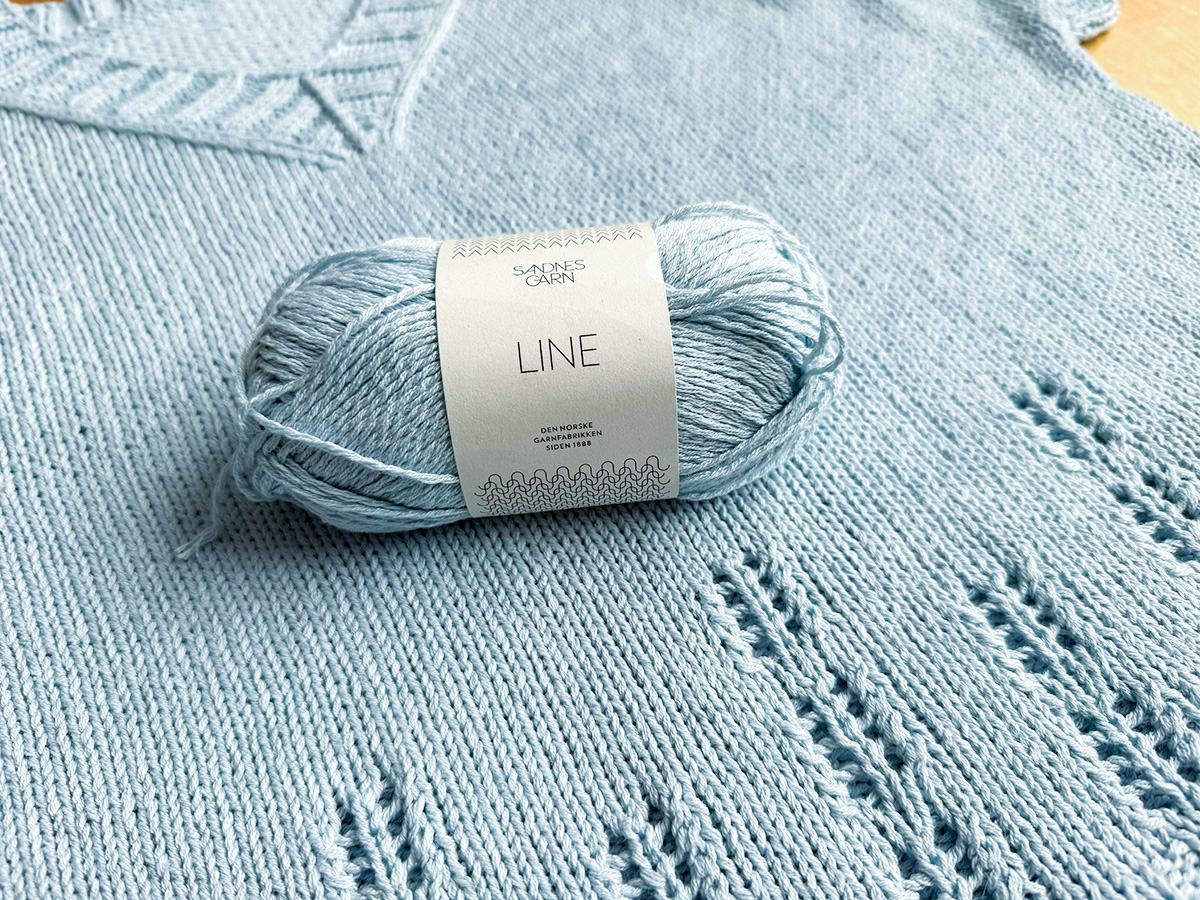
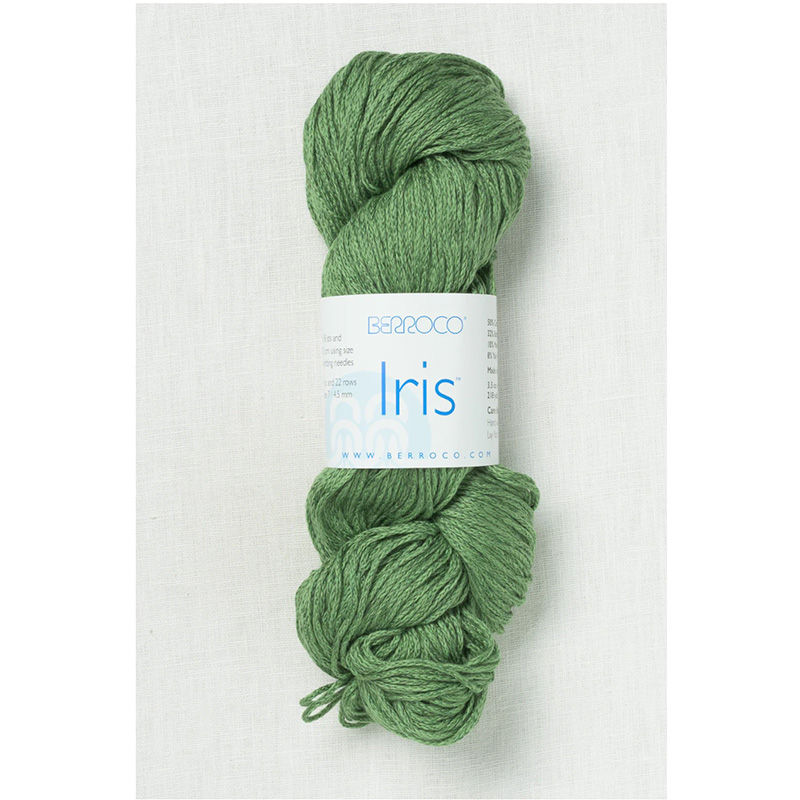
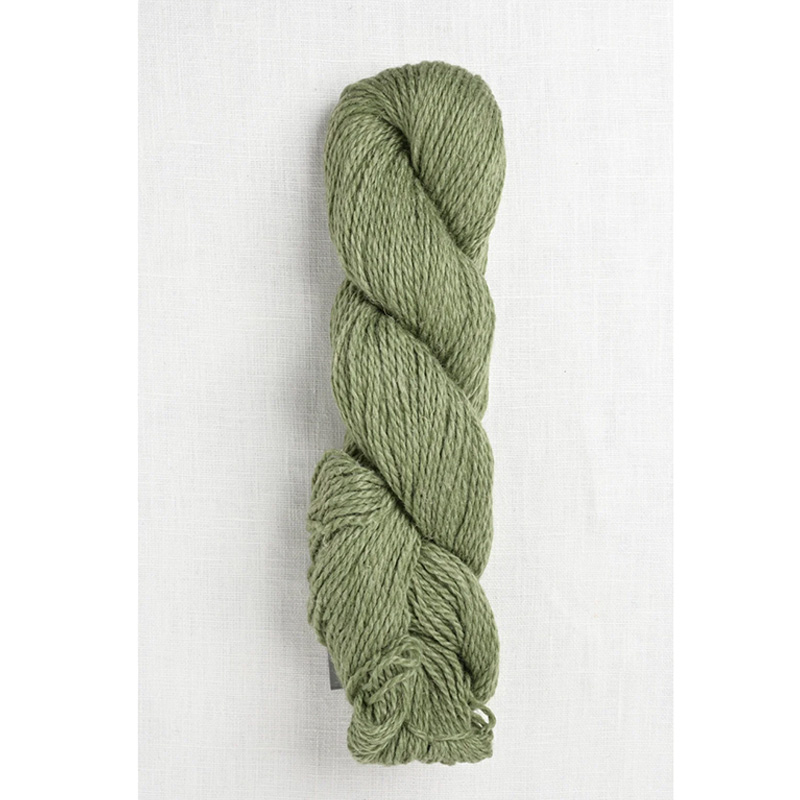
Ice Maker has a stitch gauge of 20.5 stitches = 4″/10 cm, which typically works well for a yarn classified as either DK or light Worsted-Weight. In the sample, I used Sandnes Garn Line yarn, a yarn very popular for Summer knits or if you live in a warm climate. This is because it’s fiber content is cotton/viscose/linen. This is how the company describes the benefits of this type of blend: “With this blend, the yarn acquires the absorbent and soft properties of cotton and viscose, combined with the cool feeling of linen. The combination of the sheen of the viscose with the matte finish of the linen gives the yarn an exciting structure and surface.”
If you are interested in using this same yarn, check with your local yarn shop because many LYS’s carry it! If not or you don’t have a shop near you, here are some online resources:
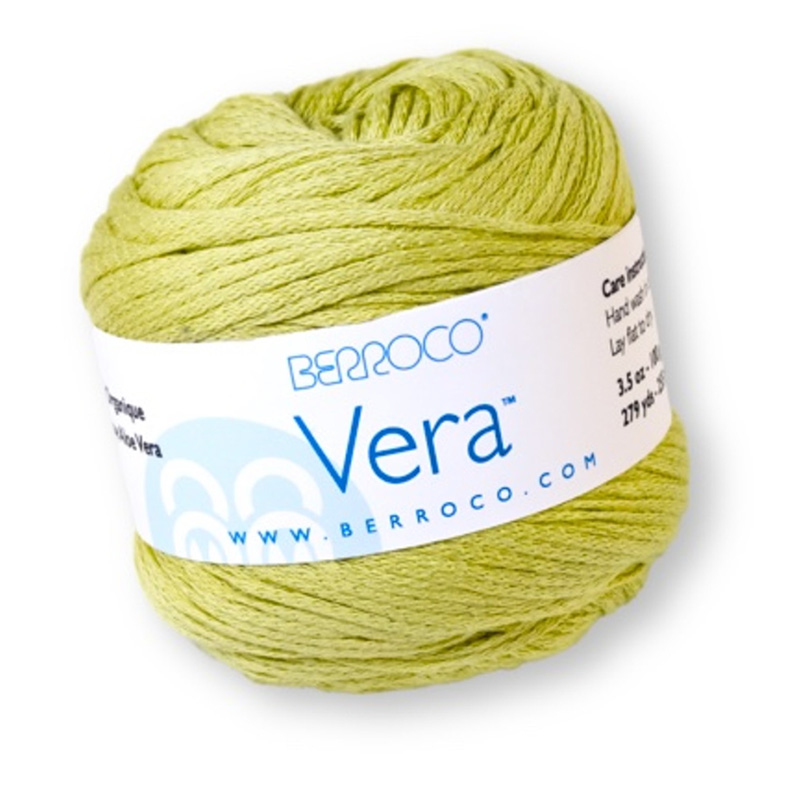
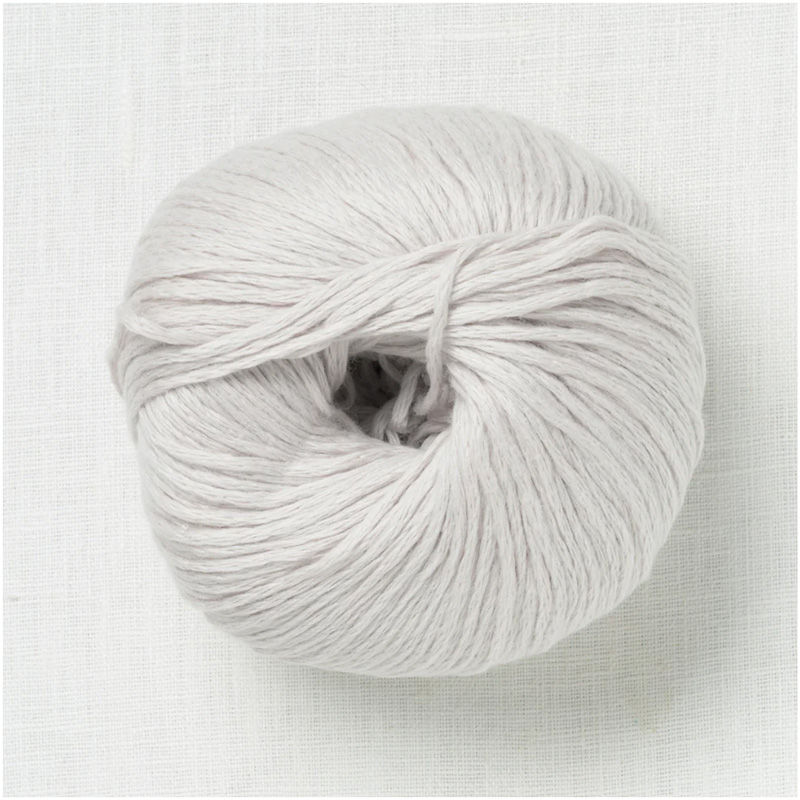
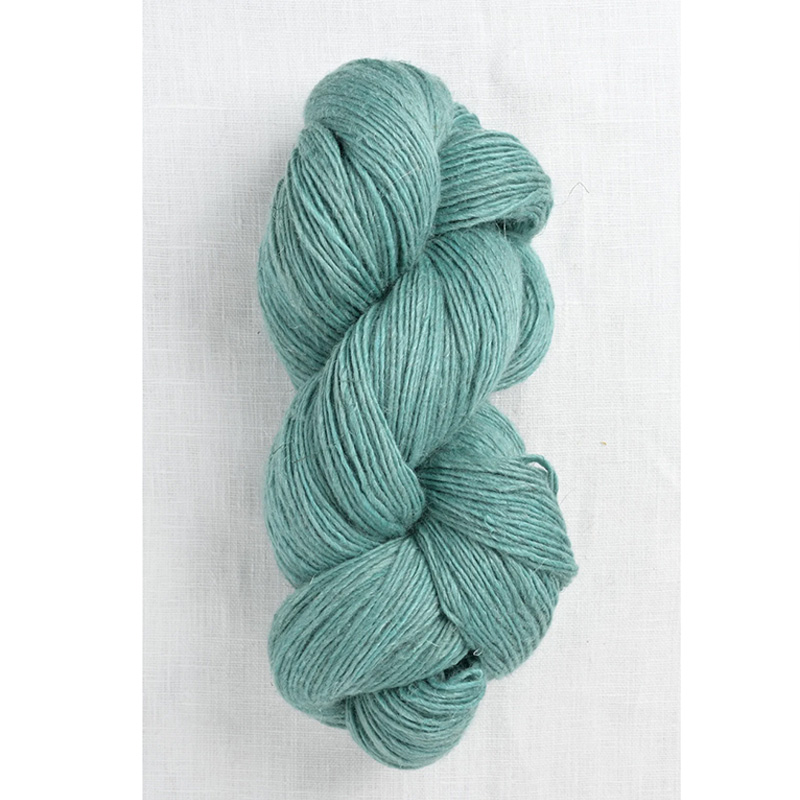
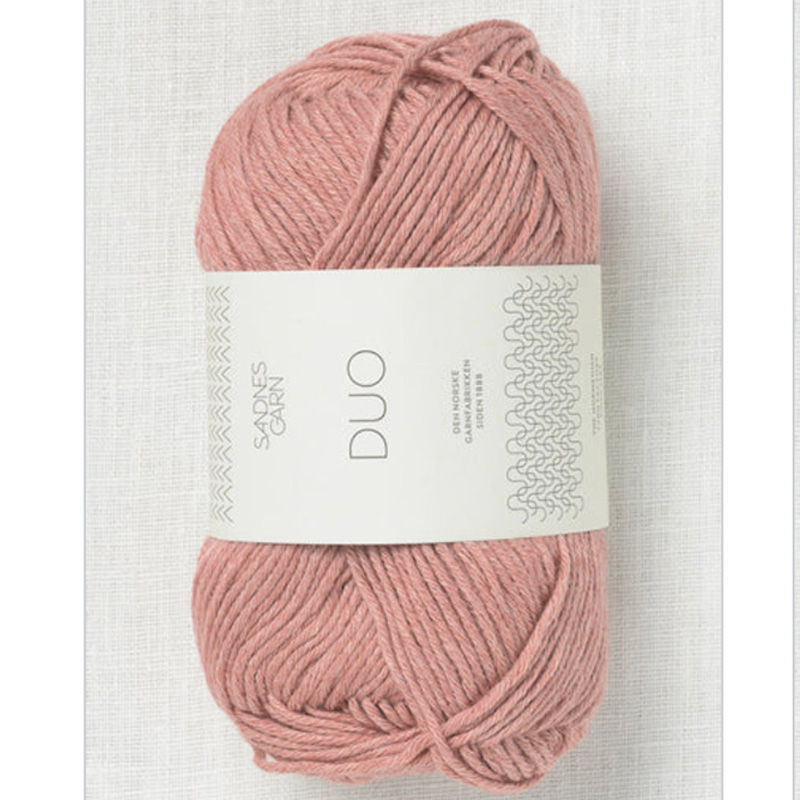
If you would like a similar cotton/linen blend with no wool in it, here are some other ideas that I think could work well:

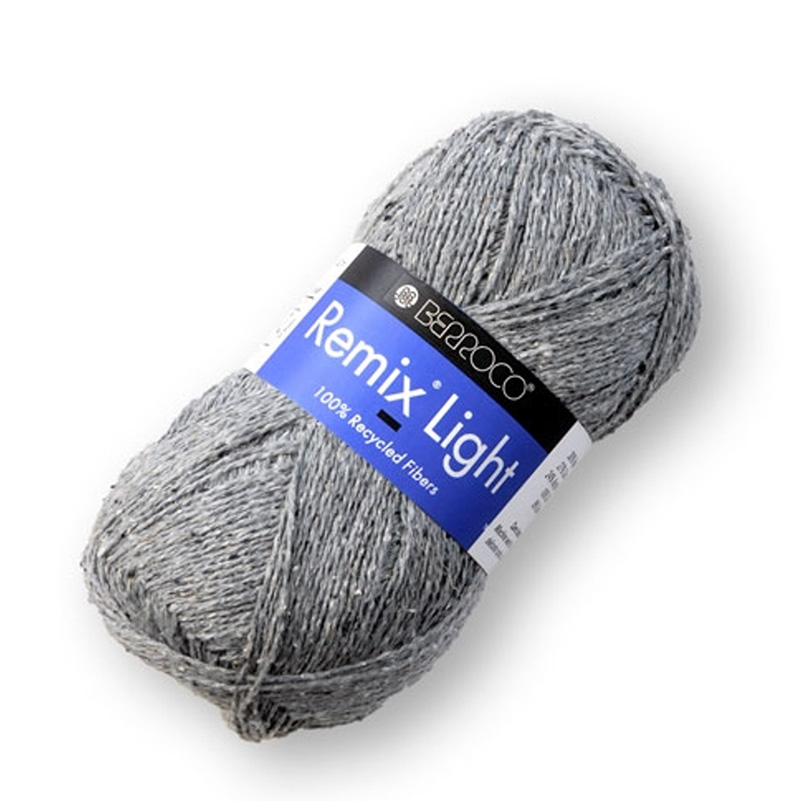
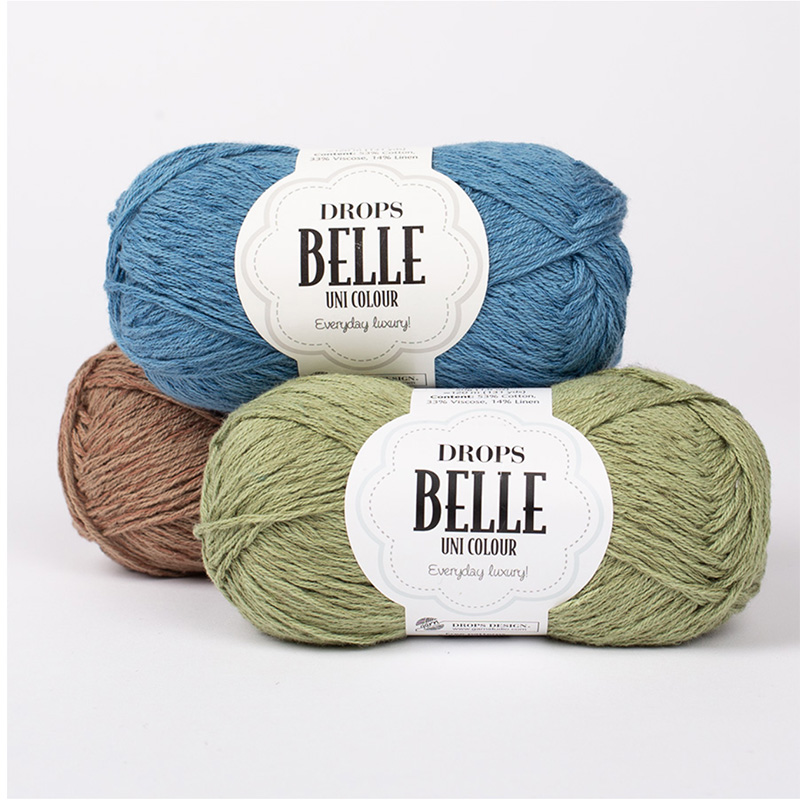
But if cotton/linen isn’t your thing, or you would just prefer something with some or all wool, Ice Maker can definitely work for wool yarns or other blends as well. Here are just a few ideas of some blends that I have worked with in the past that I like:
Want to check out the yarn options my testers used? Check out this blog post!
Gauge swatching and gauge tips
The pattern gauge of Ice Maker is 20.5 sts & 32 rnds = 4”/10 cm in Stockinette stitch in the rnd after blocking. Because the body is knit in the round (and this determines your overall circumference), it’s important to gauge swatch in the round. If you are new to this, check out my tutorial here.
I also recommend that as part of your swatching process that you also swatch a little bit flat, i.e, back and forth. The reason for this is because the yoke area of Ice Maker is worked flat. Many people’s row gauge is looser when working flat vs in the round, and so it would be good for you to know if that is the case for you as well. If it is, scroll down to read my tips on how to accommodate this when you get to that part of the pattern.
General Swatching Note: it’s more important to focus on achieving stitch gauge, so don’t worry if you can’t get the exact row gauge. You can adjust your body length or armhole depth as needed to account for any row gauge discrepancy. And I provide more tips below on how to do this especially as it relates to armhole depth.
Measure your swatch before AND after blocking
As part of your swatching process, I highly recommend you measure your swatch before AND after blocking (yes, you should definitely block your swatch!). This way you can know how much your gauge changes after the blocking process. For me personally, my stitch gauge was around 21.5 sts = 4″ before blocking but 20.5 sts = 4″ after (so width-wise, my gauge loosened up, i.e, grew, after blocking).
In regards to my row gauge, here’s an interesting thing about cotton or cotton blend yarns. Right after blocking, your row gauge (i.e, your lengths), may shrink up a bit. In fact, for me personally, right after blocking my row gauge was 33 rnds = 4″ (it was 32 rnds = 4″ before blocking). However, after wearing it a bit, the length grew back to the pre-blocked gauge (which is why the pattern lists the row gauge as 32 rnds = 4″). So why did it do this? Because cotton doesn’t have much elasticity and can be a bit heavy. So even though the length shrunk after blocking, after it was on my body and worn for a bit, it relaxed more and the length returned to what it was before blocking.
Adjusting for a different stitch gauge
Garment width and overall circumference is determined by your stitch gauge, so if you can’t get the exact right stitch gauge it will have an impact on your overall garment size. But the great thing with the simple silhouette of Ice Maker is that it’s easy to make adjustments to accommodate a slightly-off gauge.
If your gauge is off, you have a couple of options:
- Still knit the same size you were planning on, knowing it will come out a bit smaller or larger
- Knit a different size in order to accommodate your particular stitch gauge.
In either case, how do you know what the measurement will be at your particular gauge? Follow these steps:
- Step 1: Figure out your per inch stitch gauge. For example, if you are getting 22 stitches = 4″, divide 22 by 4 and you get 5.5 stitches per inch.
- Step 2: Take the cast-on amount of the size you wanted to knit (or some of the sizes around that size) and divide it by your per inch stitch gauge. This will tell you what the finished circumference will be of each of those sizes at your gauge.
- Step 3: Pick your size depending on the desired circumference you would like.
The only other thing to keep in mind is that when it comes to your armhole depth, when the measurement is given you should be looking at the inches/cm of the size closest to what your actual garment will be, not necessarily the size you are knitting. For example, if your per inch stitch gauge was 5.5 and you had wanted to knit size 2 but you’re following the size 3 instructions to accommodate your gauge (since that will give you a size closest to size 2), in the armhole depth area when measurements are provided, you should be looking at the inches/cm listed for the size 2, not the size 3.
Adjusting for a different row gauge
If you have a different after-blocked row gauge with your chosen yarn, that is totally ok! There are a few things to keep in mind and whether or not you feel like you need to make any adjustments to accommodate this discrepancy will be totally up to you.
Body Length
The easiest adjustment is in body length. You can simply work in stockinette stitch until you reach your desired underarm to hem length, whatever that might be. Just keep in mind that your garment may grow in length after blocking (see my notes above about measuring your gauge swatch before and after blocking so you’ll know whether or not this may happen).
Armhole Depth and V-neck Depth
The other lengths in the pattern affected by a different row gauge will be in the upper part and that is your armhole depth and v-neck depth. You have 2 options for how you deal with this:
Option 1: You make no changes and follow the exact number of rows as that listed in the pattern.
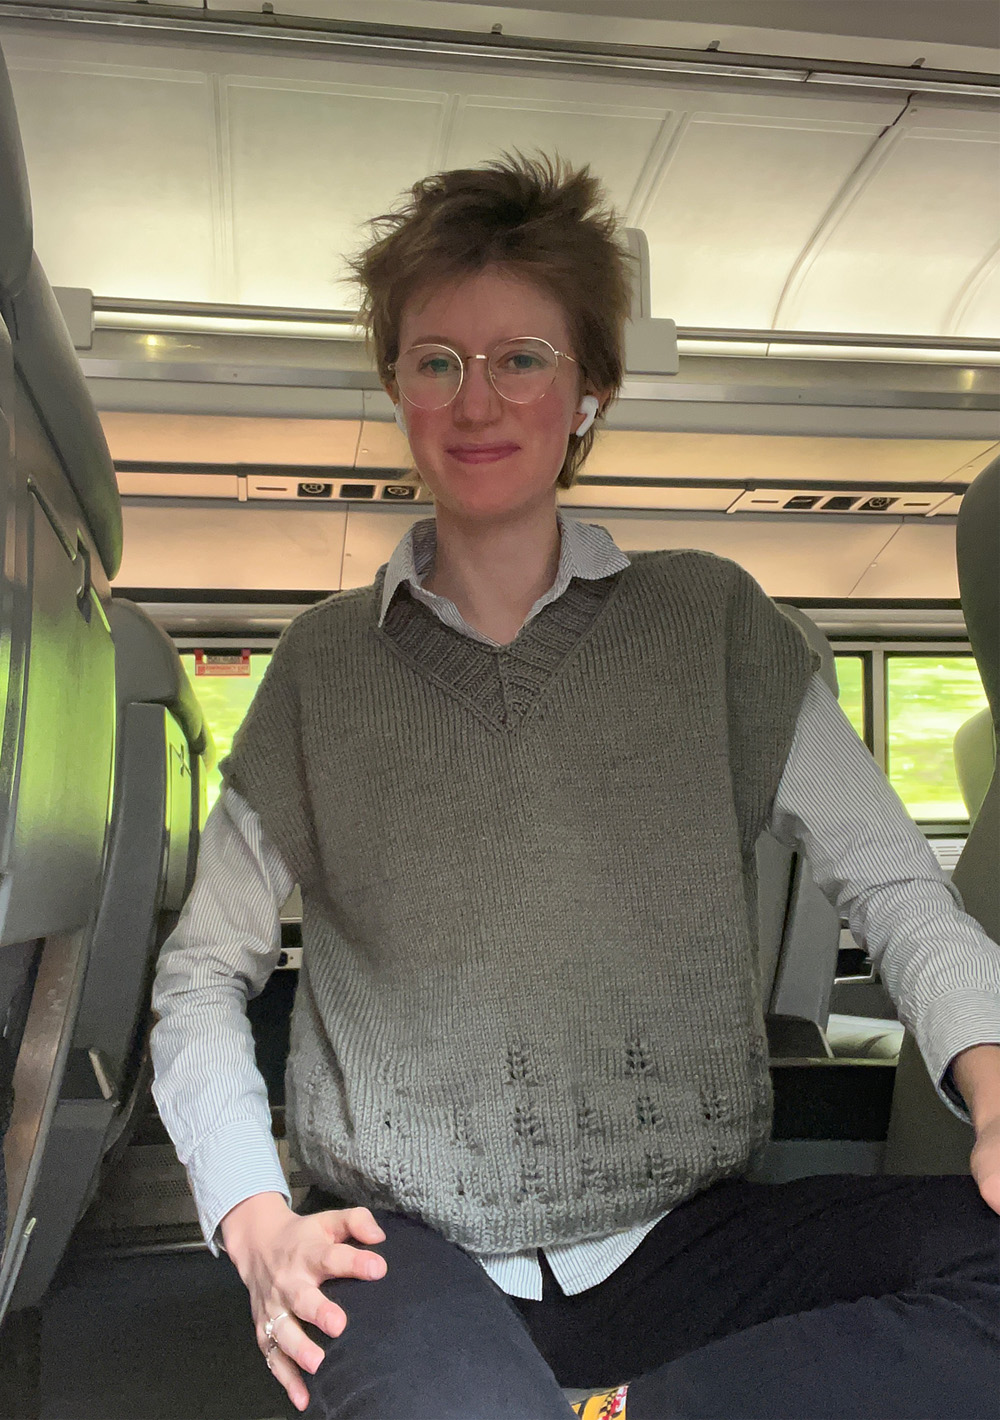
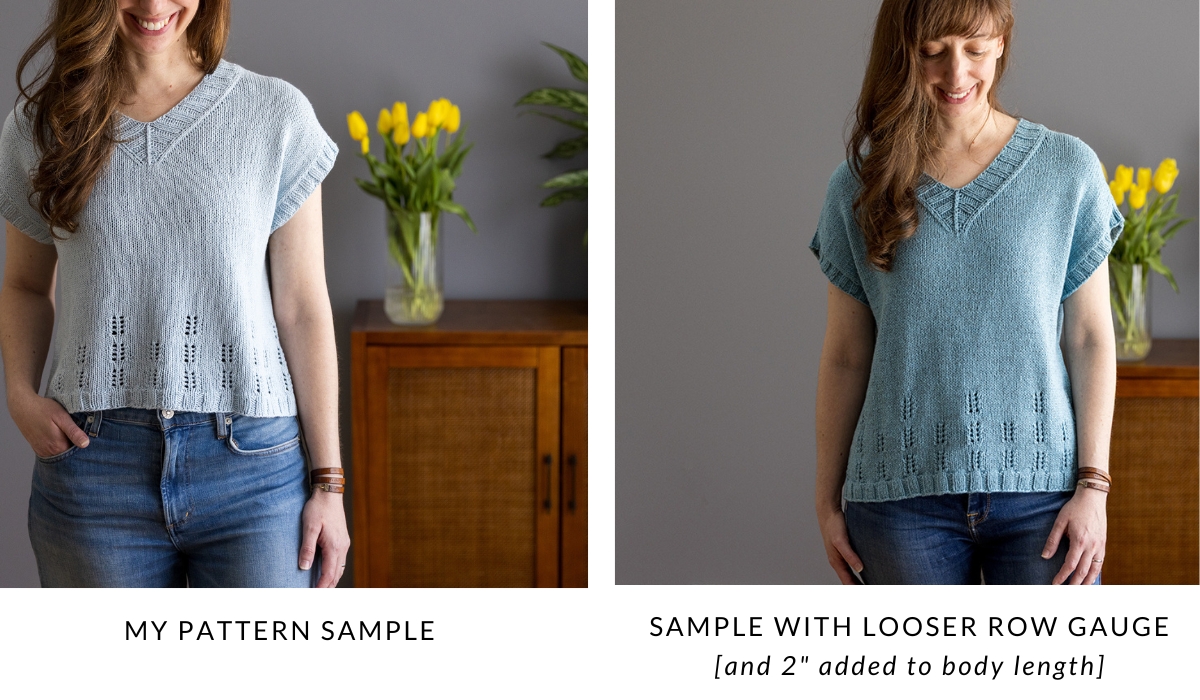
This will give you final measurements that are a bit longer than that listed in the pattern. But depending on how you plan to wear this garment, this may not be a big deal at all. As an example, my friend knit up this top during testing and she made the exact same size as my sample, but her row gauge was a lot looser (more like 7 rows per inch instead of the pattern’s 8 rows per inch). Although she opted to make the body 2″ longer, she followed the pattern exactly as written for the upper part.
So at her looser row gauge, the armhole depth and v-neck depth was 1″ longer than my version. But as you can see in the photo below, but versions totally work and the 1″ in additional length in the armhole depth and v-neck just provide a drapier, more flowy look.
Option 2: You opt to make adjustments in the armhole depth sections of the pattern
If you would prefer to have your armhole depth measurement match that of the pattern, I provide tips and info on how to do this below (scroll down to “armhole depth adjustment” section).
Making it longer
A very common adjustment to this design is making it longer. To make yours longer, simply knit the body until you’re happy with the length! Just keep in mind that, depending on your fiber choice, it may grow with blocking (or, as with the case is with 100% cotton, it may grow with wear).
In the above section I showed a photo of me wearing my friend’s version which had an additional 2″ of length from underarm to hem compared to the pattern (so 12″ instead of 10″). Many of my test knitters made theirs longer as well – check out this blog post (and scroll down to the bottom) to see the gallery with all of their awesome photo examples.
Transferring stitches to a holder
In a few areas of the pattern, you are instructed to transfer stitches onto a holder. My personal preference for stitch holders are stitch holders cords. You can learn more about them here.
However, scrap yarn is another option to consider. You can watch a tutorial of how I transfer stitches onto scrap yarn in this video lesson (it’s for a different pattern but the technique I use is the same). If you do use scrap yarn, I highly recommend checking out my blog post here as well that discusses a common mishap that can occur with scrap yarn (and how to avoid it from happening!).
Working flat in the yoke
After you work the Underarm Divide (when your Front & Back is divided), you will stop working in the round and start working flat. The biggest difference with this is that you will now have WS rows which will be purled! If during your swatching process you did a little flat swatching as well (like I recommended above) and you discovered that your flat knitting was looser than your in the round knitting, here is what I recommend: When working WS rows when working flat, use 1 needle size smaller. This helps to make your flat fabric look closer to your in the round fabric.
For a tutorial on how to purl back with a needle size smaller, check out my video lesson here.
Note: If you use a yarn with little give/elasticity to it (like a cotton blend), you may need to work your RS rows with the needle size smaller as well.
Adjusting the armhole depth
If you want or need to adjust your armhole depth in Ice Maker, there are a few options you can go with. Because the v-neck is also part of the armhole depth, how I suggest you make adjustments will be different depending on your situation. I have outlined the 2 common situations below and how I would suggest making the adjustment.
Situation #1: Same row gauge, but want a different length
If your after-blocked row gauge is the same as listed in the pattern but you just want to shorten or lengthen your armhole depth (compared to the schematic) for personal preferences:
- First, determine how many rows you want to add or subtract. To do this, look at the pattern schematic and the “C” measurement is the armhole depth. Compare your size’s armhole depth to your desired and whatever that difference is, multiple it by 8 (the pattern’s per inch row gauge).
- For example, if you want an armhole depth of 8″, but the pattern schematic shows it as 7.5″ for your size, that means you want to add .5″. Multiplying .5″ x 8 = 4 rows. So you want to add 4 rows.
- Remove/add the rows you figured out above right before the “Front Divide” section (so in the “Begin Upper Front” section). In this section it says to repeat rows 3-4 a certain number of times and you would just adjust this based on how many rows you want to remove or add.
Situation #2: You have a different a row gauge
If your after-blocked row gauge is looser from that of the pattern but you want your measurements to match that of the schematic:
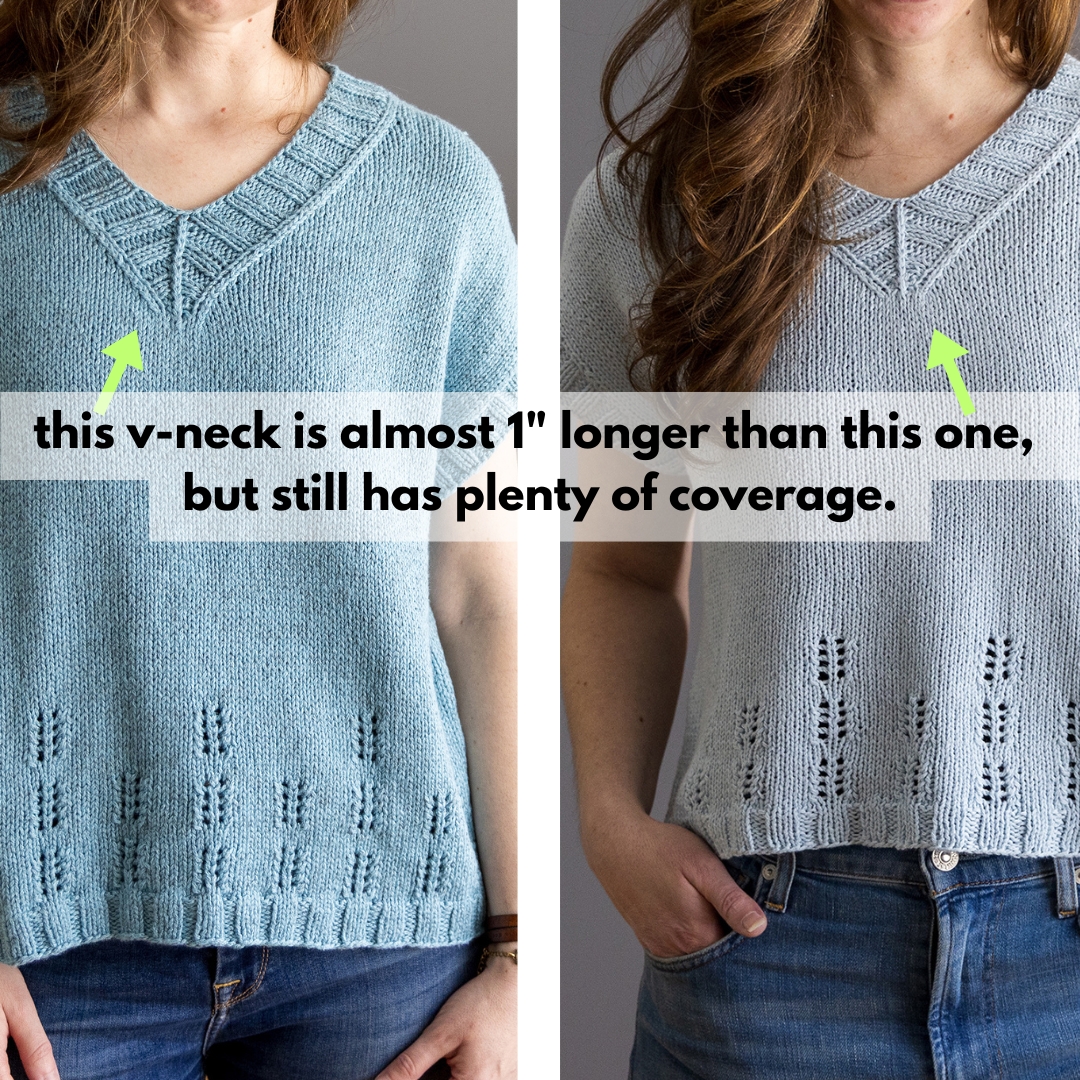
Option 1: The easiest option is to only adjust the armhole depth for your particular row gauge in the section below the “Front Divide” section. What this will do is adjust your armhole depth for your particular row gauge, but it won’t adjust the v-neck depth. I think in most situations this is totally fine because the v-neck in Ice Maker is pretty high as it is (only 6.5″ down from the top of shoulder), so even if it ends up a little lower due to your looser row gauge, it still will likely be not-too-deep.
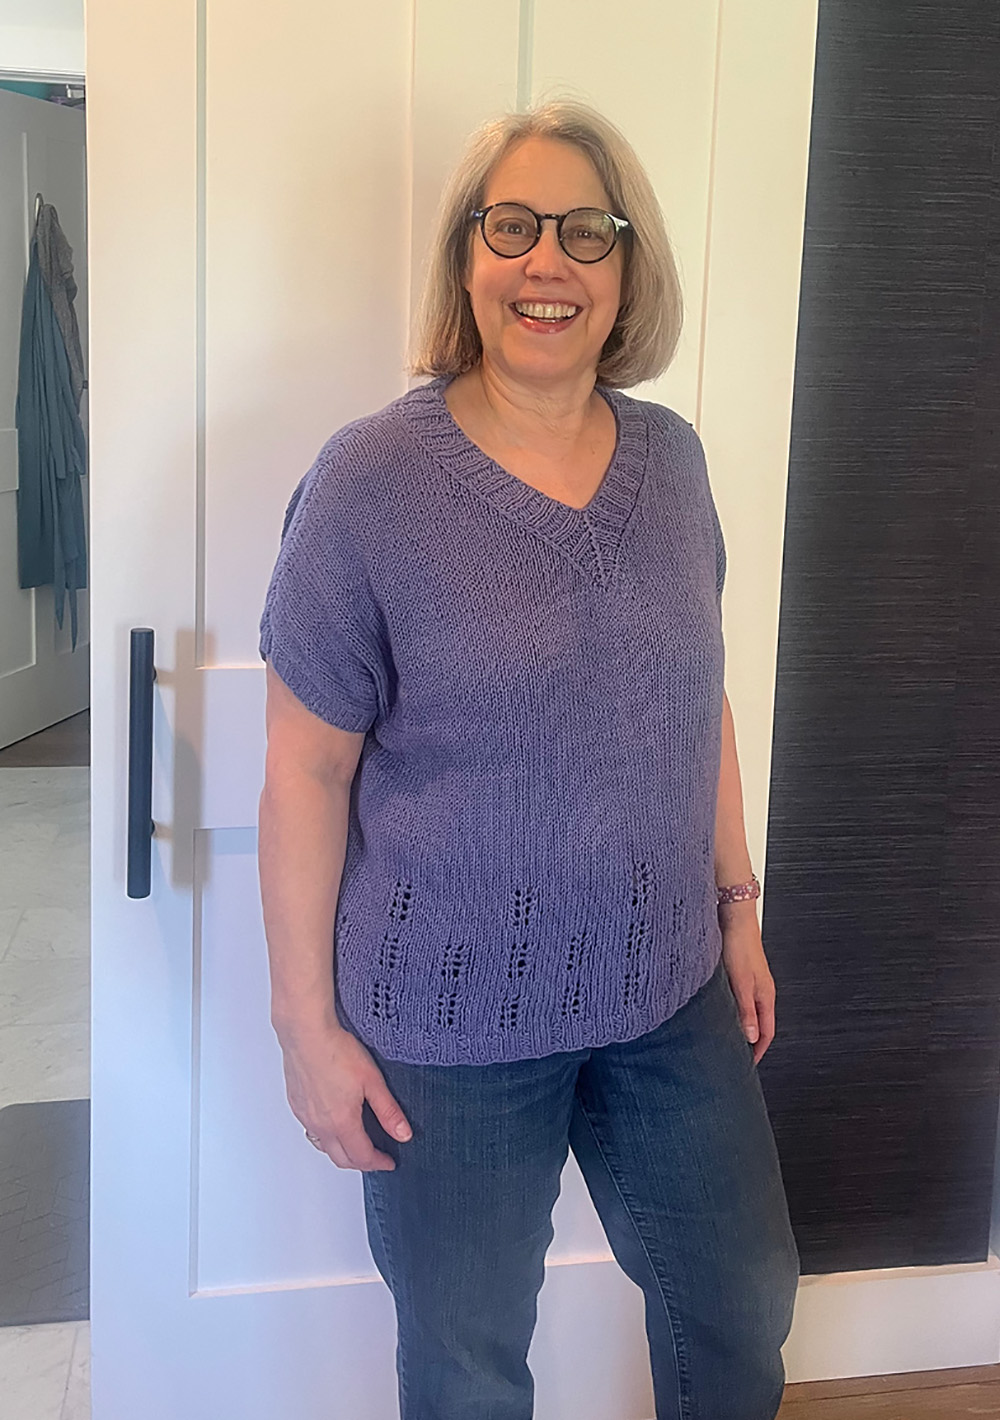
As an example, check out the visual below that shows me wearing another version of this top but one where the row gauge was looser and so the neck depth was almost 1″ longer. Even with that additional length, the v-neck still sits high and provides lots of coverage.
So in most cases, if your row gauge is looser, I would go with this option A.
Here is what you would do if you go with this option:
- Step 1: Look at the pattern schematic’s “C” measurement and multiple that by your per inch row gauge (rounding up to the nearest whole number). This will be your “target armhole rows” number.
- Step 2: Subtract your “target armhole rows” number from this number (depending on size): 52 (56, 60, 62, 66) (70, 74, 76, 78, 80). This number would be the number of rows to take out before proceeding to the “Front Divide” section (for the Front) and then on the Back, take out that number of rows in the “Back” section (before the shoulder shaping).
- For example, if you were making size 4 and your “target armhole rows” number (from the first step) was 52, you would do the calculation of: 62-52 = 10 rows. So you would remove 10 rows in the “Begin Upper Front” section” and the “Back” section.
- The remainder of the instructions would be followed as written.
By doing the above, this will adjust your overall armhole depth but not your v-neck depth. If you prefer your v-neck depth to be exactly as shown in the pattern schematic, but your row gauge is dramatically looser than the pattern, you can do more in-depth adjustments. I have outlined a possible scenario below that is based on a row gauge of 28 rows = 4″ (instead of the pattern’s 32 rows = 4″)…
Option 2: If you want your armhole depth as well as your v-neck depth to be the exact same measurements as that listed in the schematic, even with your looser row gauge, you can make more significant adjustments. This is a more complicated adjustment and so I would only advise this if you are comfortable with making bigger adjustments and matching exact measurements if very important to you.
If so, click here to read my page on how to make this level of adjustment.
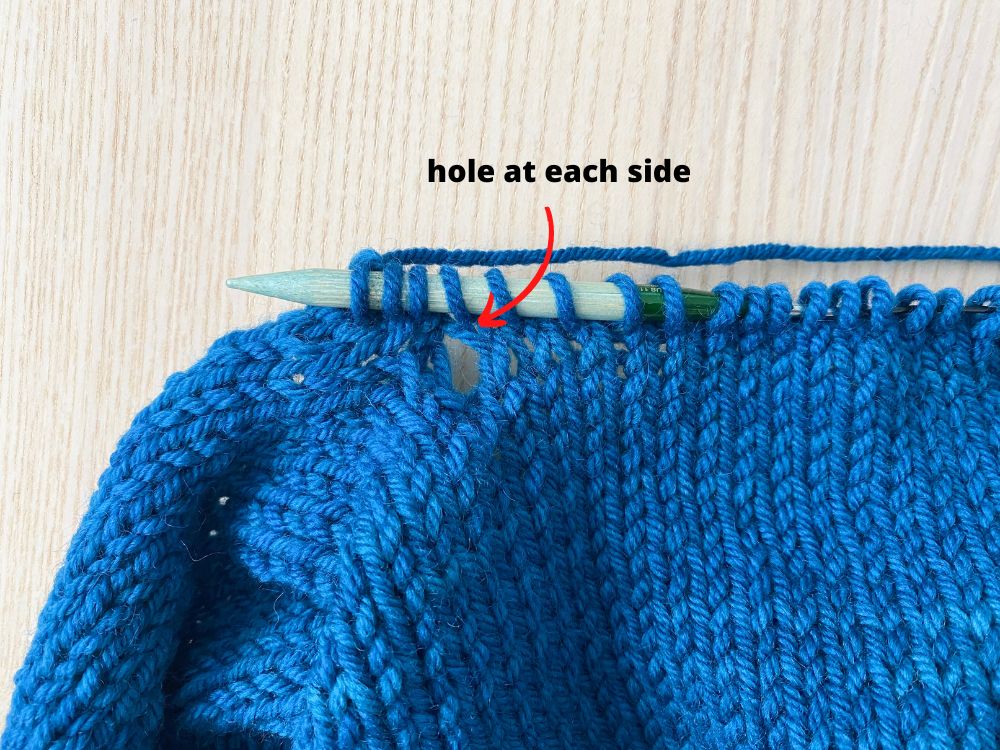
Working the back at the underarm
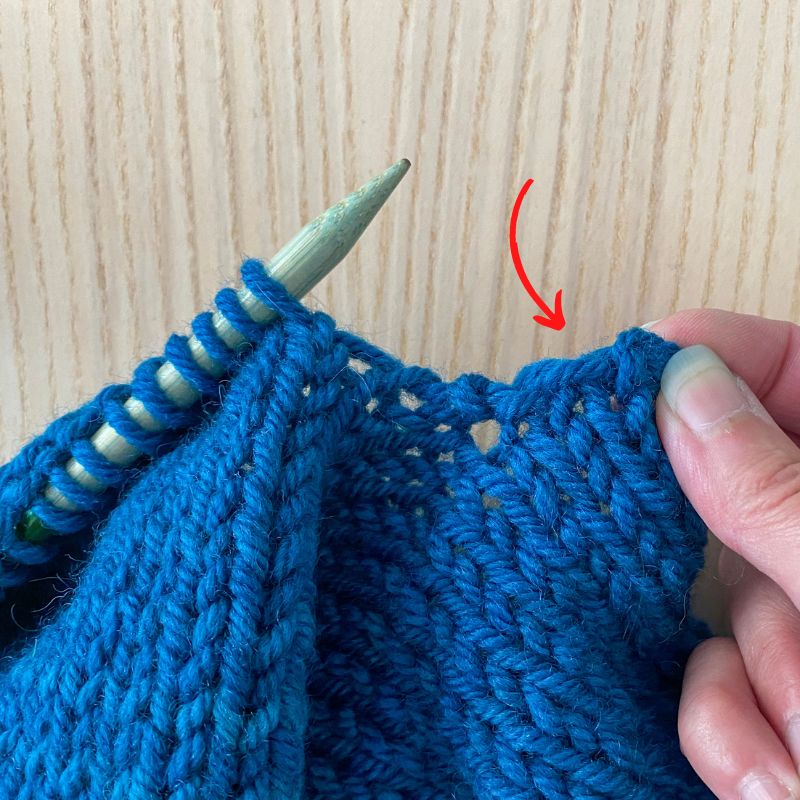
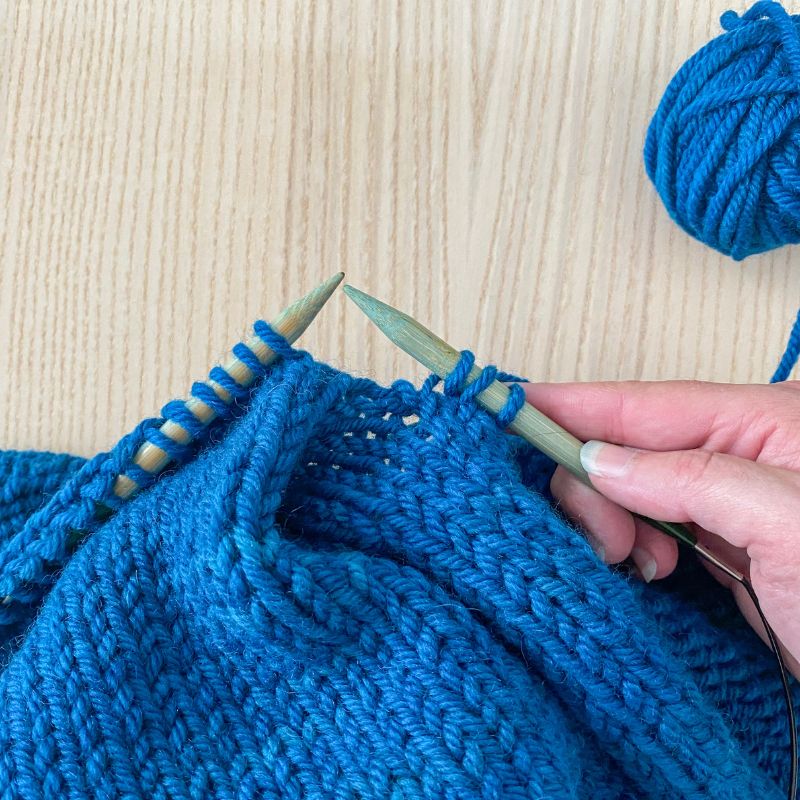
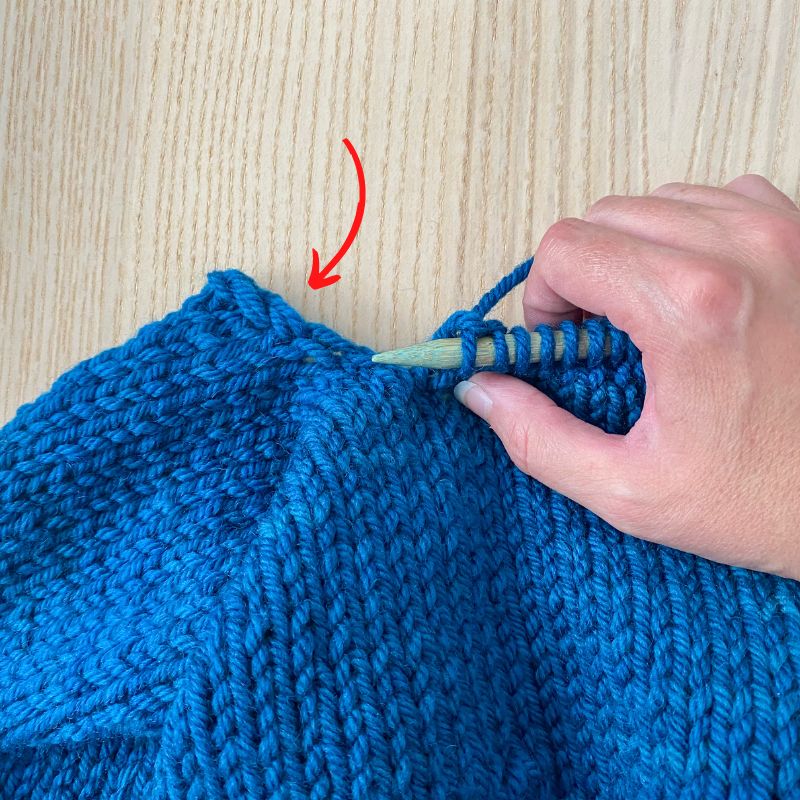
After you’ve worked the Fronts, you’ll move on to the Back section where, in step 1, you’ll be instructed to pick up and knit into the bases of the Right Front Underarm CO stitches. Where are those exactly? I have photos below that may help to better illustrate things. Note: this demo is from my bulky-weight Ice Breaker, but the technique is the same for this lighter-weight version.
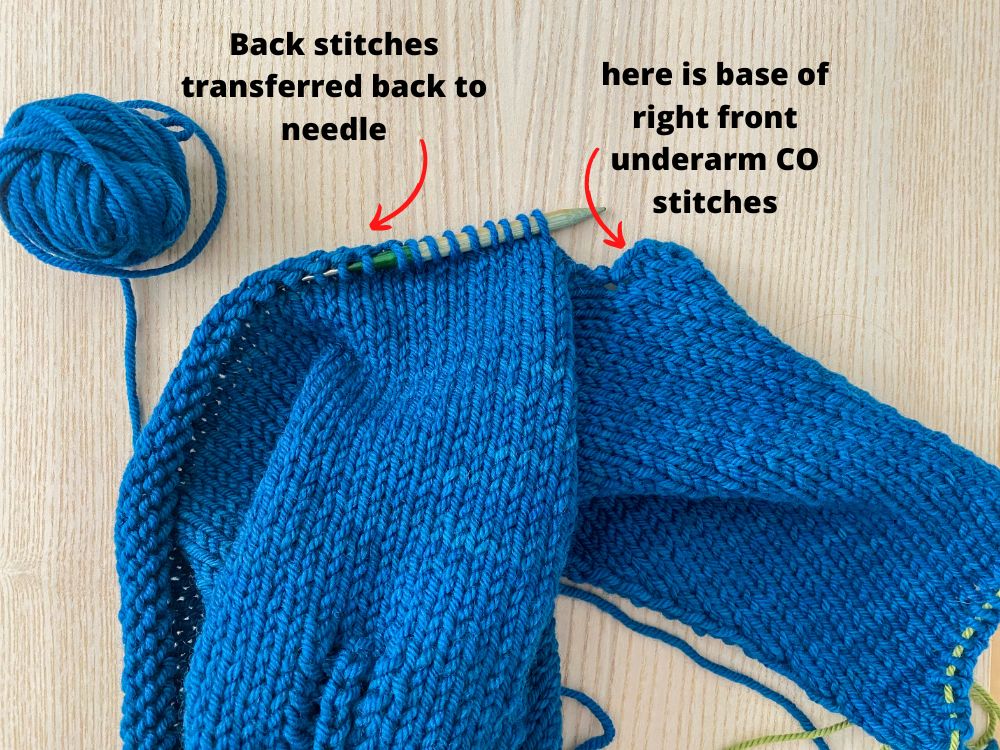
Here are some additional photos that help illustrate this first row:
For a video of how this technique works, check out my demonstration here. It was for my Azalea top, so it’s a different design (and you pick up and knit a different number of stitches), but the technique is the same as what you need to do in Ice Breaker.
One important note: After you have worked the above process, you will likely have a little hole on either side (image below). That is to be expected and can easily be cinched up when weaving in your ends later. Using my Azalea top again as our example, if you watch this clip I show you how I used the duplicate stitch to cinch things up at the underarms.
Working v-neck trim
The v-neck trim techniques I work in Ice Maker are almost exactly the same as the techniques I used in my Audrey’s Pullover pattern which has several tutorials available. Click here for that tutorial page. Important note: the only difference is that due to the construction-style differences, you won’t have any top of sleeve stitches to pick-up in Ice Maker. You’ll just pick-up the Back Neck cast-on stitches and then you pick-up along the Fronts. So when viewing the tutorials on that page, just keep that in mind.
Making sleeves longer
Want to make your Ice Maker sleeves longer? It’s an easy adjustment.
Here are some tips for making your sleeves longer:
- Follow the same pick-up and knit instructions as listed in the pattern for Armhole Trim, but use the same needle size as you had used for the body (not the smaller one).
- If you don’t want your sleeves to taper, simple knit every round until you are approx. 1″ or so away from your desired length. Then switch to the smaller needle and work the rib trim as specified in the pattern.
- If you do want a taper, you can work some decrease rounds. How many will just depend on long you actually want to make your sleeves. In general, here is what I suggest:
- After picking-up stitches, work in stockinette stitch in the round (so knitting every round) for approx. 1″.
- Work a decrease row as follows: k1, ssk, k to last 3 sts, k2tog k1 (2 sts decreased).
- Then continue in stockinette stitch in the round, repeating above decrease round every 1-2″ until you are approx. 1″ away from desired length. But keep an eye on your sleeve circumference and make sure it’s not getting too tight (it’s easy to try on at this point, so I recommend doing that). If you are happy with the fit but want more length, just continue working in St st and don’t work any more decreases. If you just want elbow-length sleeves, you may just be fine with 1 or 2 decrease rounds.
- Then switch to the smaller needles and work the rib trim as specified in the pattern.
Knitting techniques used in the pattern:
Below are links to different knitting techniques that are used in Ice Maker.