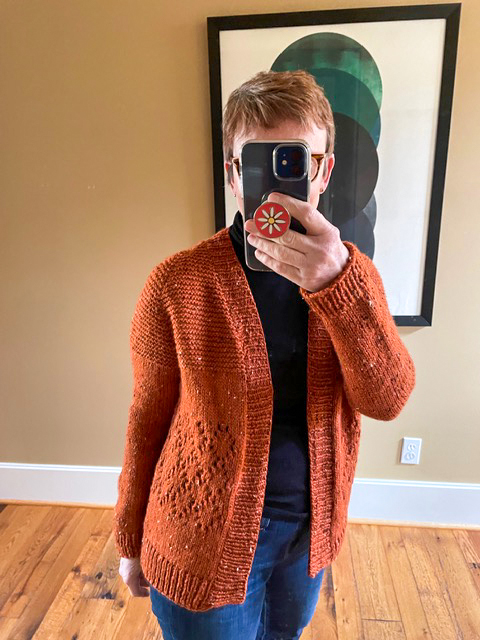
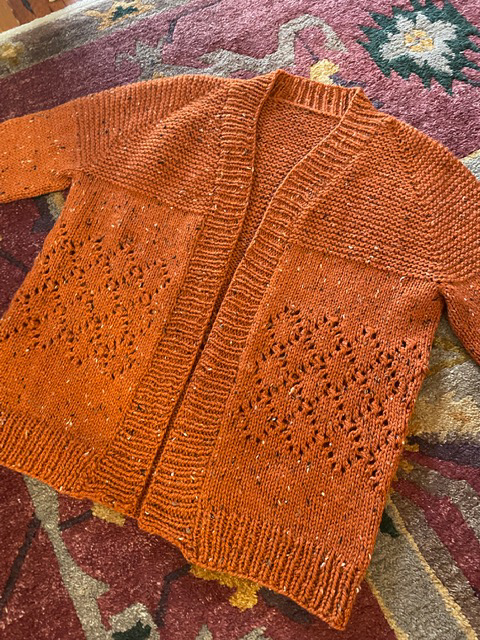
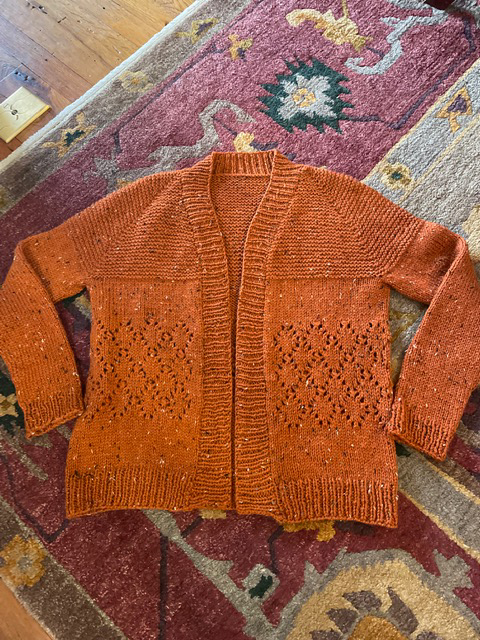
Common Ground Tips
Below are tips you might find helpful as you make your own Common Ground cardigan!
Yarn Ideas
Just like the original Common Ground I made back in 2010, my updated version also uses the aran/bulky-weight Cascade Ecological Wool. This yarn comes in jumbo 250gram skeins (478 yards), so depending on your size you’ll only need 2-4 skeins. Many yarn shops carry this yarn so make sure to check with your LYS to see! If you would like some yarn substitution ideas, here are some other yarns that would work well:
- Cascade Eco+ (the same as ecological wool, but in colors)
- Berroco Mercado
- Valley Yarns Wendell
- Quince & Co Osprey
- Ewe Ewe Yarns Baa Baa Bulky
- Plymouth Yarns Homestead
- Brown Sheep Lamb’s Pride Bulky
- Check with your favorite local hand-dyer too – many have aran/bulky-weights too!
Long Tail Cast-On
- I prefer to use the long tail cast-on (although you can use a different type if you prefer). Click here to watch my video tutorial for how to work the thumb method of the long tail cast-on.
Top-Down Construction & Underarm Divide
- The yoke of this sweater (where you will be working the raglan construction), is worked in Garter Stitch (knit every row). Because it can be hard to tell if you are on a right side or a wrong side row in Garter Stitch, place a removable marker on the right side of the work – this will help differentiate it.
- Increases are worked using a “kfb” increase method. kfb stands for “knit front and back”. Check out this photo tutorial if you need a visual of this technqiue.
- If you have never worked a top-down sweater before, you might find it helpful to review this tutorial on how to work an Underarm Divide. Click here for that photo tutorial.
- As part of the Underarm Divide section, you’ll be asked to do a Cable Cast-on. Click here to watch my video tutorial about this technique.
Diamond Lace Stitch Pattern
- A simple lace pattern is featured on the waist of the body. This stitch pattern is both written-out as well as charted. In a previous pattern I had provided tips on how to keep track of what row you are on which might be helpful for this pattern as well. Click here to read it.
- The lace pattern consists of 12 rows. The lace pattern work is fairly straight-forward – mostly yarn-overs (yo) and k2tog (knit-2-together). But on 2 of the rows you also work a sk2p which is a double decrease. Click here for my video that shows you how to work this stitch if you are unfamiliar with it.
The Hood
- The hood is completely optional. It gives the garment a more casual, cozy feel to it, and it’s easy to make too.
- You make m1’s (make-one’s) to shape the hood. I have video tutorials for both m1-R and m1-L.
- The final step in the hood instructions is to work a 3 Needle Bind-Off technique to seam the 2 sides of the hood together. Here’s my video tutorial if you have never done a three 3 bind-off before.
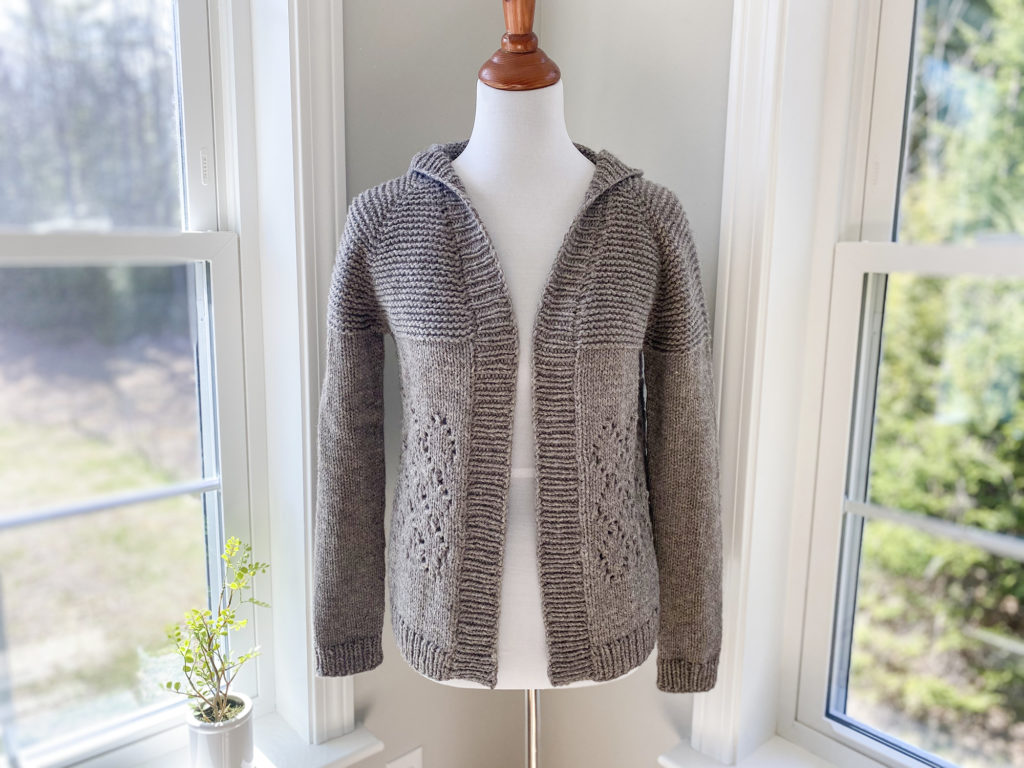
- If you would like to see what the sweater looks like without a hood, check out this beautiful version knit up by Diane (thank you Diane for allowing me to share your photos!). She used Plymouth Homestead Tweed:
Front Bands
- The Front Bands are created by picking up stitches along each of the front edges. Because you have both stockinette stitch edges as well as Garter Stitch edges, this tutorial from Purl Soho may be helpful.
- If you did the hood, you will have a LOT of stitches to pick-up (since the bands go all along the edges of the hood as well. It would be too many stitches to comfortably fit on a 32″ or 40″ circular so I recommended a 60″. However, you could also just use 2 32″ circs (this is what I did when I made my sample). You pick up half the stitches with 1 of the circs, and then 1/2 with the other.
- I didn’t design this piece to be buttoned, but the fronts are wide enough that they could meet in the middle and could be buttoned if you would like. You would just need to incorporate buttonholes on the Right Front.
Blocking
- I highly recommend wet blocking your finished Common Ground as that will open up the diamond lace stitch pattern at the waist. I also find that wet blocking just makes everything look crisper and more finished.
- I did this photo tutorial awhile back that you may find helpful. The most important part of wet blocking is to make sure to squeeze all of the water out of the garment before you lay it flat to dry. Do this by wrapping/rolling it in towels multiple times.
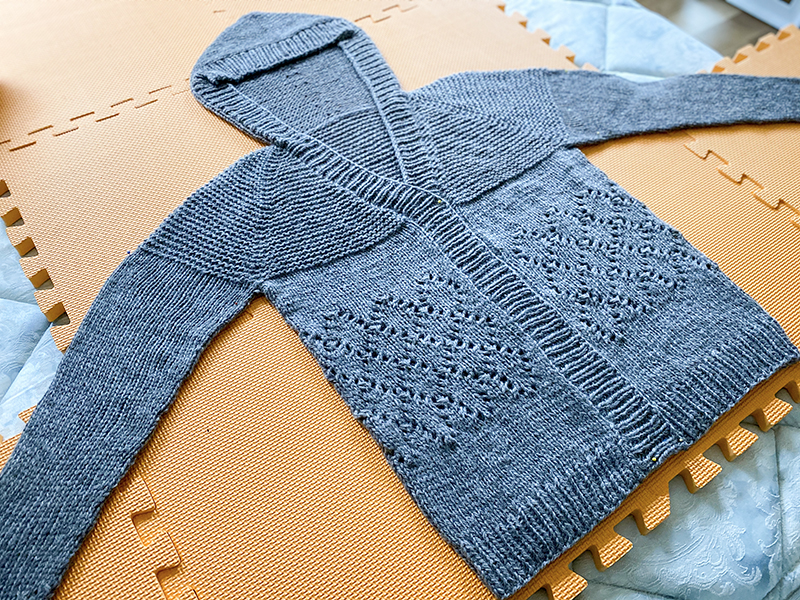
- Below is a photo I took of my Common Ground blocking so you can see how I shaped the hood when I laid it flat:
Errata
Below are any errata that has been found in the pattern:
- In Lace pattern (page 3, 2nd column), row 7 should say to repeat from * to 7 sts before the marker (not 8).

