Coffee Bean & Wonder Years Tips

Welcome to the Coffee Bean cardigan tips page! Here you’ll find tips and tutorial links that will help you as you knit your own Coffee Bean sweater, whether it’s the original baby version, or the adult version! You’ll also find these tips helpful if you are making the Wonder Years cardigan (since it’s the toddler/child version of Little Coffee Bean).
I cover the following topics:
- Picking a size (for adult version)
- Pattern reading tip (for adult version)
- Working 2 row, 2 color stripes (for baby + adult versions)
- Top-down raglan construction tips (for baby + adult versions)
- Underarm divide (for baby + adult versions)
- Working sleeves on DPNs
- Working sleeves using the Magic Loop Method
- Pick up and knit stitches for buttonband (for baby + adult versions)
- Blocking (for baby + adult versions
- Attaching buttons (for baby + adult versions)
- Other technique tutorials (for all versions):
- Long-tail Cast-On
- M1-R & M1-L
- ssk & k2tog
- Knitted-on Cast-On (for baby version)
- Cable Cast-On (for adult version)
- Binding-off in pattern
Picking a Size
For the adult version, I offer 10 different size options to pick from. For top-down raglan sweaters like this, I generally recommend picking a size whose finished measurement is approx 1-4″ larger than your actual chest measurement (if you would like to learn more about “positive ease”, check out this blog post). However, sweater fit is very subjective, and some people prefer more ease in their sweaters so if you want a more oversized look, feel free to choose a size that is larger than this range.
Pattern Reading Tip
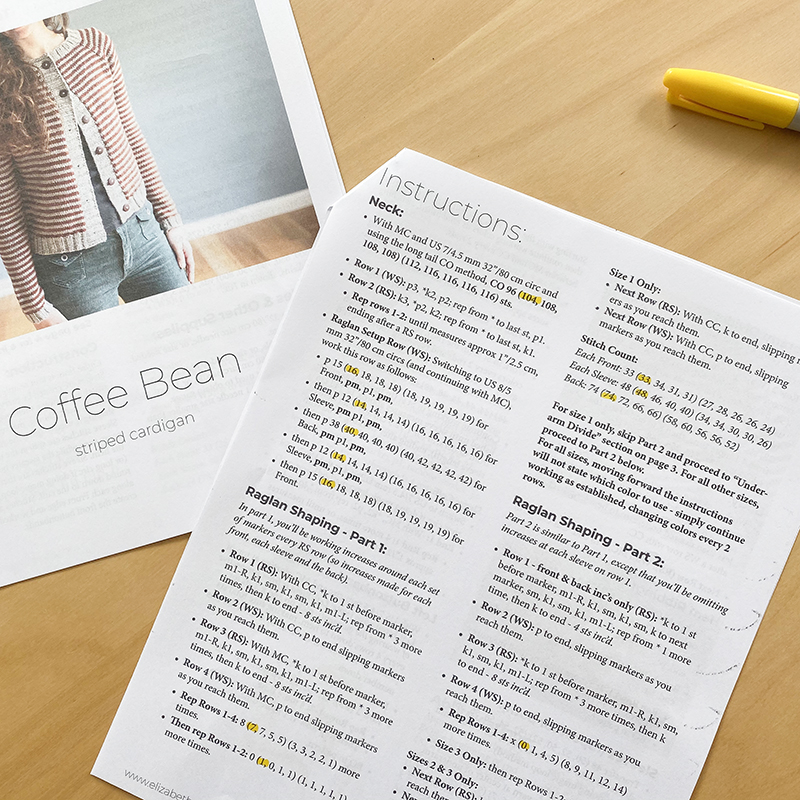
As I mention above, I offer lots of sizes in the adult version of this pattern (10 in fact!). Before you start the project, I recommend highlighting or underlining/circling the size you plan on doing and all of the numbers for your particular size. It may seem a little tedious at first but trust me, you’ll be so thankful you did this!
Working 2 Row 2 Color Stripes
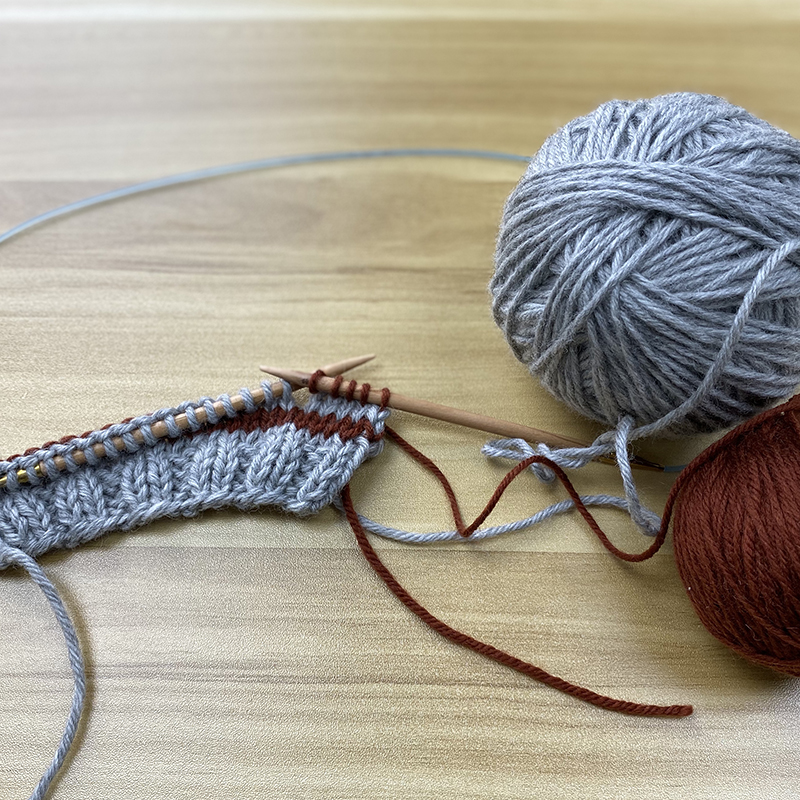
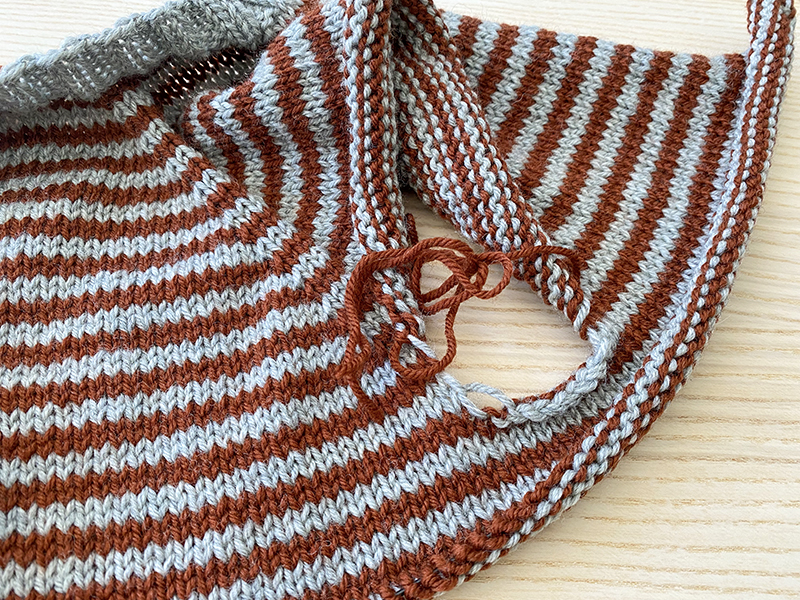
One of the great things about doing 2-row 2-color stripes is that you don’t have to cut the yarn each time – because the yarn doesn’t have far to “travel” (i.e, only 2 rows), you can simply carry it up the side of your work. For a photo tutorial of how to work 2-row 2-color stripes, click here. I also have a video that demonstrates this technique below. Please note: in this video, I’m working in garter stitch (knitting every row) whereas in Coffee Bean you are working in stockinette stitch (knitting on right side rows and purling on wrong side rows), but the technique of switching colors and carrying the yarn up is the same regardless.
Top-down Raglan Construction Tips
If you are new to top-down raglan sweaters, I recommend checking out this page. It provides an overview of top-down construction, including links to videos of every step of making a top-down raglan sweater (using my Audrey’s Cardigan as the example, but the techniques are the same regardless of design).
Underarm Divide
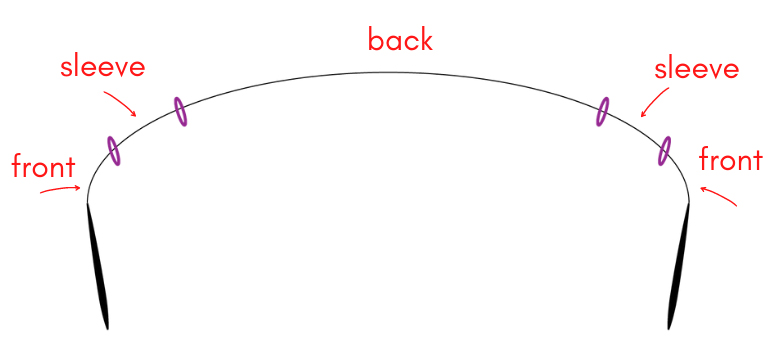
If you have never worked a top-down, seamless sweater before, then working the “Underarm Divide” section can seem a bit confusing. As part of my Audrey’s Cardigan knitalong, I created this video tutorial that walks you through the whole process (including working the cable cast-on). Although it’s a different pattern, the technique is the same so it will be very helpful as you work Coffee Bean as well. In addition, I had created this blog post many, many years ago that still remains quite popular and will also walk you though the Underarm Divide process using photos.
Pick up and Knit for ButtonBands
In all versions of Coffee Bean, you need to pick up and knit stitches along each front edge in order to create the front bands. Check out this page for a video tutorial of how to do – there is a video from my Audrey’s Cardigan knitalong and along the neckline is different, the technique of picking up stitches is the same.
Working Sleeves on DPN’s
Because sleeve circumferences are often too small for traditional circular needles, they are often knit using double-pointed-needles. I created a video lesson on how to work top-down raglan sleeves in the round with DPN’s (including how to get started) that you may find really helpful. The video is using a different raglan pattern than the Coffee Bean, but the technique is the same. Click here to view the lesson.
Magic Loop your Sleeves (to avoid DPN’s)
Do you dislike working with DPNs and looking for an alternative? Magic Loop is a method of working small circumferences (such as sleeves) but on a long 32″ circular needle. To learn more, including a video lesson, click here.
Blocking
Are you new to blocking? I know it can be intimidating at first! I created this video tutorial that walks you though the whole process. It was for my Audrey’s Cardigan knitalong, but the process is the same for any sweater I block.
Attaching Buttons
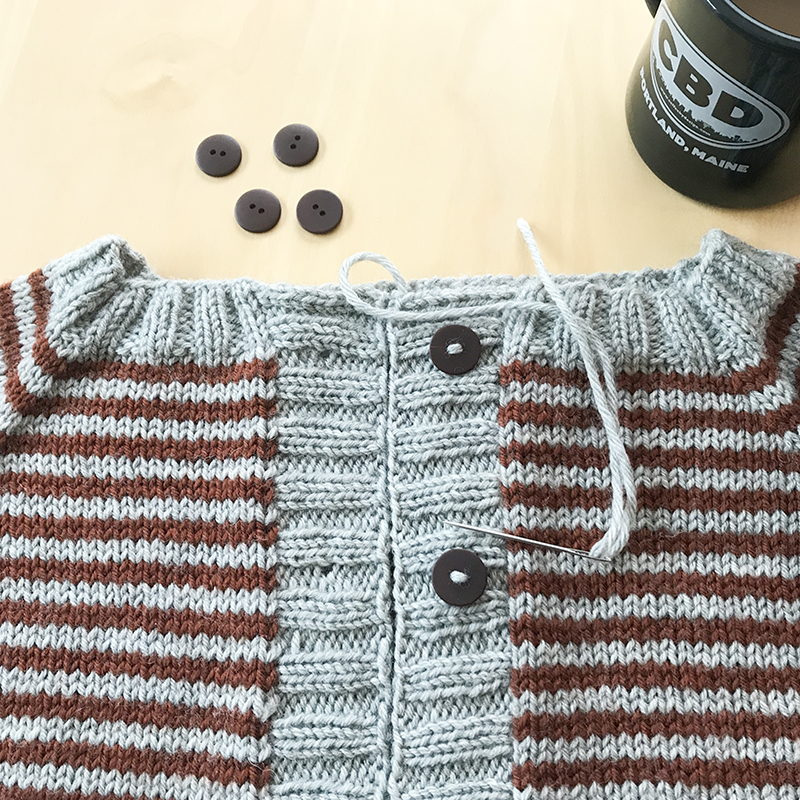
One of the last steps in this pattern is attaching the buttons! I’ve snapped some photos while I was attaching buttons to my sample so that I could share some of the techniques I use when working this step. Click here to view this tutorial. And I also have this video tutorial here as well.
