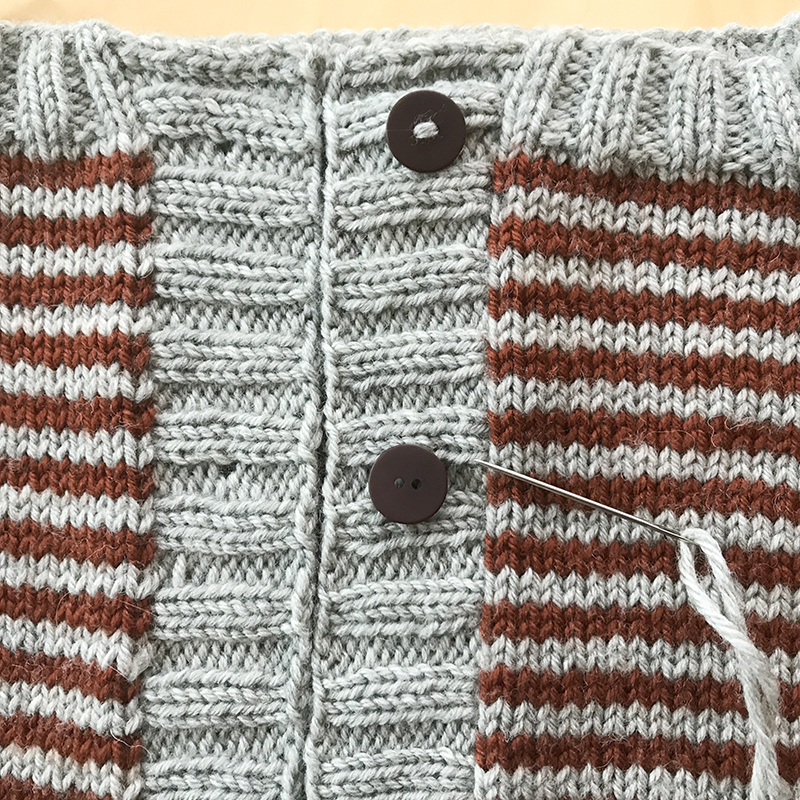
How to Attach Buttons
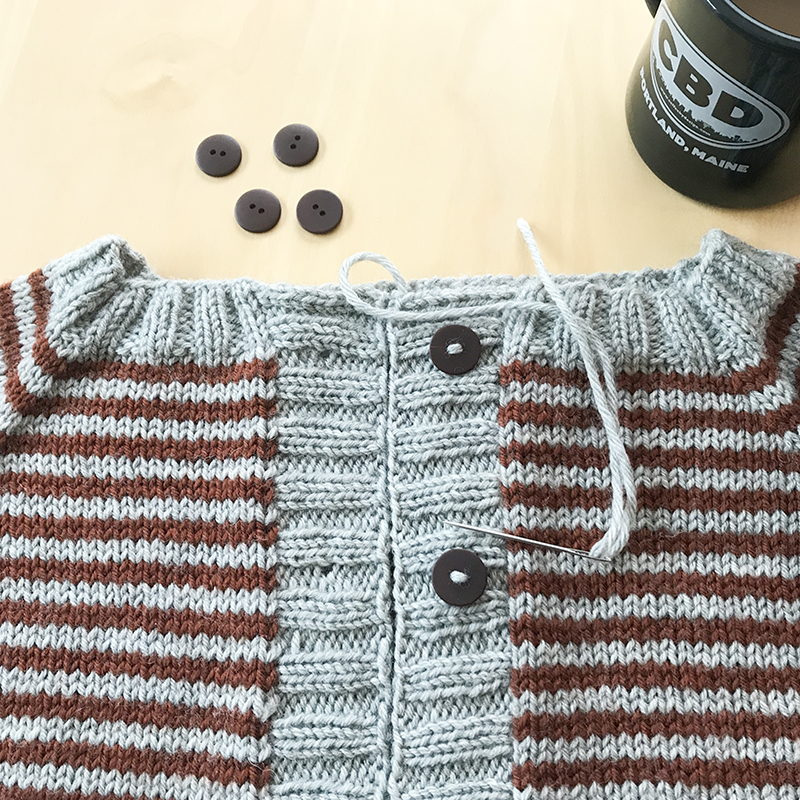
In this tutorial I will show you the technique/tips I used to attach buttons to my Coffee Bean cardigan. These same tips can be used anytime you need to attach buttons to your knitted garments.
Tools you’ll need:
- Buttons (you’re pattern should tell you what size you should get.)
- Extra yarn – I usually use the same yarn which I used to knit the garment (this will typically work unless you’ve used a very bulky yarn).
- A needle that will fit through your buttonhole.
Step 1: Prepare yarn & needle
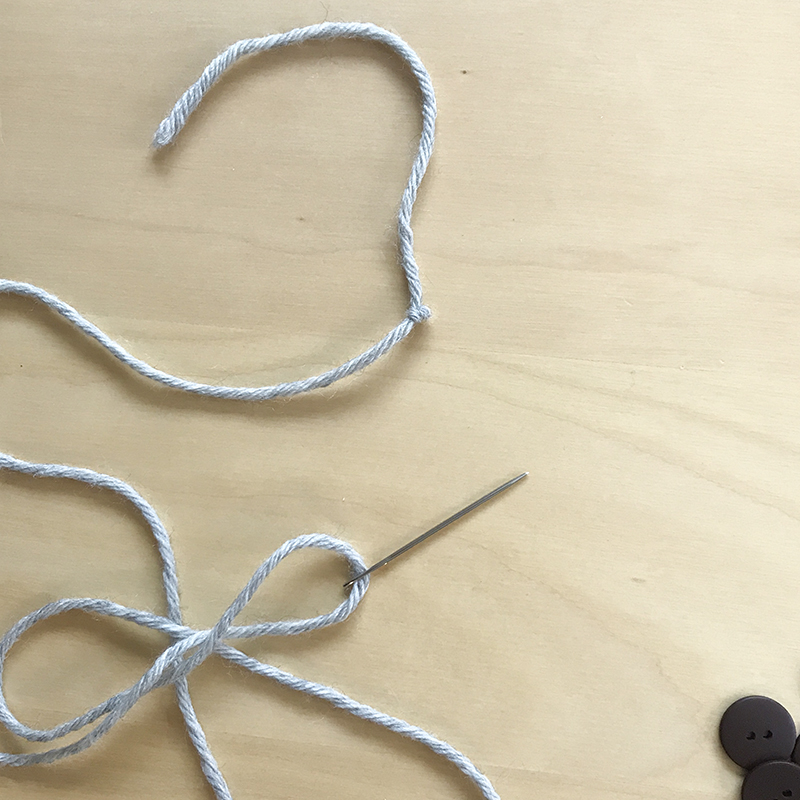
Cut a long piece of yarn, thread it through the needle and tie a knot at the end of it, making sure to leave a decent length tail.
Step 2: Placement
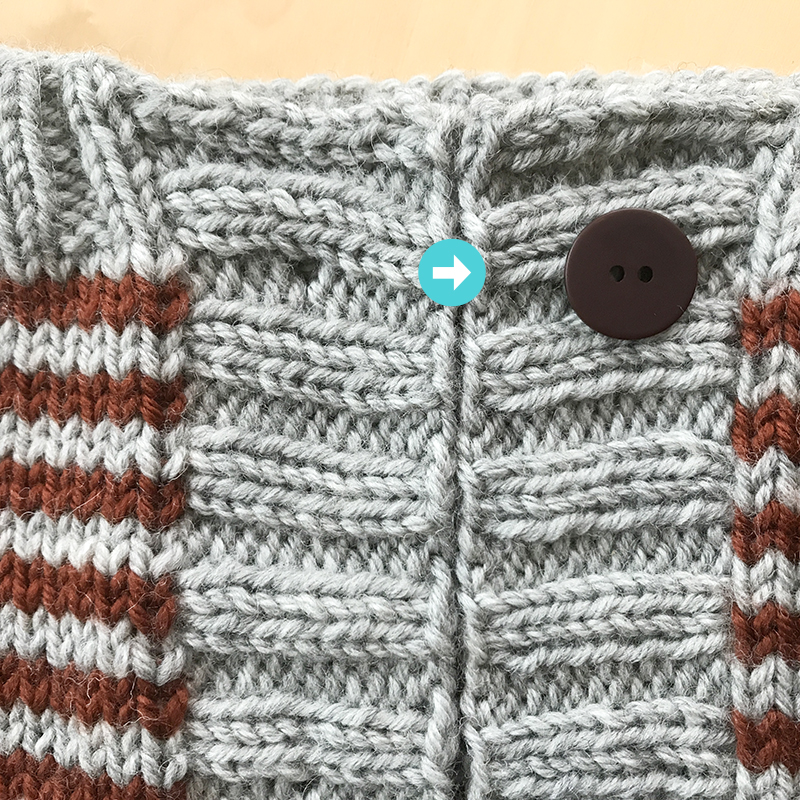
I always start with the very top button. To figure out where it should go, line up the buttonhole on the opposite band. In the picture below, you can see that the buttonhole on the right band is in the purl section, and so I want my button on the left band to also be centered in this same area…
Step 3: Attach Button
Starting from the wrong-side of the work insert needle into fabric and pull it through one of the holes in the button…
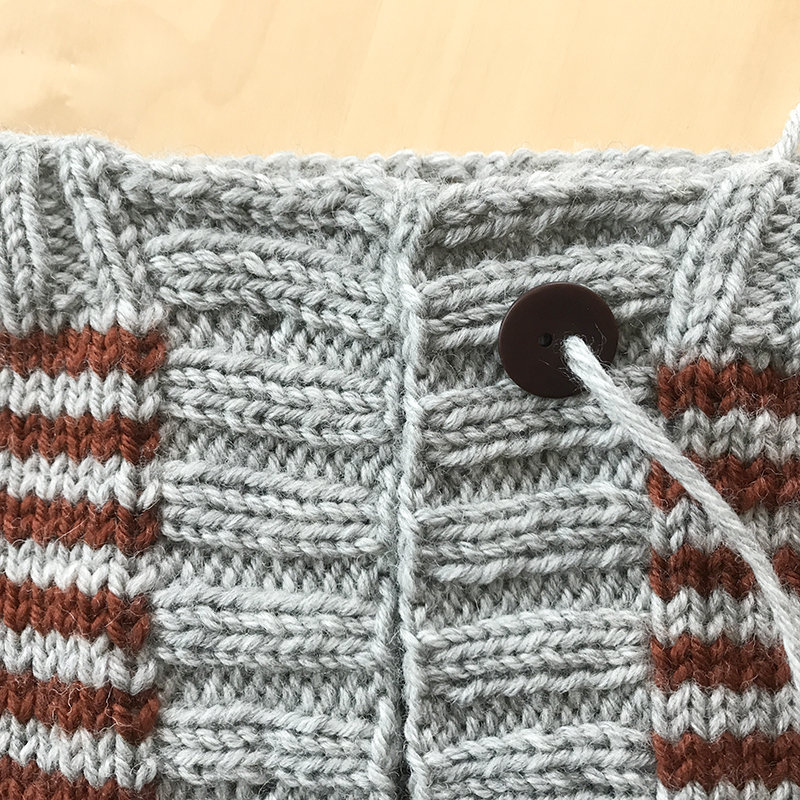
Then insert the needle into the second hole and pull through…
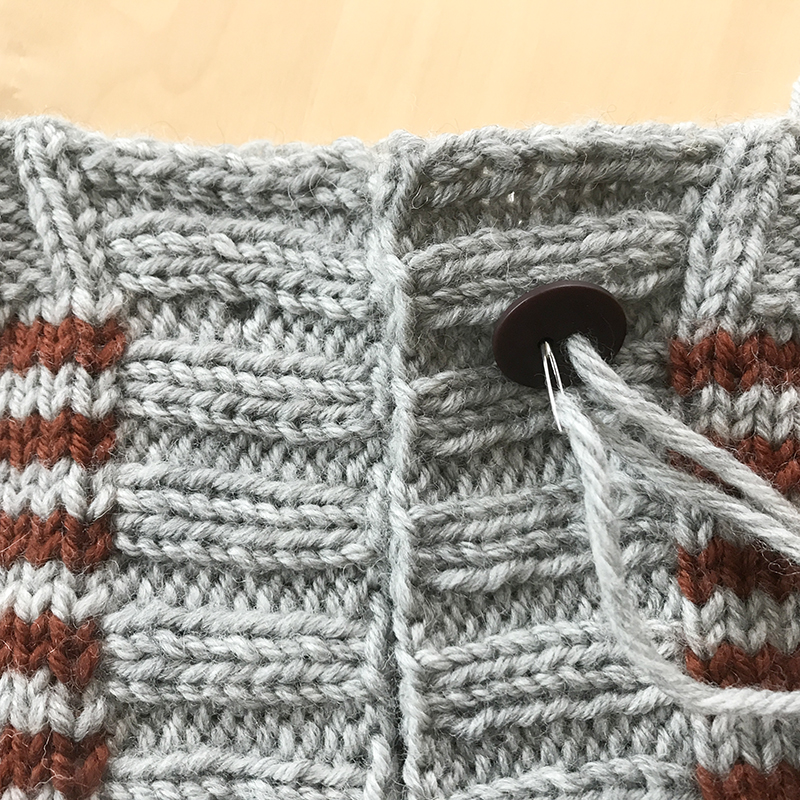
To make it more secure, repeat these steps 1 more time (so insert needle back into first hole, pull it through, then insert it into second hole and pull it through). Then cut the yarn, leaving a long tail.
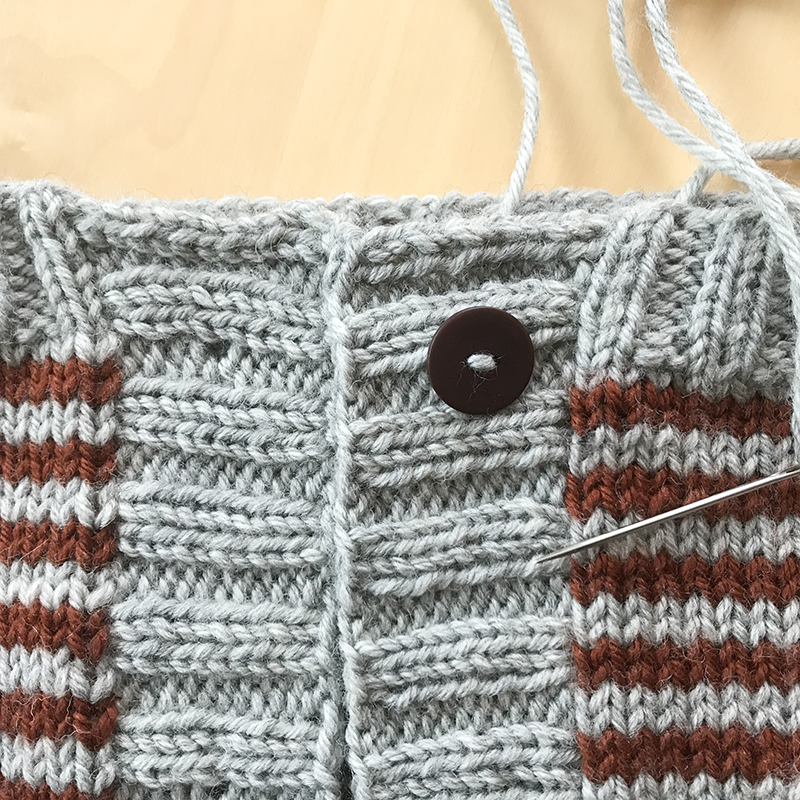
Step 4: Secure yarn on backside
For extra re-enforcement, I like to secure the yarn on the backside by tying it into a knot. Here’s how…first, turn the work so the wrong-side is facing you…
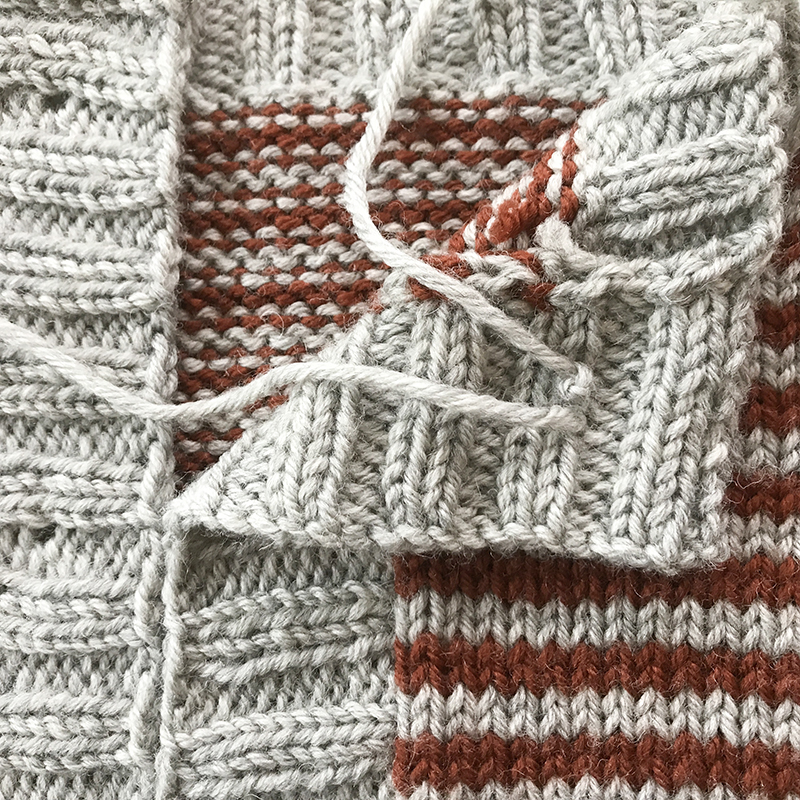
Take both ends and loop them into a knot…
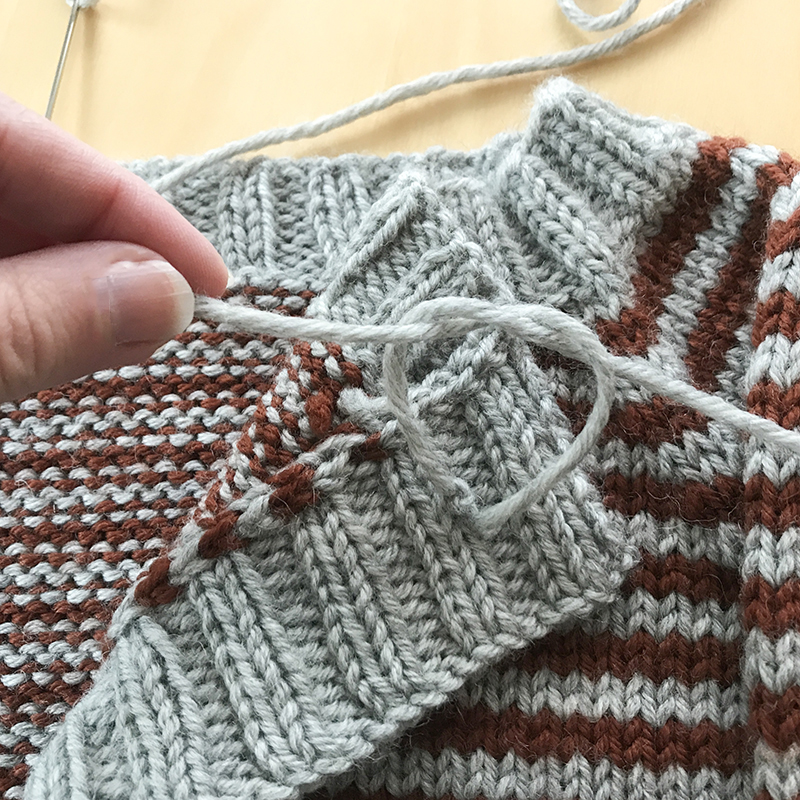
Then cinch it, being careful not to tie it too tight as that may pucker the fabric.
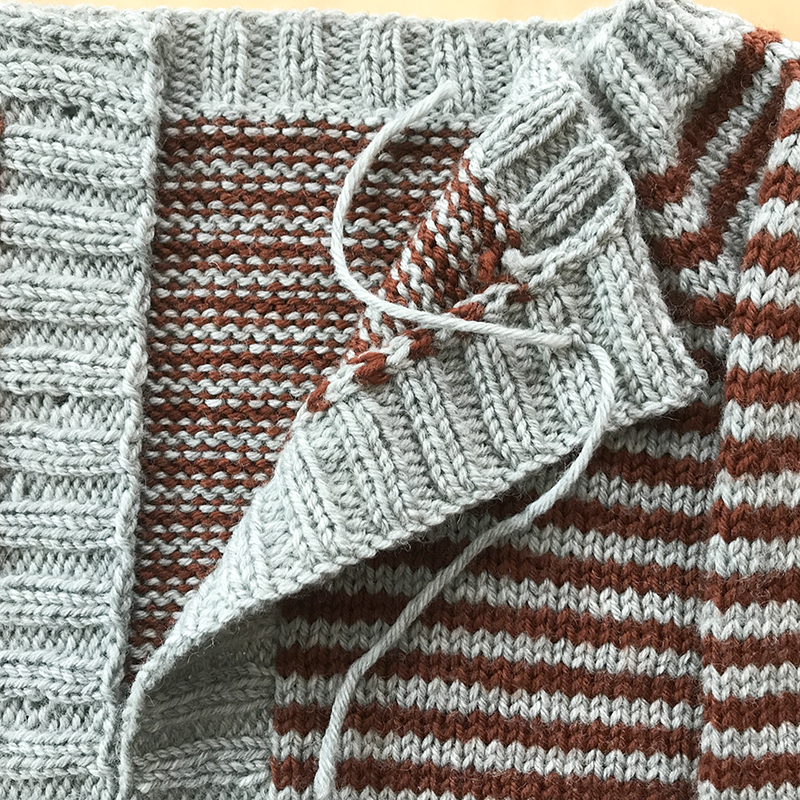
Your button is now fully secure! Once you are done you will go back and weave in each end of the yarn.
Repeat steps 1-4 for each button
