Alanis Tips
On this page you’ll find tutorials for each of the techniques used in the Alanis top! If you have any questions, feel free to reach out. Also, check out my “Alanis: Behind the Design” blog post series! This tips page reviews the following techniques:
- Picking a size
- Picking a yarn
- Swatching Tips (including how to knit “off-gauge”)
- Long-tail cast-on
- Slip stitch/Icord edging on hems
- Inset pocket
- Knitted-on/purled-on cast-ons
- Sloped Bind-Off Neck Shaping
- Wrap and Turn short rows
- Three Needle Bind-off
- Seaming down pocket lining
- Adding sleeves
Picking a Size
There are 9 different sizes to pick from when knitting your own Alanis. Because of the drop-shoulder construction, I recommend picking a size that is approximately 6-12″ larger than your actual bust measurement. To learn more about “positive ease”, especially as it relates to drop-shoulder constructions, read my tutorial here.
Picking a Yarn
In my original sample of Alanis I used Quince & Co Owl which is considered a worsted-weight yarn. However, with the pattern gauge of 19 stitches = 4″, either a DK or Worsted-Weight yarn (knit a little loosely) could work well for this pattern. Important Note: in order to get that gauge of 19 sts = 4″ with my original yarn, I had to go down to a US 6/4 mm needle. But many other worsted-weight or DK yarns would use a US 7 or US 8 for this gauge. So just keep that in mind during your swatching process, that you may likely need to go up in needle size. Also, stitch gauge is more important than row gauge so focus on matching stitch gauge in your swatching and don’t be as concerned with your row gauge.
Swatching Tips
Here are some swatching tips for Alanis (including tips on what to do if you can’t get gauge!)
Tip #1: Focus on matching stitch gauge and don’t worry too much about row gauge
Stitch gauge is more important than row gauge so I would focus on matching the stitch gauge of 19 sts = 4″/10cm.
Tip #2: Swatch in the round
Because the body of Alanis is worked in the round, it’s important to do your gauge swatch in the round. For a demo of how to do this, click here.
Tip #3: If you can’t get the right gauge, consider knitting a different size
If you’ve tried different needle sizes and just can’t get gauge (or prefer the look/feel of your yarn at a different gauge), you can consider knitting “off-gauge”. Because Alanis has simple construction, it’s possible to still knit Alanis by simply following the instructions for a different size in order to end up with the finished measurements you want. Here is how you would do this:
- First, figure out what your per inch stitch gauge is (so let’s say your gauge is 20 sts = 4″, then your per inch stitch gauge is 5).
- At the bottom of page 2, column 1, there is a total stitch count listed for each size. If you divide each of these numbers by your stitch gauge, you’ll see what finished measurements you would end up with for each size at your gauge. So by doing this exercise, you’ll be able to see what finished circumference options you have at your gauge and can then choose which size to knit based off of that.
- One thing to keep in mind with this is that whenever in the pattern it provides a length measurement by size, you should follow the measurement of the size you wanted to knit, not the size you are actually knitting. For example, if because your gauge is off you decided to knit size S instead of size M, when in the pattern it lists a length measurement to knit (such as in the Yoke), follow the amount of inches listed for the M and not the S.
Long-Tail Cast-On
I like using the thumb method of this cast-on. For a tutorial of this method, check out my video below!
Icord Edging
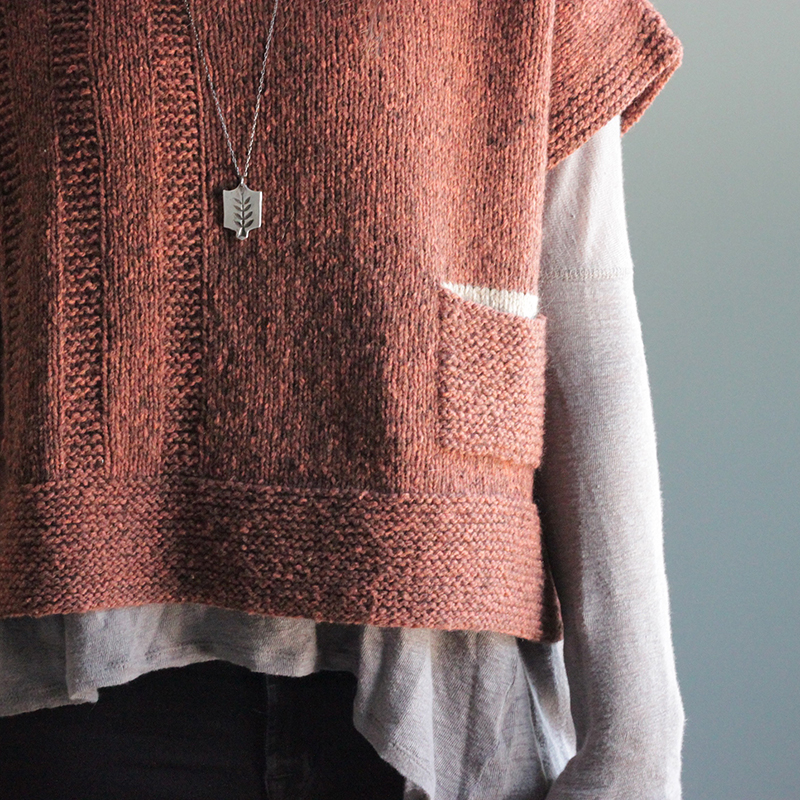
When you’re first starting Alanis, you work the back and front hems separately and each of them have a slip stitch/icord edge on each side. On this page, I have a tutorial all about icord edging (including a video) – for reference, the type of icord I use in Alanis is version 2.
Inset Pocket
For a visual of how the pocket lining is attached to the body (in the ‘Pocket Setup and Insertion’ section), click here for my tutorial page.
Knitted-On and Purled-On Cast-Ons
Check out my video tutorial below for how to work the knitted-on and purled-on cast-ons techniques. This is used in the first rows after the “Underarm Divide” in the Alanis pattern:
Sloped Bind-Off Neck Shaping:
The neckline features a sloped bind-off technique. I also used this technique in my Azalea sweater – you can click here to watch my video tutorial from that project!
Wrap & Turn Short Rows:

To shape the shoulders, short rows are used. I use wrap and turn short rows. Check out my part 1 video that shows how to the do the actual “wrap and turn” and here’s my part 2 which shows how to work the wraps as you reach them (at the end).
Three Needle Bind-Off:
Each shoulder is “seamed” together using the three needle bind-off technique. My below video shows you how this technique is worked:
If you prefer a video tutorial that shows this technique on an actual sweater similar to Alanis, check out my Azalea video here.
Seaming down pocket linings:
I have 2 tutorials you can refer to in regards to Seaming down the pocket lining. There is this one (scroll down to the bottom portion). or there is another photo tutorial here.
Adding Sleeves:

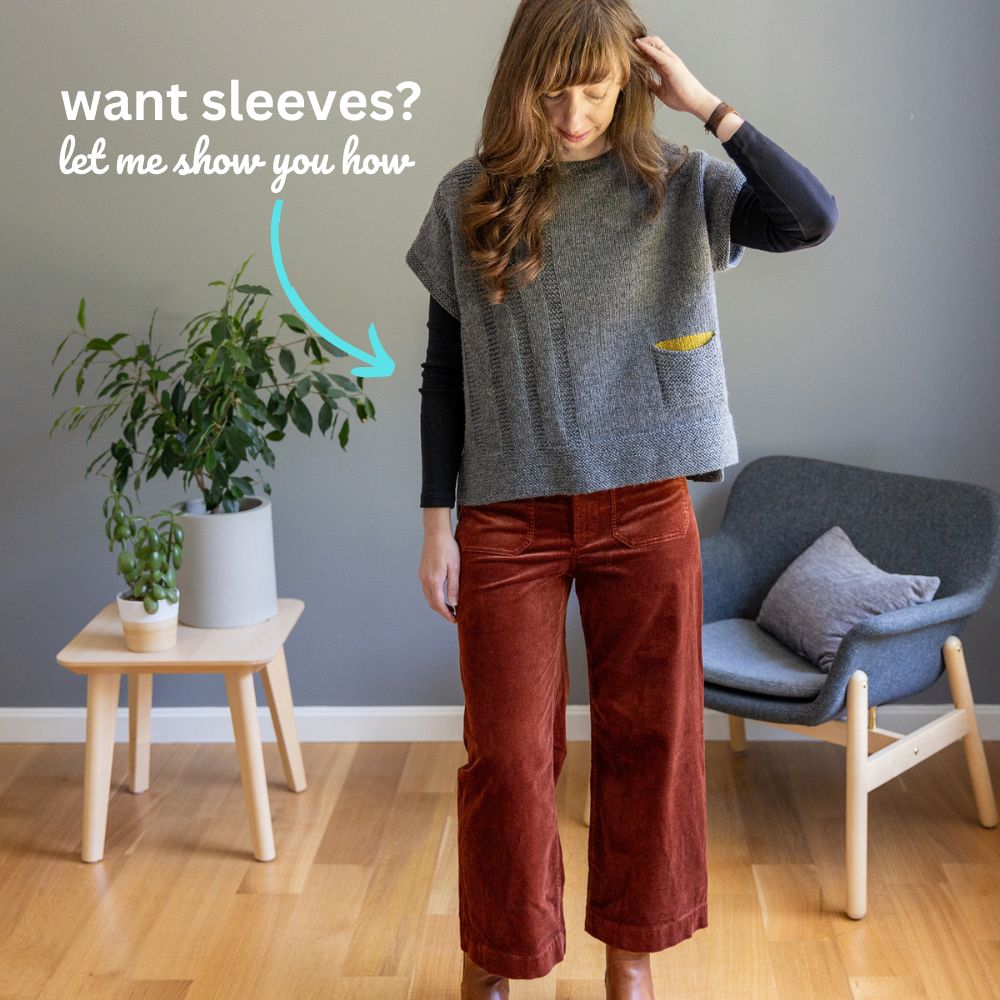
The great thing with drop-shoulder vests like Alanis is that adding sleeves is a fairly simple adjustment! You can check out my blog post here for step-by-step instructions on how to do this.


