Icord Edge

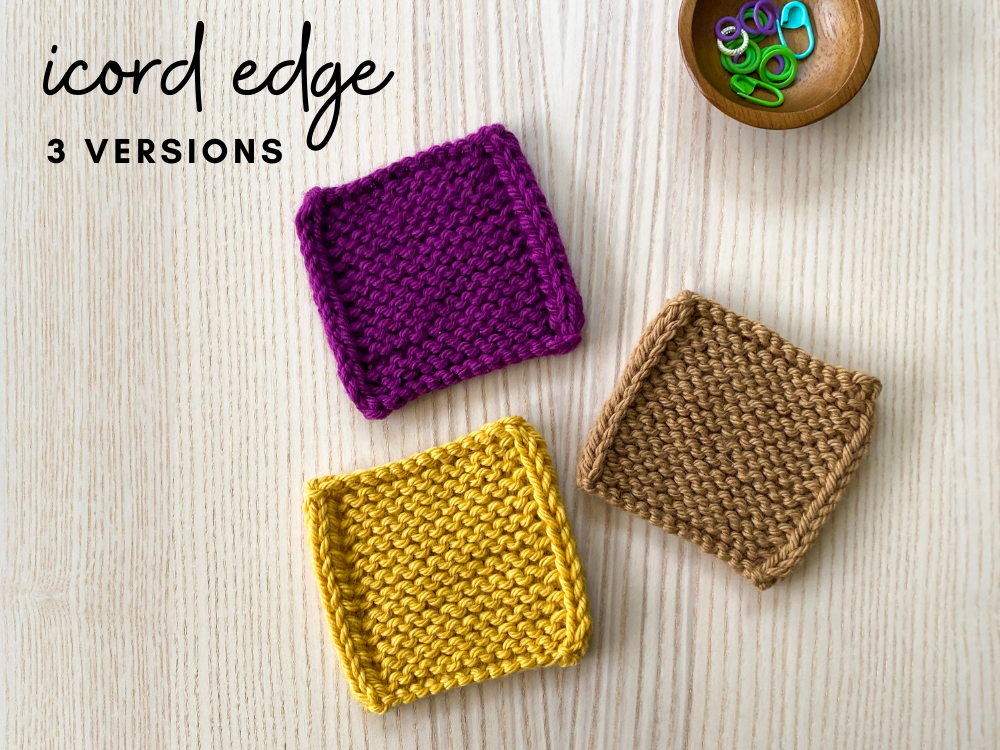
I love an icord edging – it creates a nice, clean edge and makes even simple garter stitch look more elegant. There are lots of different methods of creating icord edges and I have outlined 3 different methods below. To watch my full video tutorial on how to work all 3 of these versions, click below!
In all of my examples (below and in the video), I am doing a 2 stitch icord edge and garter stitch (knitting every row) in-between. The amount of stitches you do will impact the thickness of your icord edge. In my samples, I used Berroco’s Vintage Chunky – since it’s a thicker yarn, I only wanted to do a 2 stitch edge. But for thinner yarns, you can do more stitches if you prefer.

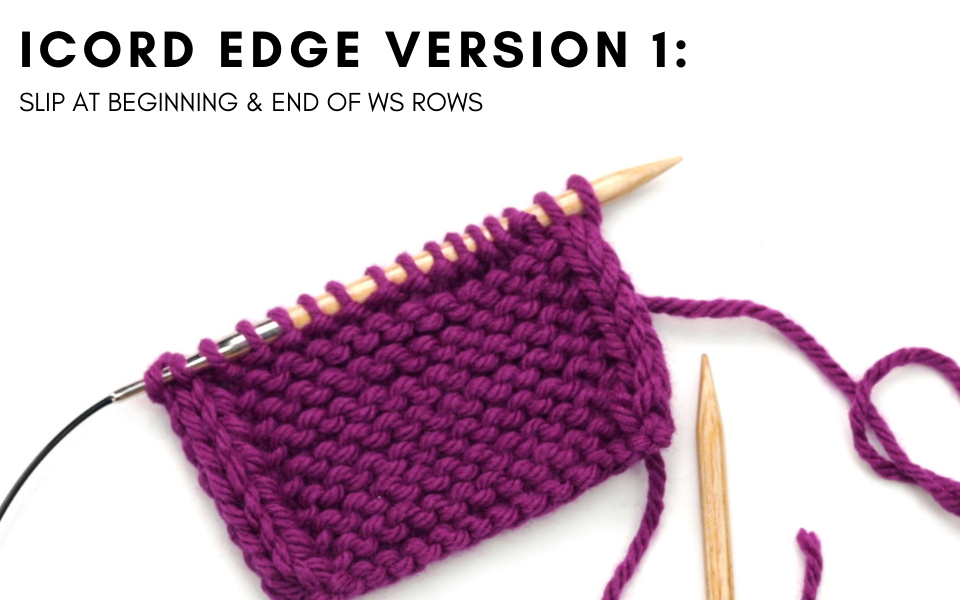
Instructions: On RS rows: knit all stitches to the end. On WS rows: Holding the yarn in the front, slip 2 stitches purlwise, then bring the yarn to the back of the work and knit to last 2 stitches, then bring yarn to the front of the work and slip 2 stitches purlwise.
Note: this is the version I used in my Carley Vest.

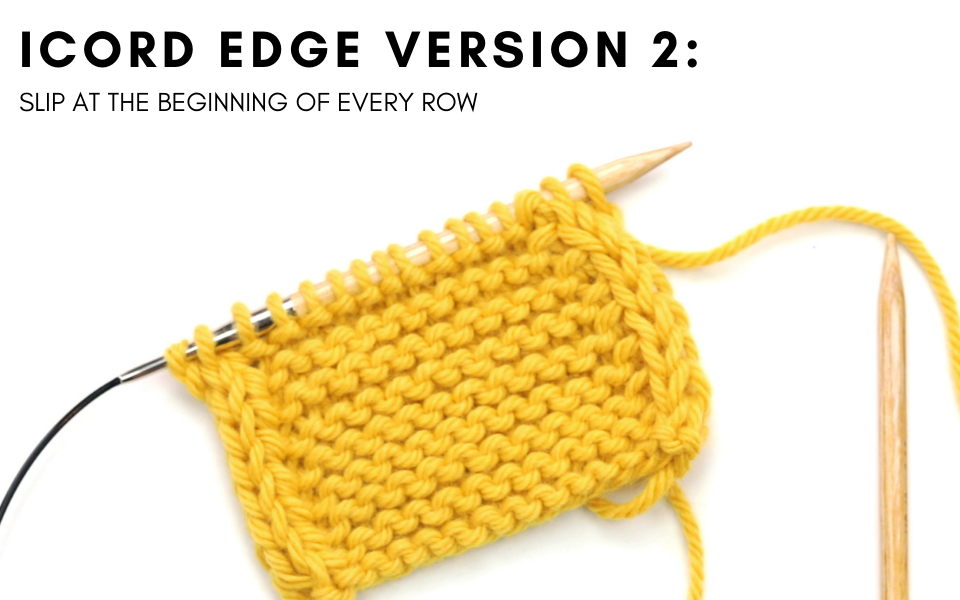
Instructions: On RS rows: Holding the yarn in the back, slip 2 stitches purlwise, then knit to the end. On WS rows: Holding the yarn in the front, slip 2 stitches purlwise, then bring the yarn to the back of the work and knit to last 2 stitches, p2.
Note: this is the version I used in my Alanis top (although in Alanis I slip 3 stitches instead of 2, but the technique and sequence is the same otherwise).

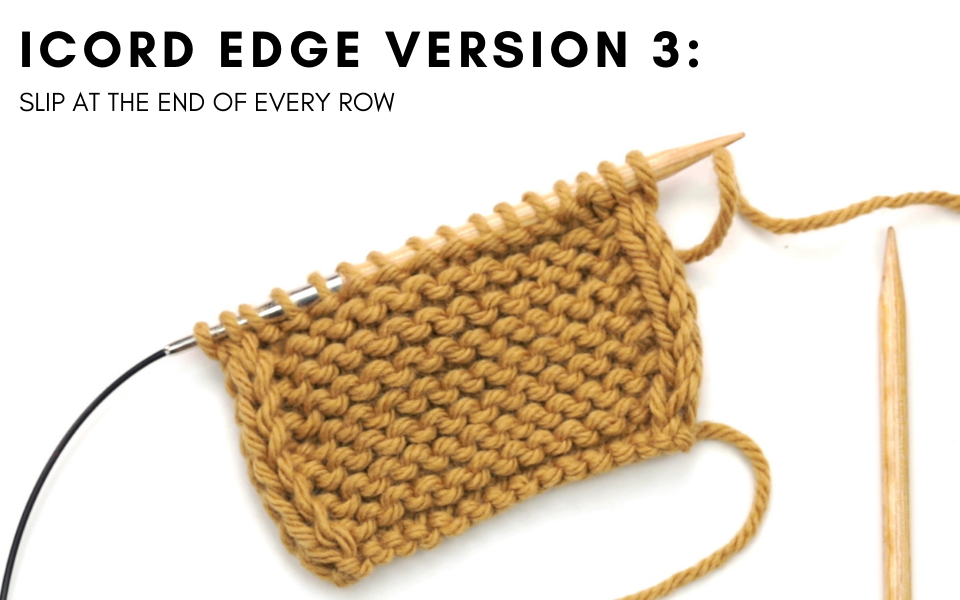
Instructions: On RS rows: Knit to the last 2 stitches, then holding the yarn in the back, slip 2 stitches purlwise. On WS rows: p2, then bring yarn to back of work and knit to last 2 stitches, then bring the yarn to the front of the work slip 2 stitches purlwise.
