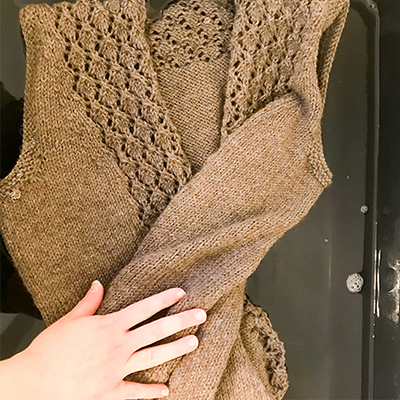
A couple of months ago I wrote this blog post outlining the importance of blocking. I thought it would be a good idea to follow it up with a more detailed photo tutorial that shows how I block, step-by-step! When it came time to block my latest design sample, Farro, I got my phone out and snapped pictures at each stage. I hope seeing each of these steps with a real garment helps take out some of the mystery (and fear) that can sometimes come with blocking 🙂 Oh, and I apologize for the less-than-stellar quality of some of these pictures – bathroom lighting at night is not always the greatest! But hopefully it still helps provide a good visual of my process.
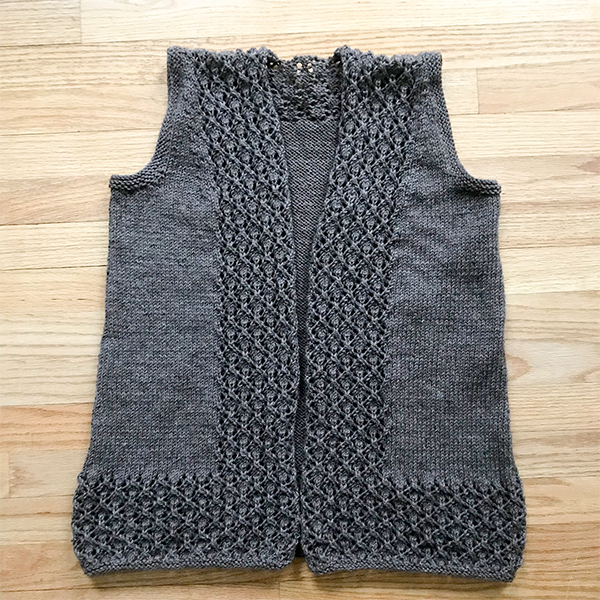
1 – Here’s the Farro vest, before blocking… as you can see, the pre-block garments’ stitches look a bit inconsistent and the lace is not very opened-up. Blocking will take care of this!
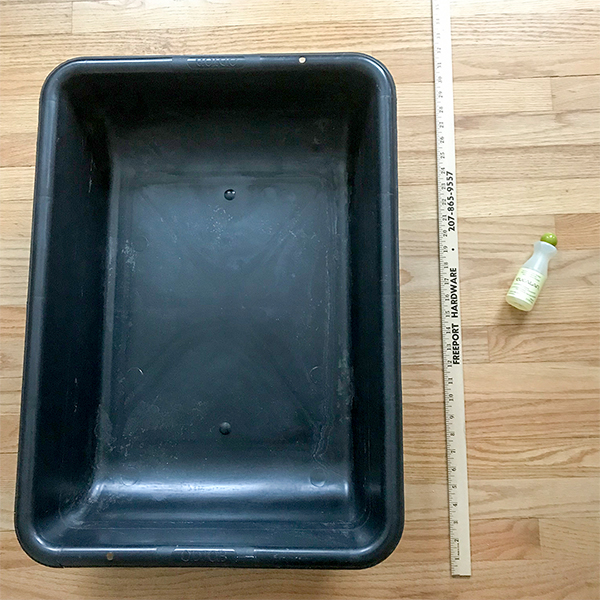
2 – My blocking tools: a cement mixing tub (which I purchased at Home Depot, or a basin or large bowl is fine too!) and wool wash. I also keep a ruler handy and a tape measure is a must too.
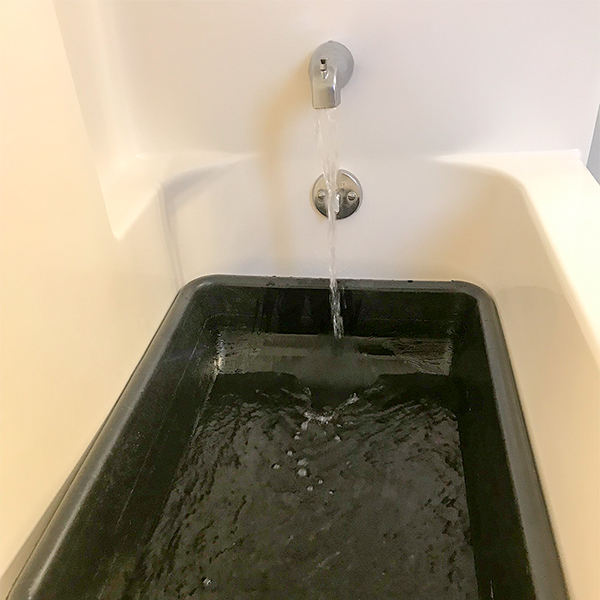
3 – Place container or basin in tub and fill with cool water (unless your yarn label specifies to use warm water).
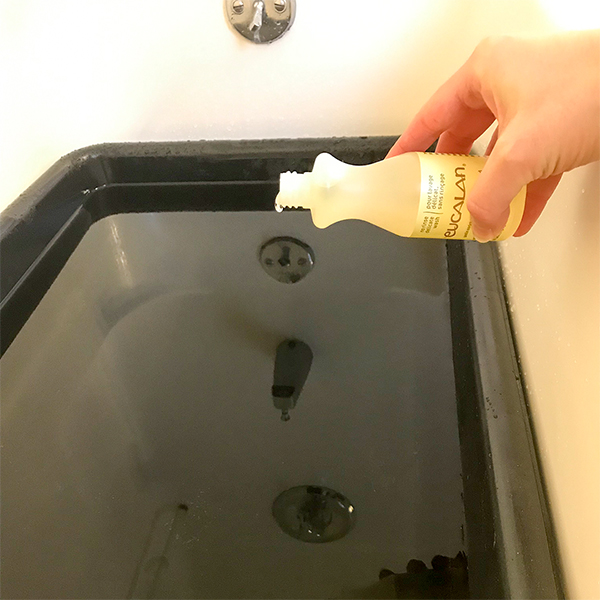
4 – Add your wool wash, amount depending on brand you use (I typically add approx. 1 tsp or so with Eucalan).
5 – Time to put your garment in the water (don’t be scared!)
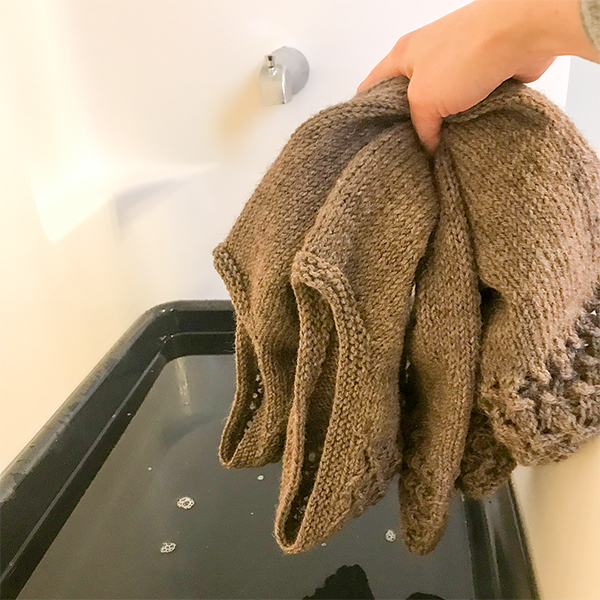
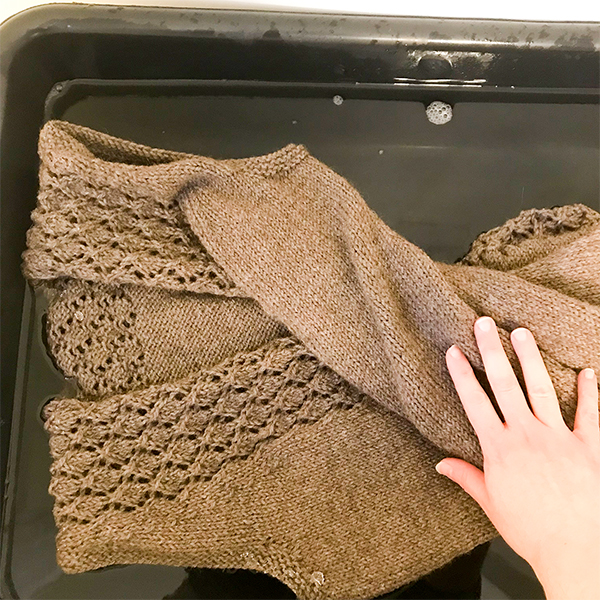
6 – Using your hands, submerge the garment completely
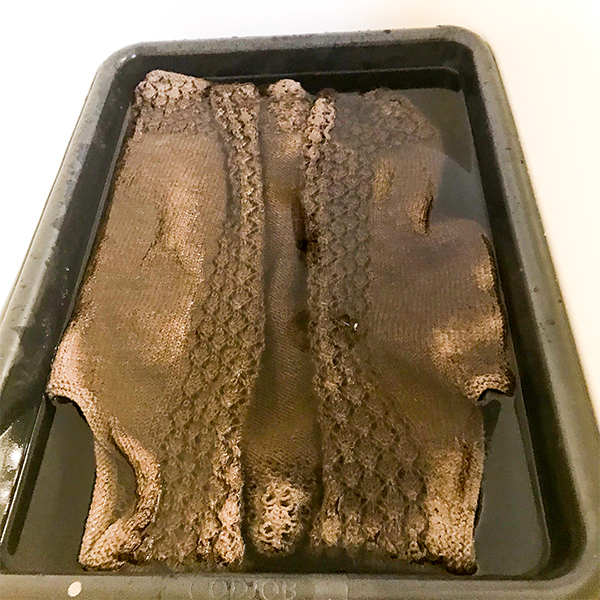
7 – Let the garment lay submerged in the water for approx. 15 minutes (I always set a timer on my phone so I don’t forget!
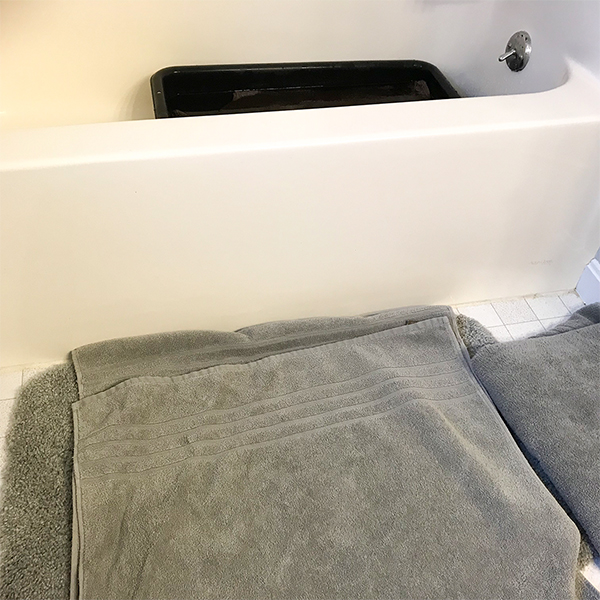
8 – While you wait, get some towels ready and lay them right next to the tub.
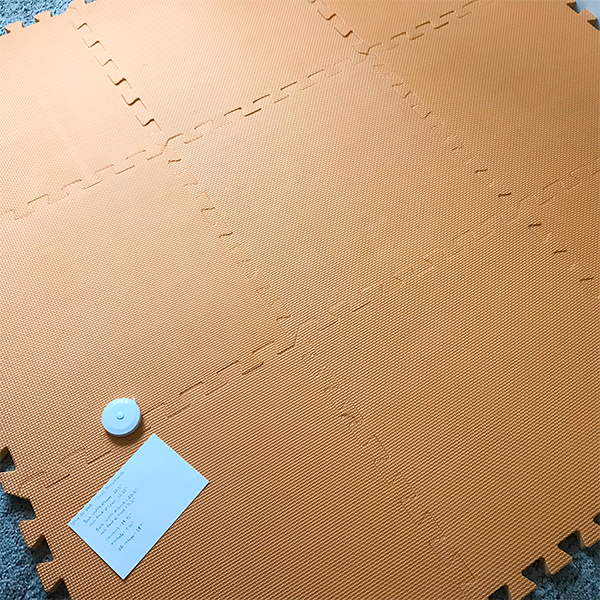
9 – Also while you wait, setup your blocking area. I use blocking tiles and highly recommend them. Extra Tip: Have your pattern schematic handy, or write down your desired measurements on scrap paper (as I’ve done below) so you have it ready when you start to pin down your garment.
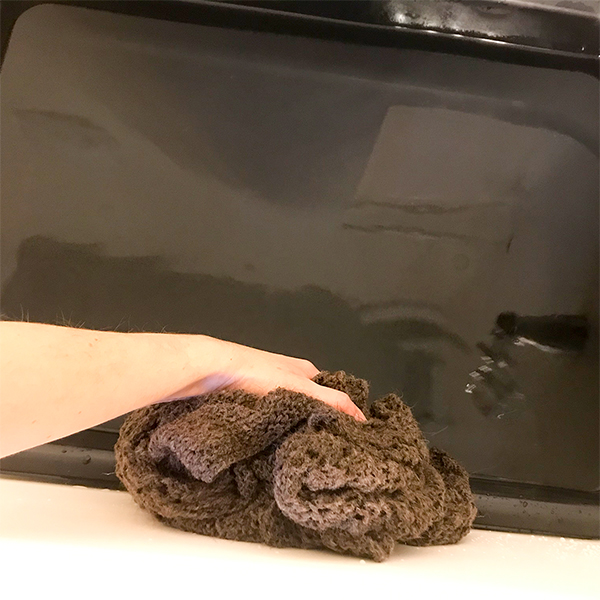
10 – It’s time to take your garment out of the water! Carefully take it out in one big clump, but before taking it out of the tub, press it against the side of the tub to get as much water out as possible.
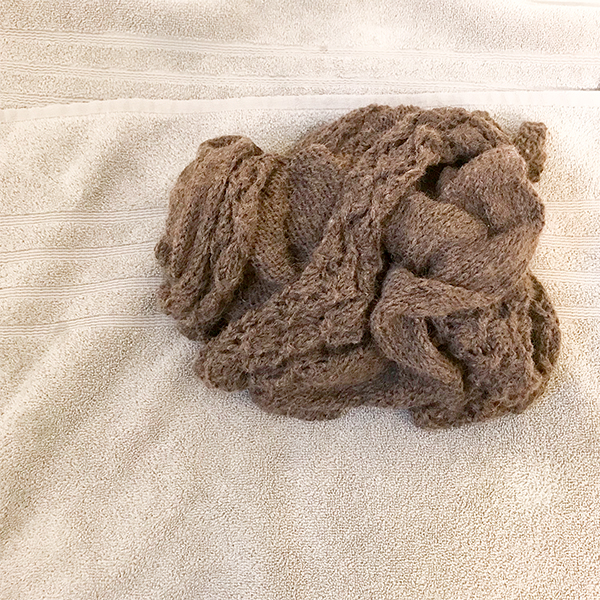
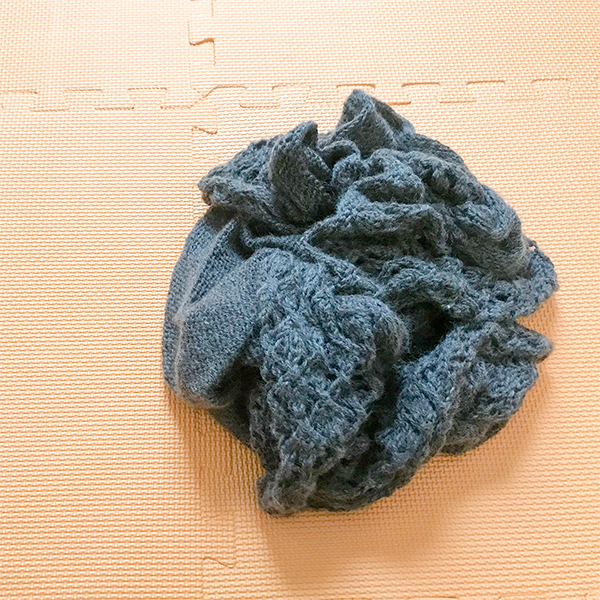
11 – Put your garment clump on one of your towels. And don’t panic if it looks something like this!
12 – The goal is to get as much water out as possible without wringing the garment. A good tactic for this is rolling it in the towel…
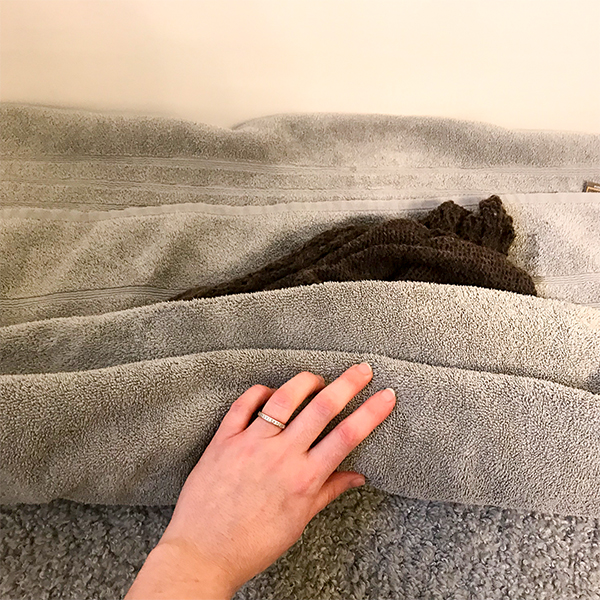
13 – …then apply pressure to try to get more water out.
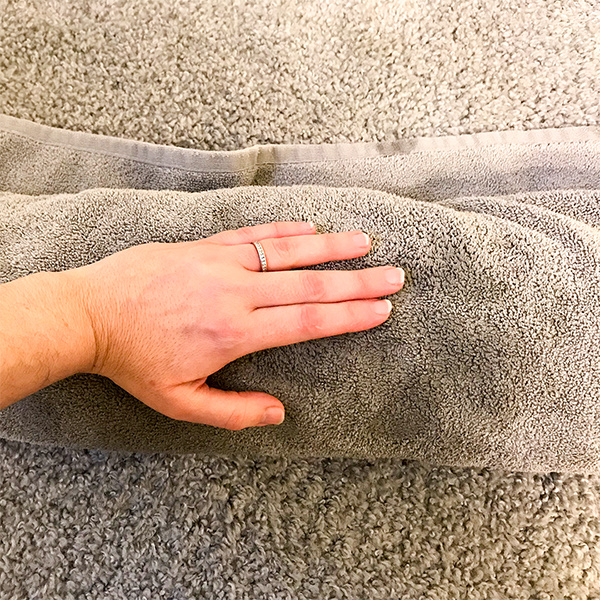
14 – Place it on a dry towel and roll again – remember, the goal is to get all the excess water out.
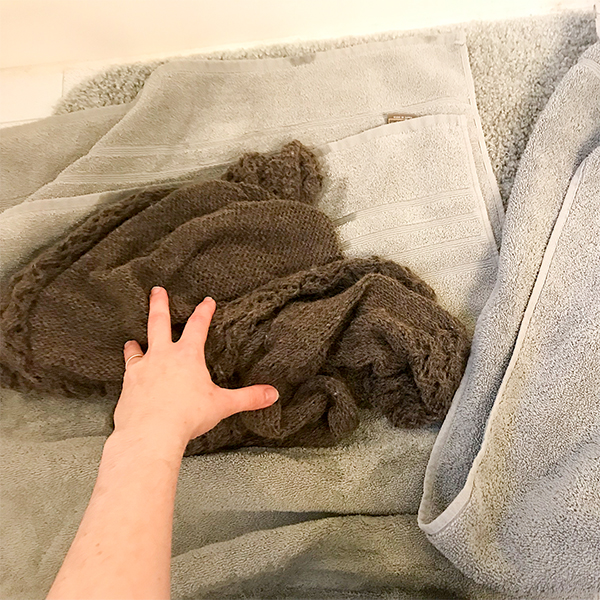
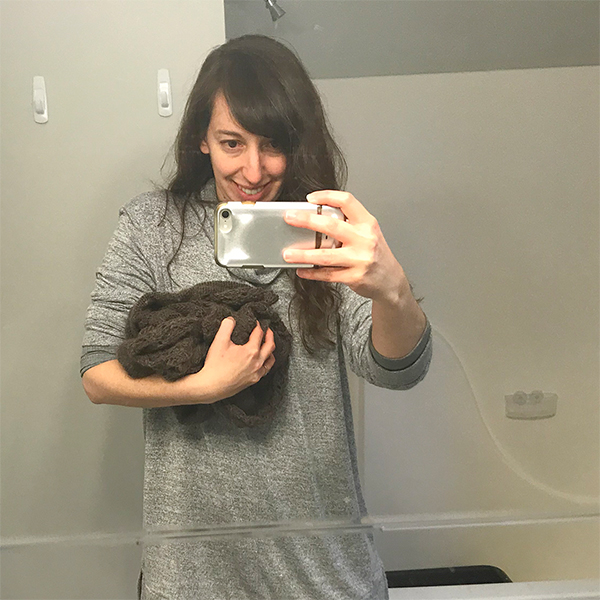
15 – Once you feel all the excess water is out and the garment feels more ‘damp’ than ‘wet’, it’s time to bring it over to your blocking mats. Ball it up so you don’t have any hanging parts…
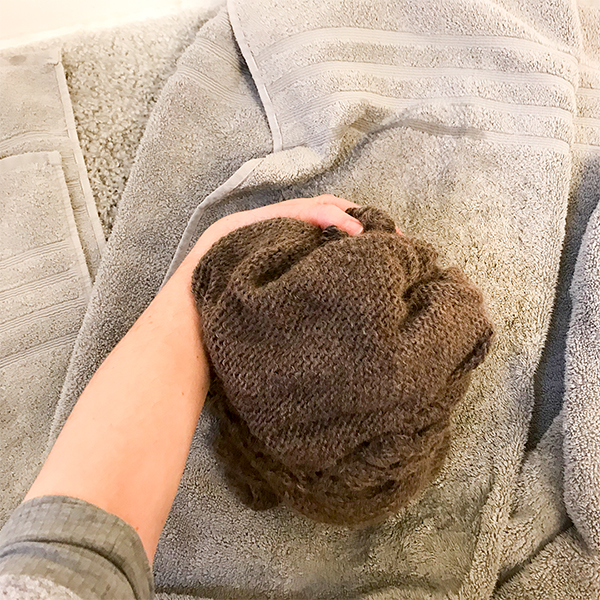
16 – Carry it in this ball/clump to your blocking mat location.
17 – Place it down on your blocking mats – now it’s time to sculpt it into shape!
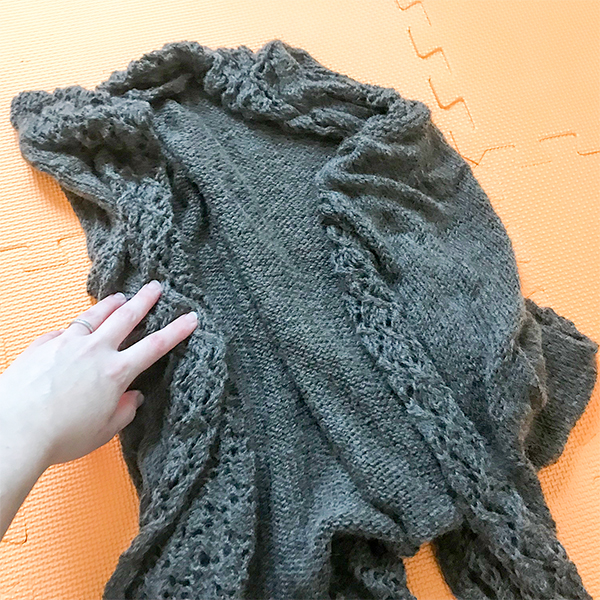
18 – Very gently start to shape the garment.
19 – Try not to tug or pull – just gently shape each part of the garment.
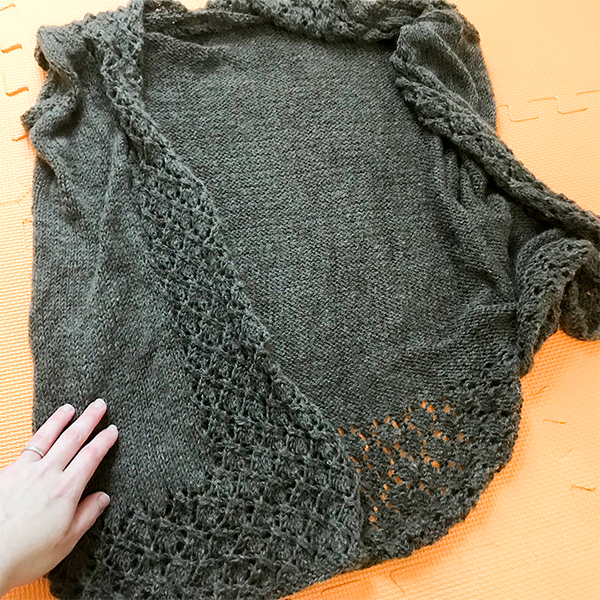
20 – Measure your width at bust, shaping garment to match the width shown in your pattern schematic for your chosen size.
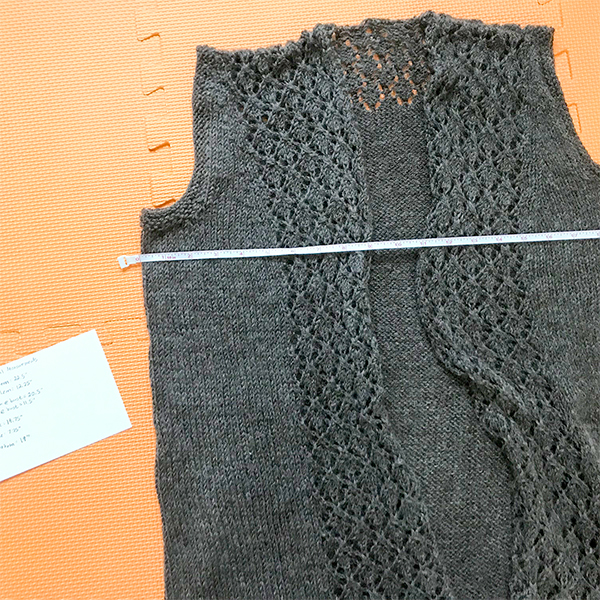
21 – Do the same for your length…
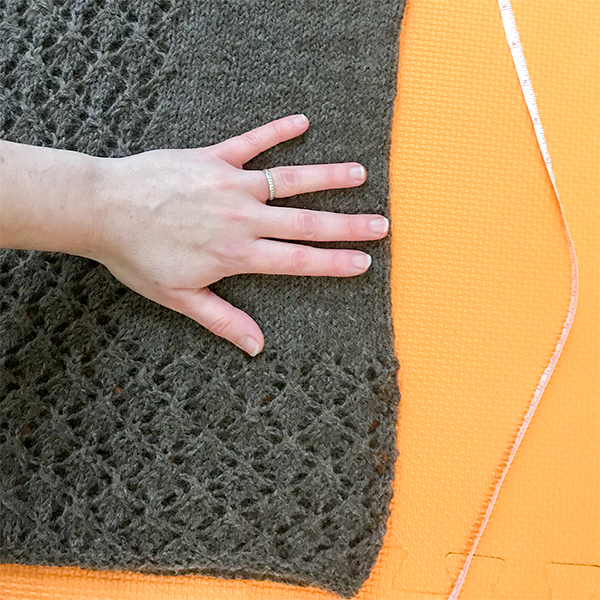
22 – Pin down edges using rust-proof pints
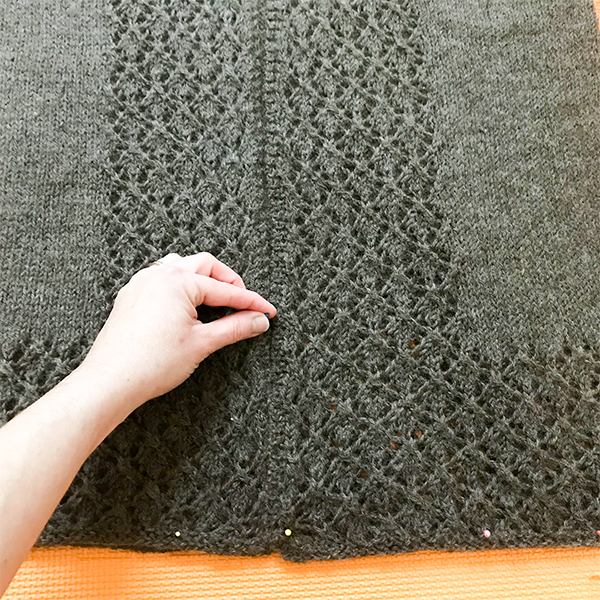
23 – As you’re pinning, continue to measures, making sure you have your desired dimensions. Too wide? Scrunch it in a bit. Not wide enough? Stretch it out a bit.
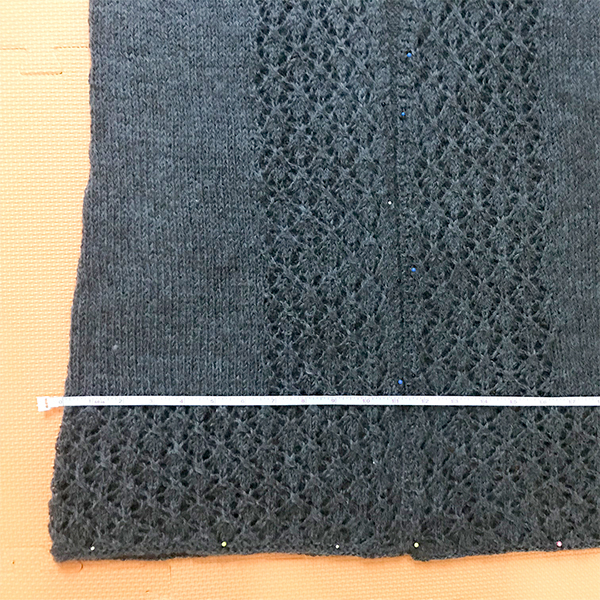
24 – All done! Now all you have to do is wait for it to try. If I’m in a hurry, I set up a fan and aim it at the garment – this speeds things up considerably!
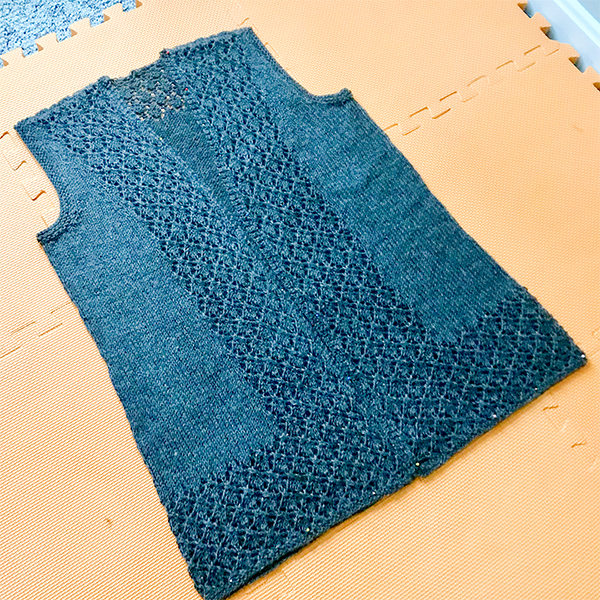
In conclusion…
The more you block, the more comfortable you’ll get with it. The key is definitely getting as much water out as possible as this is what often causes blocking mishaps. When I first started wet blocking I actually used a spray bottle to start (I was too scared to submerge it in water!). If allowed me to have a bit more control and get comfortable with the concept first. So consider that as an option if you are a first-timer wet-blocker.

