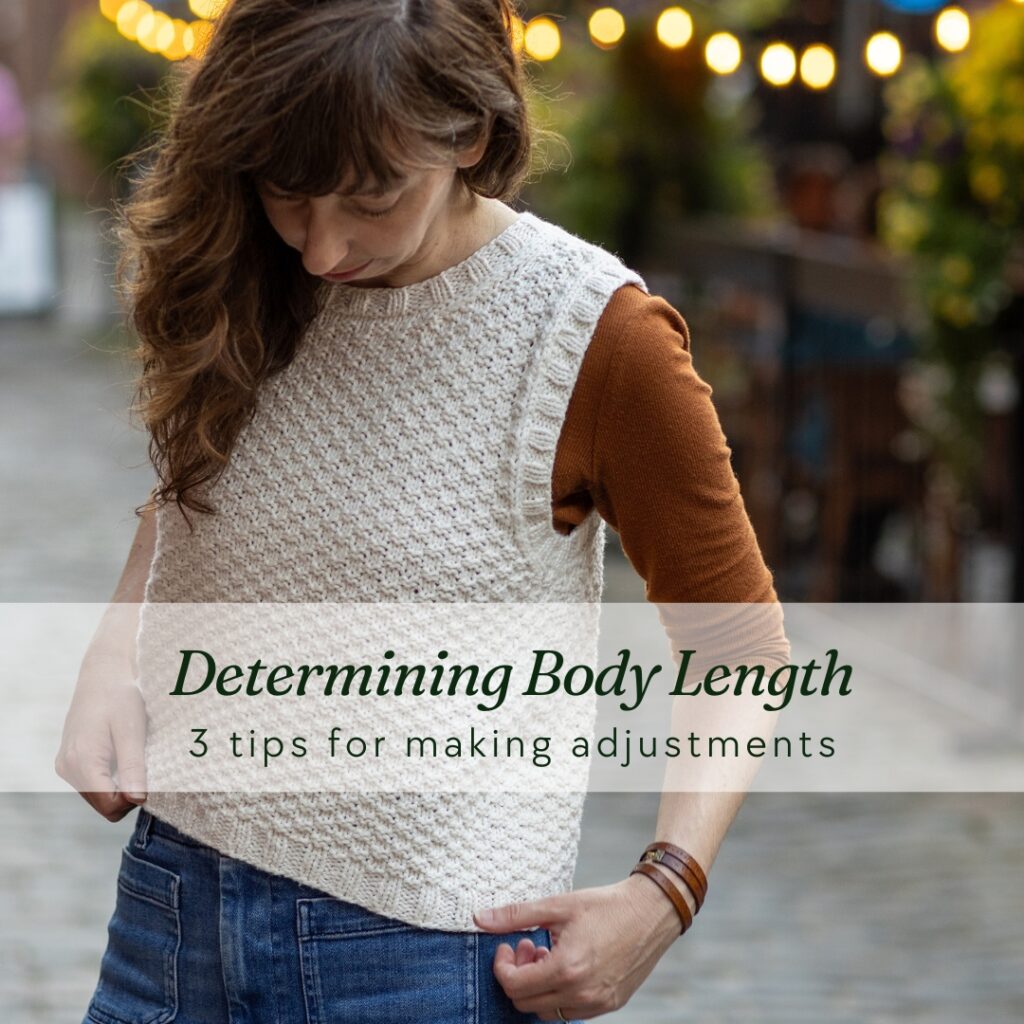
One of the most common pattern adjustments we make as knitters (when working on garments) is changing the length. This is because it’s one of the most subjective measurements! Two people can both knit the same size but need very different overall lengths in order to obtain the type of fit they prefer. The length we want our sweaters or vests depends on so many different factors – our overall height, our torso length (are you short-waisted or long-waisted?) and how we plan on wearing/styling the garment.
Typically body length is adjusted in the area between the underarm and the hem. Often in the the “underarm to hem” sections of a pattern the instructions will say something like “continue working until body measures x” from underarm or cast-on edge, or desired underarm to hem length. Easy enough, right? It can be, but it’s important to know that where the bottom of your garment will sit on your body is not only determined by your underarm to hem length, but by your entire garment length.
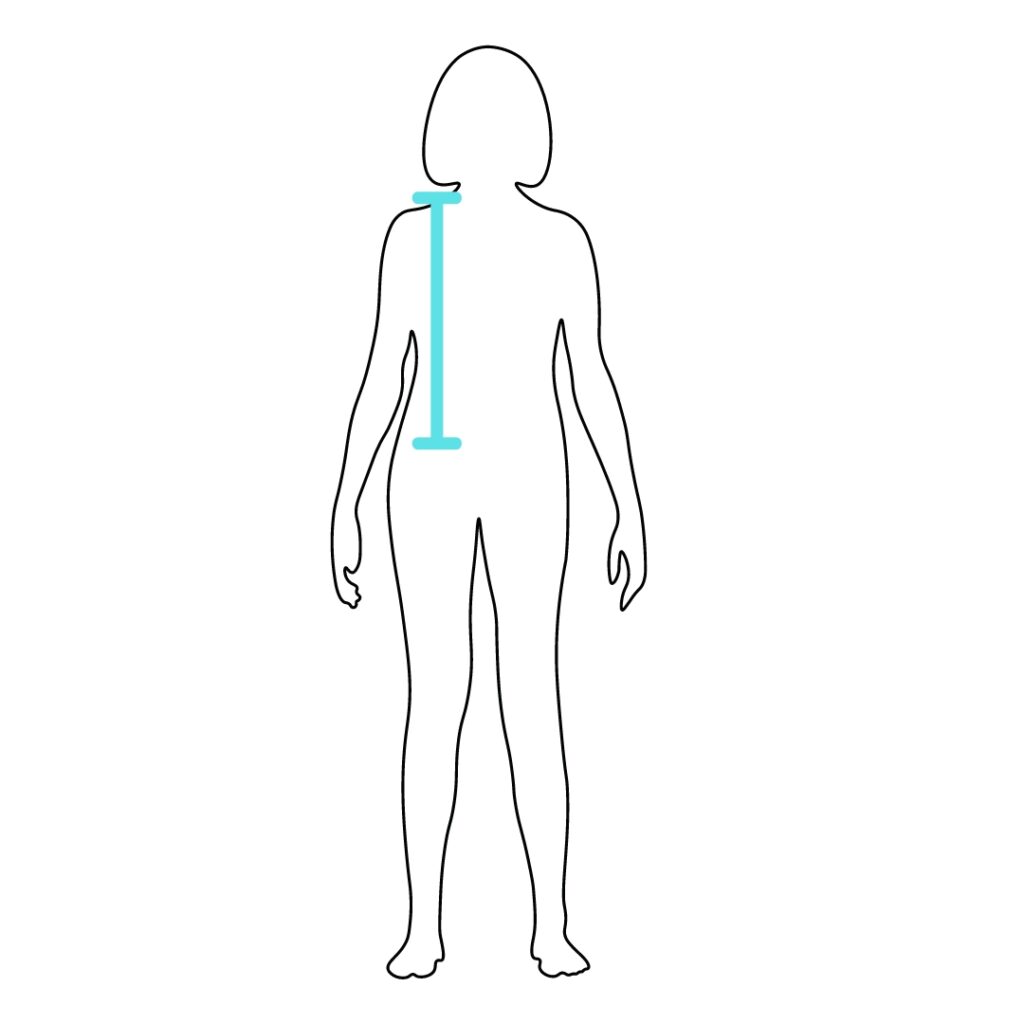
This is because the underarm of your garment may not be where your actual underarm is. Where the garment underarm sits on your body is determined by the lengths of the garment above the underarm, i.e, the armhole depth and the shoulder depth (if the shoulders are shaped). The graphics below help to illustrate this point:
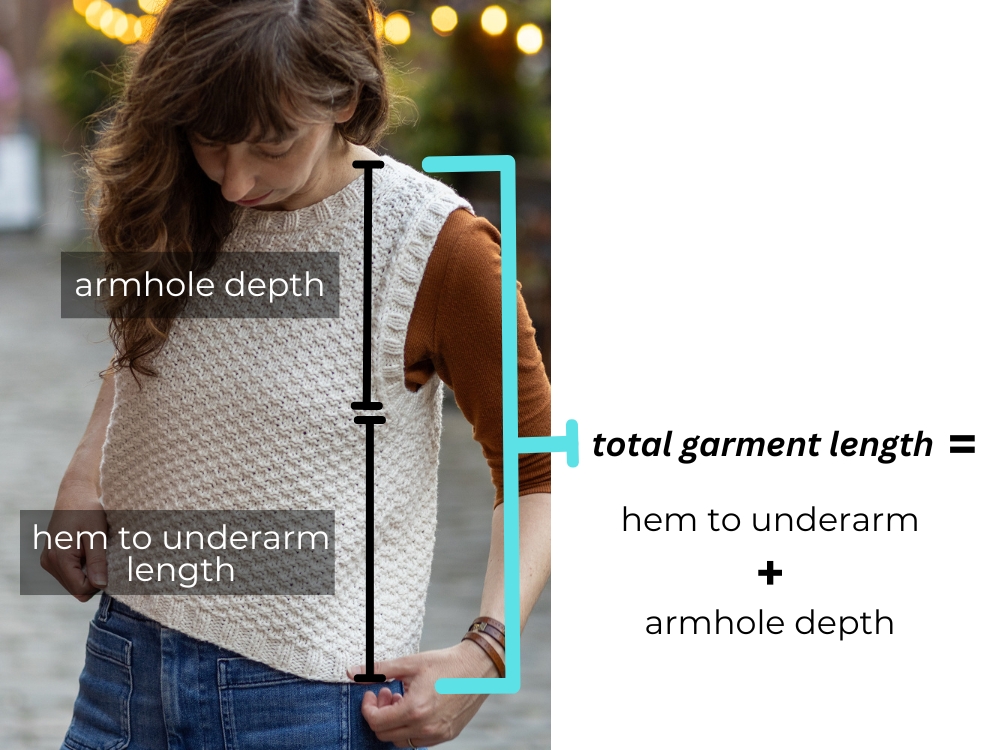
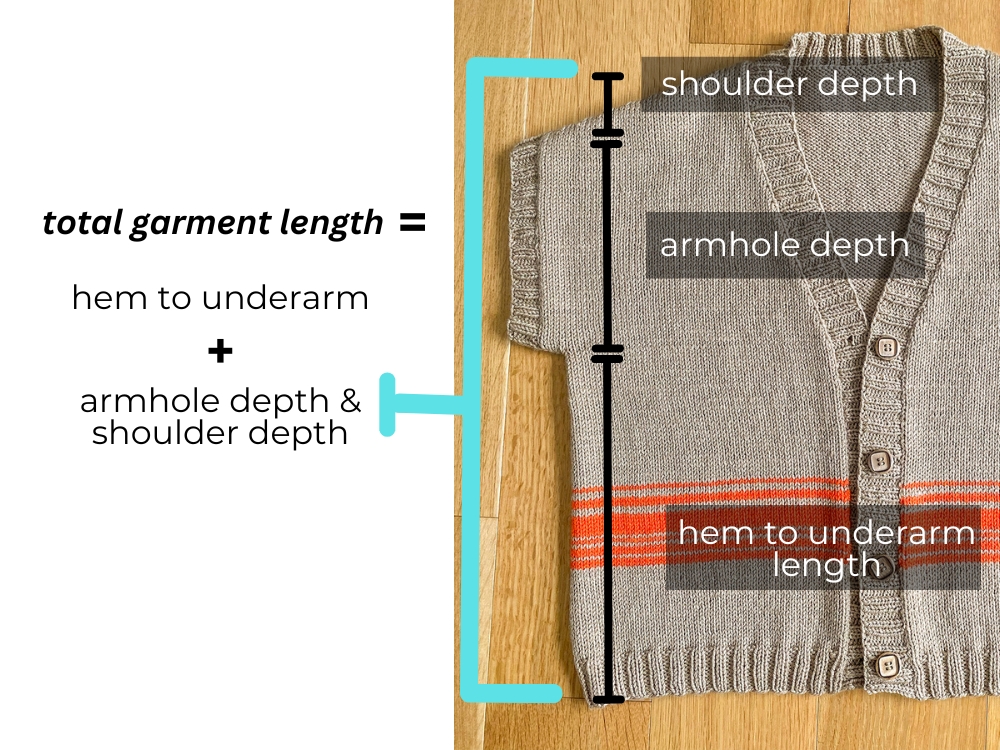
So now that you understand a bit more about what makes up the total body length, let’s discuss my 3 tips for how to make body length adjustments!
3 Tips for Determining Body Length Adjustment
Tip #1: Determine your desired total garment length (instead of just your underarm to hem length)
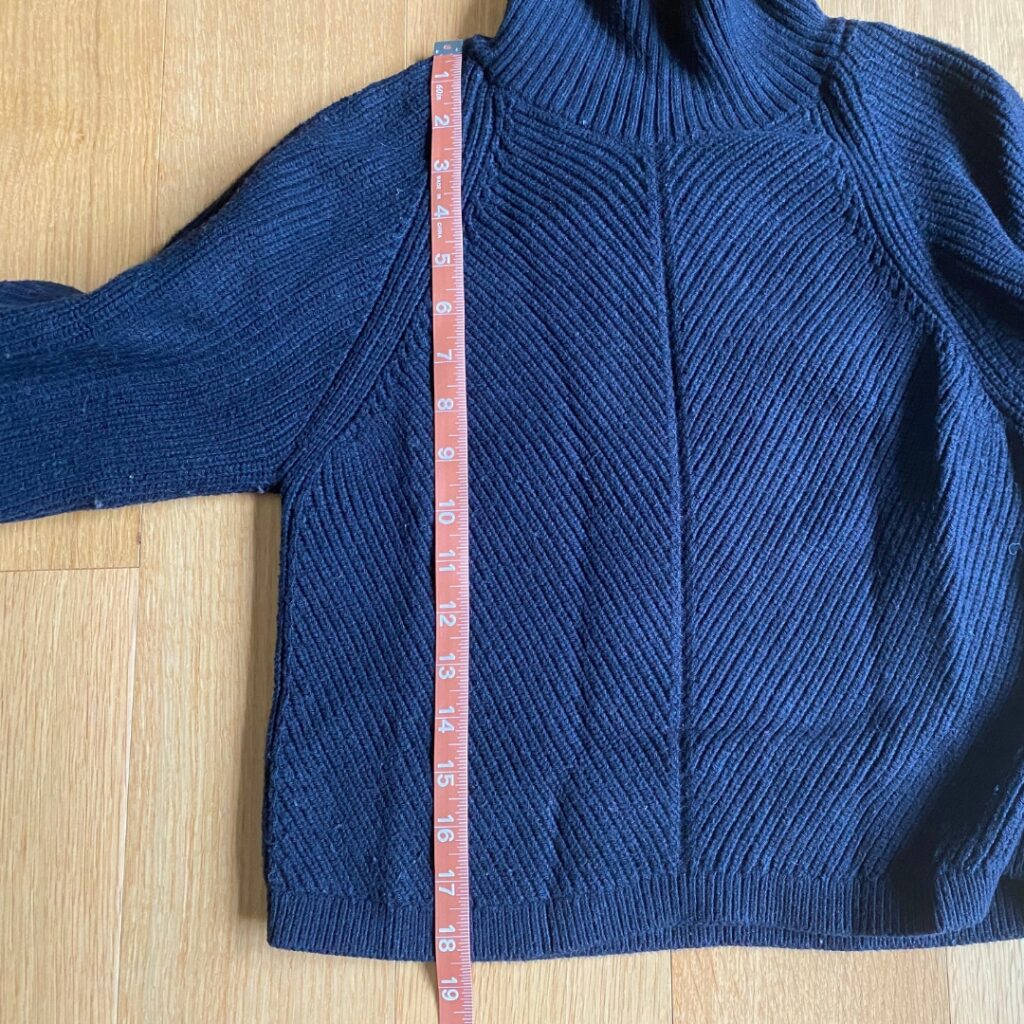
Instead of measuring your body from the underarm-down to determine what kind of length you may want, start higher. Measure from the top of your inner shoulder-down to see what total body length you may want (it’s ok if you don’t decide on an exact number but have a range in mind at least).
There are two options for this – you can either measure yourself, or measure an existing garment that you want to replicate the length of for your chosen project.
After doing this exercise, you’ll have a better idea of around what overall garment length you are looking for. Then you can go on to tip #2…
Tip #2: Compare your desired garment length to the schematic measurement
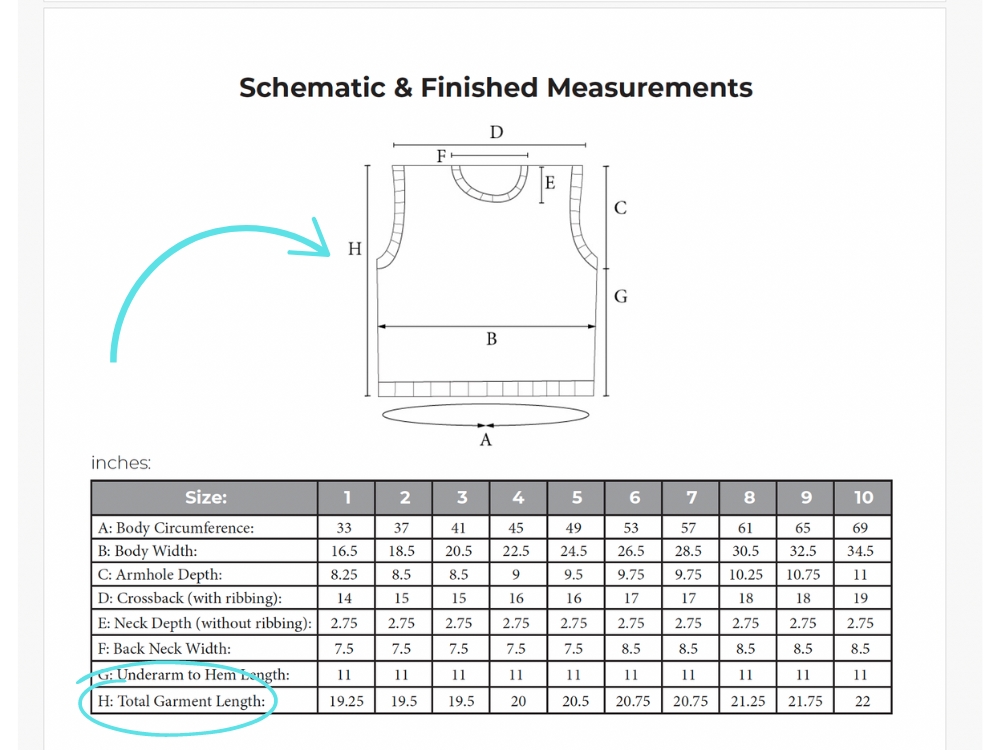
Every pattern should have a schematic that includes a total body garment length measurement. Check out my schematic below for the Wharf Street vest…
The “H” measurement is the total garment length. Now you can compare your desired total garment length to that of the pattern as written. If your desired length is less or more than what is listed here, then check out tip #3…
Tip #3: To adjust the pattern length, add or take out length from the underarm to hem length
After tips 1 & 2 you’ll now know if your desired length is more or less than that of the written pattern and can adjust based on that difference. For example, if your desired overall length is 1″ more than the schematic, then you can add 1″ in length to the underarm to hem area.
I hope you have found this information helpful! The more that you can understand what your preferred garment lengths are on your particular body, the easier it becomes to know how you can adjust knitting patterns to match. If you have any specific questions about altering length for any of my designs, feel free to reach out!

