Sporty 45 Tips
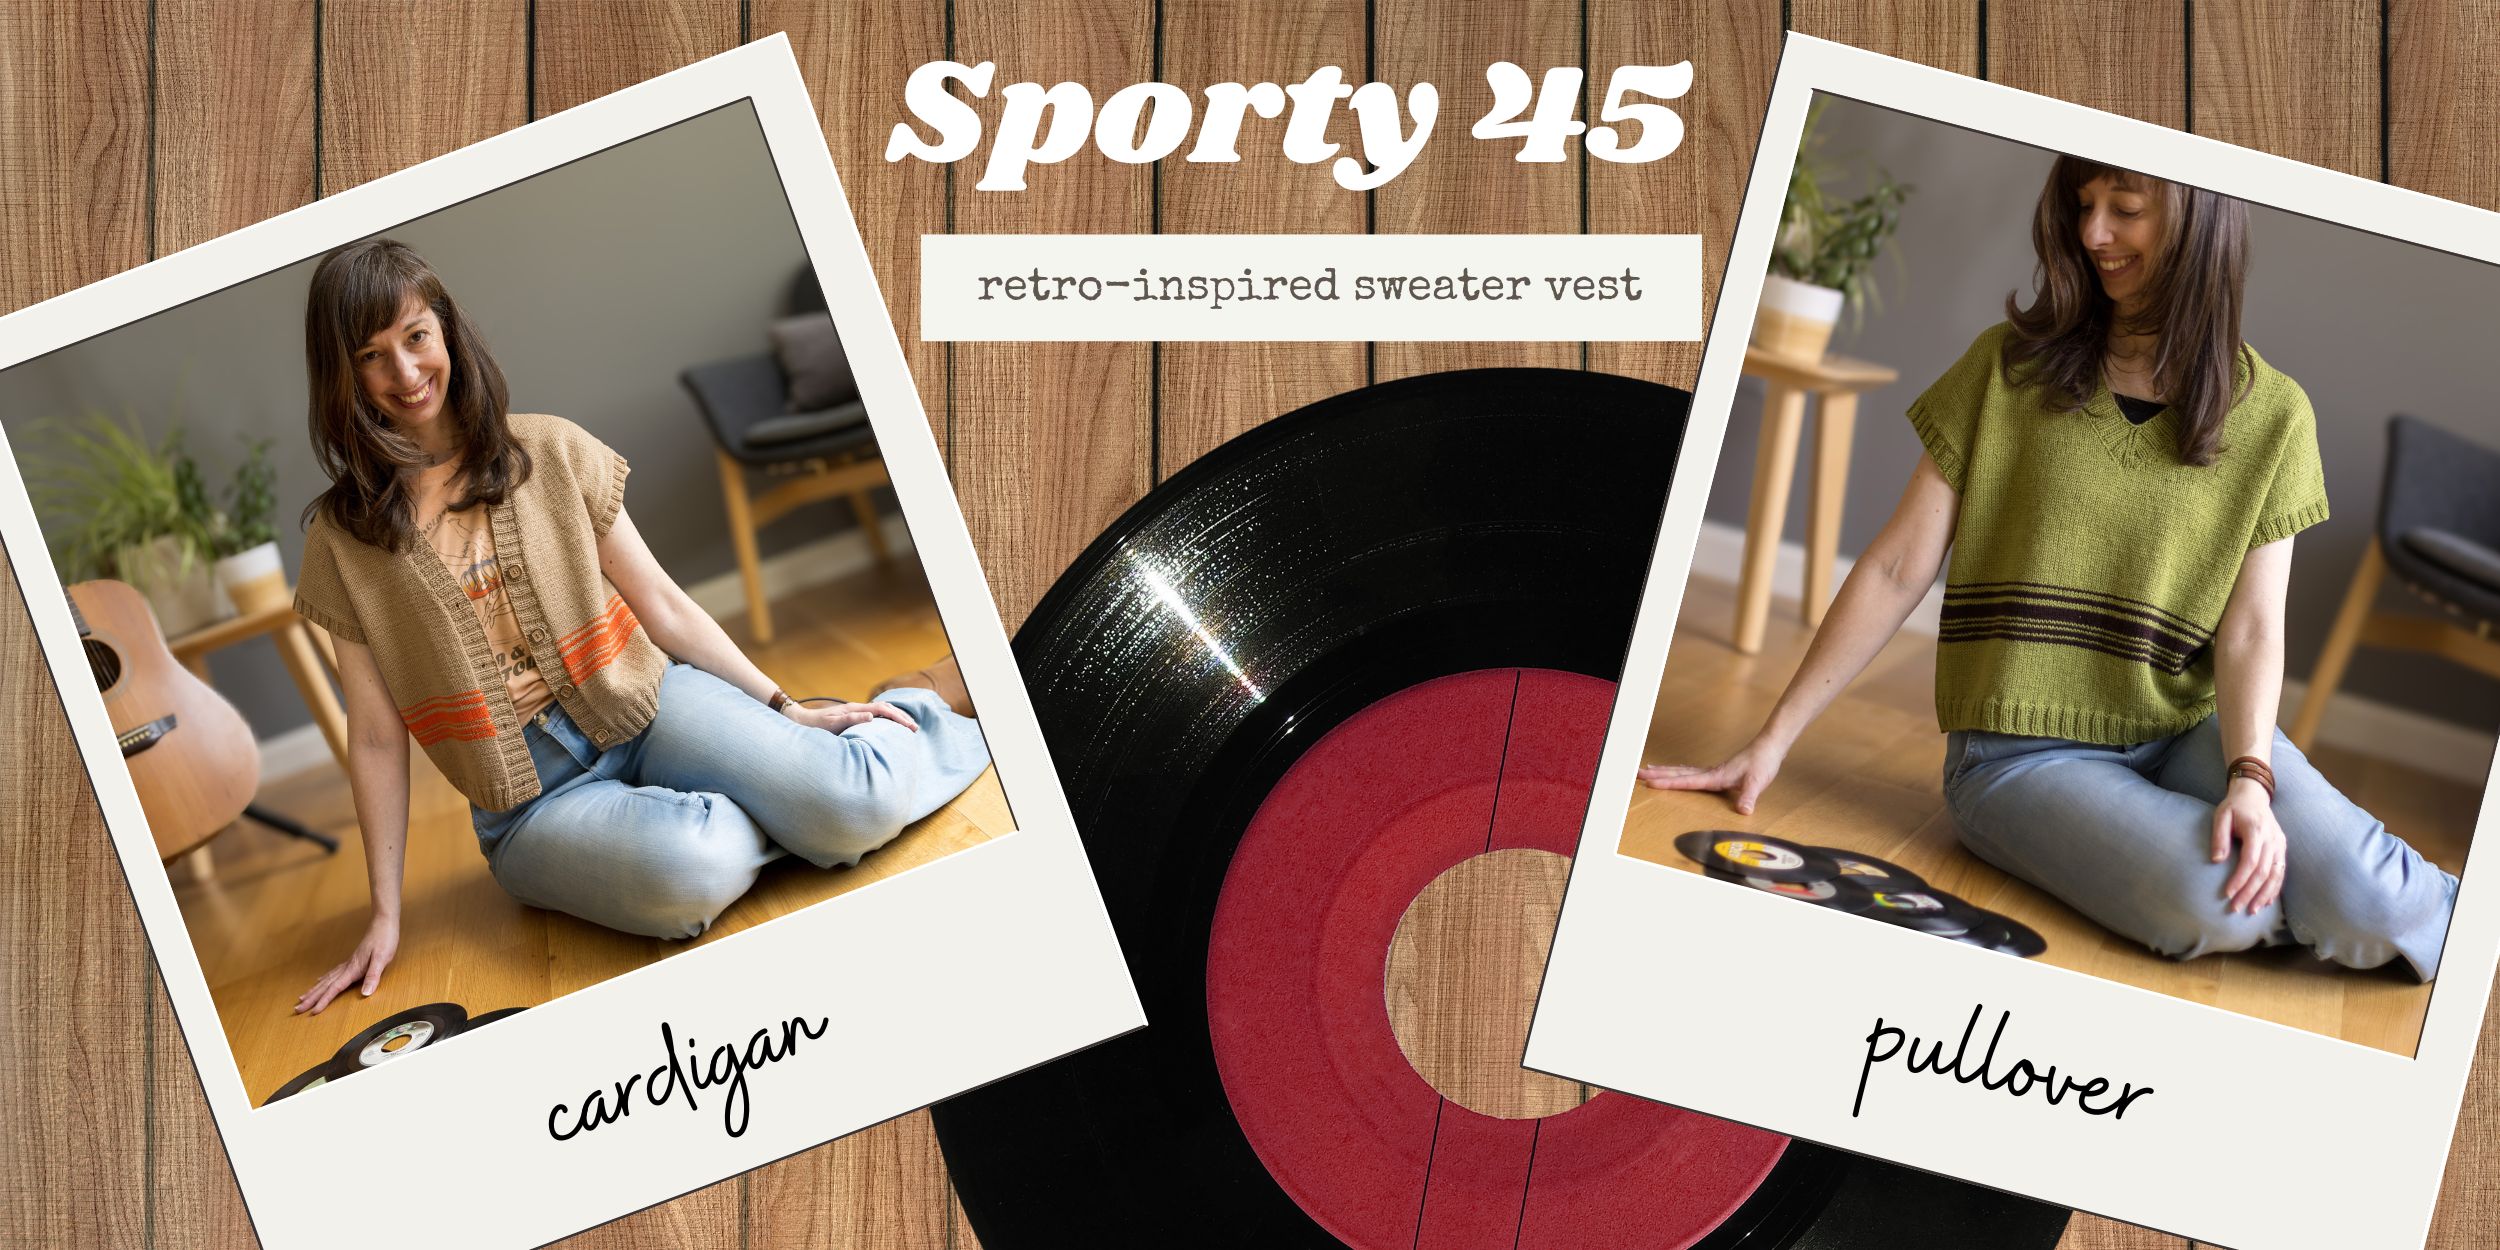
Welcome to the Sporty 45 tips page! Sporty 45 was a collaboration between myself and Heather of Ewe Ewe Yarns to celebrate our 45th birthday in 2024 (we both were born in 1979 within days of each other!). I created a 1979-inspired sweater vest (in both cardigan & pullover styles) using her Ewe So Sporty merino yarn, in some retro late 70s/early 80s color combos. On this page you will find lots of tips and tutorials to help you make your very own Sporty 45!
I review the following topics on this page:
- Picking a size
- Color pairing ideas
- Gauge swatching
- Adjusting for a different gauge
- Length adjustment considerations
- Working the stripes
- Working the front divide (pullover)
- Starting the Back Yoke
- Pick-up and knit v-neck (pullover)
- Pick-up and knit front bands (cardigan)
- Buttonhole placement (cardigan)
- Pick-up and knit armhole trim (and magic loop option)
- The following knitting techniques:
- Long-tail cast-on
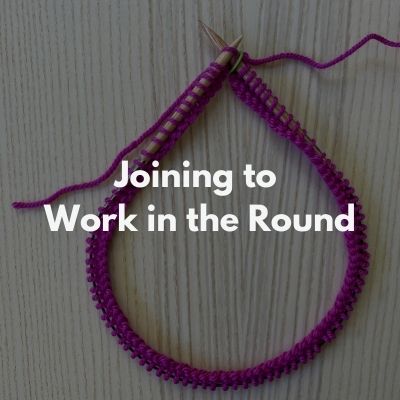
- Joining to work in the round
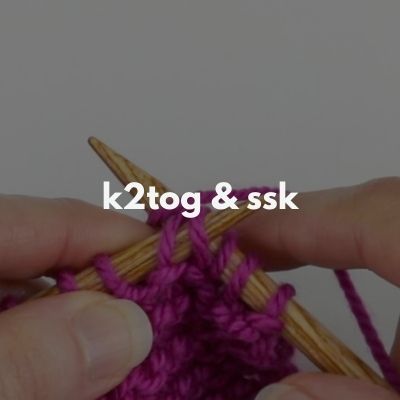
- k2tog & ssk decreases
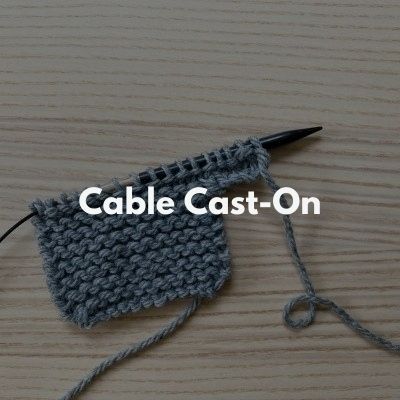
- Cable cast-on
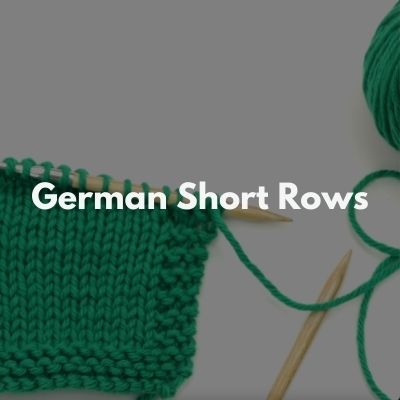
- German short rows (working the “DS”)
- Three needle bind-off
Picking a Size
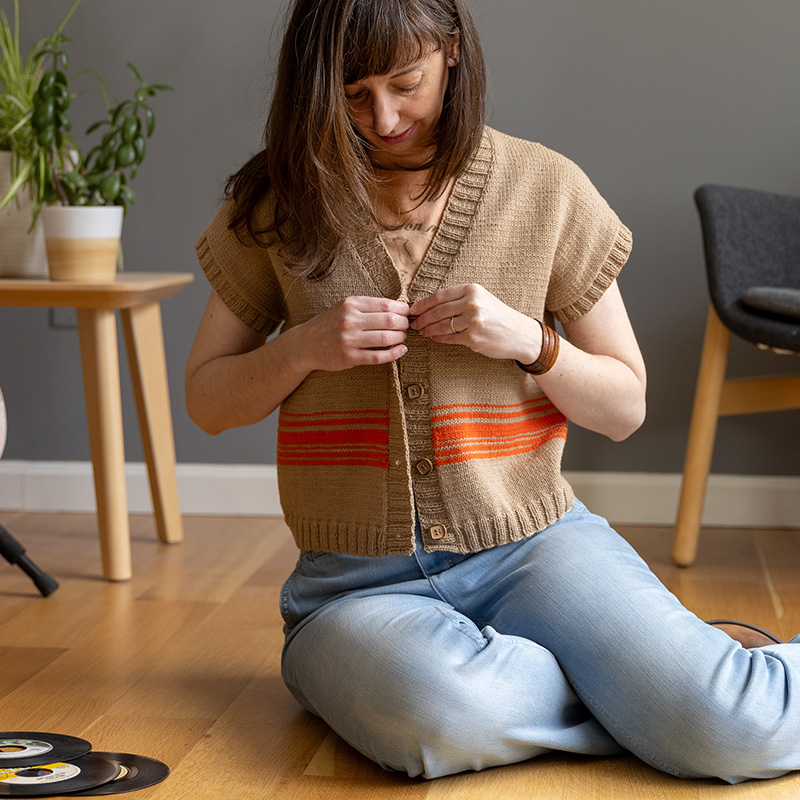
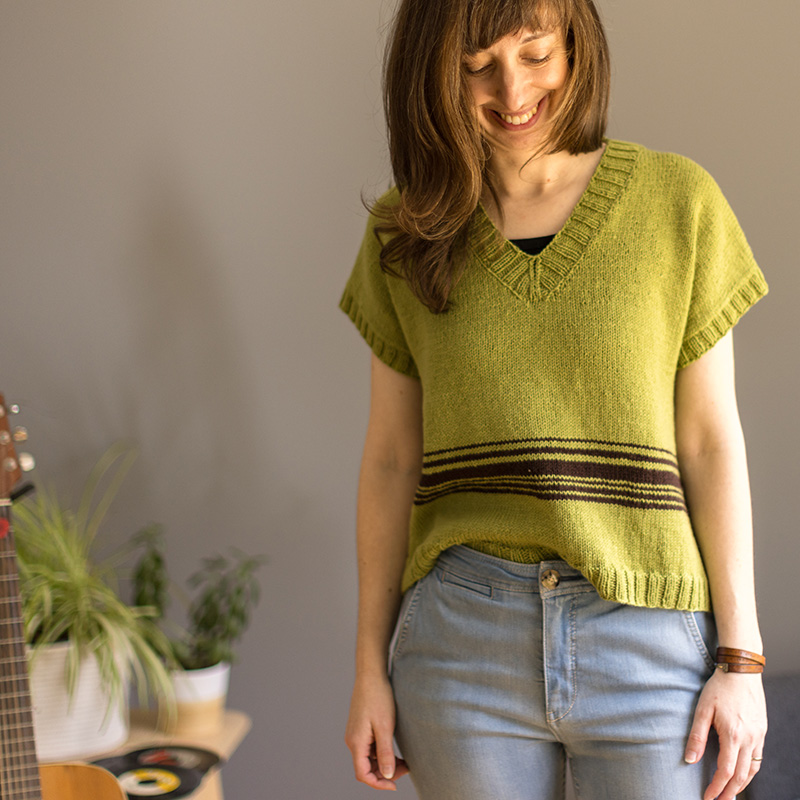
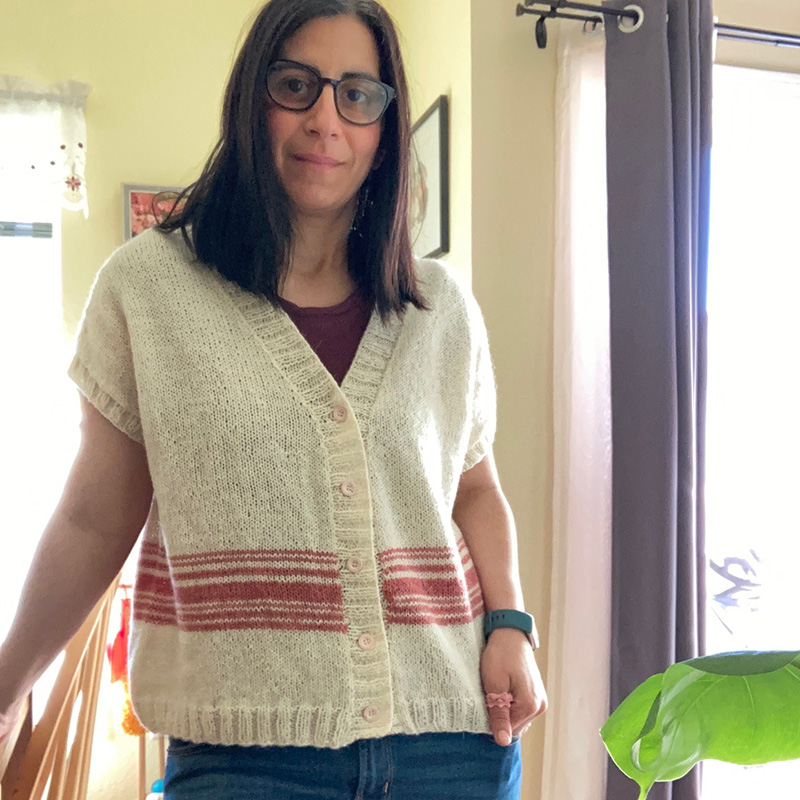
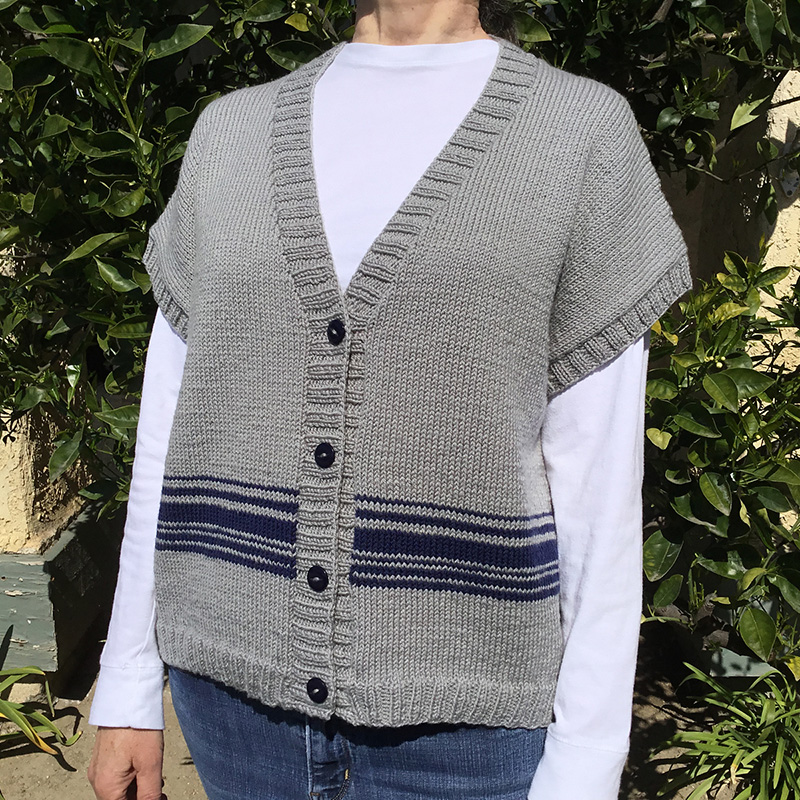
In both the pullover & cardigan, there are 10 sizes to pick from and for both I suggest picking a size whose finished circumference is approximately 5-10″ larger than your actual bust measurement. Below are examples of how I’m wearing my Sporty 45’s in terms of ease…
Drop-shoulder pieces like Sporty 45 typically have a larger suggested ease amount – you can learn more about why here in this blog post. But when picking your size for Sporty 45, it will also come down to how you want to wear it. Choose on the lower end of that ease amount if you want a bit more of a fitted look and choose on the upper end of that ease amount if you want a more oversized, layered look.
Note: For the cardigan, you can get away with a bit less positive ease if you don’t intend to always want to button it all the way (or perhaps just button the top button). You can see the difference in fit in this photo where I’m wearing the cardigan unbuttoned. Typically I wouldn’t wear drop-shoulder pieces with less than 7″ of positive ease (that’s just my personal preference), but since I will mostly wear this cardigan unbuttoned, it’s ok that I’m only wearing it with 5.5″ of positive ease.
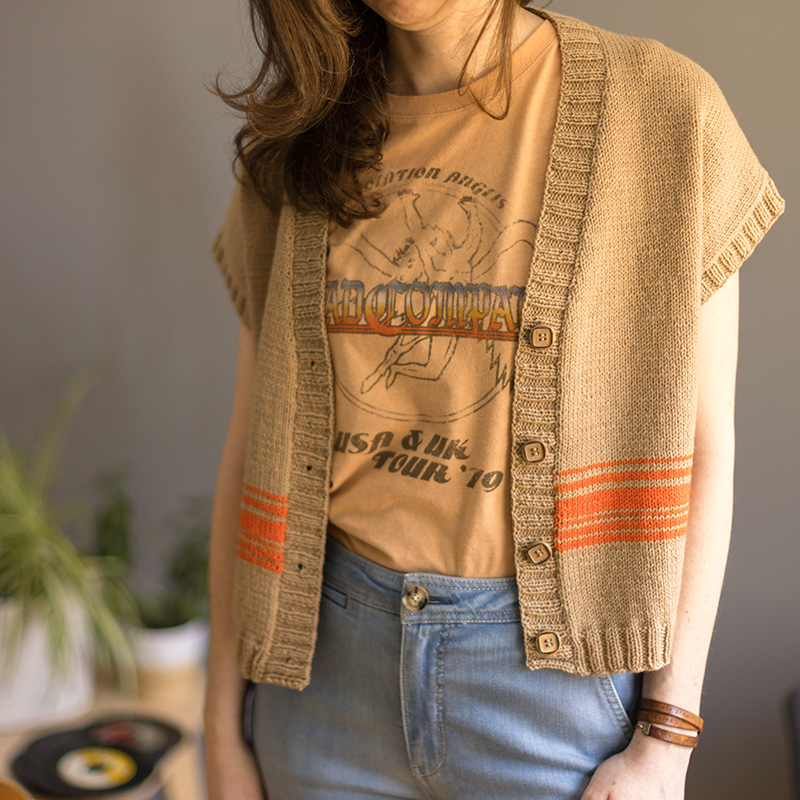
One more sizing tip: If your shoulders are fairly narrow but you have a larger bust, consider using your upper torso circumference as your starting point instead of your actual bust measurement. I talk more about that in this blog post.
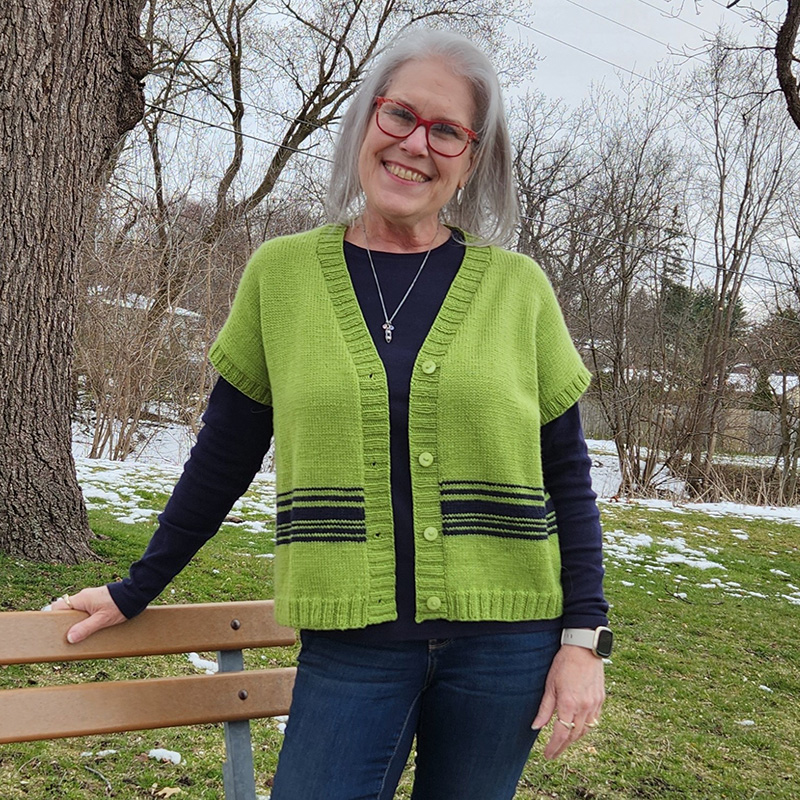
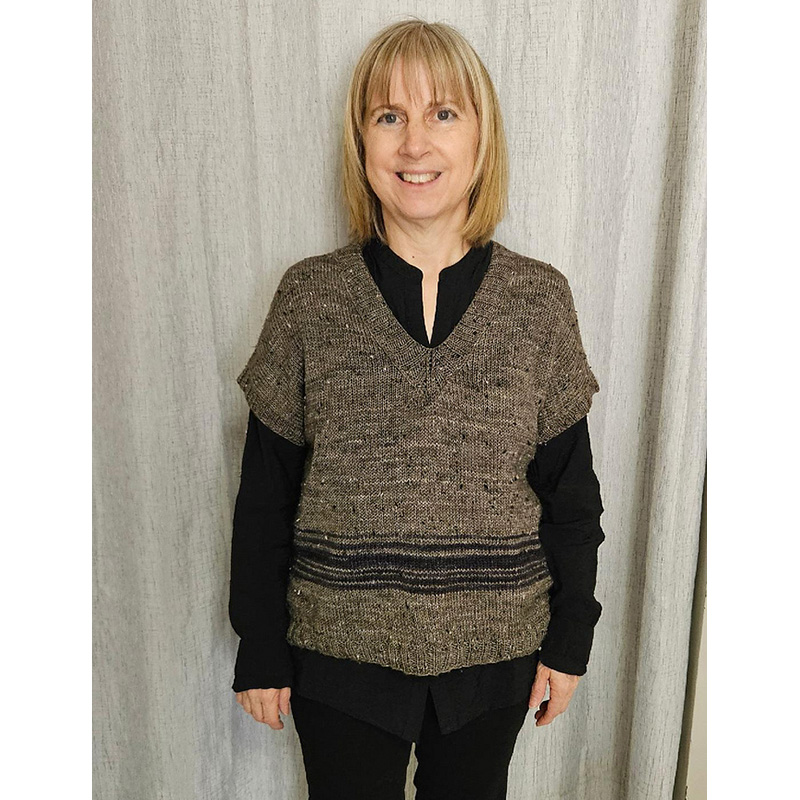
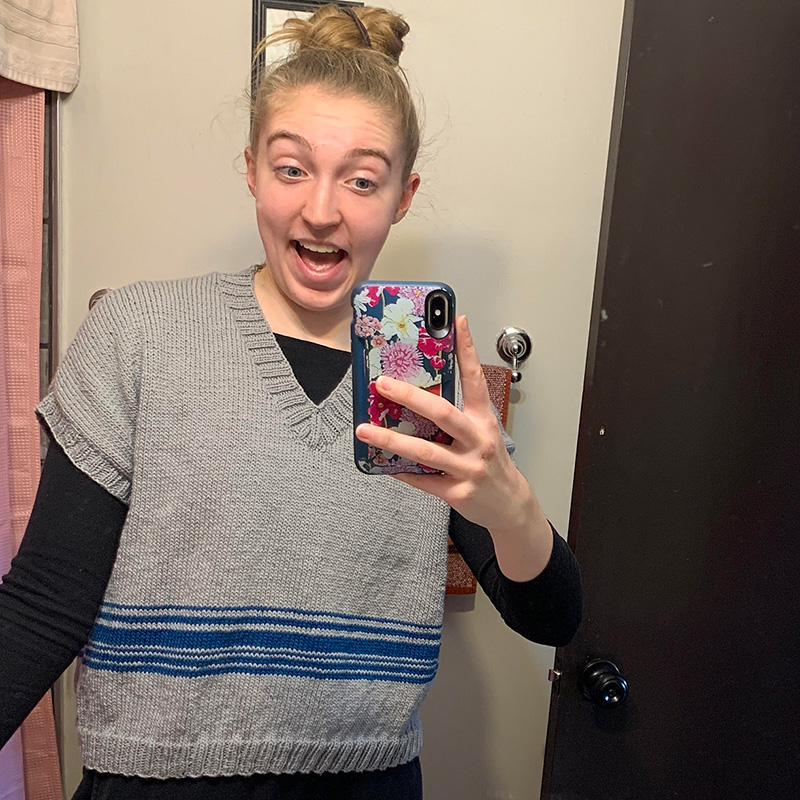
Here are some more examples from my test knitters:
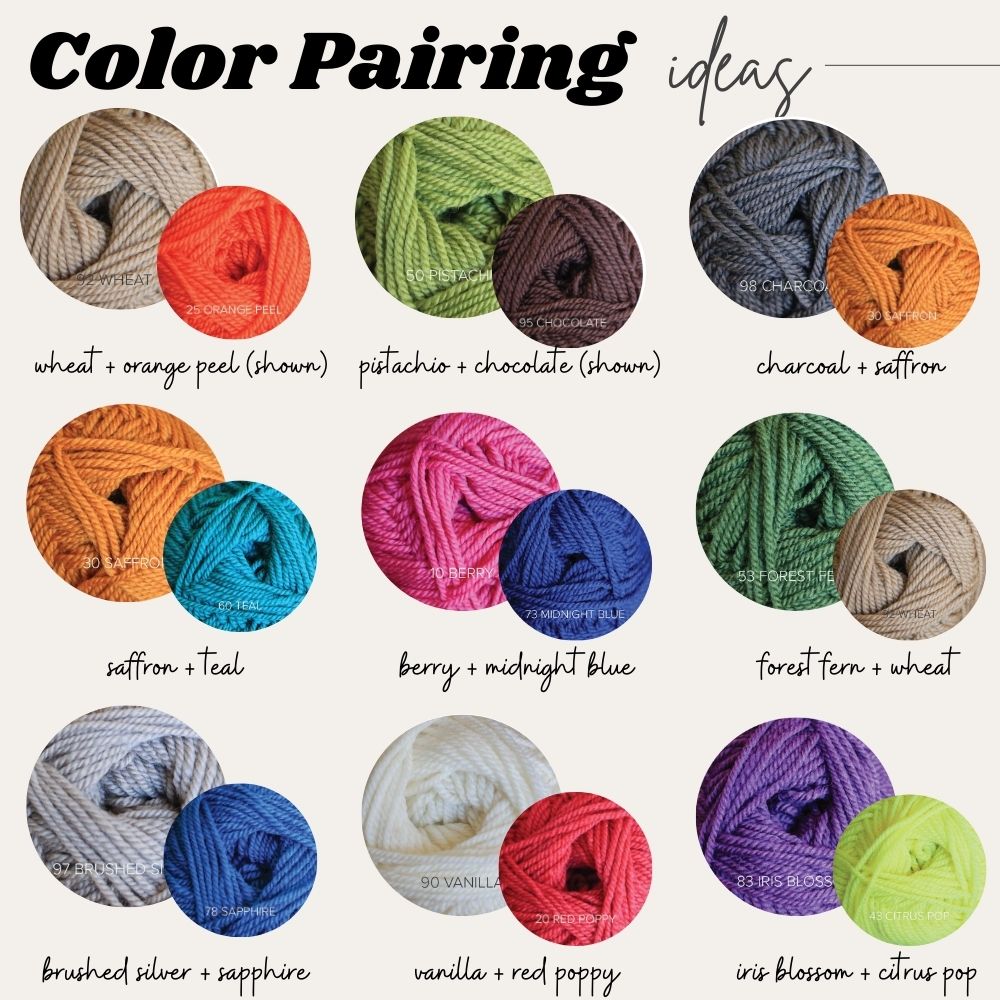
Color Pairing Ideas
In Sporty 45, I wanted a late 1970’s/early 1980’s vibe, so I went with color palettes that were especially popular during these years. Below are some other ideas if you want a similar retro vibe! But of course you can pair whatever colors you prefer together.
Gauge Swatching
If you are new to garment knitting and swatching, click here for a good tutorial on what it’s all about. It’s for a different pattern but the techniques/info is the same regardless.
Note: if you are making the pullover, since the body is worked in the round it’s important to do your gauge swatch in the round. Click here for my tutorial page about how to do this!
Adjusting for a different gauge
Having a hard time getting the exact right gauge, or do you prefer the look of your fabric at a different gauge? Here are some tips:
- It’s more important to try to match stitch gauge (22 sts = 4″) than row gauge. If your row gauge is off, you can adjust lengths in different places in the garment to accomodate this (whereas stitches control overall width and that is decided when you cast-on).
- If you want to knit Sporty 45 at a different gauge, you can always compensate for the gauge difference by following the instructions for a different size. This works best if you are only about 1/2 – 1 stitch off. Here are some tips about this:
- If your gauge is 20 sts = 4″ (so 5 sts per inch instead of 5.5), then the circumferences of the sizes will increase by approximately this amount: 4 (4, 4, 4, 5) (5, 6, 6, 7, 7)”
- If your gauge is 21 sts = 4″ (so 5.25 sts per inch instead of 5.5), then the circumference of the sizes will increase by approximately this amount: 2 (2, 2, 2, 2.5) (2.5, 3, 3, 3.5, 3.5)”.
- If your gauge is 23 sts = 4″ (so 5.75 sts per inch instead of 5.5), then the circumference of the sizes will decrease by approximately this amount: 1.5 (1.5, 1.5, 2, 2) (2.5, 2.5, 2.5, 3, 3)”.
- If you do wind up following the instructions for a different size to accommodate your own stitch gauge, whenever working a length in the pattern (such as armhole depth) and a certain number of inches is given, follow the number of inches given for the size closest to what your actual garment measurement will be.
Length Adjustment Considerations
To decide whether or not you want to make the body of your Sporty 45 longer, I suggest you look at the schematic page and assess the total garment length measurement. Then, compare that to your own body or a sweater you like the fit of. Keep in mind that total garment length is from the top of the shoulder at the neck edge (not shoulder tip edge) and down to the hem. If you do want to add more length, you can do so in a couple of different ways:
- Option 1: You can add the extra length in the “Remaining Body” section – this is the area between the stripes and the underarm. This is the simplest option.
- Option 2: If you want to keep the stripes at around the same level (so around the waist) you can add length in the “Lower Body” section in addition to the “Remaining Body” section (I suggest of the total number of added length, that you add 40% of it to “Lower Body” and 60% of it to Remaining Body”).
Important yardage note: Adding length will increase the amount of yardage you will need for your main color. For every 1″ of length you want to add, increase your MC yardage total by approximately 5%.
Working the Stripes
In both versions, you’ll be working stripes of varying thicknesses and during the Stripes section you should carry yarn up as you work. I typically like to carry yarn up every 2 rows – you can learn about carrying yarn up here. Here are some additional tips specific for each version of Sporty 45:
Cardigan:
- There will be rows where you are instructed to not turn the work at the end of the row but instead slide the stitches toward the other end of the needle tip and work another row in the same direction. For a tutorial about this, click here.
Pullover:
- Because you’re working in the round, naturally there will be a bit of a ‘jog’ where you change colors (this is where the colors look staggered). There are methods to fix the jog, but because Sporty 45 has stripes of different thicknesses, a lot of this techniques won’t quite work as well (they work best when stripes are more uniform). So I just accepted the jog appearance in Sporty 45 and because it’s at the side of the garment, I don’t mind it.
- One technique that has worked well for me when working stripes in the round is to try to keep the BOR area a little looser – the natural tendency is to tighten things up but that can often cause bunching. So when switching colors and carrying yarn up when working in the round, try to be conscious of not tightening up too much.
Working the Front Divide (pullover)
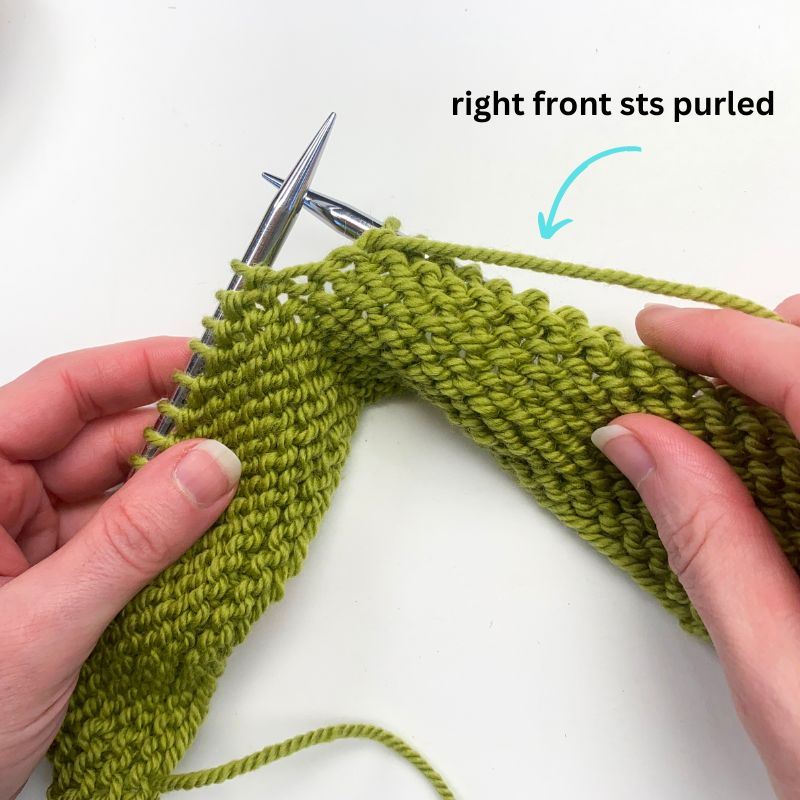
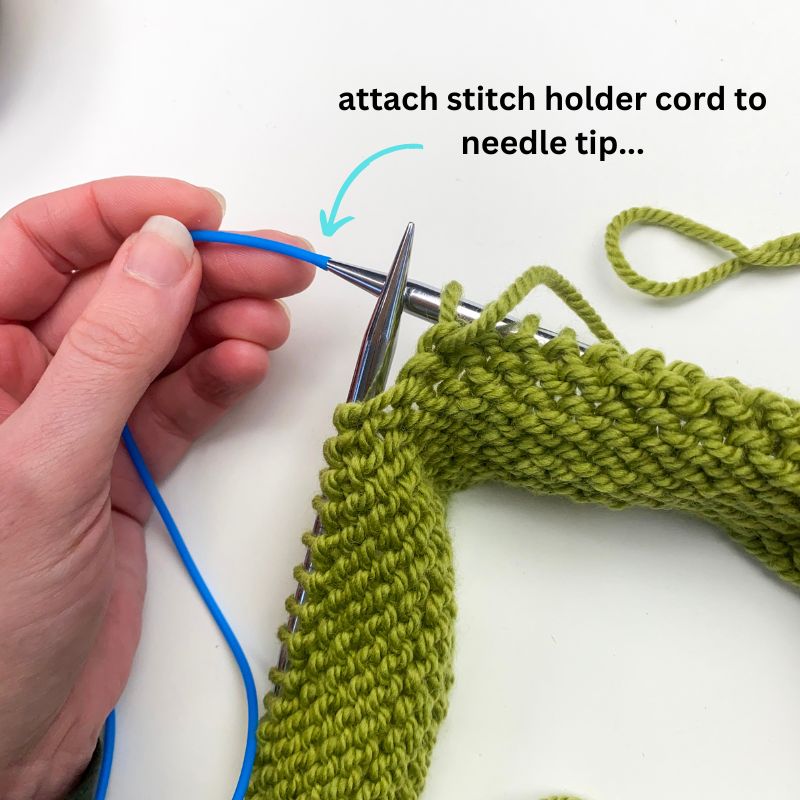
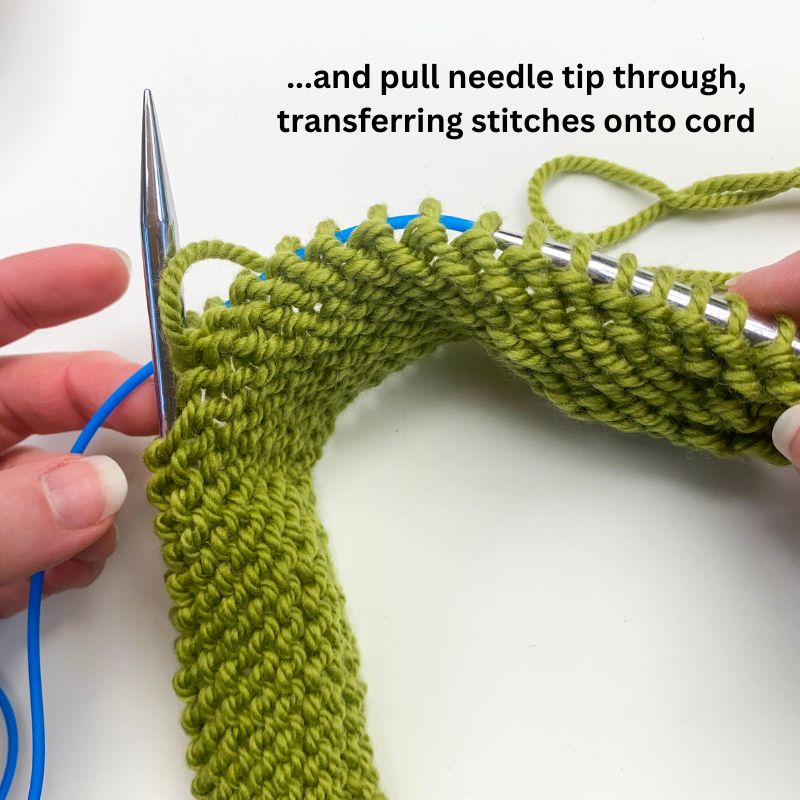
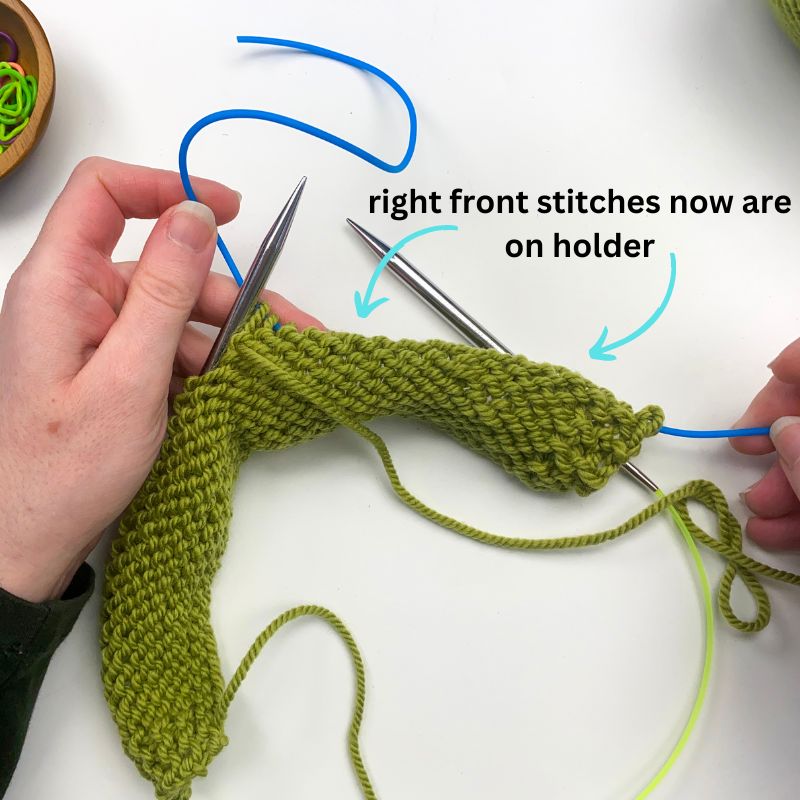
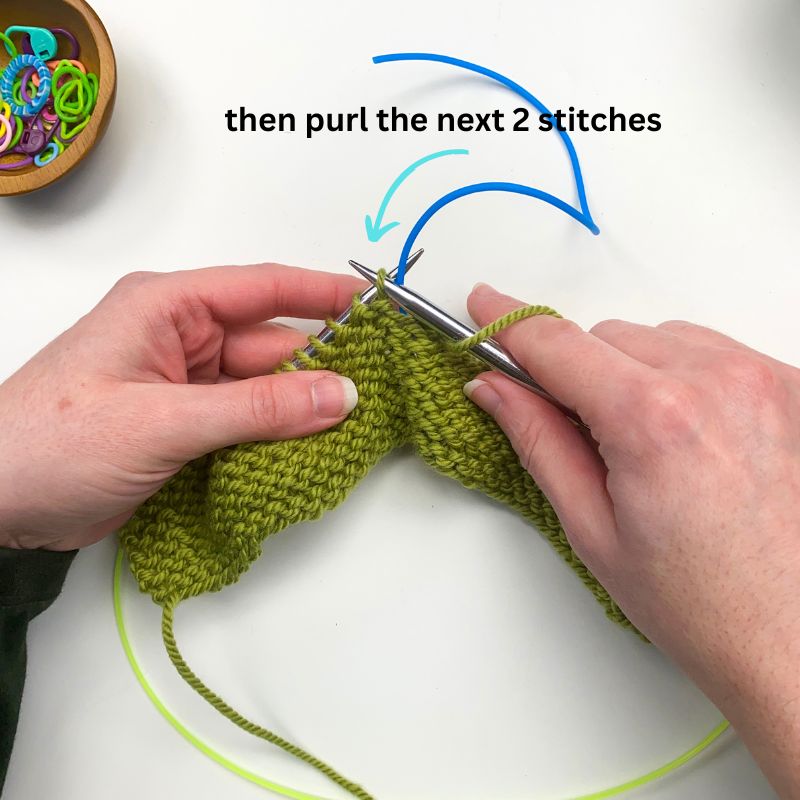
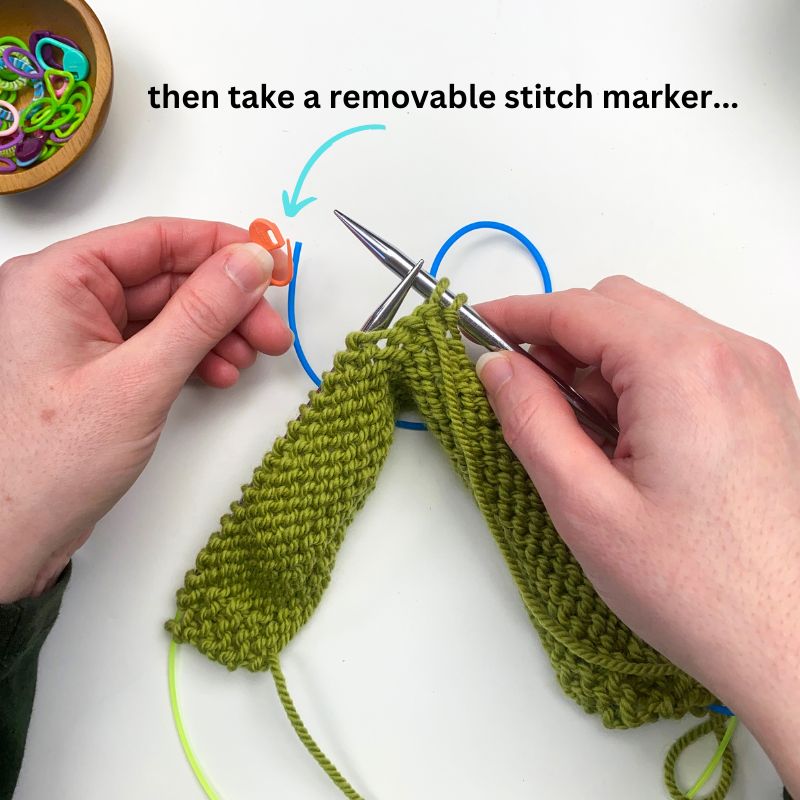
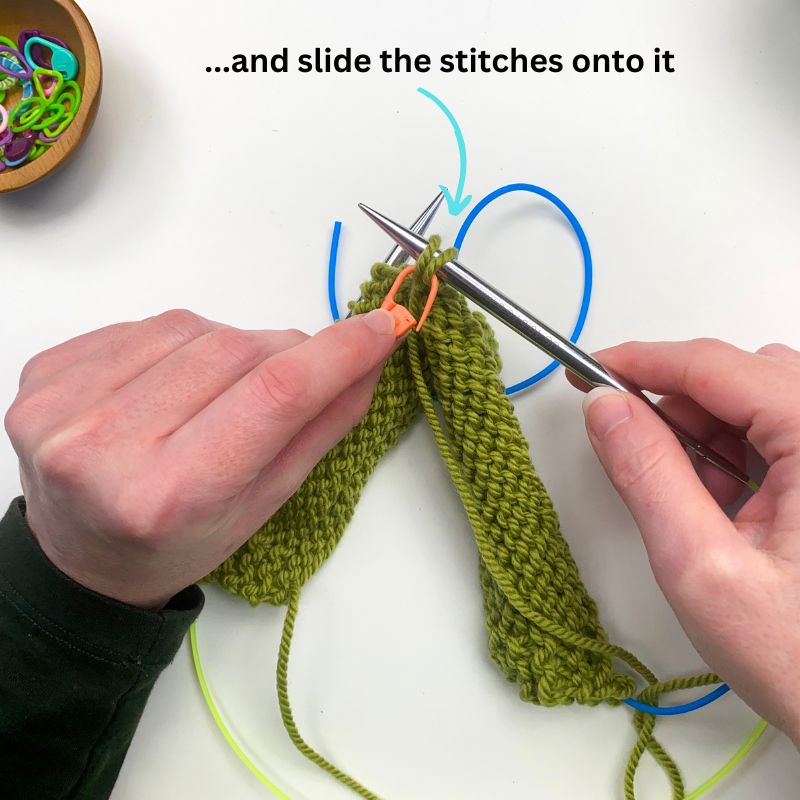
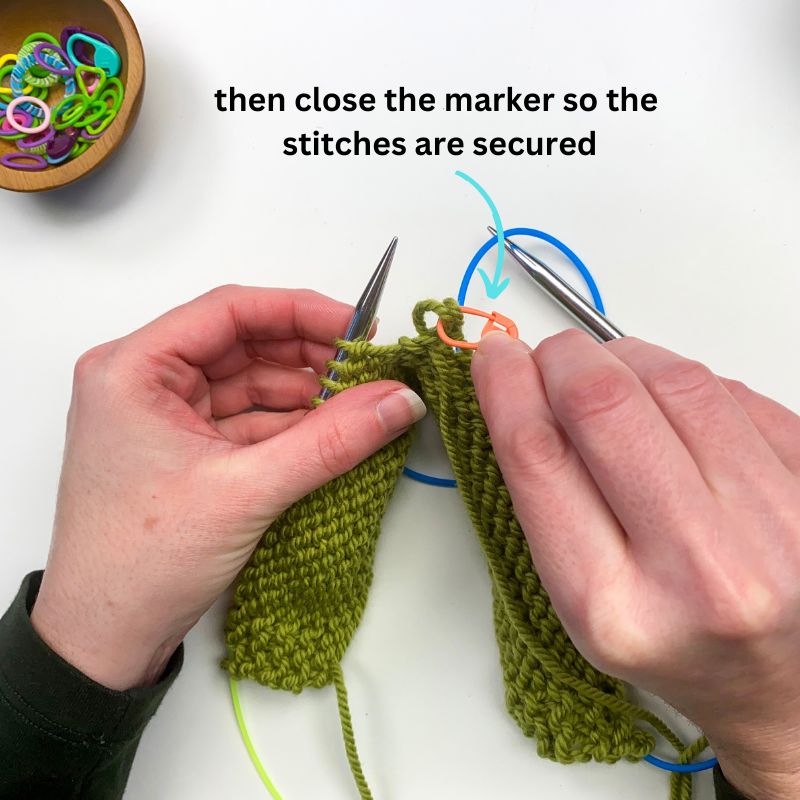
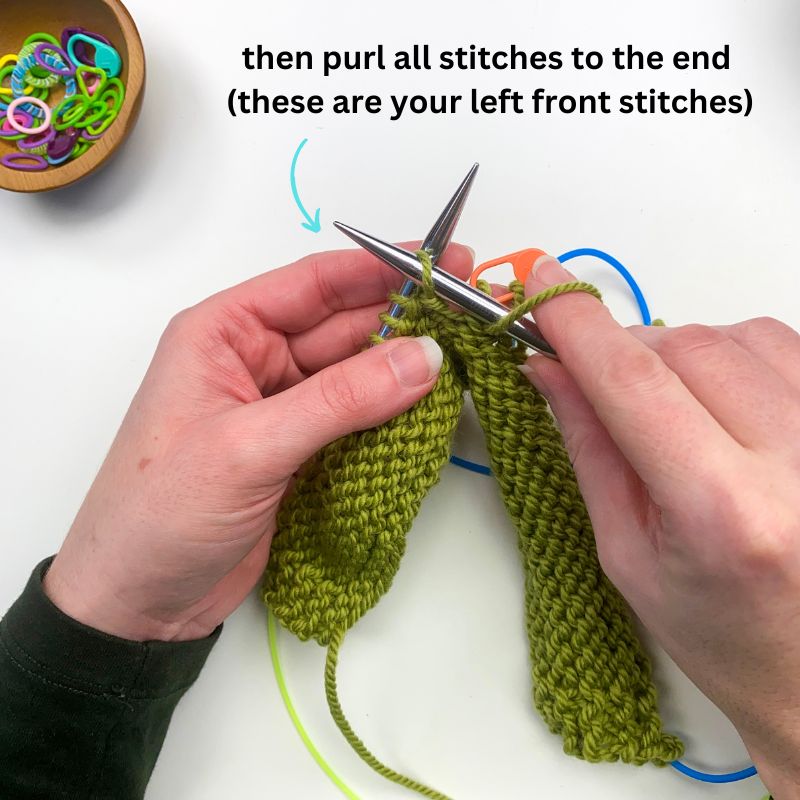
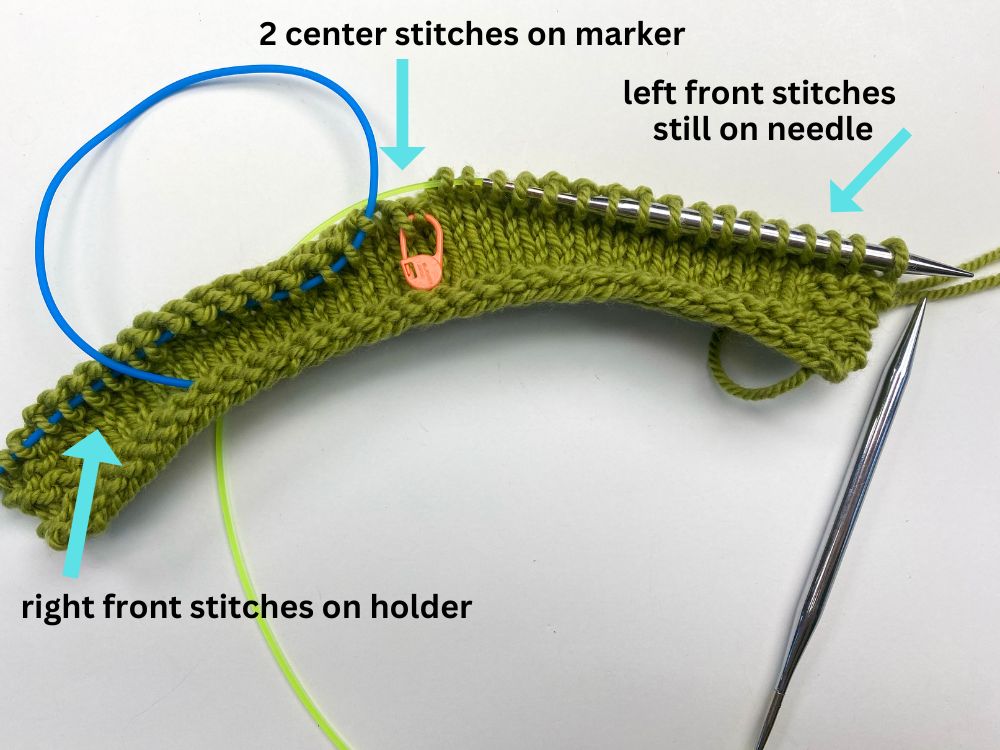
In the pullover, in the “Front Divide” section, in step 1 you’re instructed to work a certain number of stitches and then place those stitches on a holder. Then in step 2, you’re instructed to p2 and then put these 2 stitches just worked onto a removable marker. And then you purl to the end. Below is a photo tutorial that walks you through the process:
Starting the Back Yoke
In both the cardigan and pullover, when starting the Back Yoke, you’re instructed to pick-up and knit stitches from your front’s underarm stitches. If you’ve never done this before it can be helpful to see a visualize of this. Click here to watch my video lesson about it – it’s for a different design but the technique and steps I work are the same for Sporty 45. Fast forward to 02:11 to get to the part about picking-up the stitches (before that is how to transfer stitches from scrap yarn onto a circular).
Creating v-neck trim (for pullover)
Watch my video lesson below for how to work all the steps involved with creating the v-neck trim in the pullover:
Pick-up and Knit Front Bands (cardigan)
For the cardigan, the front bands are created by working the pick-up and knit technique. If you are new to this, I have a video lesson here. It’s for a different design, but the technique is the same for Sporty 45.
Buttonhole placement (cardigan)
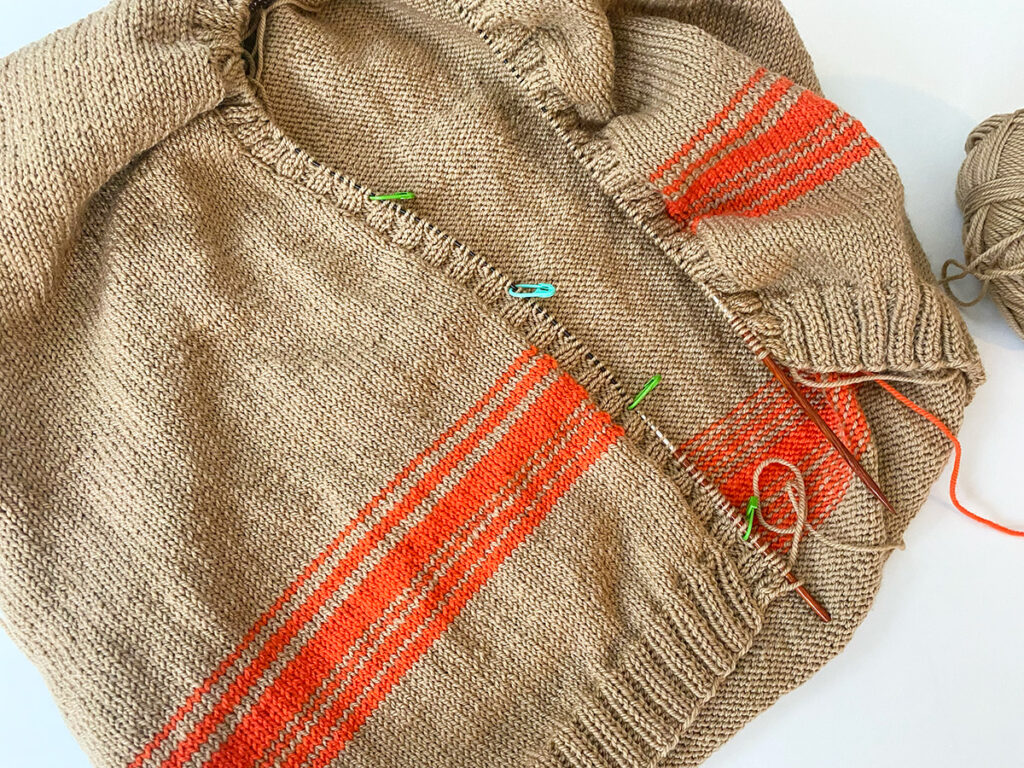
For the cardigan, before you work the buttonholes you first need to place markers for where your holes will appear. You’re instructed to place a removable marker in-between 2 purl stitches. I talk more about this in my video lesson here. It’s for a different design but the technique I work is the same for Sporty 45.
Pick-up and Knit Armhole Trim
In both the pullover and cardigan, the armhole trim is created by picking-up and knitting stitches around the armhole opening. You can either use a 16″ circular needle for this, or you can use your 32″ or 40″ long circular and work the magic loop technique. I walk through how to do this in my video lesson below (again, a different pattern but the technique is the same):
Other Knitting Techniques
Below are the knitting technique tutorials for techniques used in Sporty 45:

