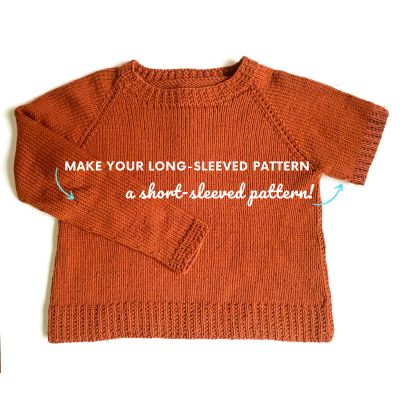
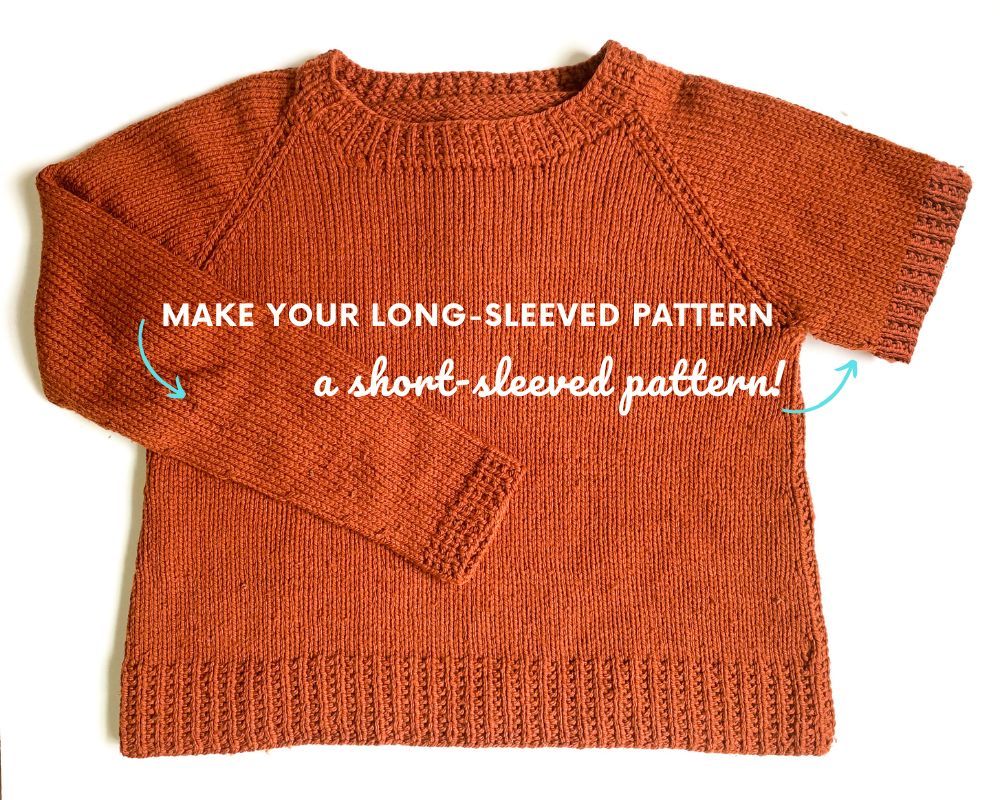
If you’re familiar with my work, then you already know that I’m all about layering pieces. So many of my designs are vest-like or other short or no-sleeve items that are great for layering. And because of this, I’ve often written blog posts about how to lengthen the sleeves should you prefer longer (or 3/4) length sleeves (such as this post about my Azalea). But I do have several long-sleeved patterns where you can actually do the opposite and make them short-sleeved! By making a long-sleeved sweater short-sleeved you can transform it into a more warm-weather-friendly garment, or at least something that has a bit more versatility in terms of layering (short-sleeved sweaters are great for layering with jackets!). It’s also a great option if you don’t quite have enough yarn for long sleeves.
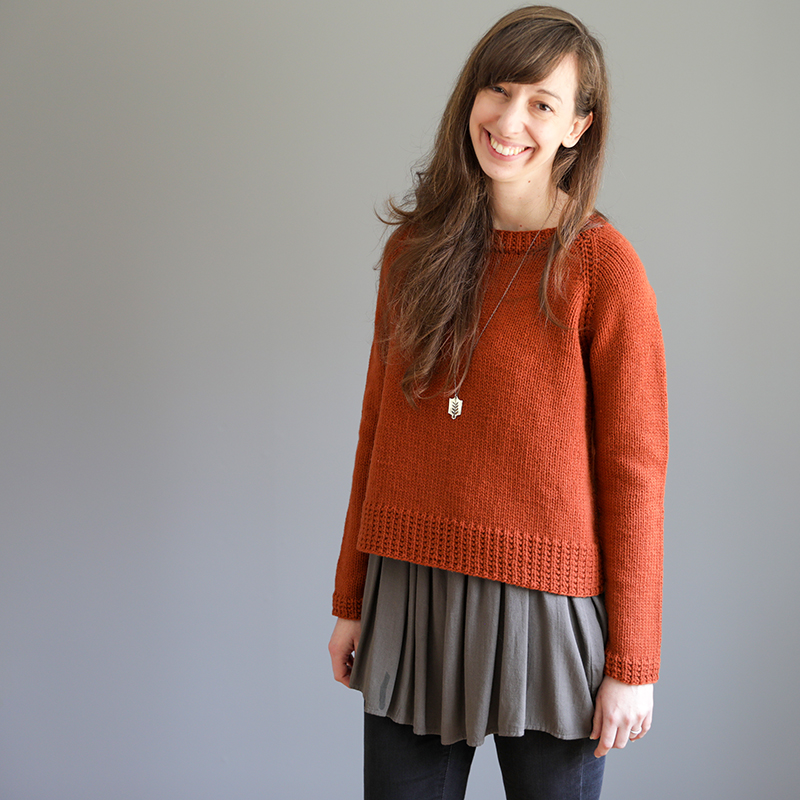
Let’s take my Ramona Pullover sweater as an example. Here is the original with long-sleeves.
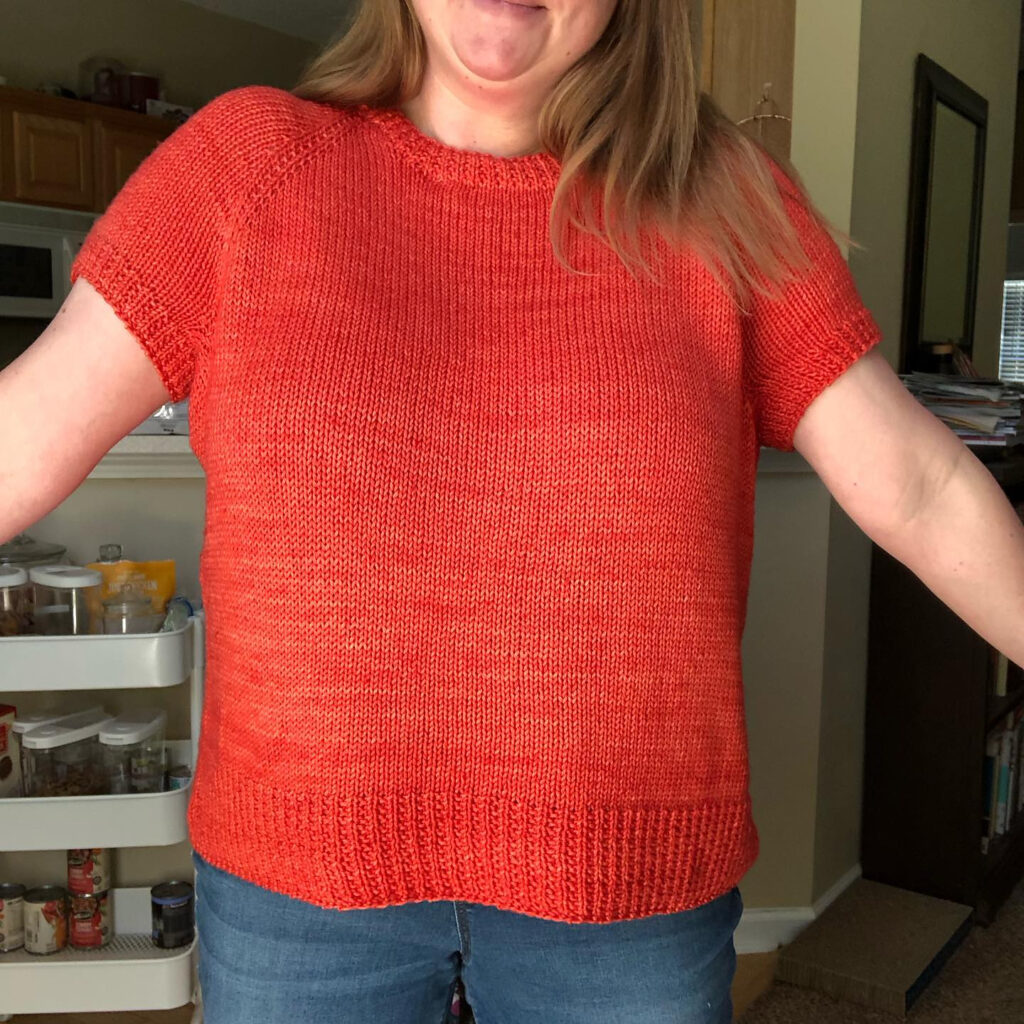
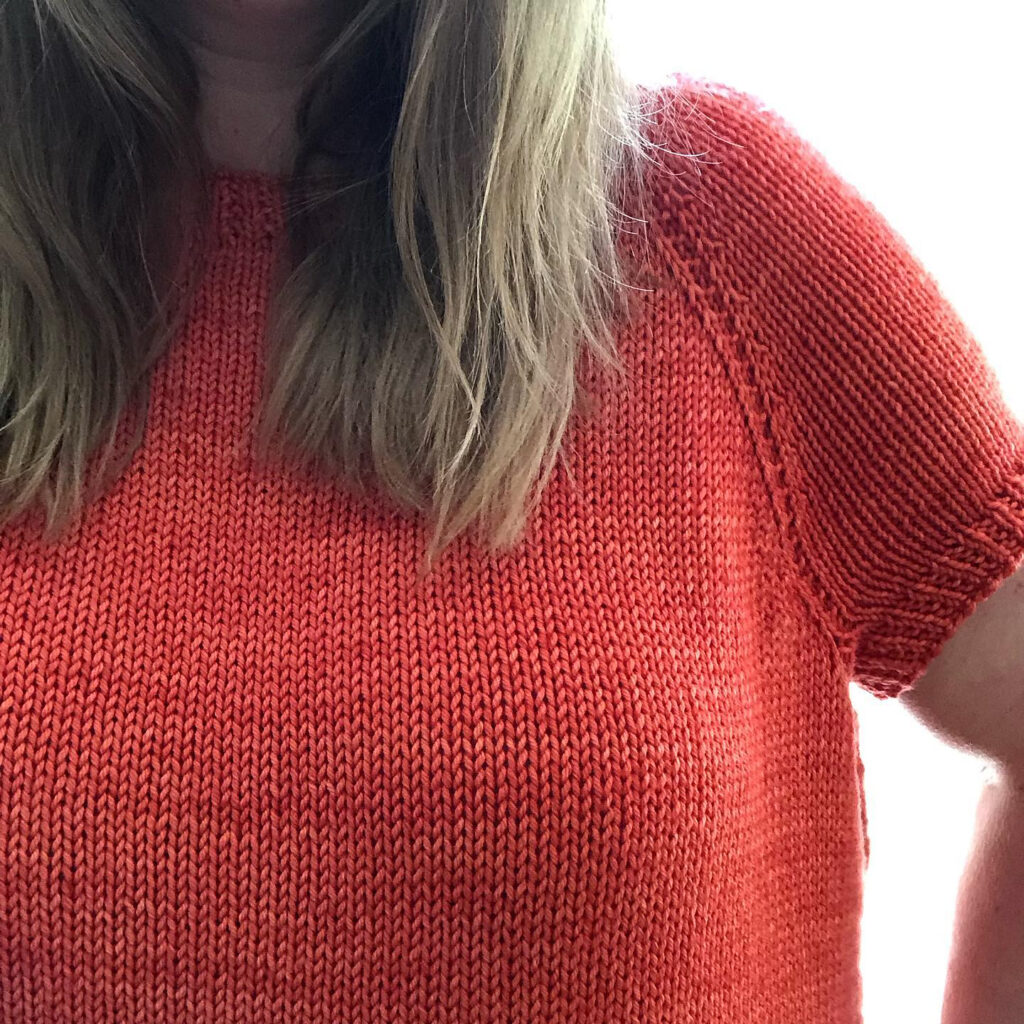
And here are pictures graciously shared with me from another knitter on Ravelry named Amanda who made her Ramona short-sleeved! Click here for her Ravelry project page.
How cute is that top on her! Amanda also used a lighter-weight yarn (Malabrigo Rios, a worsted-weight) and accomodated the gauge discrepancy by knitting a different size (if you want to learn more about how to do this, check out this blog post).
Shortening your sleeves may just require a little trial and error, but I hope the 10 tips I have listed below will be helpful if this is something you ever want to try out!
10 Tips for Making your Long-Sleeved Pattern Short-Sleeved:
Tip #1: It’s easiest to do when the sleeve is worked from the upper-arm down to the cuff
Most of my long-sleeved sweater patterns have the sleeves worked from the upper-arm down to the cuff (so from the top-down). Raglan sweaters that are knit from the top-down have sleeves like this (such as my Ramona) as do drop-shoulder garments (like my Morgan). The reason why this is easiest is because you still follow the pattern exactly as written for getting the sleeve started (i.e, the number of stitches to either transfer back onto a needle or the number of stitches to pick up and knit around the armhole).
If the sleeve is worked from the cuff-up it can be a bit more complicated so I will save that topic for a separate blog post.
Tip #2: For top-down sleeves, follow the sleeve instructions as written to get started
Even if you are shortening your sleeves, in this scenario you still want to follow the pattern as written so you have the correct number of stitches on the needle.
Tip #3: Decide if you want to taper your short-sleeves
Long sleeves typically always include decreases as you work your way down to the cuff (since your wrists are much smaller than our upper-arms). But with short-sleeves, you often don’t have to work decreases unless:
- You want a more fitted look.
- You want to make your short-sleeves longer than 2-3″.
Often what I will do is to knit an inch or so and then put my arm through the opening (one of the great things with top-down sleeves!) and see how it’s fitting on my arm. If it feels like too much fabric and flaring a bit more than you would like, then working a decrease round or two might be a good idea (see tip #5). If you’re happy with the circumference then you can just continue knitting until you’re happy with the length. Just remember that you will likely still add a sleeve trim and that may cinch in the circumference a bit as well (if you are using a rib stitch for example).
Tip #4: Add a lifeline after working 2-3 rounds at the underarm
Related to tip #3, if you’re not sure if you may want to taper or not, and if you’re not confident in ripping/tinking your stitches, it can be helpful to insert a lifeline at the top of your sleeve. This way, if you decide to alter your sleeve (after trying it on) and it requires ripping out, you can just rip back to the lifeline.
Tip #5: If you do taper, often 1-2 decrease rounds is enough
If, from tip #3, you decide you do want to decrease your short sleeves circumference, often just 1-2 decrease rounds is suffice (in each decrease round you loose 2 stitches). Of course this will all depend on personal preference but in my experience, when I have decided to taper a short-sleeves that often 1-2 rounds (spaced out by a few regular rounds) has worked well. You can refer to your pattern’s “decrease round” in order to know how to work it.
Tip #6: If you do plan to add a decrease round, work even at underarm for at least a few rounds
If, based on tip #3, you decide you want to taper a little bit, I typically suggest still working even at the underarm for at least a few rounds (1/2″ – 1″ worth).
Tip #7: If you plan to work more than 1 decrease round, separate them by around 1″.
Unless you want a more dramatic taper, I suggest working approximately 1″ even between your decrease rounds.
Tip #8: Look to the pattern for guidance on working the sleeve trim
Although you will likely not want to make your short-sleeve trim as long as your cuff, you’ll likely want to still:
- Use the same type of stitch treatment
- Use the same needle size (typically 1 needle size smaller).
Tip #9: You may need to adjust your stitch count depending your sleeve’s stitch pattern trim
If your sleeve trim is going to be in any kind of rib stitch, or really any type of stitch pattern that isn’t just garter stitch, then you will need to have your stitch count be a particular type of multiple before you start your trim. Here are some examples:
- 1×1 rib or 1×1 broken rib: needs to be multiple of 2
- 2×2 rib or 2×2 broken rib: needs to be multiple of 4
For guidance on this, look at the stitch counts listed in the pattern before the cuff is started. Often you can deduce from those numbers what type of multiple it needs to be.
Tip #10: Take notes about what you do for sleeve #1
As you work on the first sleeve, make sure to take good notes about what changes you make. Sleeve #1 is your trial and error sleeve but the good thing is once you’re happy with it, then sleeve #2 will be a breeze (so long as you kept notes about what you did on the first one!)
I hope these 10 tips may come in handy should you ever want to experiment with turning a long-sleeve pattern into a short-sleeved one!

