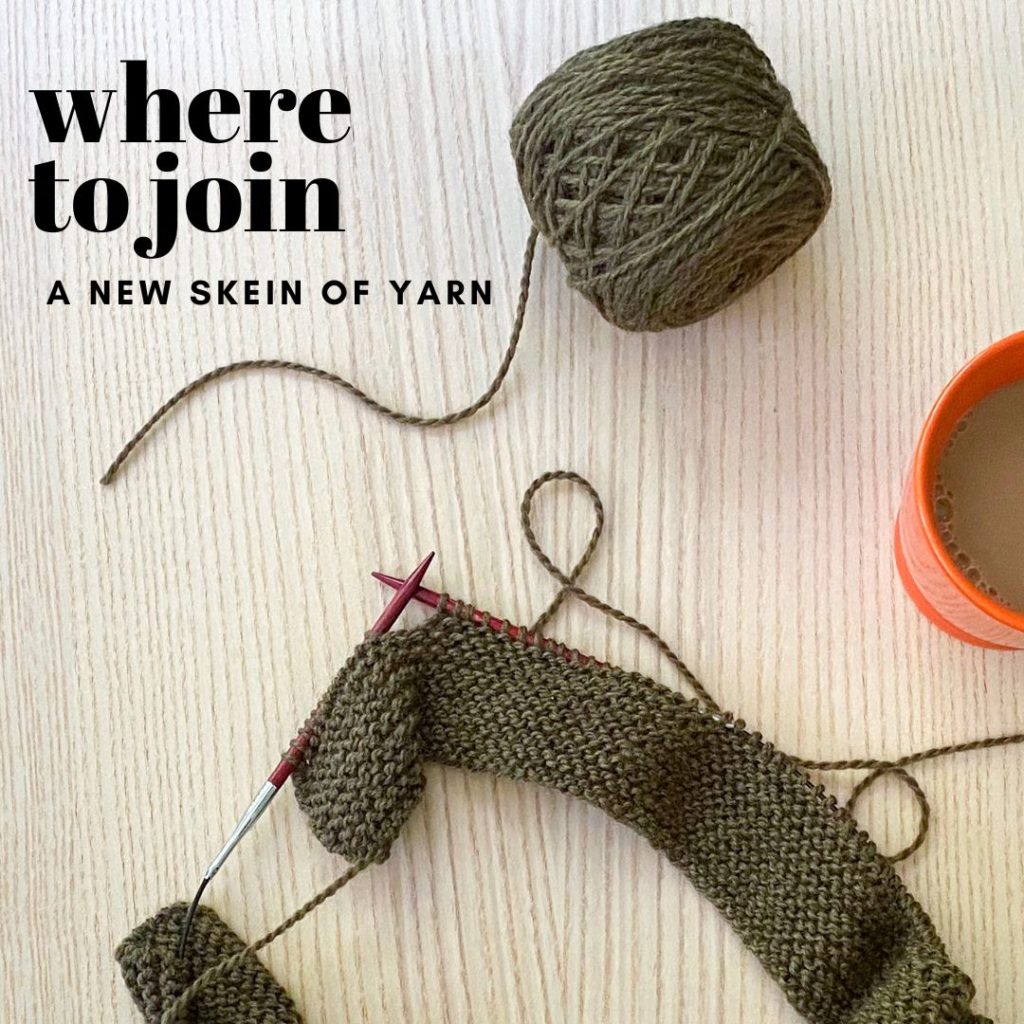
It’s inevitable when you’re knitting a garment that, at some point, you’ll run out of yarn in one skein and need to join a new skein. How to join a new skein is always a popular question and one of my most watched videos is in fact my “How to Join a New Skein”! You can click here to watch it. But in this blog post I’m talking more about the “where” instead of the “how”, because where you join a new skein may be different depending on the garment style and construction!
My recommendations below are based on using my favorite technique for joining a new skein (featured in the above video), which is to knit a stitch with both the old skein and the new skein, then drop the old skein and continue just with the new skein. Then when you come back to that stitch where you had knit with both the old and new skeins, you just make sure to knit the 2 loops together.
Joining at the Beginning of a Row
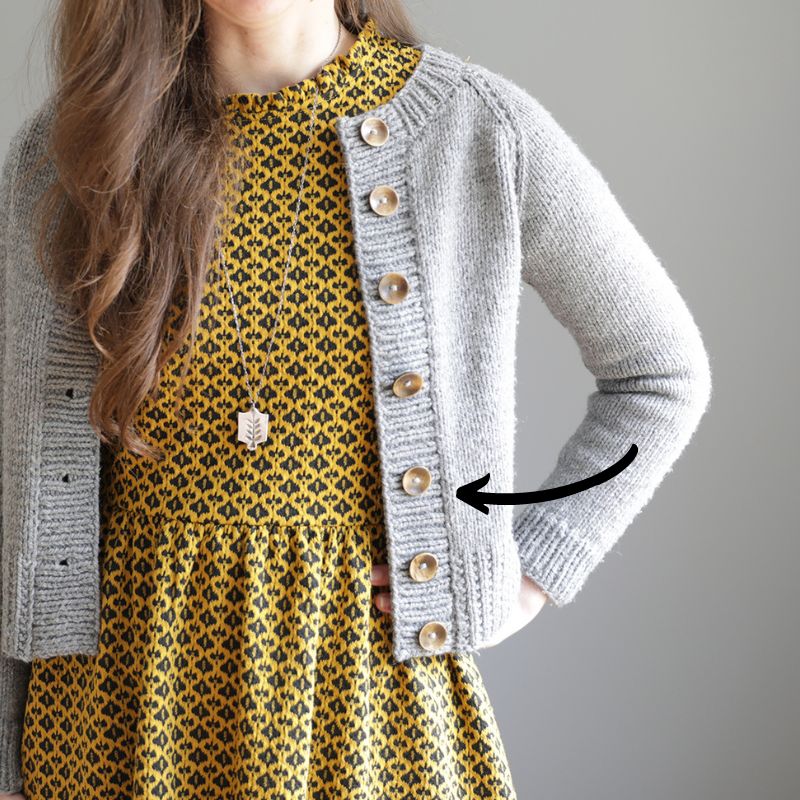
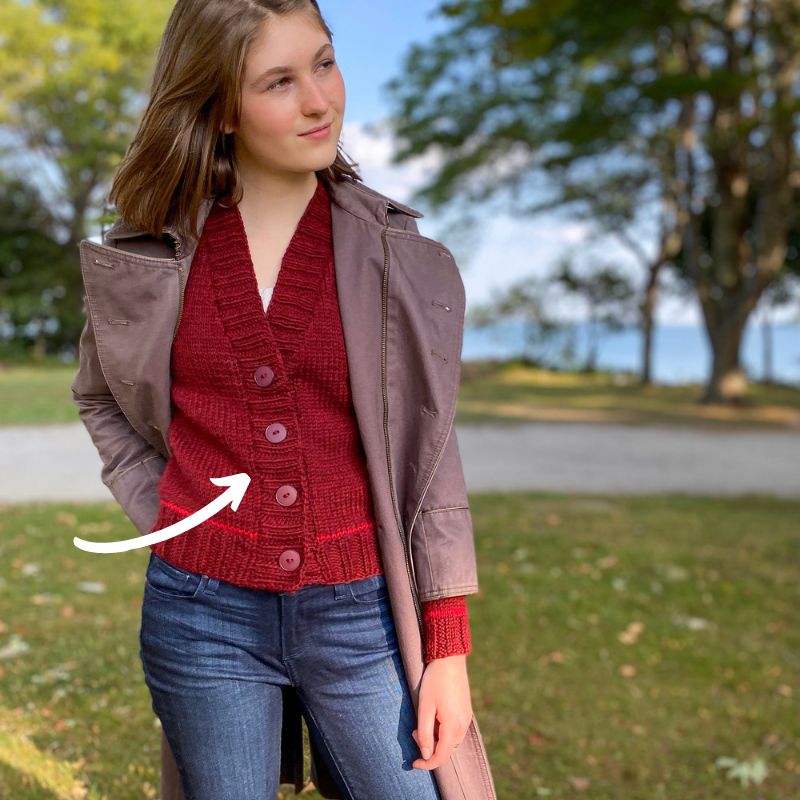
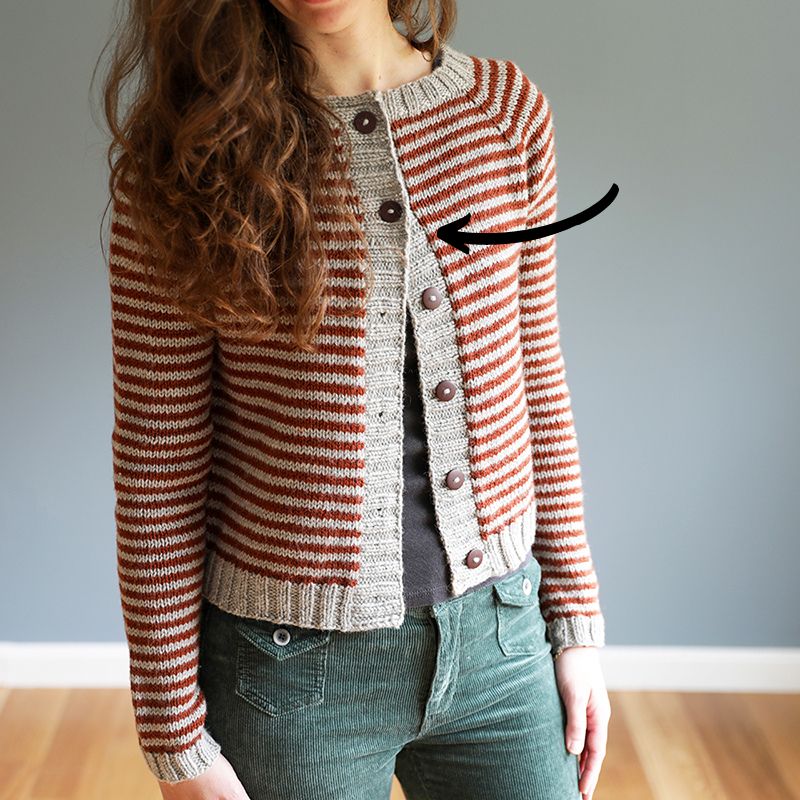
The most common place to join a new skein is at the beginning of a Row. But I tend to only do this when I know I’ll be picking up my edge stitches lately (and so any possible bumps/lumps from joining the new skein can easily be hidden), or if I’m changing colors. For example, I’ll do this when working on a cardigan where the front bands will be created later by picking up and knitting stitches along the front edges (again, hiding any imperfections). Here are some examples:
Joining at an Underarm Area
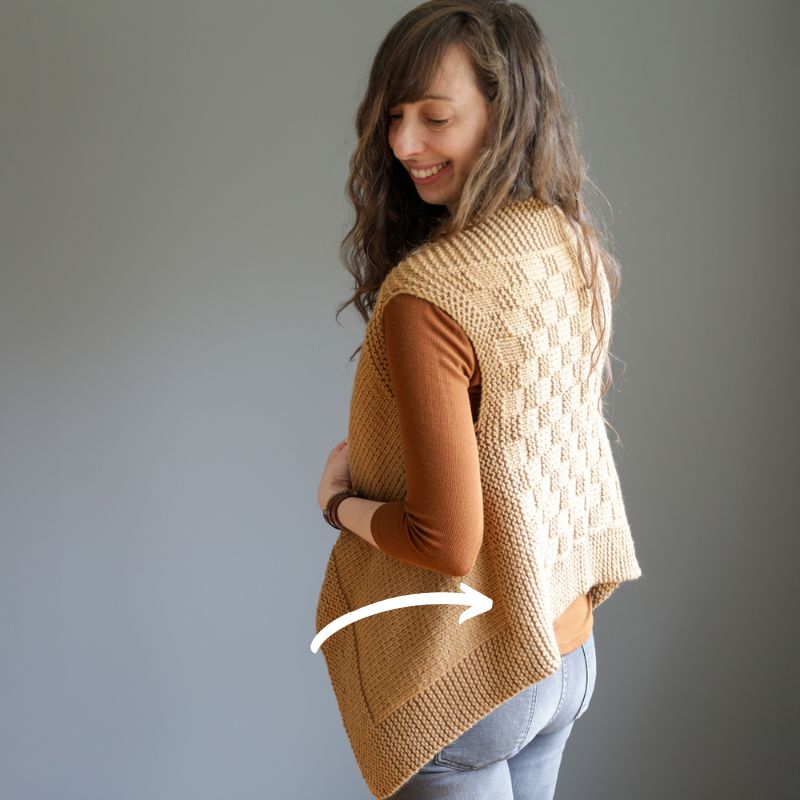
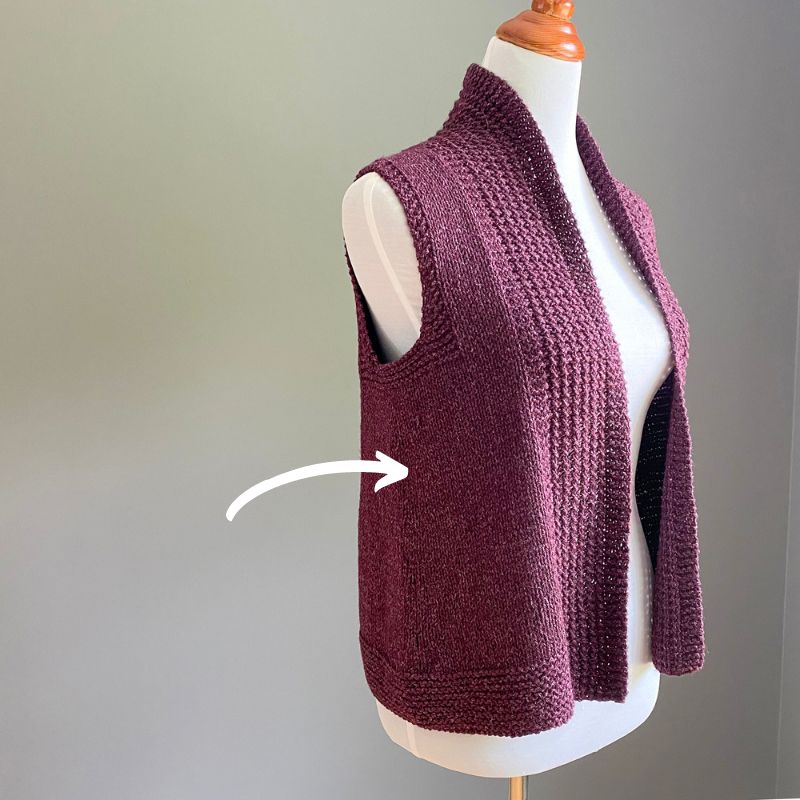
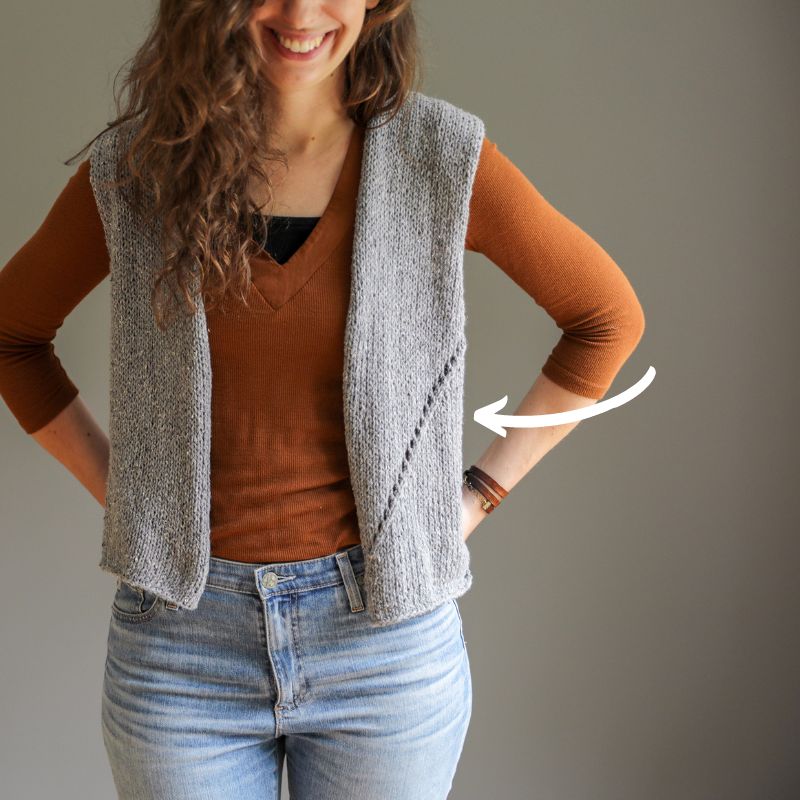
There are lots of occasions I will do this, because an underarm area tends to be the most inconspicuous spot in a garment. When I was a new knitter, I didn’t realize that I could literally join a new skein anywhere in a row – I always thought it had to be at the beginning or end of a row. But you can indeed join a new skein anywhere!
I will often do this with any of my ‘open style’ cardigan garments – this way if the front edges are ever folded or they roll in, you don’t have to worry about ends showing. Here are some examples:
Joining After/Before an Edge Trim
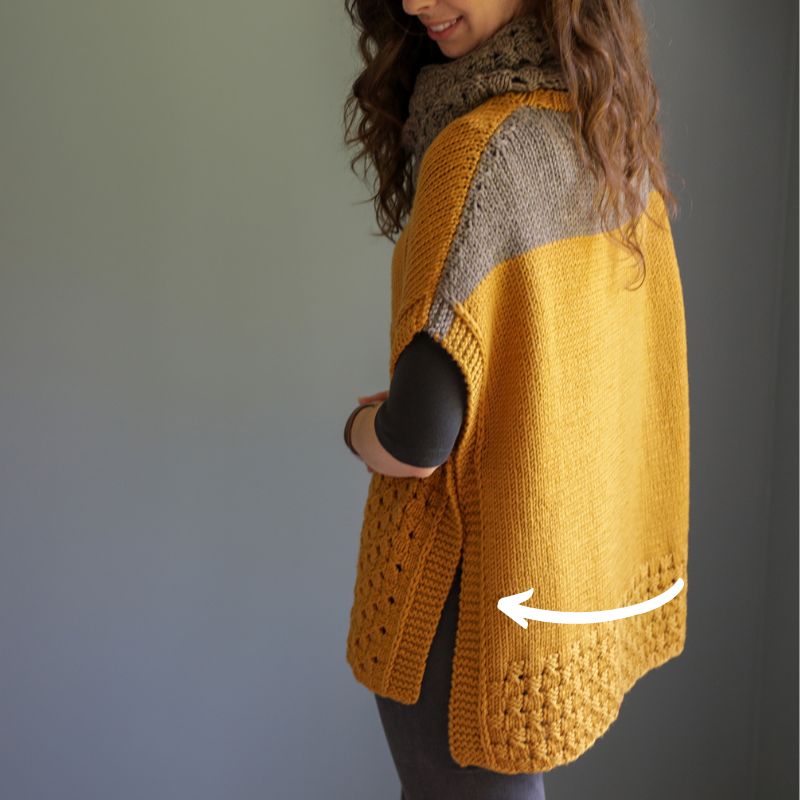
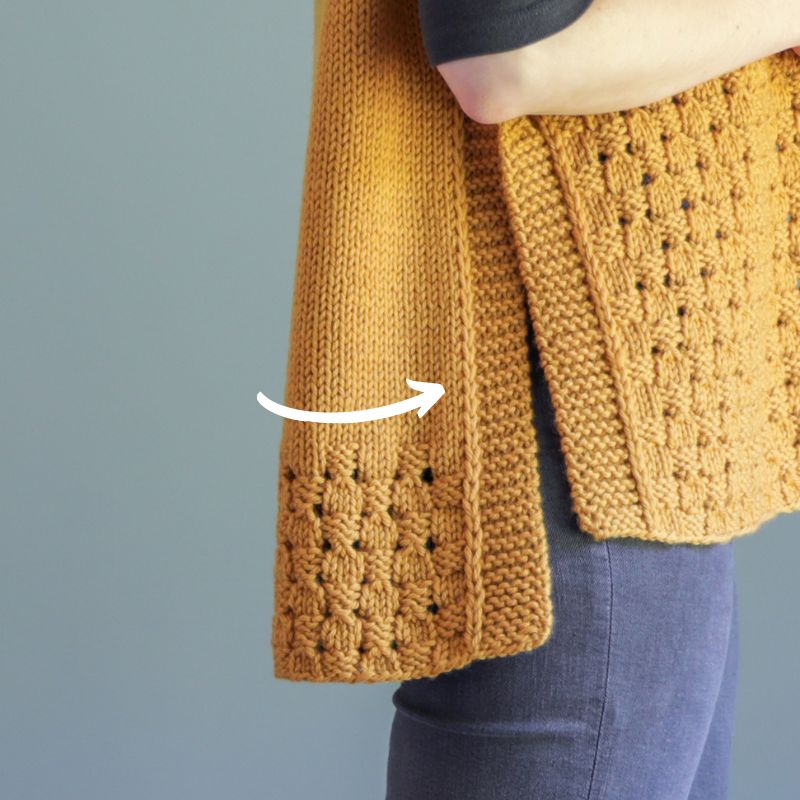
There may be some circumstances where you don’t want to join a new skein at the beginning of a row, but there is no underarm or other inconspicuous spot to join the yarn. Any of my designs that have a split hem fall under this category. Because, until the front and back are joined together (if they are at some point), there is no underarm side area – you’re just knitting a front and a back separately, usually with an edge trim. For example, in my Happy Harvest poncho, there is a garter stitch edge trim, then a slip stitch, and then the basketweave pattern or stockinette stitch.
So in this example, I don’t want to join at the beginning of the row and potentially have a bump/lump in my edge stitch (since it will be quite noticeable in this design). So what I did was join my yarn after the edging – a couple/few stitches in from that slip stitch edge that separated the edge trim from the rest of the body.
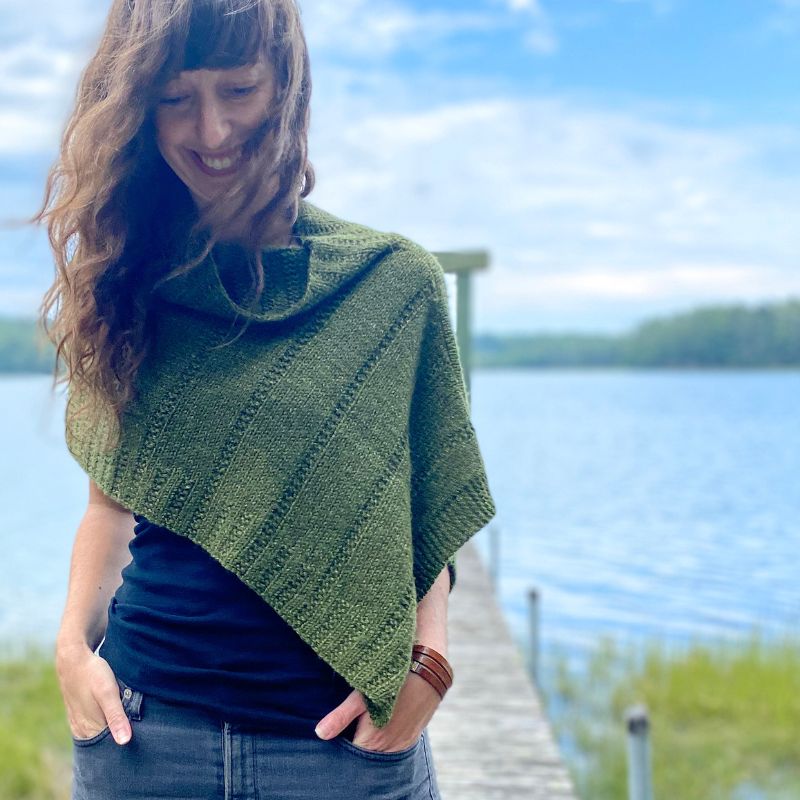
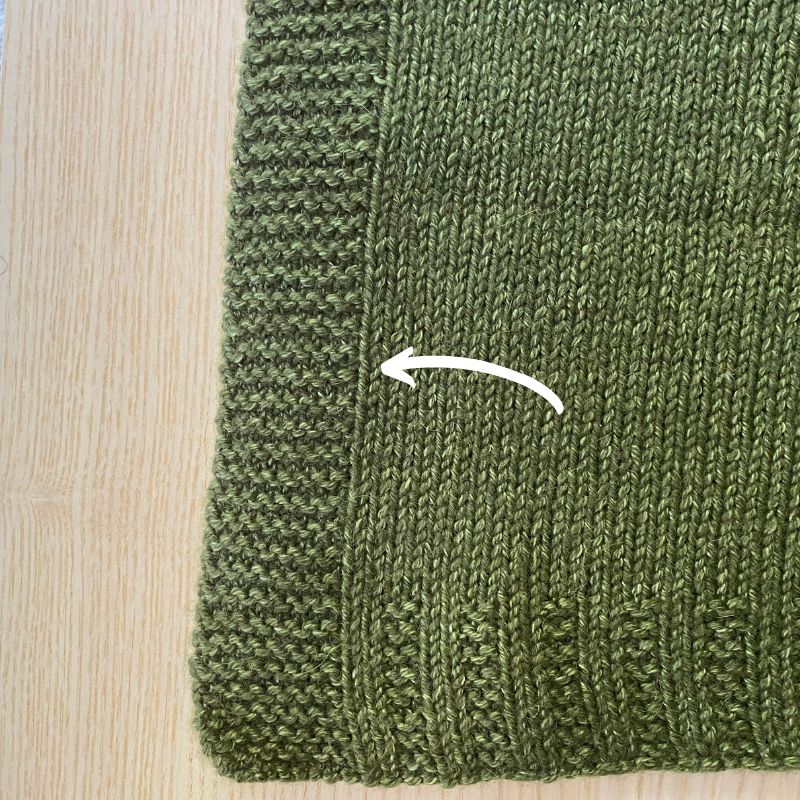
I also did something similar with my Ponchetta. It’s knit flat (like a giant rectangle) and has garter stitch trim on either end. I would recommend joining a new skein either right before the start of the edge trim at the end of the row (end of the row because that is the side that, when the poncho is put together, is on the back), or in the first garter stitch of the edge trim at the end of the row.
By joining the new skein in the first garter stitch of the edge trim here, any bump/lump that may appear won’t be noticeable because there is already a bump from the garter stitch ridge.
What about for ‘in the round’ projects?
Typically for projects where I’m working in the round, I’ll usually join a new skein at the beginning of round marker because that is usually placed at the side of the garment (so a nice concealed spot). However, if your BOR is not at the side (say, it’s at the center back), then usually I’d recommend joining a new skein at one of the underarm sides.
Does the yarn thickness impact the decision of where to join?
Yes – how thick your yarn is can also play a part. For example, even in a buttoned cardigan where you will pick-up and knit stitches along the front edges (meaning typically it would ok to join a new skein at the beginning/end of row), if I’m using very bulky-weight yarn, I may still want to avoid anywhere near the front of the garment. This is because the thickness of the yarn may cause the join to have some kind of visual disruption that would best be left to a more inconspicuous area (such as at the underarm).
I hope that this information is helpful the next time you need to join a new skein of yarn in a garment project! Feel free to reach out if you have any questions.

