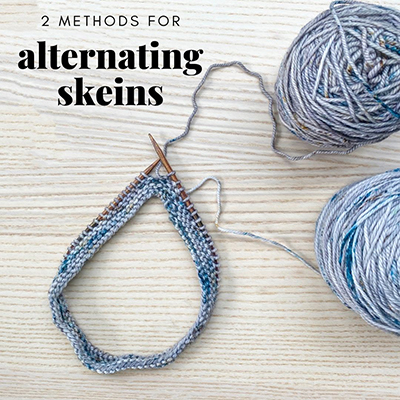
In this post I’m going to talk about why it’s often recommended to alternate skeins when working with hand-dyed yarn, either by blending/fading or by alternating skeins throughout the project. I’ll also share videos of the 2 methods I like to use when alternating skeins!
If you’ve ever knit with hand-dyed yarn before then you may already be familiar with the phrase “alternating skeins.” It’s often recommended with hand-dyed yarn to knit with 2 skeins, alternating every round or every-other-row. This helps for a couple of reasons:
1. It helps to blend skeins together so that you don’t have a definitive line where you joined a new skein.
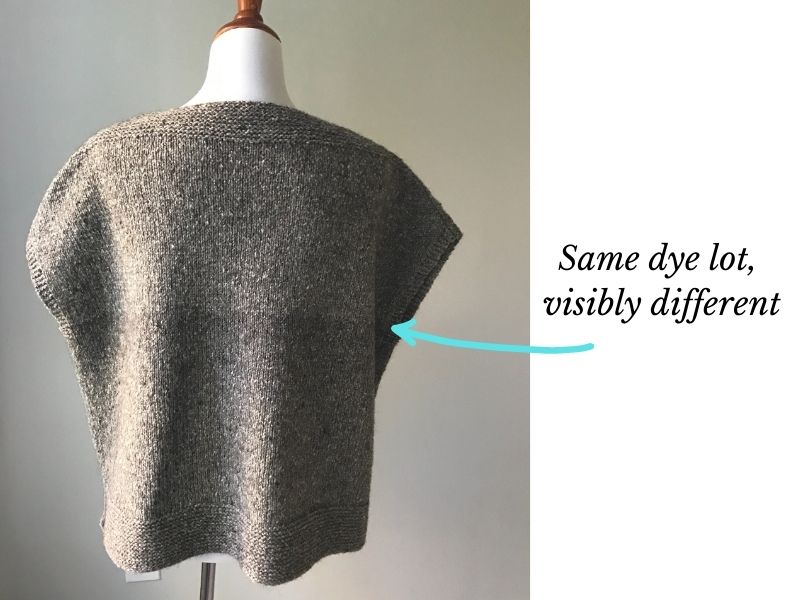
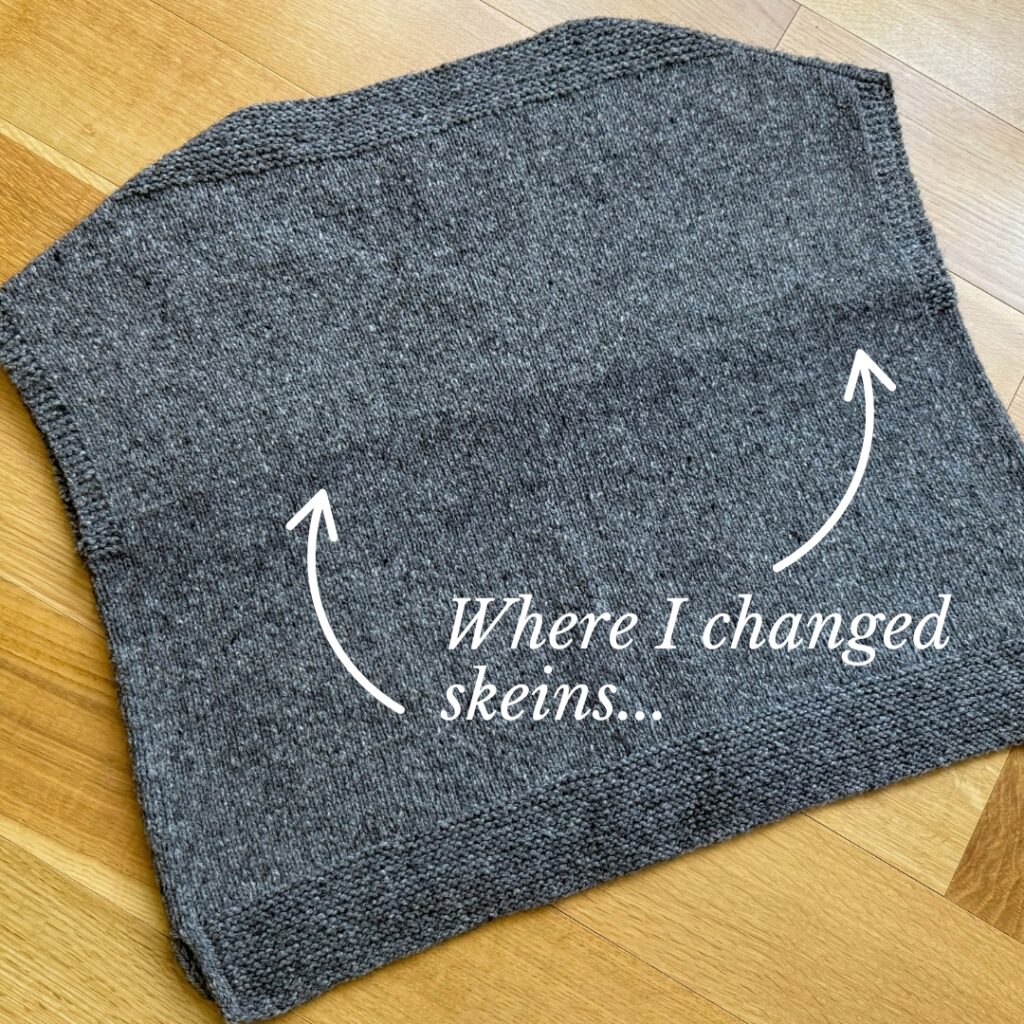
Since with hand-dyed yarn, even within the same dye lot and even if the skeins are semi-solid (so not a lot of color variation), there can be color differences skein to skein. And so when a new skein is joined into your project, it may show a distinct line where you ended the previous skein and joined the new skein.
Below is an example of a time I knit with a hand-dyed yarn that was semi-solid and all the skeins were in the same dye lot. I didn’t blend the skeins at all and you can definitely see where I joined in a new skein – I didn’t notice as I was knitting but afterwards it was quite visible! I have 2 photos so you can see it in different lights…
2. It helps to prevent color pooling in highly variegated colorways.
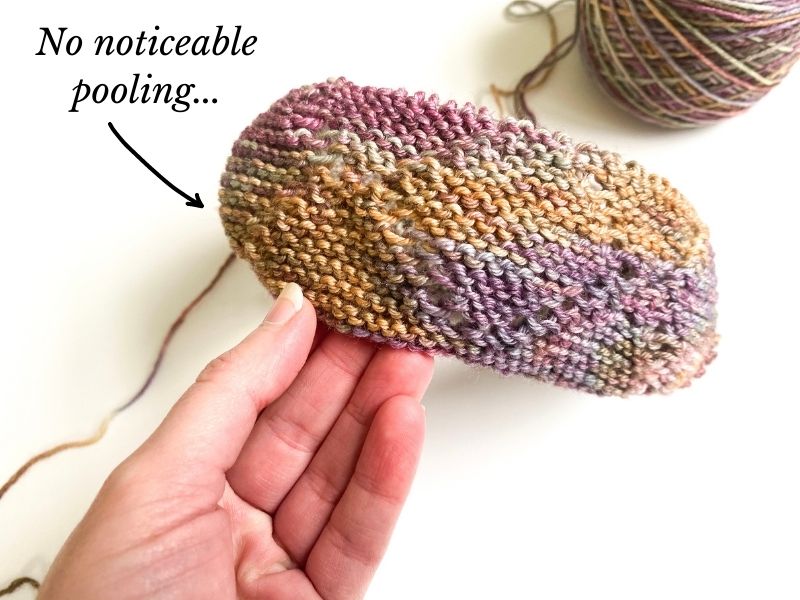
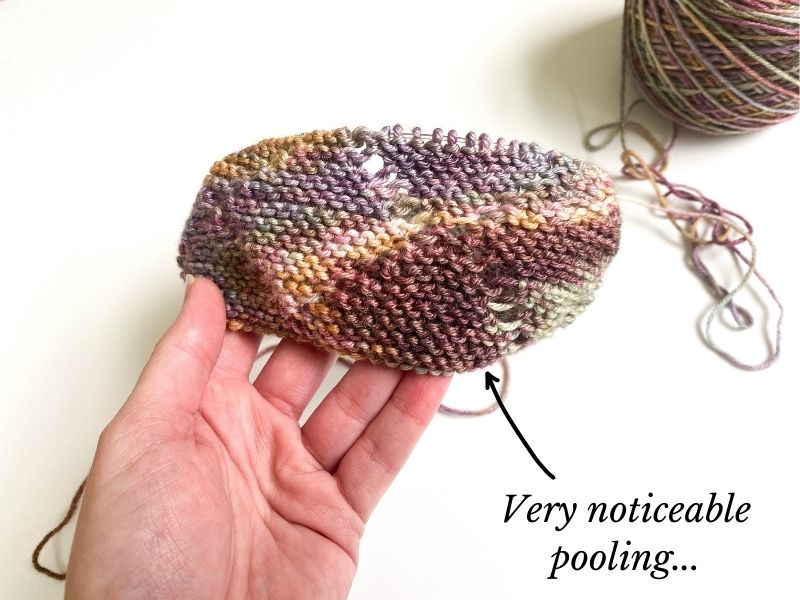
Alternating skeins also helps to avoid what they call “color pooling” – this is when a particular color in the skein collects in one spot (i.e, it “pools”). Here is an example of a variegated project I was working on in the round where on one side there wasn’t any noticeable pooling, but on the other side the pooling is quite noticeable…
Blending/Fading vs Alternating Throughout
In my first example, I may have avoided the distinct line where I changed skeins simply by blending the skeins for a 1/2″ or so before completely switching to the new skein. This is often referred to as “blending” or “fading” because it’s a gradual transition from working with one skein to another. So this is where you can work any ‘alternating skeins’ methods, but you only do so for a 1/2″ or 1″ when you are starting to run out of yarn from one skein and need to introduce a second skein (instead of alternating skeins throughout the project). I will often blend/fade when I’m working with a semi-solid yarn.
In the second example, the pooling would not have been as obvious had I alternated skeins throughout the piece. Not everyone minds pooling (sometimes it can look pretty cool actually!), but if it’s something you’re looking to avoid, then I would recommend alternating skeins throughout if you are working with a highly variegated yarn.
Semi-Solid vs Variegated
If you’re not at all familiar with hand-dyed yarn, then the image below might be helpful – it’s of various colors of Manos del Uruguay’s Feliz, a hand-dyed yarn that comes in both semi-solids (on the left) as well as variegated colors (on the right). As you can see, semi-solids are primarily just one color with just some hints of lighter/darker shades within it. Variegated have multiple colors throughout.
Although you can choose to blend/fade or alternate throughout with either type, personally I tend to blend/fade with semi-solids and alternate throughout with variegated. But the choice is up to you and may just depend on the look you are going for, or how variegated your particular yarn is.
So how do you alternate skeins?
For either blending/fading or alternating throughout, you just need to work with 2 skeins at a time, alternating every-other-round or every 2 rows. The method I use will depend on my situation…
Situation 1: Working flat (i.e, back and forth) OR working in garter stitch in the round
In this situation, I use the “carry-up method”. If you have worked 2-row stripes before, then you’re likely already familiar with the concept! In the below video I show you how I worked the carry-up method when working Garter stitch in the round. If you’re working flat, the concept is similar but you can also refer to my 2-row stripe video since the technique is the same.
Situation 2: Working in stockinette stitch in the round
I personally found the carry-up method to not be the most ideal choice for me when working in Stockinette stitch in the round – I couldn’t keep my tension consistent and the fabric would pucker a bit at the point where I was carrying the yarn up. Then one day someone taught me this alternative method and I found it worked quite well for me! I did some research about it and couldn’t find a particular name for it, so I just call it the “Yarn-Forward method.” You can watch my tutorial below to learn all about it:
Conclusion
These are just a couple of examples of how you can alternate skeins (there are definitely more out there too!). Both are worth trying out next time you want to alternate skeins to see which method you might prefer!

