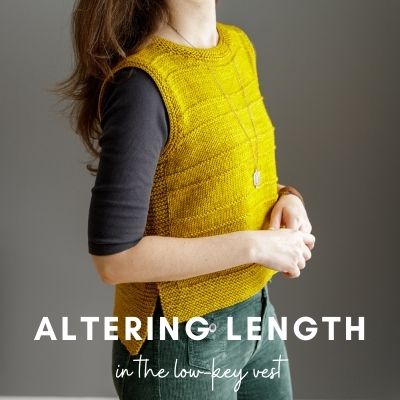
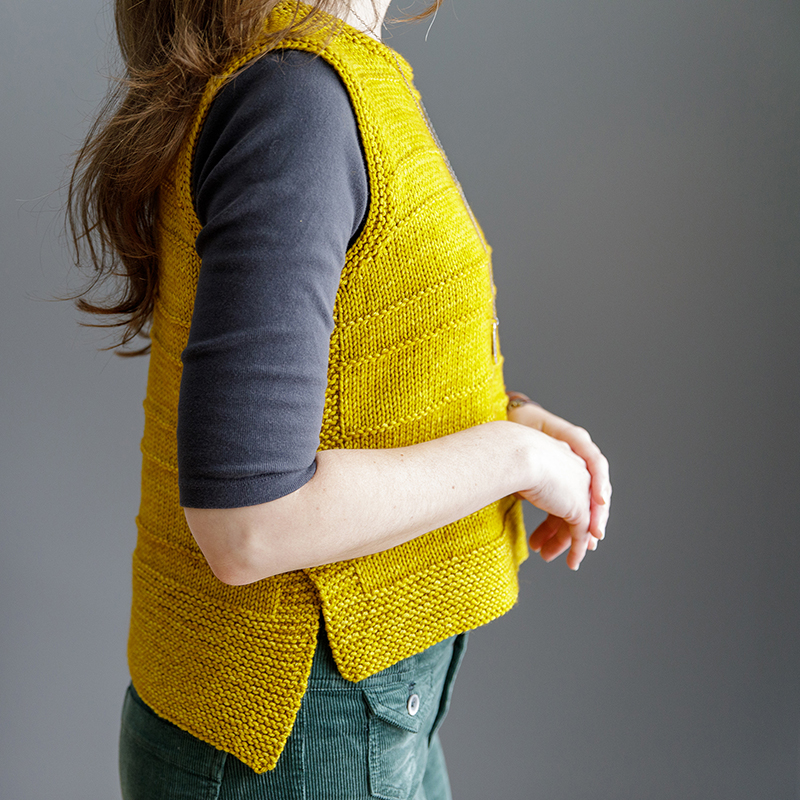
Earlier this year I published the Low-Key vest! It’s a split hem pullover vest featuring bands of garter stitch ridges (and it was my inspiration for the Low-key Cowl too!)…
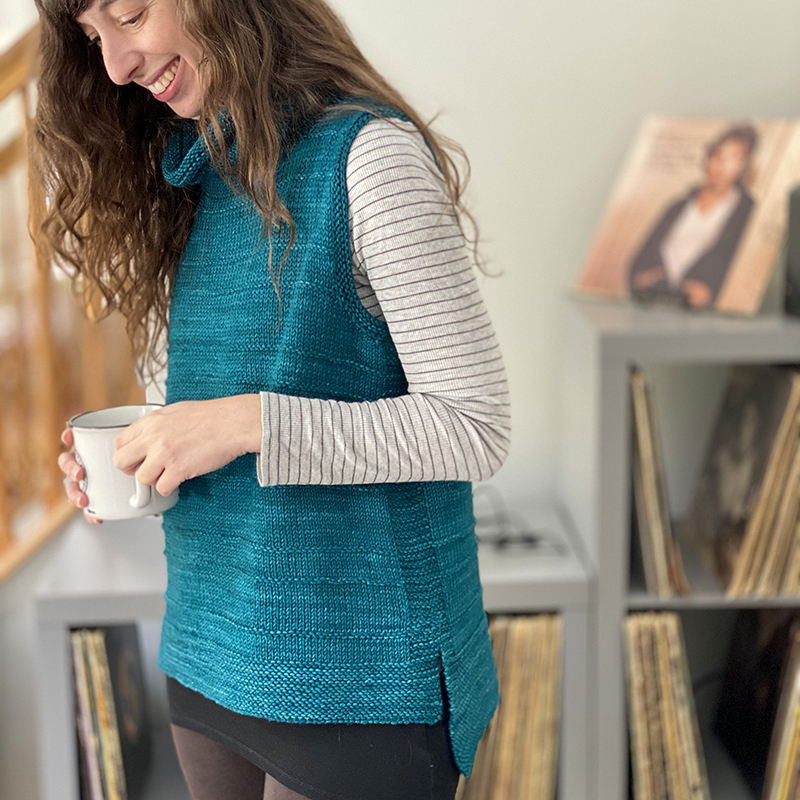
…and I wrote the pattern for 2 lengths – cropped (as pictured above, measuring 11.5″ from underarm to bottom of Front) and tunic (as featured below, measuring 15″ from underarm to bottom of Front):
Because I wanted the pattern to be beginner-friendly, it’s written to these exact lengths and, because you have these garter stitch ridges involved, I wrote the pattern out line by line for each size. But what if you want to alter the length? Below are my 3 tips to help you with this!
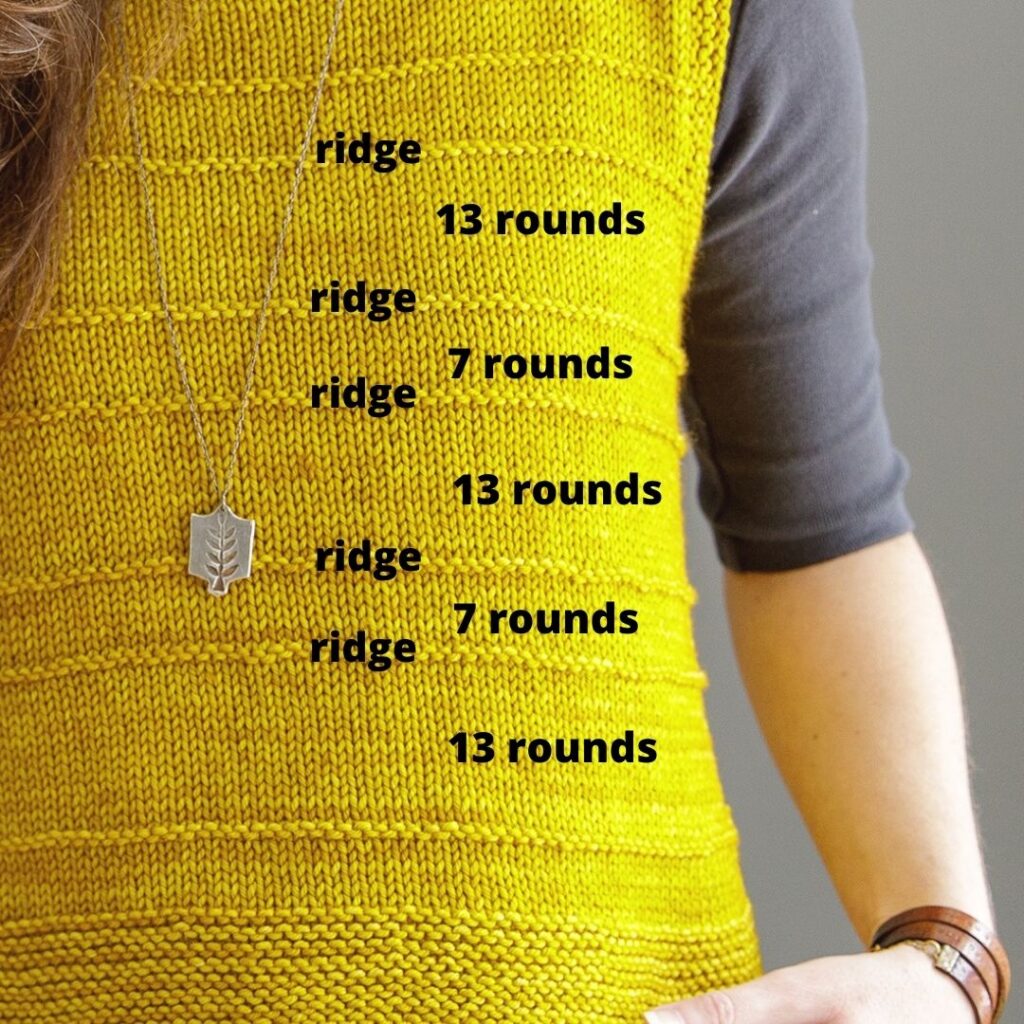
Tip #1: A “Ridge Round” is worked every 8th round and then every 14th round.
This is the key with “Low-Key” (no pun intended!). The stitch pattern throughout this piece is just Stockinette stitch, but you work a “garter ridge round” every 8th round, and then every 14th round.
For example, you’ll work in Stockinette stitch for 7 rounds, then work a garter ridge round (the 8th round), and then you’ll knit in stockinette stitch for 13 rounds, then work a garter ridge round (the 14th round). In the pattern instructions, instead of just stating to “continue in established pattern” and having you have to track when to work this ridge round, I instead wrote the instructions out line by line. The only time this is an issue though is if you need to alter the length – either because your row gauge is off or if you just want to make your body a bit shorter or longer. But it’s an easy fix that just requires you to keep track of working that garter ridge every 8th and then every 14th round on your own.
For example, for the cropped version, after you work Body sections 1 and 2 the first time, it then says to repeat rounds 1-2 of section 2 three more times. And if you had the right row gauge, this would mean your front body length would measure approx. 11″ at this point. But if you wanted to alter the length, then you can simply just continue working in Stockinette stitch in the round (so knitting every round), but just making sure you are working a “Ridge Rnd” every 8th round and then every 14th round. That’s it! So disregard the actual rounds listed in the pattern, and just keep track of when you work that ridge round (continuing to work in pattern until you’re happy with the length).
One last tip related to this (before we move on to the next important tip!) – I recommend that your Underarm Divide row is NOT a ridge round. So that just means that you shouldn’t end your body on a rnd 7 or a rnd 21 (since for both of these rounds, the next round would be that ridge round).
Tip #2: If you do the above, then from the Underarm divide all the way up to the top of the shoulders, you’ll need to continue in your established stitch pattern (and ignore where you see “Ridge Row” in the pattern!
So if you altered the body length in such a way that your “ridge round” is no longer in the same sequence as in the pattern instructions, then moving forward you will just need to ignore where you see “Ridge Row” listed in the pattern. Let me walk you through this a bit more (this also applies if you had stayed in pattern in the body but now want to make your armhole depth shorter or longer):
- “Underarm Divide” section: Work exactly as written! No changes here.
- “Front – Section 1” section: Follow the instructions as written, but make sure to work your ridge row wherever it should fall next, based on your particular sequence. So if you have a ridge row that will fall on one of the rows where you’re instructed to BO stitches at the beginning of the row, you will still bind-off those stitches, but then instead of “purling to end” you would “knit to end” instead, making it a ridge row.
- “Front – Section 2” section: In this section you are not working any decreases – you’re just working in pattern. So just make sure to work the same number of rows listed, but work your ridge row depending on your particular sequence. So that you don’t have to count the rows yourself, here is the number of total rows that should be worked in this section: 16 (16, 18, 18, 24) (22, 28, 26, 28)
- “Front – Section 3” section: Work as written here.
- “Left Front”, “Right Front” and “Back” sections: Work as written, but make sure to work your ridge row wherever it should fall next, based on your particular sequence.
Tip #3: Don’t be afraid to just work Ridge Rows wherever you like!
If you want to make it super easy on yourself, you can throw the “every 8th and every 14th round” rule out the window and just work your garter ridge rows wherever you want! The ridges are subtle anyway, so don’t feel stressed out by having to be so exact with your placement of these ridges. I provided guidelines in tips 1 and 2 should you want to be very precise, but knitting should also be relaxing and fun and if keeping track of your ridge rows in this manner causes it to not be relaxing or fun, then just forget the rules! You can visually see where you may want to work a ridge row and just throw them in whenever it looks right to you 🙂 Just remember that when you are working the body in the round, a ‘ridge row’ is purled and when working the upper vest flat (i.e, back and forth), a ‘ridge row’ is when you knit on a WS row.
I hope walking you through this has helped you feel confident in how you can adjust the length of your own Low-key! If you have any questions, feel free to reach out.


