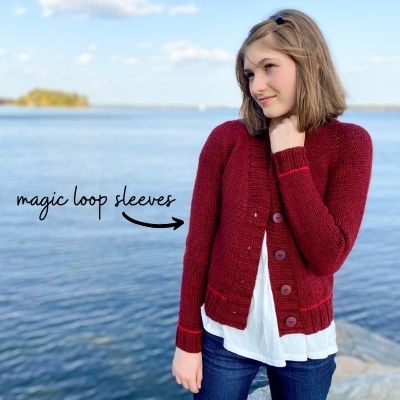
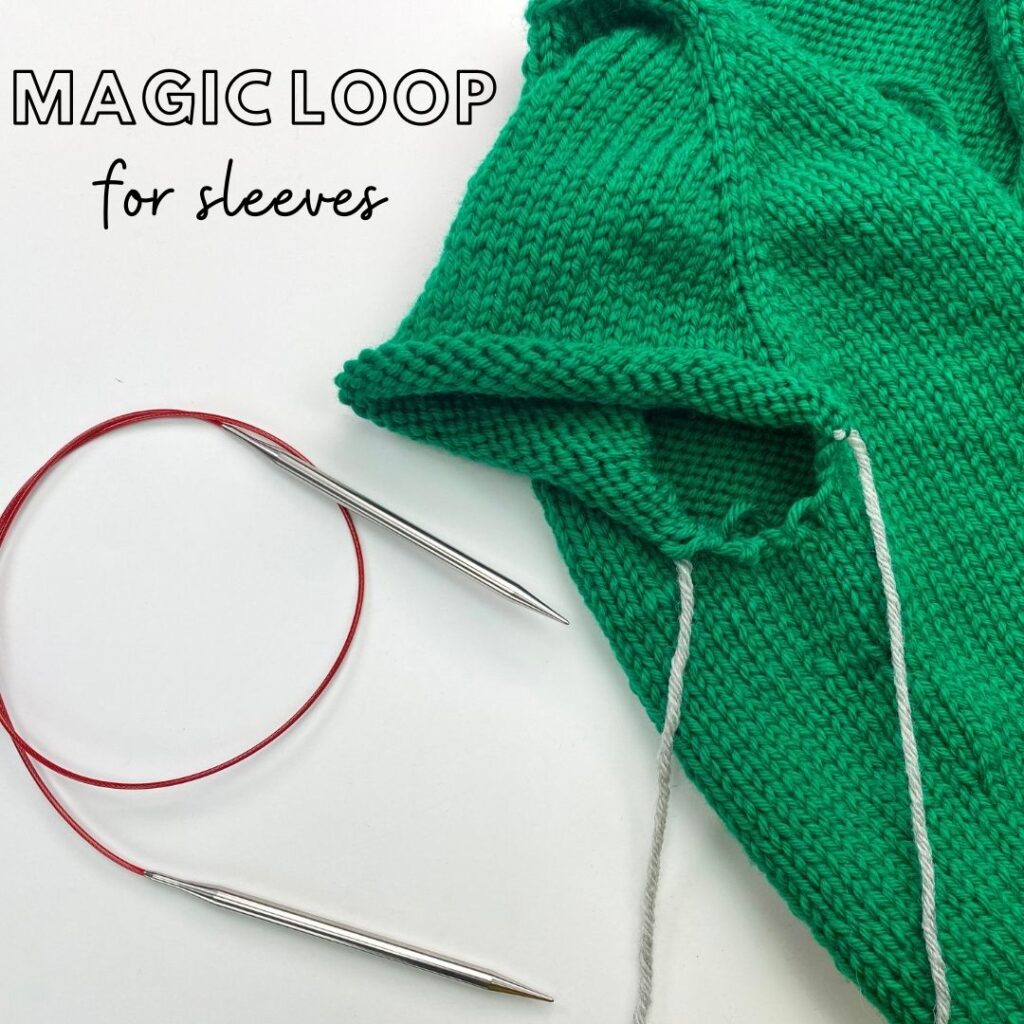
For the longest time, whenever I made sweaters I always knit my sleeves on double-pointed-needles (DPNs). That’s what you’re often instructed to do in patterns, so if you are a beginner knitter, how would you know anything different? But there are alternatives to working your sleeves with DPNs, and one of those alternatives is using the “magic loop” technique! I knit all of my sleeves now using the magic loop method, including all my top-down raglan sweaters such as Audrey’s Cardigan below (if you missed the sweater story about this design, last year, you can check it out here!).
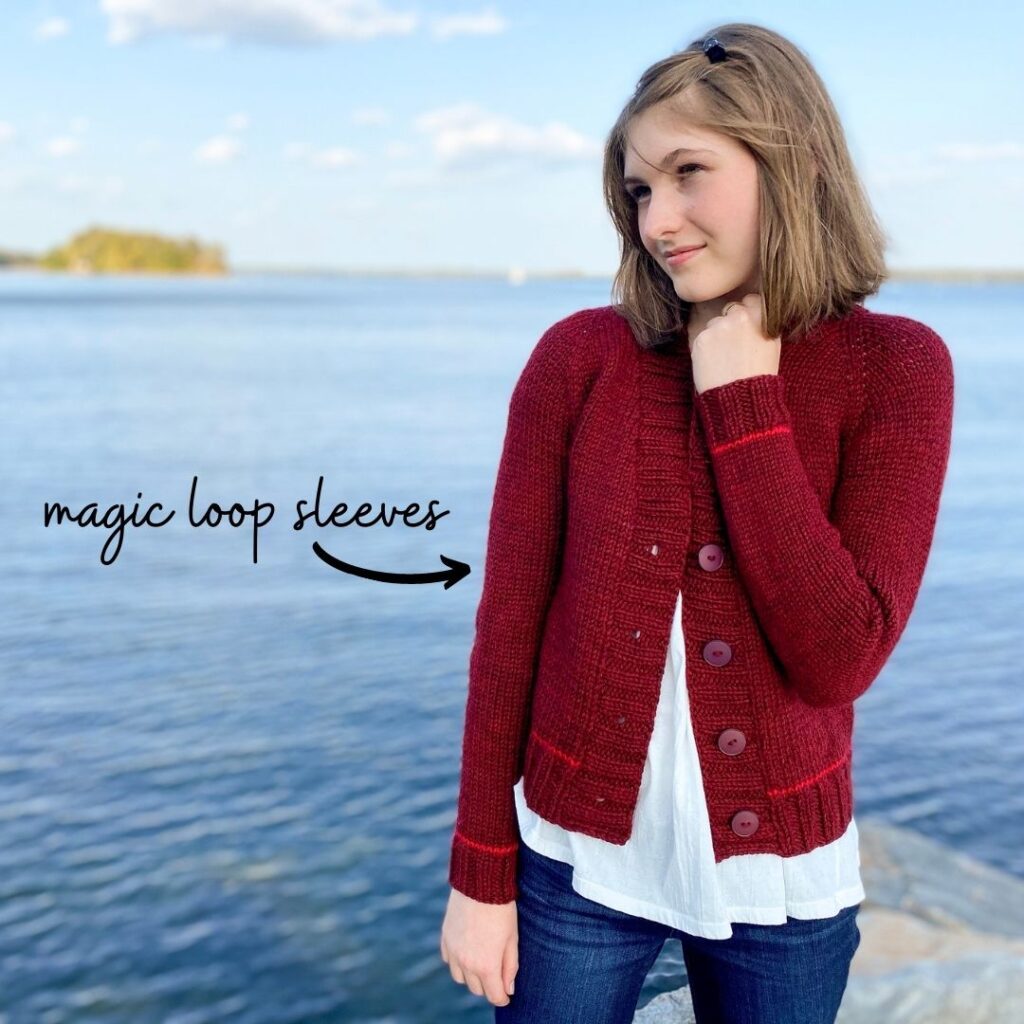
So let’s talk more about the magic loop method as it relates to sleeve knitting! In this blog post I’ll be sharing the why and how of sleeve magic looping and also a tutorial video.
Before I dive into the “how” of magic loop, first let’s go over some of the basics of sweater sleeves…
Why do patterns instruct you to work sleeves on DPNs?
Sleeve circumferences are typically smaller than the standard circular needle size. Until fairly recently (as far as I know), the smallest circular needle length that was widely available was 16″ (from needle tip to needle tip). But often sleeve circumferences measure between 12-20″, meaning that for most sizes, a 16″ circular would be too big. I say fairly recently because over the last 5 years or so I have seen more companies come out with circular needles smaller than 16″ – for example, Knitters Pride carries a 12″ and a 9″ but only in some sizes. So an alternative to DPNs or the magic loop method would be to try out a 9″ or 12″ length circular if it’s available in the size you need.
What exactly is “magic loop”?
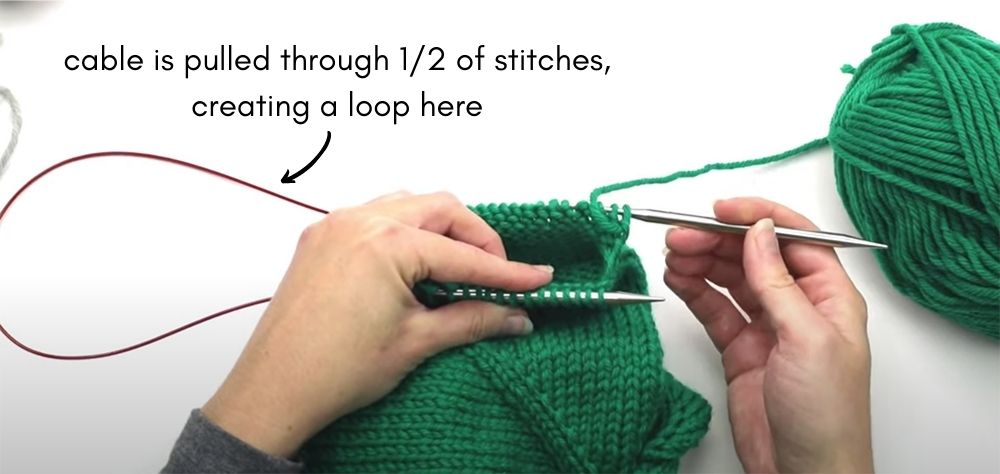
The magic loop technique is when you use a 32″ or 40″ circular needle to work a small circumference. It’s called “magic loop” because you pull your circular needle cable through half of your stitches, creating a loop on the left side of your work – this divides your stitches so it looks like this:
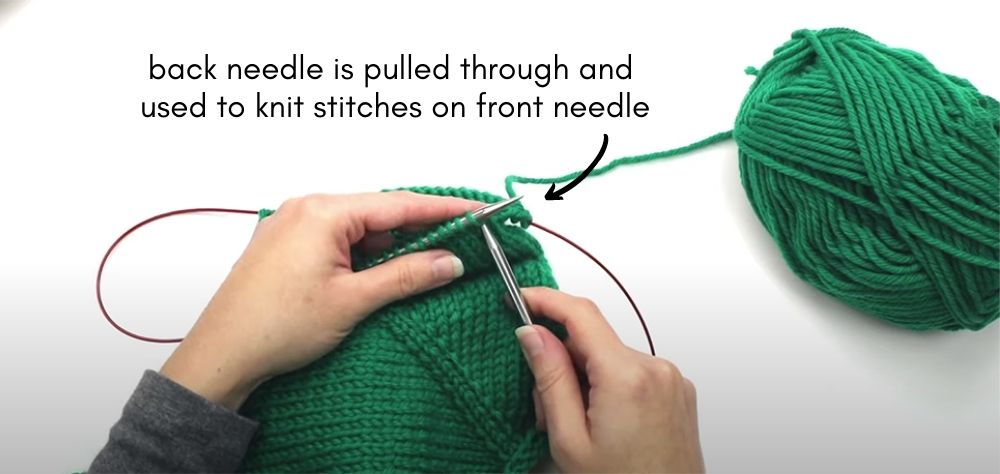
How do you knit then? Well you pull your back needle through and then use it to knit the stitches on your front needle, like this:
Because there are a few maneuvers, watching a video of this technique is much easier than just looking at pictures – I have one below! But I have just a few more important points I want to bring up…
Top-down sleeves are a great way to learn magic loop
I have always recommended to new ‘magic loopers’ to try it on a top-down sleeve first (a top-down sleeve is one that starts at the underarm and you knit in the round to the cuff). Why? Because then you don’t have to worry about the cast-on. Starting the magic loop technique right from the cast-on can be just a little tricker than when you already have stitches established. I personally find that learning the technique and maneuvers first on a top-down sleeve to be an easier way to learn (then once you’re comfortable with the maneuvers, learning how to do it from the cast-on start isn’t as hard!).
Magic Loop for top-down raglans
Top-down sweater patterns, like my Audrey’s Cardigan featured in the first photo and below, are perfect for trying out the magic loop technique. This is because in this construction of sweater, you had placed your sleeve stitches on pieces of scrap yarn when you finished the yoke (and separated the sleeves). So when it comes time to work the sleeves, you’ll just have to slide your stitches from the scrap yarn onto your long circular – there’s no picking up of stitches like you would have to do in other sweater styles. So in terms of beginner-friendliness, it’s the way to go!
Here’s an added bonus to working your top-down raglan sleeves with magic loop – there’s no need to purchase additional needles. The 32″ circular you need the body of the sweater with can then also be used for the sleeves!
Learn ALL the steps in magic loop sleeves
One thing I was frustrated about when I was first learning this technique was that there were plenty of tutorials showing you how to work magic loop technique, but I couldn’t find any that walked you through the whole process, specifically for top-down raglan sleeves (i.e, how to transfer the stitches from scrap yarn to the circular, how to then get your cord situated before picking up your underarm stitches, how to arrange your beginning of round marker, etc). So when I hosted my Audrey’s Cardigan Knitalong last year, I created a video that went over ALL the steps. It’s one of my longest videos (about 17 minutes), so it’s more like a mini lesson than just a tutorial video. But if you’re brand new to trying magic loop for your sleeves, I think you’ll find it really beneficial! You can check it out below:
Also, if you are new to magic loop sleeves but are working on a sweater that requires you to pick up stitches around an armhole and then work the sleeve in the round to the cuff, check out this video tutorial I created as part of my Azalea knitalong this past spring.
I hope these tutorials are helpful as you embark on your own magic loop sleeve-making!

