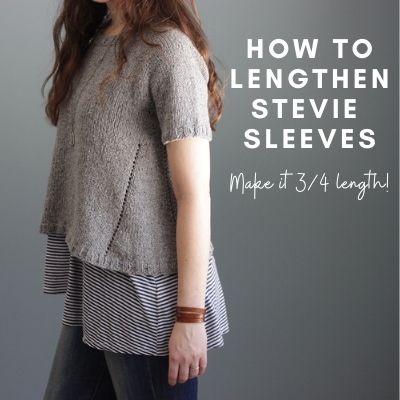
I recently revamped my Stevie pattern to include 5 additional sizes, so I thought as an added bonus, I would share some details about how you can turn your Stevie’s short-sleeves into 3/4 length sleeves! Read below for all of the details:
How to Make your Stevie Sleeves 3/4 Length:
The below steps will create a sleeve that is approx 14″ long with a cuff circumference of 8 (8, 9, 9, 10) (10, 11, 11, 11) (12, 12, 12)”. See “Additional Tips” listed below these steps if you want to revise these measurements.
Step 1: Follow the same instructions in the pattern for picking up your underarm stitches and transferring the stitches onto DPNs and placing your BOR marker. You should have 46 (52, 54, 58, 60) (64, 68, 72, 76) (80, 84, 88) sts on the needles.
Step 2: Work in St st in the rnd for approx 2″
Step 3: Work a decrease rnd as follows: k1, ssk, k to 3 sts before BOR, k2tog, k1 (2 sts dec’d).
Step 4: Then continue working in St st in the rnd, repeating above decrease rnd every:
- 12 (8, 9, 7, 8, 7, 7, 6, 5, 5, 4, 4)th rnd 2 (5, 4, 8, 5) (2, 2, 3, 8) (8, 17, 11) times
- Then every 11 (7, 8, 6, 7, 6, 6, 5, 4, 4, 0, 3)th/rd rnd 4 (4, 4, 2, 4) (9, 9, 10, 7) (7, 0, 8) times.
- Total sts: 32 (32, 36, 36, 40) (40, 44, 44, 44) (48, 48, 48)
Step 5: Work in St st in the rnd for 5 rnds, or until sleeve measures approx 13.25″ from underarm, or .75″ less than desired length.
Step 6: Create cuff (note: you can switch to a smaller needle size if you like here but it’s ok to continue with same needle too – it will just make a looser cuff but that is ok in this style): *k2, p2; rep from * to BOR marker. Then repeat this every rnd until cuff measures approx .75″. Then BO in pattern.
Repeat steps 1-6 for 2nd sleeve!
Additional Tips:
- If you want to make your sleeve just slightly longer (say, an inch or so), then in step 5 just work until you are happy with the length.
- If you want your sleeves full length (so adding approx 3-4″), then you’ll just want to space your decreases out in step 4 a bit more. For example, if above I say to work decrease rnd every 9th rnd 4 times and then every 8th rnd 4 times (so you are repeating the decrease rnd a total of 8 times), you can instead work it every 10th rnd 8 times. This gains you approx 2″ in length, and then the remaining length can be added in step 5.
- If you want a tighter cuff, then you’ll just want to work an additional decrease rnd or 2. So you’ll want to work less rnds in-between your decrease rnds to accomplish this (it will just depend on how many extra decrease rnds you want).
- The great thing with top-down sleeves is you can try on as you go! Feel free to add more, or less, decreases or add more or less length to suit your own style and arm shape. Just make sure to take notes so that you can replicate for the 2nd sleeve.
I hope these tips are helpful! If you have any questions, feel free to reach out.


