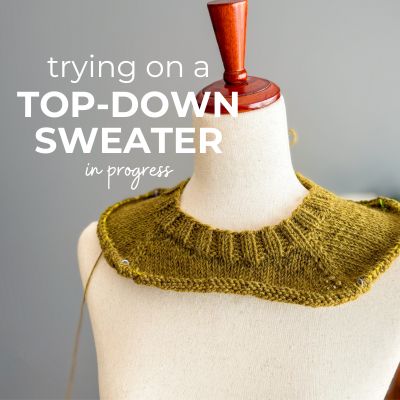
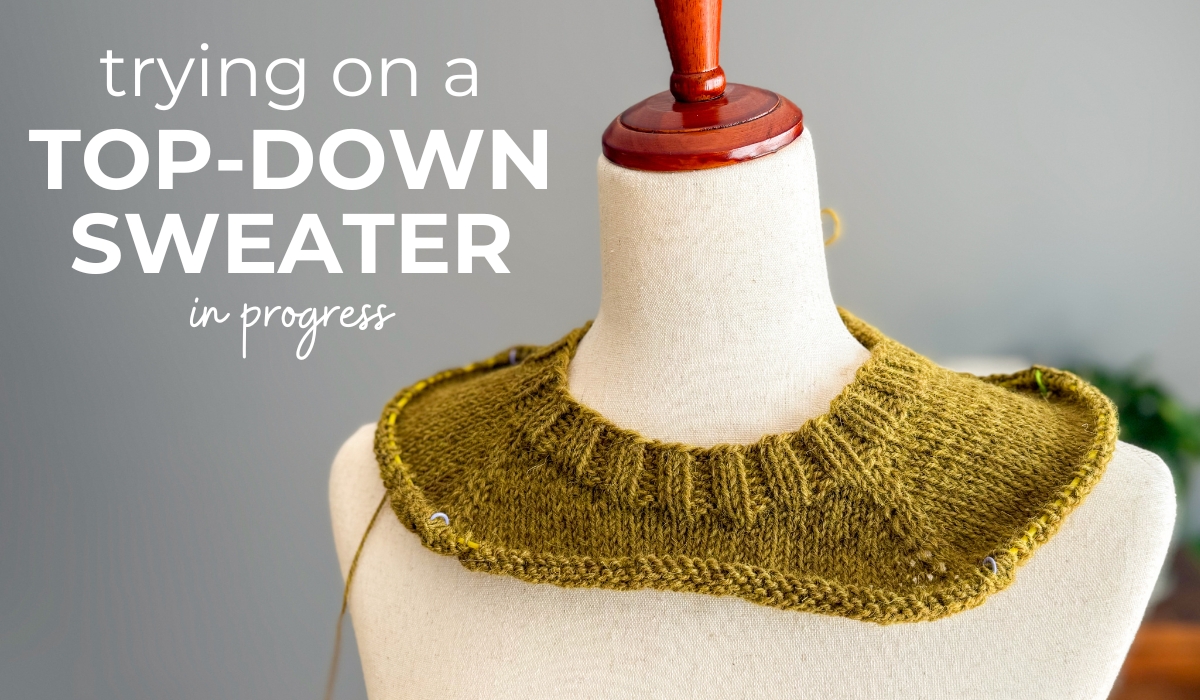
One of the advantages of working a sweater from the top-down is the ability to try it on as you go. Although you always need to keep in mind that you are trying-on the pre-blocked fabric, it’s still helpful to be able to do a “fit check” to see how things are looking on your body and if you need to consider any adjustments/modifications before you get too far along.
So how exactly do you try-on an in-progress garment?
As with all things in knitting, there’s multiple ways to try-on as you go. The method I prefer utilizes stitch holder cords. The reason I prefer this method is that it’s fast, easy and allows the stitches to relax (vs keeping the stitches on a circular needle where they may still bunch up).
What do you need to use this method?
You’ll need some stitch holder cords, preferably in a very long length. How long depends on where in the project’s progress you want to try-on the piece. The longer the better though so that when you put it on your body, there’s still lots of slack on either end so you can move your body freely without fear of the stitches falling off.
If you buy a pack of stitch holder cords (I brand I recently bought was this “sweater plus” pack from Wool & Co), they usually have a 60-100″ length included that works well. Although another great option is that many local yarn shops sell cords by the yard where you can cut whatever length you want.
Photo Tutorial
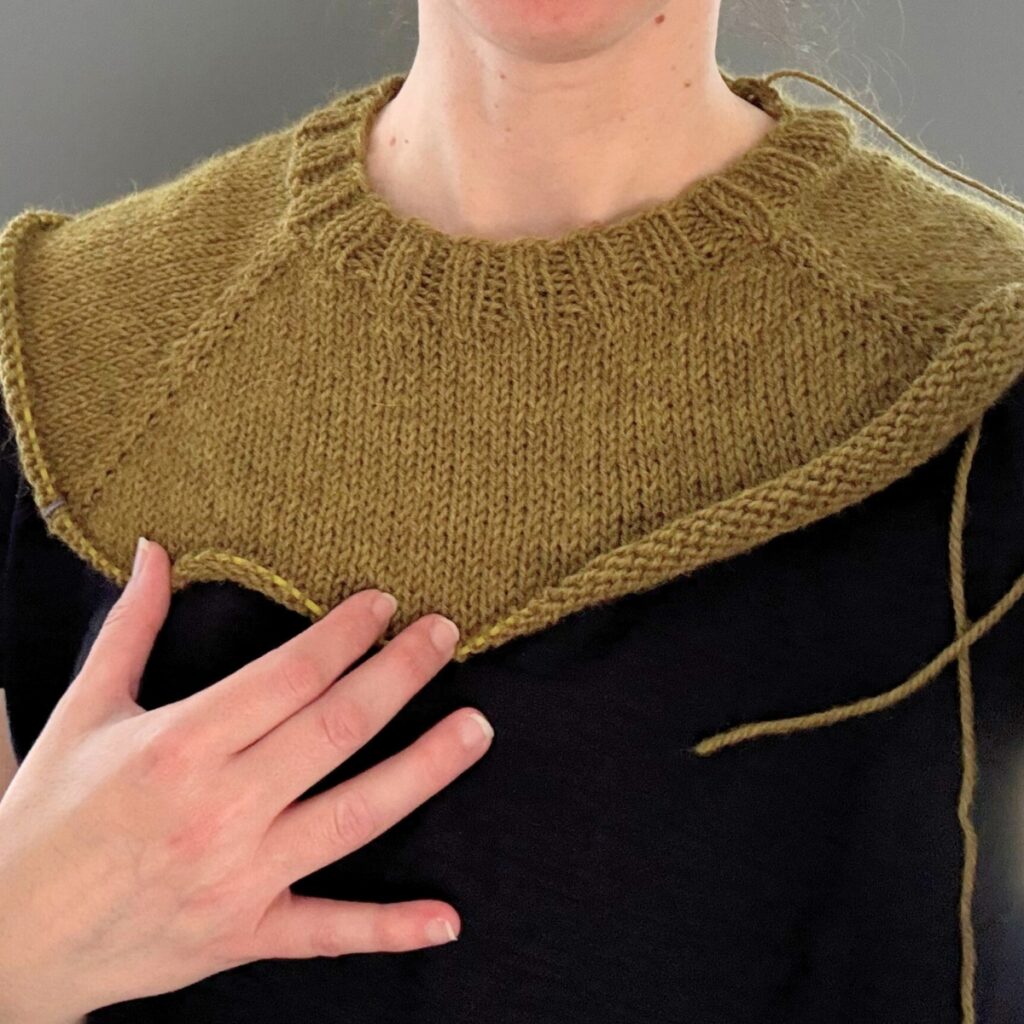
In my sweater pattern The Downbeat (as well as my soon-to-be-released Triple Time sweater), the piece is worked from the top-down and you actually start with the neck ribbing (there’s no picking-up of stitches around the neck at the end). So it’s a great sweater to try on as you go to make sure you like the fit of the neck before proceeding too far along in the pattern. Check out my photos below!
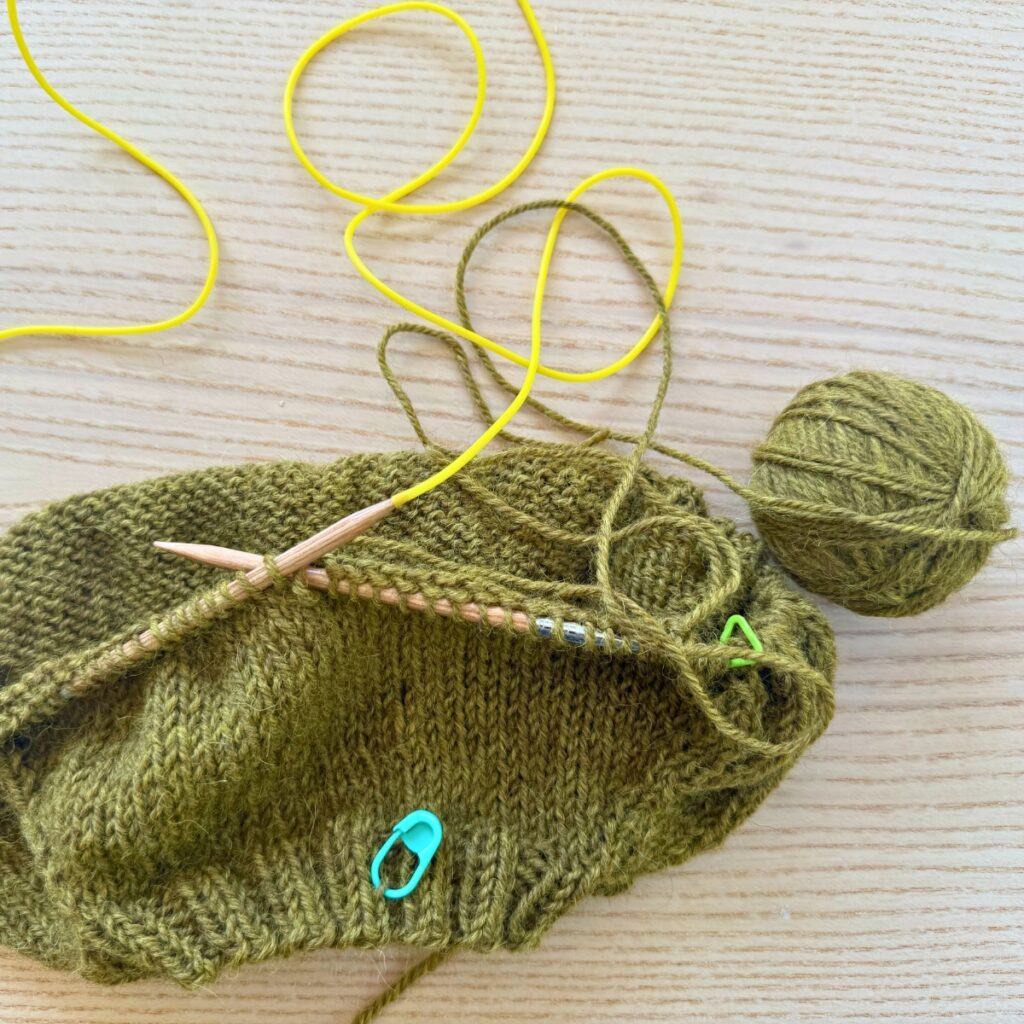
Step 1: Stop your knitting along your back and get a long stitch holder cord ready

In this piece, I wanted to see how the neck area felt before I proceeded any further in the raglan shaping.
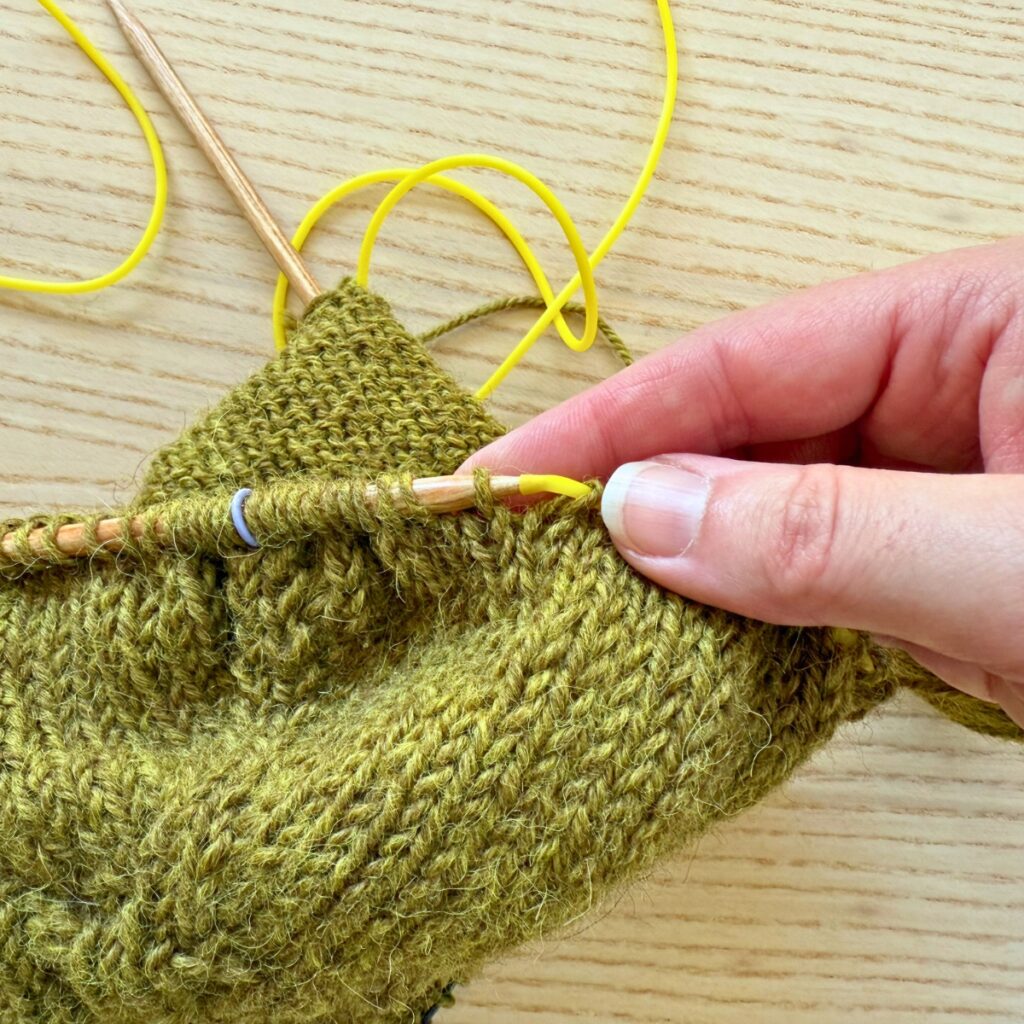
Step 2: Attach cord to one of needle tips, pressing securely
Attach the cord to one of the needle tips, making sure it’s securely on.
Step 3: Start to slide stitches off of needle and onto the cord
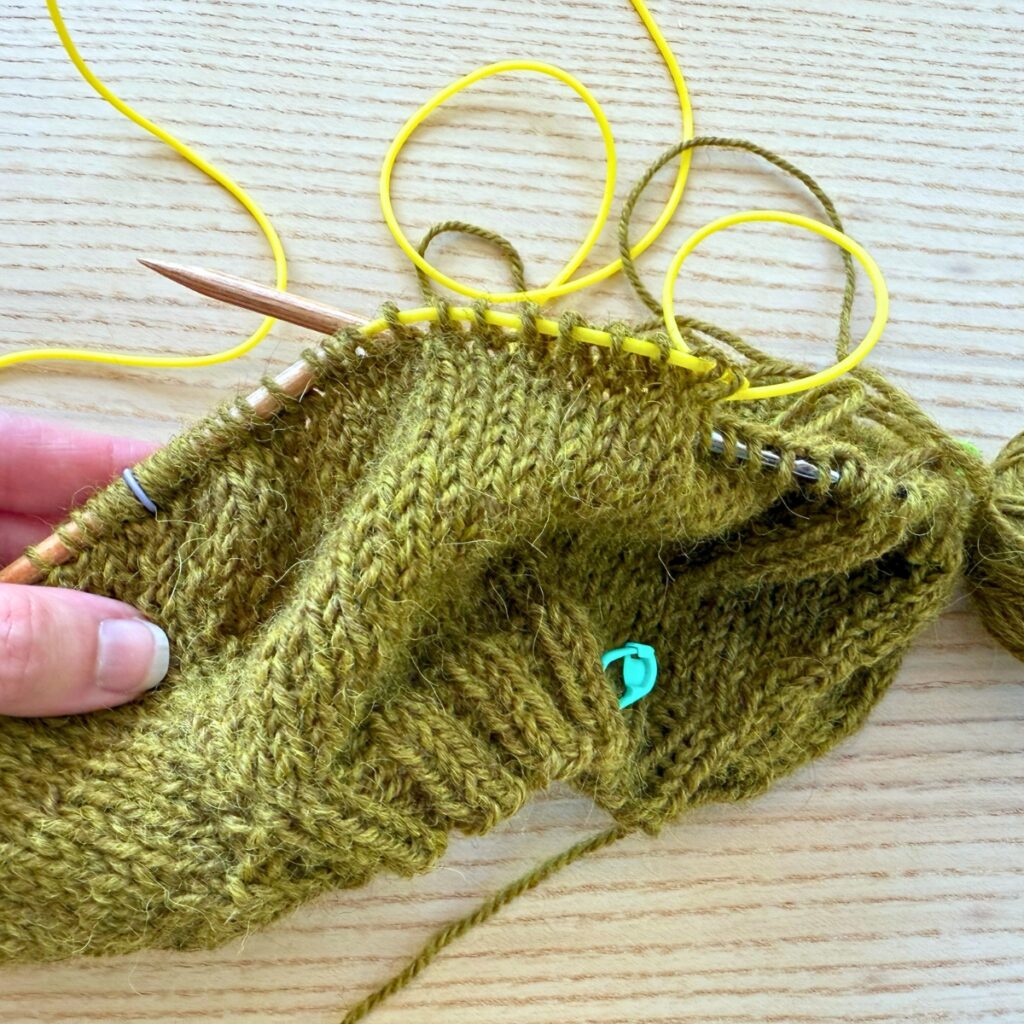
Gently slide the stitches onto the cord (keeping any markers you have in place).
Step 4: Every now and then, double-check the join
Every now and then make sure you secure the cord end again because sometimes they can loosen up.
Step 5: Once all stitches are transferred, ensure there’s plenty of slack
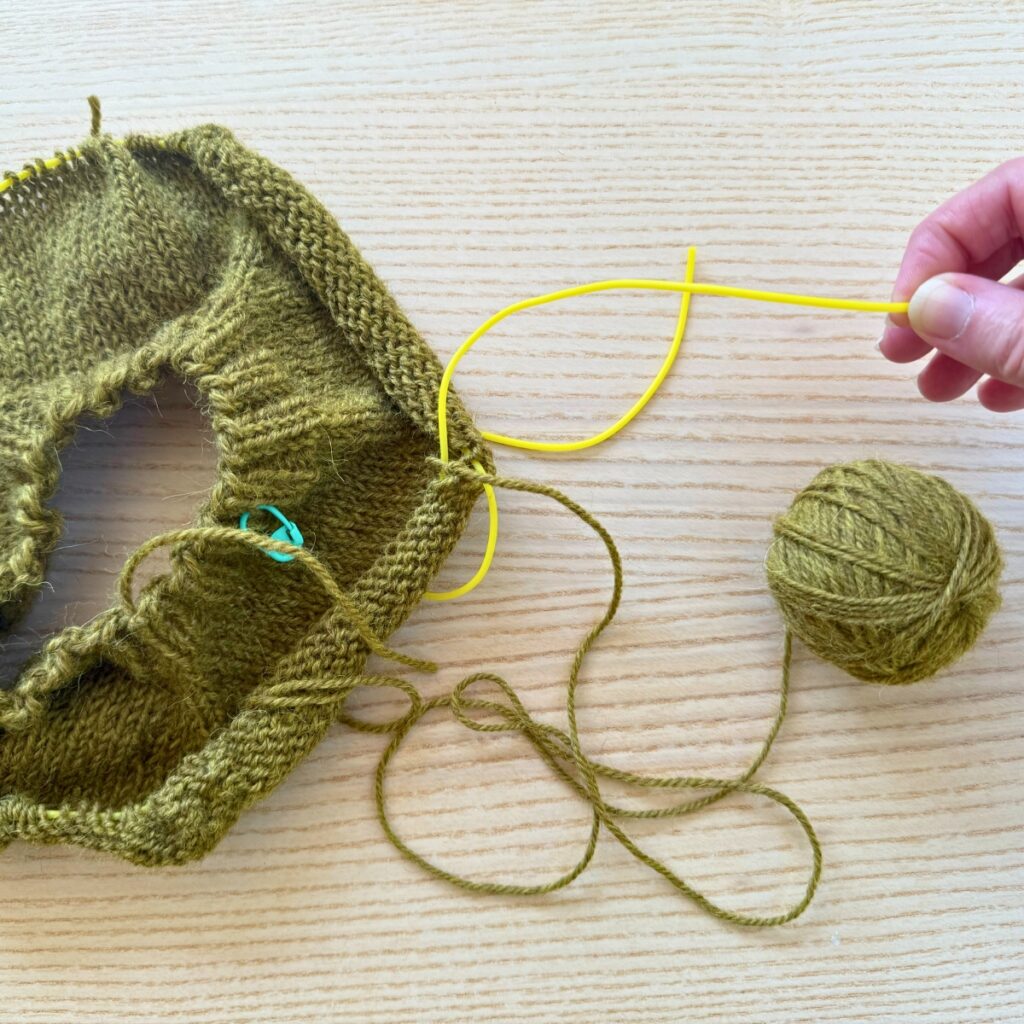
Once all the stitches are off of the needles, make sure you have plenty of slack of each end of the cord.
Step 6: Spread stitches out so there’s no bunching
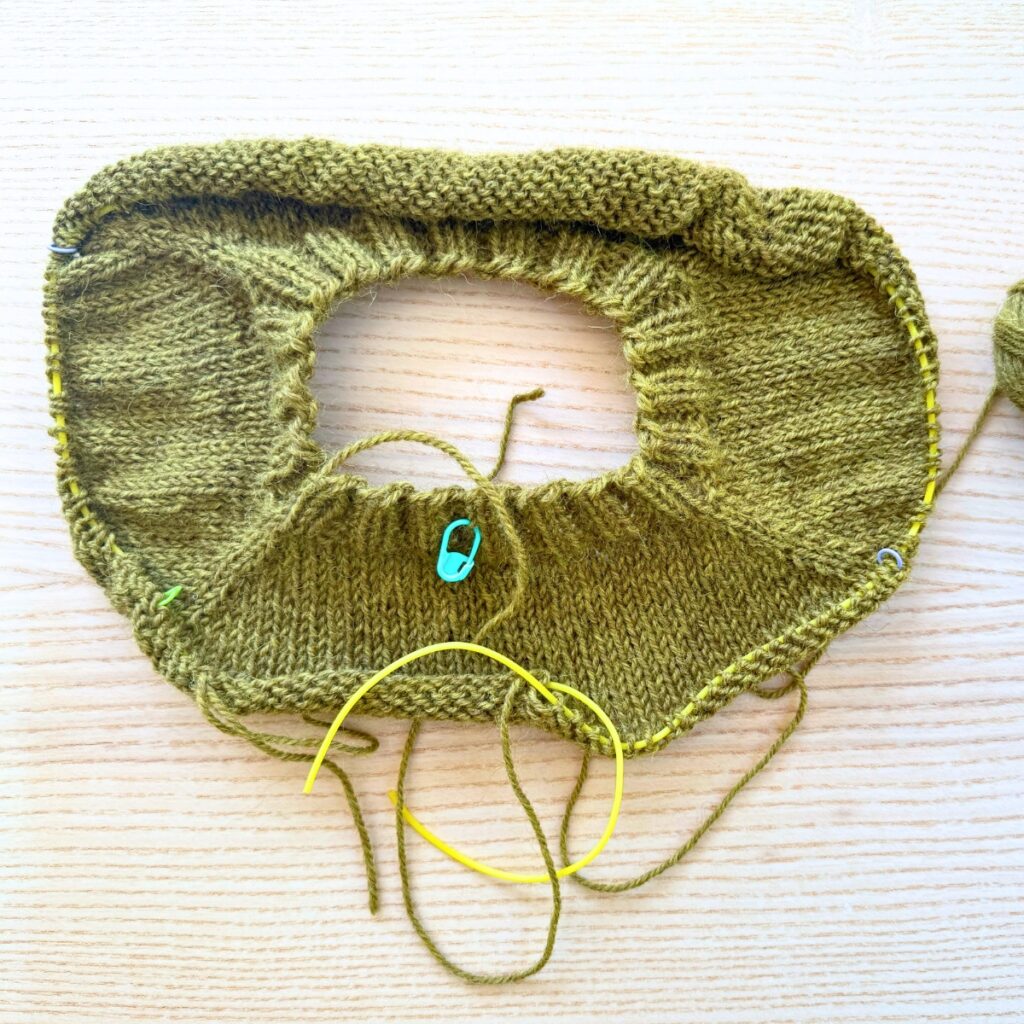
Gently slide the stitches so that they aren’t bunched on the cord and are relaxed (ensuring you still have slack on either end so nothing falls off!
Step 7: Try it on!
When you’re done, you just attach one of the cord ends to one of your needle tips again and gently slide the stitches back onto the needle (again, being gently and careful and checking the join every now and then!).
Best phases to try on a sweater as you go
In a top-down sweater, I think there are a couple of phases that may be especially helpful to try on the sweater. They are:
- About half-way through raglan shaping so you can ensure the neck is fitting well (important to note though that if the neck trim is worked at the end, then the neck area will likely feel wide at this point and that is to be expected).
- After the Underarm Divide, once you’ve worked at least 1/2″ of the body – this enables you to see how the armhole depth is fitting on your body as well as the width at that point (before getting too far along in the body).
Other helpful tips…
- If you are working on a US 10 needle or larger, the standard stitch holder cords may not work as well (they tend to pop off more easilly). But, come companies also sell “chunky” versions of the cords which work excellently for these larger needles. Here is one I purchased recently from Wool & Co’s website. It worked great on a project I recently finished on a US 11 needle.
I hope seeing how you can easily try-on as you go in a top-down sweater with the help of stitch holder cords has been helpful. If you have any follow-up questions, feel free to reach out!