
Have you noticed that in knitting patterns that the gauge listed is almost always listed as over 4″/10cm? For example, it will say something like:
20 stitches & 29 rounds = 4″/10 cm in stockinette stitch; or
17 stitches & 28 rows = 4″/10 cm in garter stitch
No matter the designer or publisher, the standard in our industry is always to have gauge listed as a certain number of stitches and rows over 4″/10cm. If you’ve ever wondered what’s so magical about this particular measurement and why it’s become the industry standard, then this blog post is for you!
Simply put, 4″/10 cm provides a good enough sample size.
Stitches aren’t always uniform. Even the most evenly-tensioned knitter will have stitch irregularities depending on the yarn they are using. And so when measuring gauge, you want to make sure you have a large enough sampling size of fabric to account for some of these irregularities and provide a good ‘average’.
Like any good experiment, you wouldn’t draw conclusions just from 1 data point. You need lots of data points in order to come up with an accurate average or trend. And the same goes with measuring gauge. And 4″/10 cm has been the industry average because, in general, that is typically a large enough sample size of fabric.
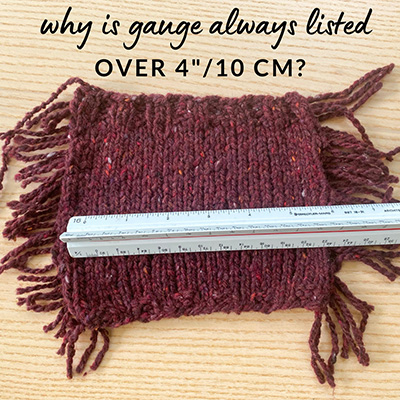
And as a reminder, when measuring over 4″/10 cm, you want to measure over the center of your swatch, so the actual swatch size should be at least 6″/15 cm x 6″/15 cm. This way you avoid measuring edge stitches which are always going to be a little irregular. For more details about swatching, visit this blog post.
Let’s take a look at some sample swatches
To show you how some yarns may create very consistent tensions while others don’t (and therefore definitely benefit from measuring over at least 4″), take a look at the photos below:
Here is a swatch of Berroco 401 and Remix Light. The fabric each creates is so different! As you can see, Merino 401 creates very even-looking stitches while Remix Light has a lot more irregularities.
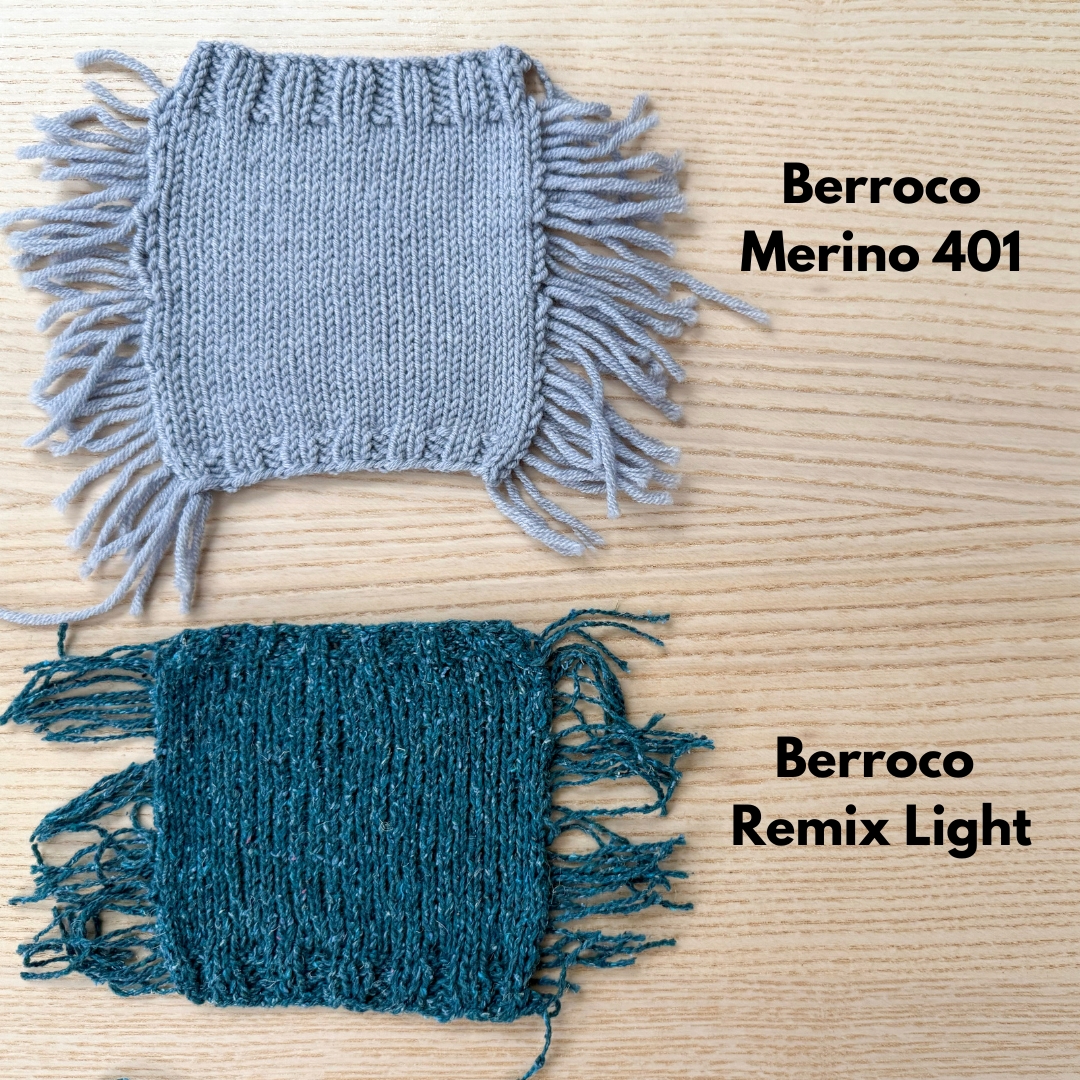
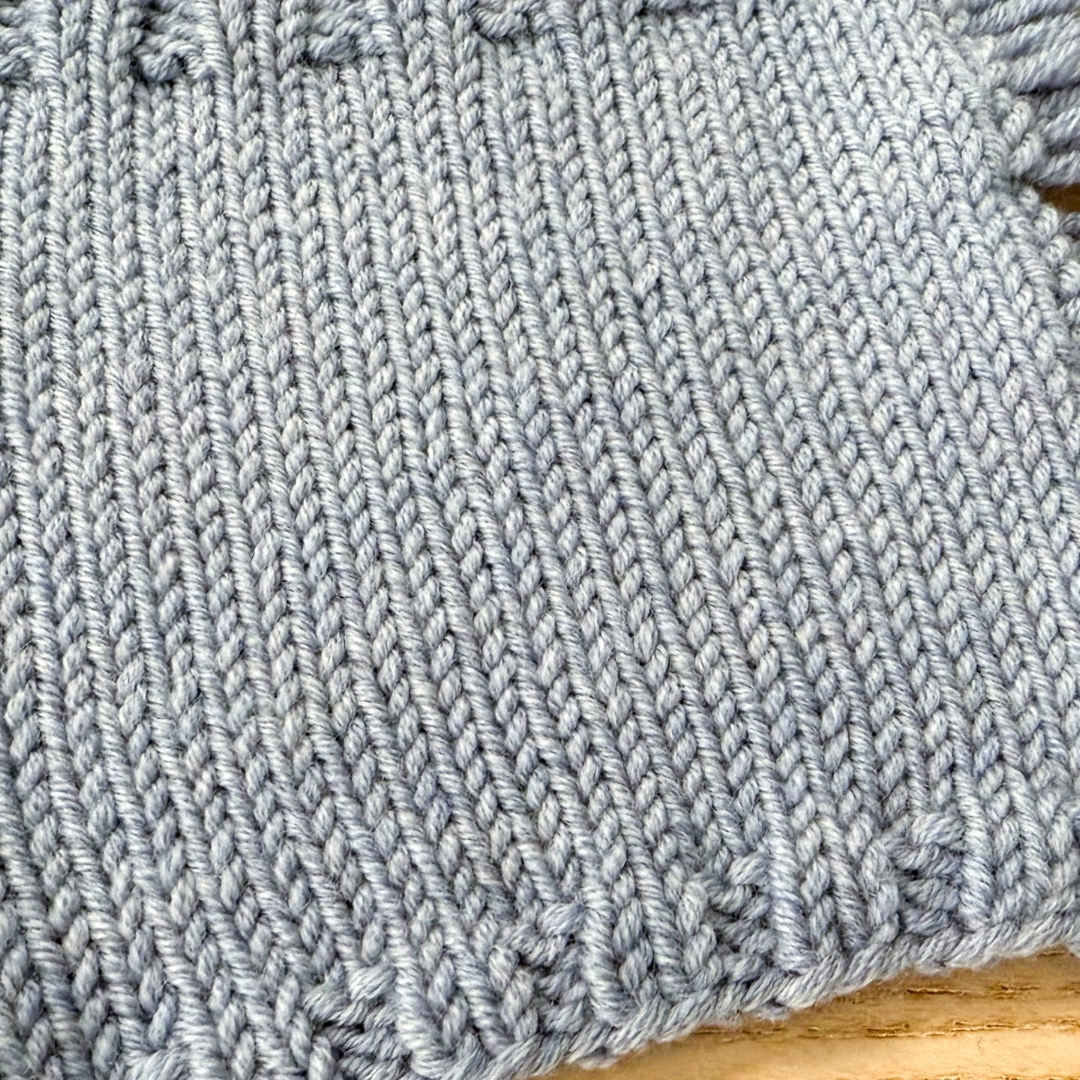
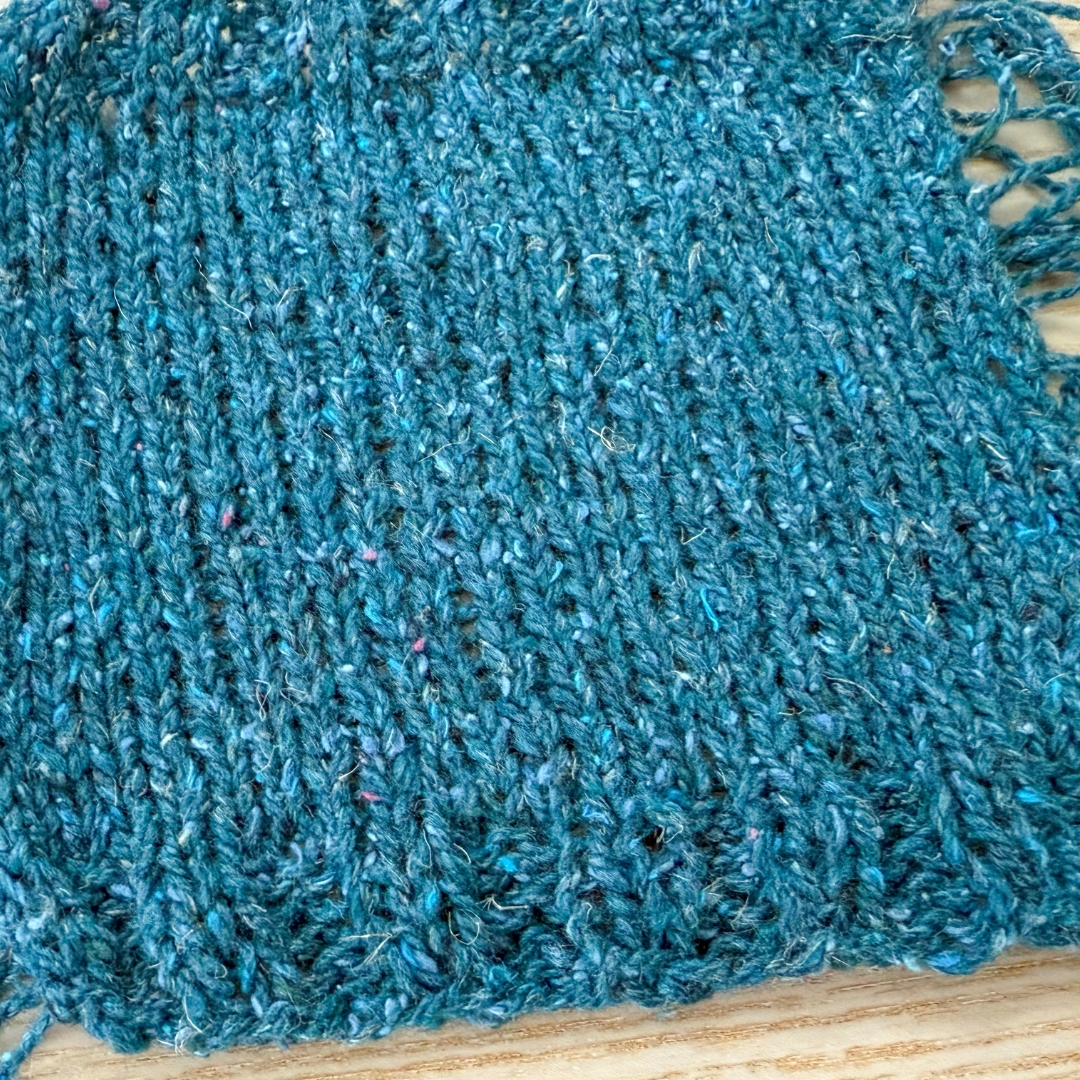
The Merino 401 perhaps doesn’t need quite as large a sampling size due to its evenness but Remix Light definitely needs at least 4″ in order to get a good average. And even with an even fabric like Merino 401, there could be subtle differences and it’s still always good to measure over 4″ just in case.
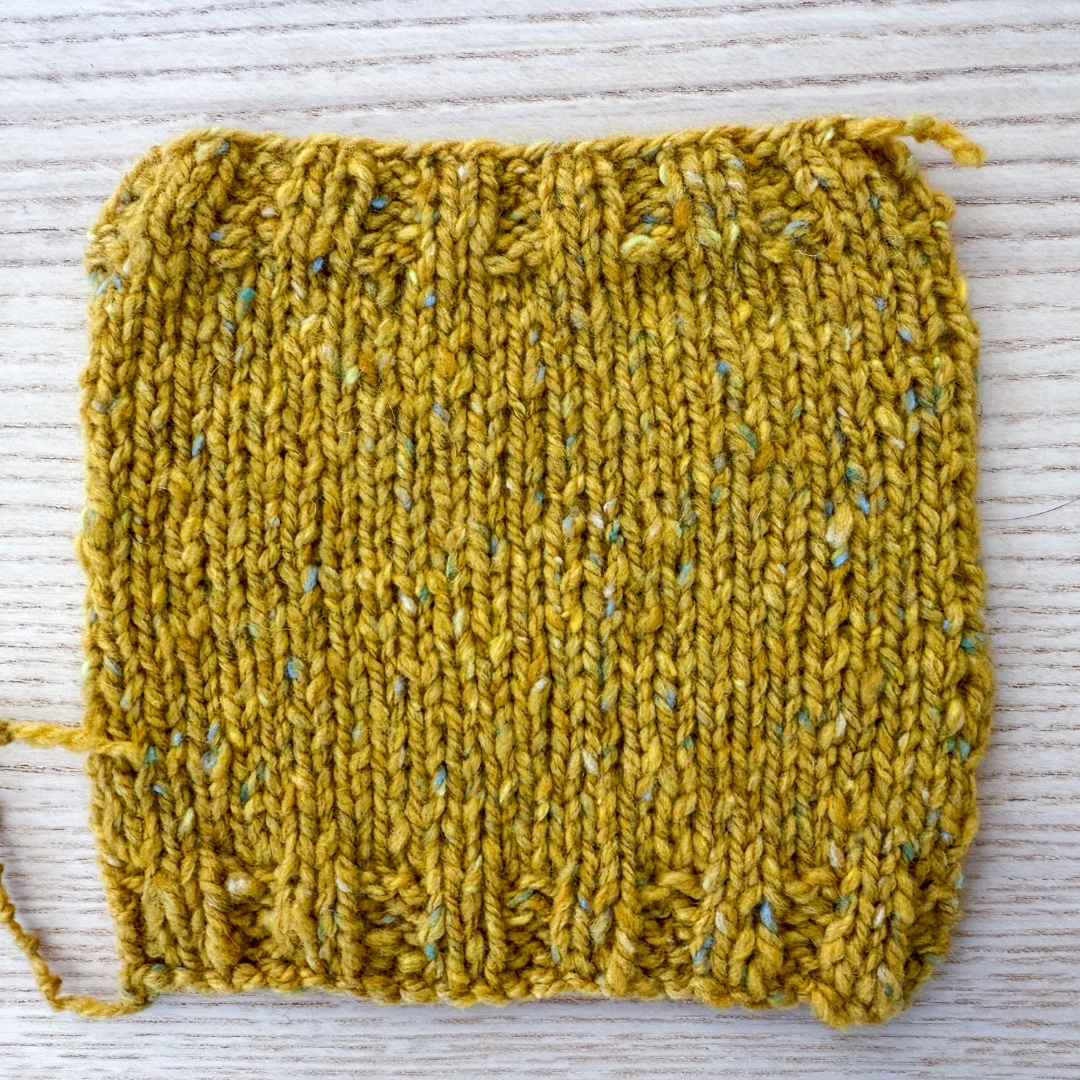
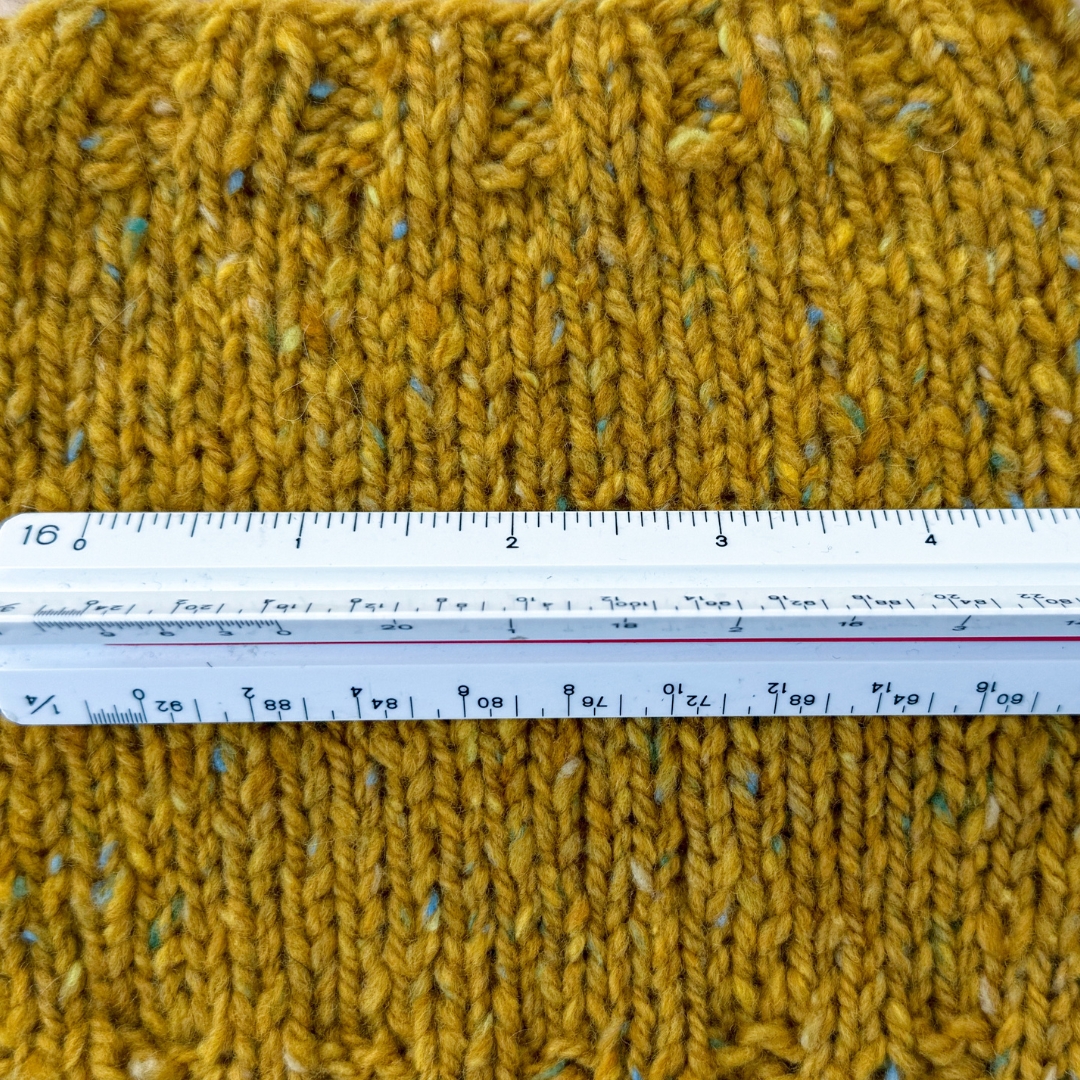
And here’s another sample to look at – this is Lucky Tweed by Kelbourne Woolens. This is a textured yarn and some of my stitches look small and some look large – this can be common in a thick-and-thin type of yarn construction. By measuring over 4″/10 cm, it’s enough space to include a good sampling size of stitches in order to get an accurate average.
Is 4″/10 cm sometimes not enough?
There are a couple of specific scenarios where I will often suggest knitters measure more than 4″:
- If you measure in different spots on a swatch (i.e, in the middle, at the top, and at the bottom) and you get a different result in each of the areas, then it may be good to measure over more than 4″ (say, 5″/13 cm) and see if by enlarging your sampling size you get more consistent results. This can happen if you’re working with especially textured yarn.
- If you’ve done 2 swatches on 2 different needle sizes but are getting the same gauge on both, then enlarging your sample size is usually a good idea. Most of the time when this has happened to me, if I measure over 5″ or 6″ instead, I almost always get different results then. So it just showed that 4″ was just not a large enough sample size for that particular yarn.
If you do measure over 5″ instead of 4″, just remember to divide your total by 5 (instead of 4) and this gets you your per inch stitch or row gauge. Then you can take that number and multiple it by 4 to get what the stitch/row count is over 4″.
I hope you have found this information helpful! If you ever have any swatching questions, feel free to send me a message.