Have you ever bought yarn online thinking it was one color but when it arrived at your doorstep it looked totally different? It’s a common pitfall of online shopping so if it’s happened to you, you’re not alone! However, there are some things you can try to help lesson the ‘surprise’ factor when choosing a yarn color online. My 3 tips below are the typical practices I do before I confirm my yarn color choice online – in all of them, the goal is to try to understand the possible variances I can expect in a particular color.
Why can yarn color differ online vs in-person?
There are several reasons why this happens.
- Every computer monitor can display color differently. Just compare a product online on 3 different screens and you may notice subtle (or not so subtle) differences.
- The type of light the yarn was shot in. Was the photo taken by a window in natural light? Or in a lightbox? You can experiment for yourself and see how different types of light can greatly impact how the yarn looks.
- Different dye lots can be subtly (or sometimes not-so-subtly) different. The color of a skein you see online may be of one particular dye lot but what arrives at your home may be a different dye lot. Sometimes it’s so subtle you can hardly tell but I have seen instances where it can be more dramatic.
So what can you do to help increase the odds that your expectation of a yarn color is what actually arrives at your doorstep? Here are 3 tips you can try the next time you’re picking a color online.
Tip #1: Look at pictures of the same yarn color on different websites
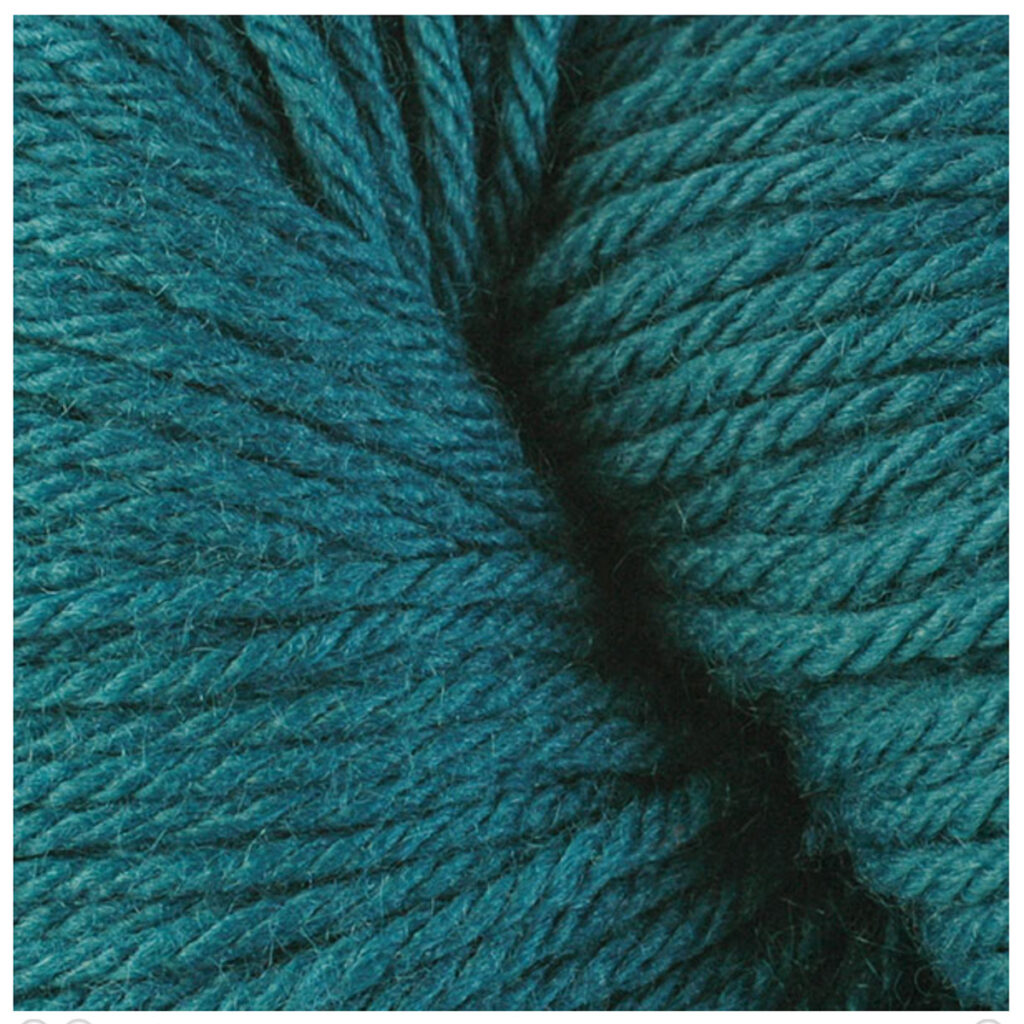
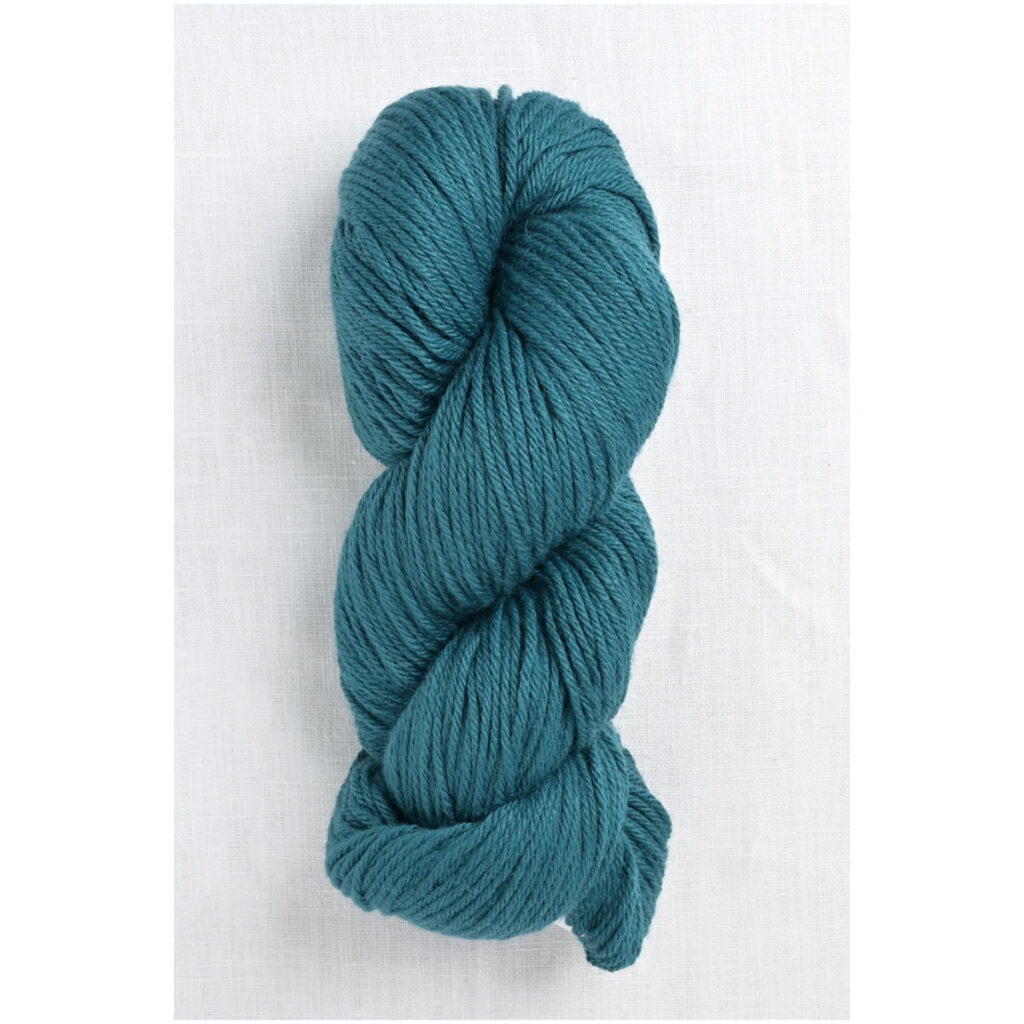
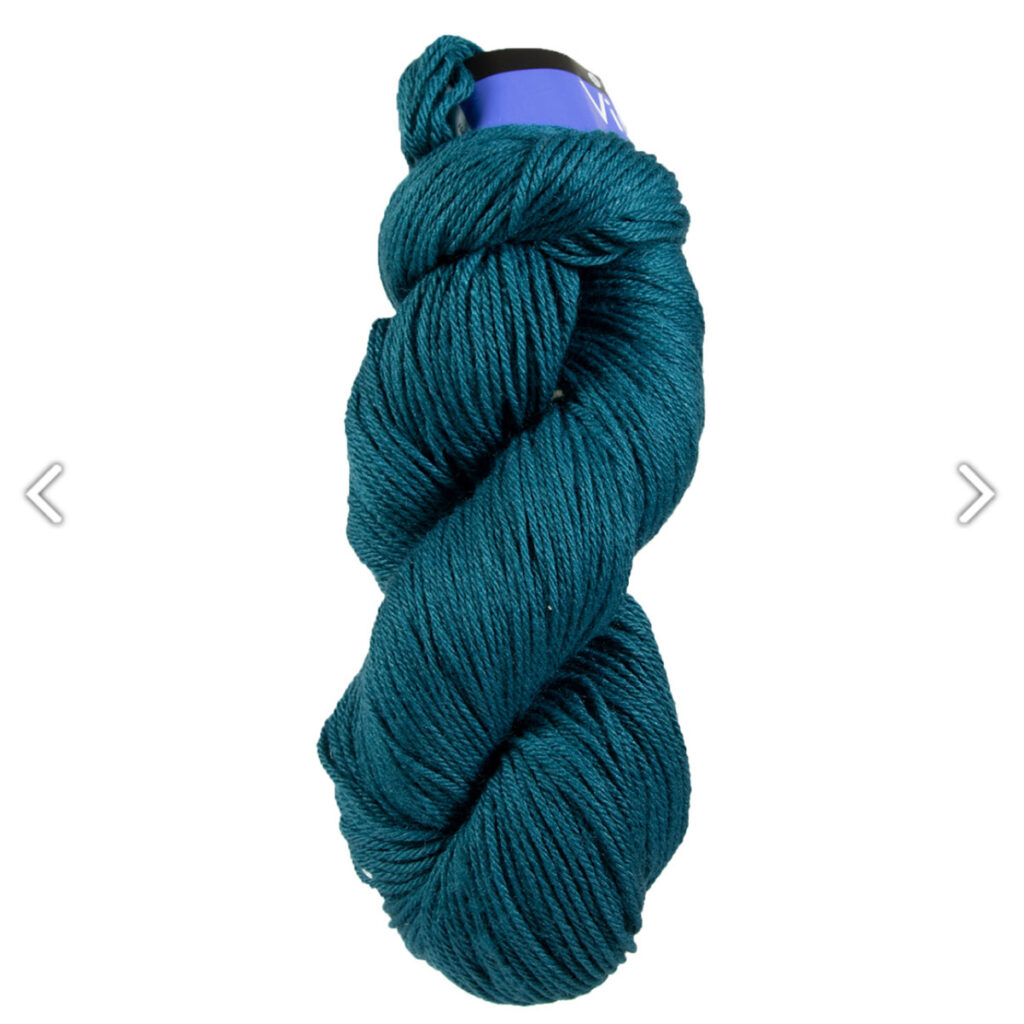
The best way I have found to learn more about a yarn color and how it may look in different lights is to find as many different photos of it online as possible. And one way to do that is to look how different online shops show it, because often the pictures you see on the yarn company’s website are different than the ones online yarn shops use (and so you can compare them). Here’s an example of Berroco Vintage in the colorway Caribbean Sea.
Looking at these three photos, I can tell that this colorway is definitely in the teal family but there is varying intensity based on these photos. But at least I know the possible options of what I may be receiving. So that brings us to tip #2…
Tip #2: Look at “stash” photos on Ravelry
My next step after looking at professional product photos online is to look at photos that other knitters have posted online of the yarn as well. If you use Ravelry, it has a “stashes” feature that allows you to see photos of the yarn taken by other knitters. The reason why I like to look at these photos is that it allows me to see the color in ALL SORTS of different lighting situations. Because of this, I don’t necessarily look at these pictures for complete accuracy but more for what the trend is. Here is how to access the “stash” feature on Ravelry:
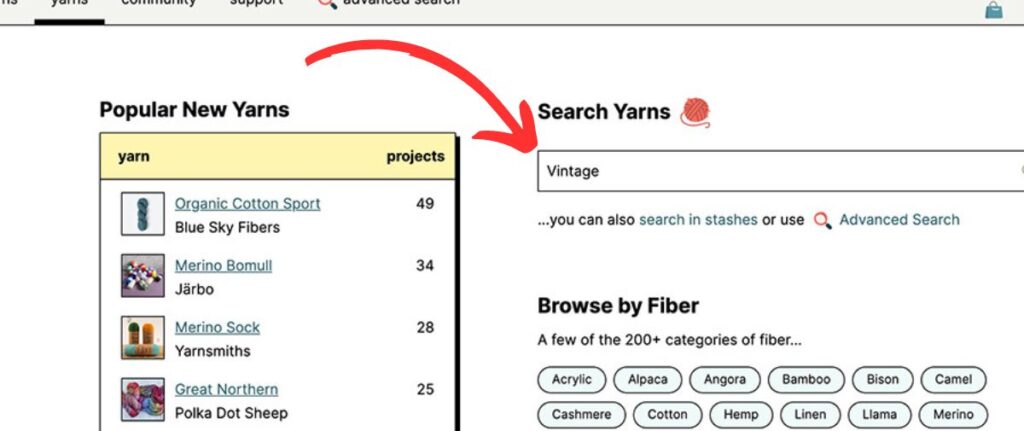
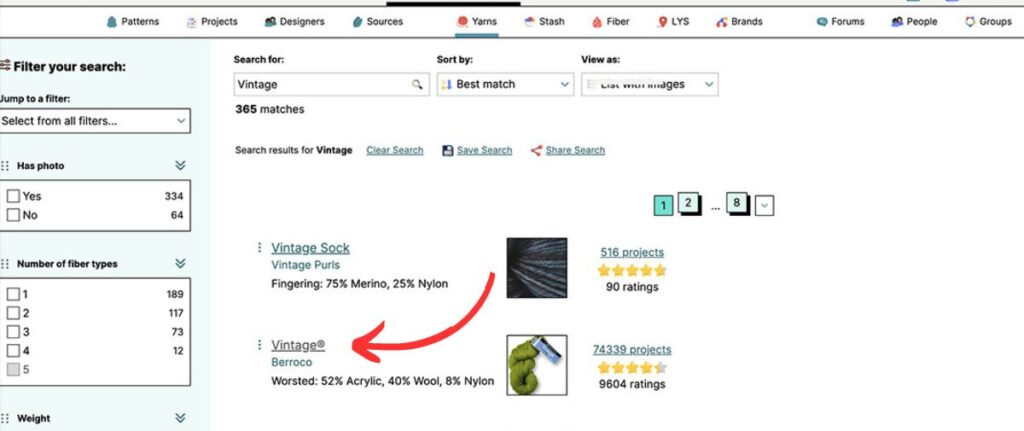
Step 1: Ravelry.com > click on “yarns” in top header > enter yarn name into search field as I’ve done below:
Step 2: Find your specific yarn on the results page and click the name:
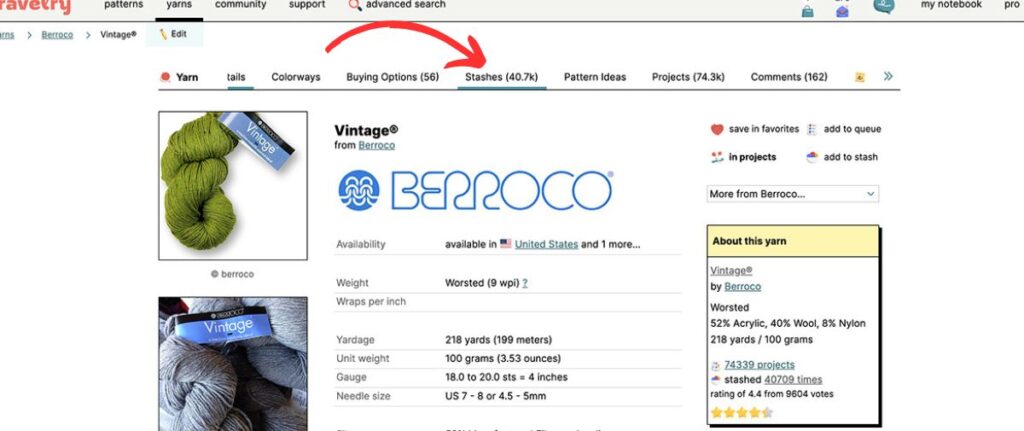
Step 3: On the yarn info page, click on the “Stashes” tab:
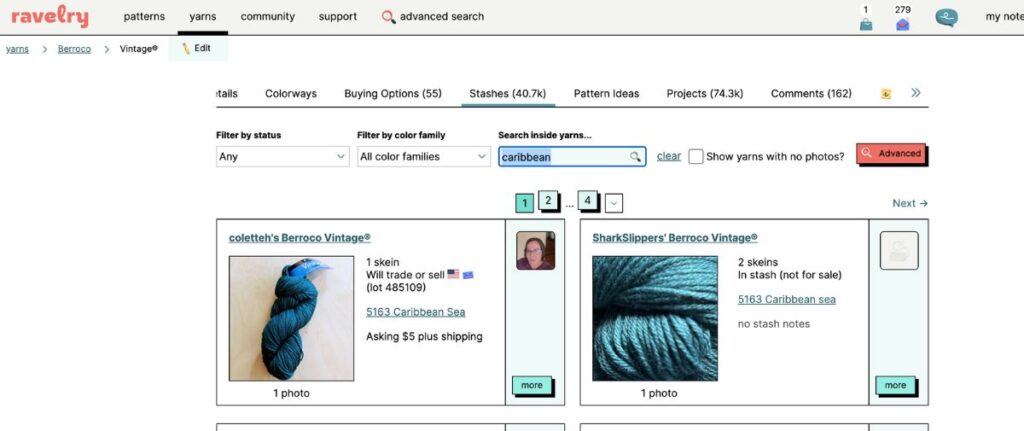
Step 4: In “Search inside yarns” field, type in name of specific color and then hit enter. In my case I typed in “Caribbean”:
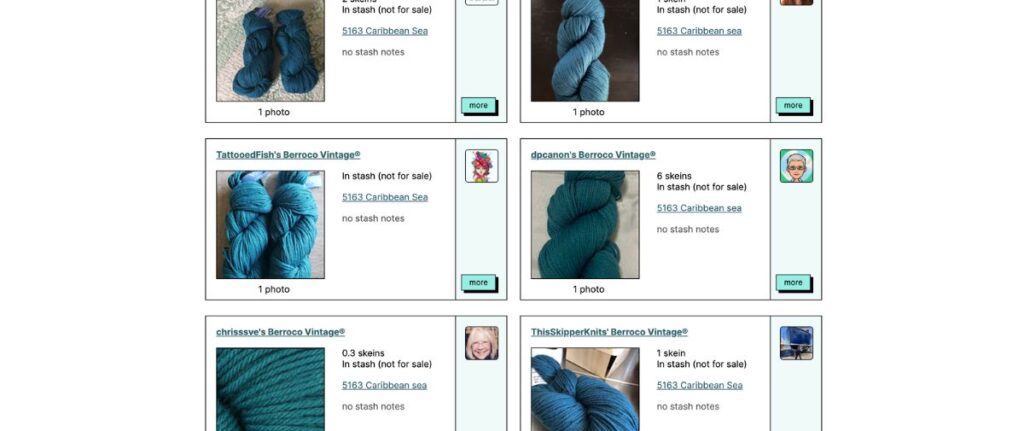
Step 5: On the results page, scroll through and check out all of the user-provided photos of that yarn in that color:
As you can see, there are lots of different shades of this same color in these photos due to the different lights and situations they are photographed in. But as I scroll and look at all of them, I look for the overall trend and it helps to give me an idea of what I might expect.
Tip #3: Look at finished photos on Ravelry
Another place on Ravelry to look is at the finished projects posted that utilized that particular yarn in that particular color. Similar to tip #2, this will show the color in lots of different dye lots and lots of different lighting situations but it will also give it a bit of context since it will show it knit up. Here is how to access the “projects” feature on Ravelry:
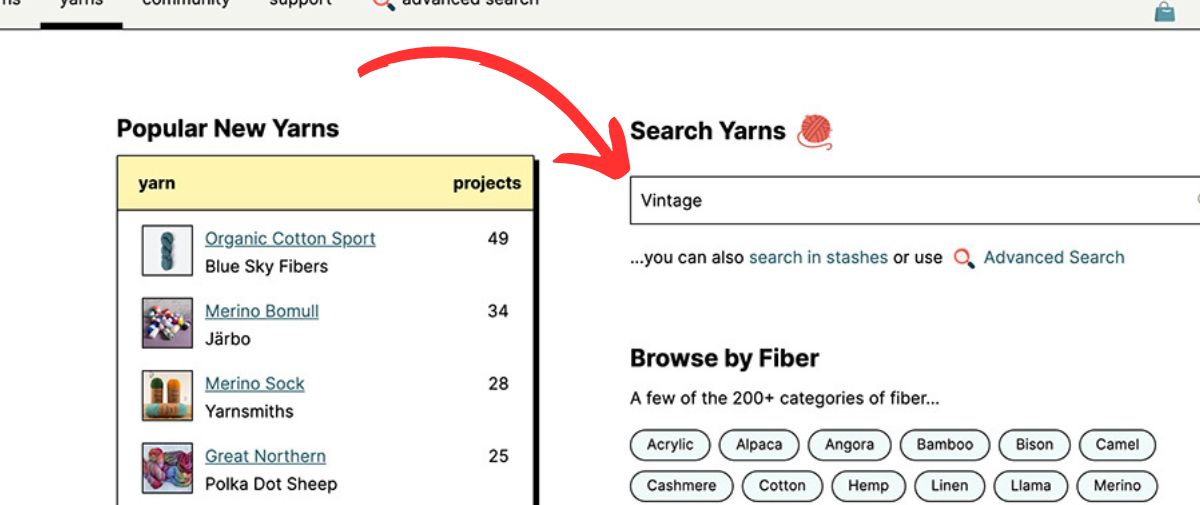
Step 1: Ravelry.com > click on “yarns” in top header > enter yarn name into the search field:
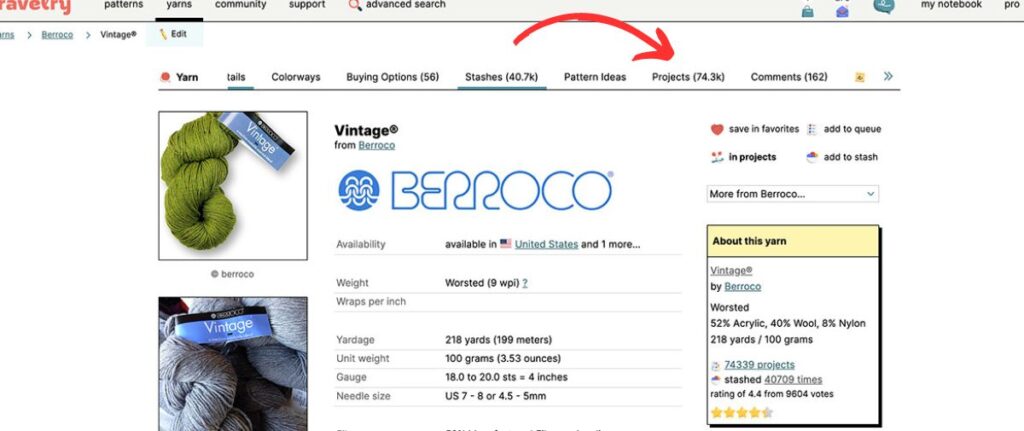
Step 2: Find your yarn on the results page and click the name:
Step 3: On the yarn info page, click on the “Projects” tab this time:
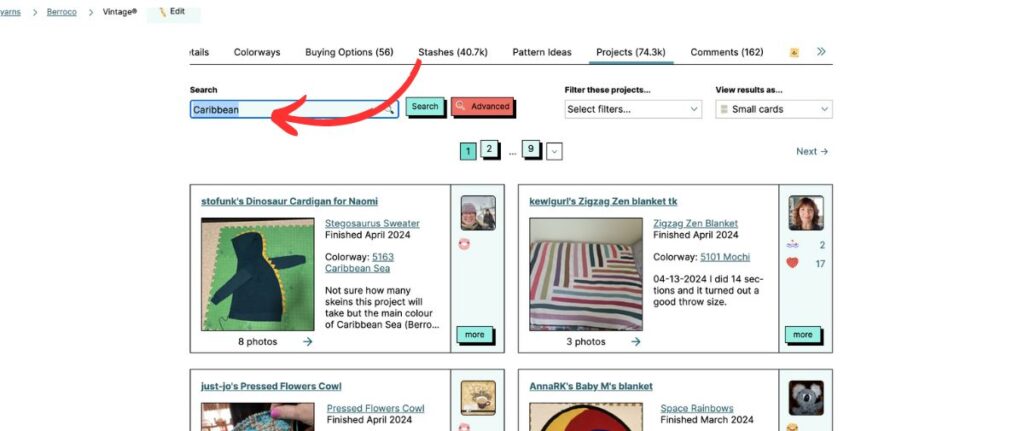
Step 4: In the search field, type in your yarn color name:
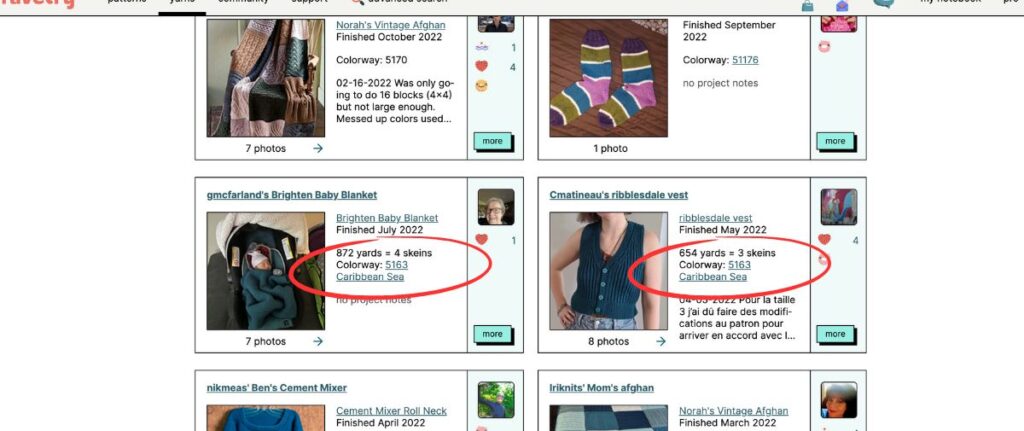
Step 5: Review the project photos! Note: depending on your color name, it could be possible that not all of the photos feature your particular color (i.e, I typed in Caribbean and some of the photos are of projects that are named Caribbean and not just of that color name). So just scroll through and look for where it says the color name, like this:
Just like in “stashes”, it’s best to look at the photos as color ‘trends’ – if one photo looks WAY different than the others, then it’s probably because the lighting/filter/etc is doing funny things to how the color is displayed in the photo. It’s more about looking at what the majority of the photos are showing.
I hope you find these tips helpful!
To sum things up, the 3 things you can try (either utilizing 1 or all of them!) are:
- Look at how the yarn is photographed on multiple different websites (i.e, the yarn company’s site and different online yarn shops).
- Look at user-provided photos of the yarn via Ravelry’s “Stash” feature.
- Look at user-provided photos of finished projects using that yarn and color via Ravelry’s “Projects” feature.
There’s nothing like being able to shop for yarn in person. But for those times when you can’t, I hope that one of these tips might be helpful so that you can feel more confident in that the color you see online is what will end up at your doorstep! Do you have any additional tips that you have found helpful? Send me a note – I’d love to hear them!


