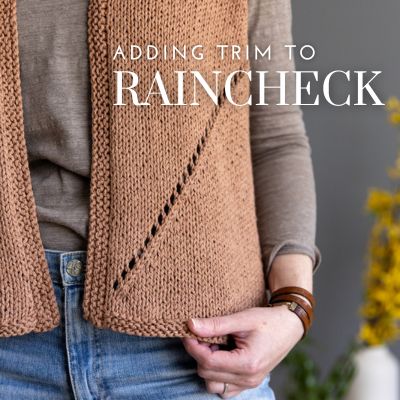
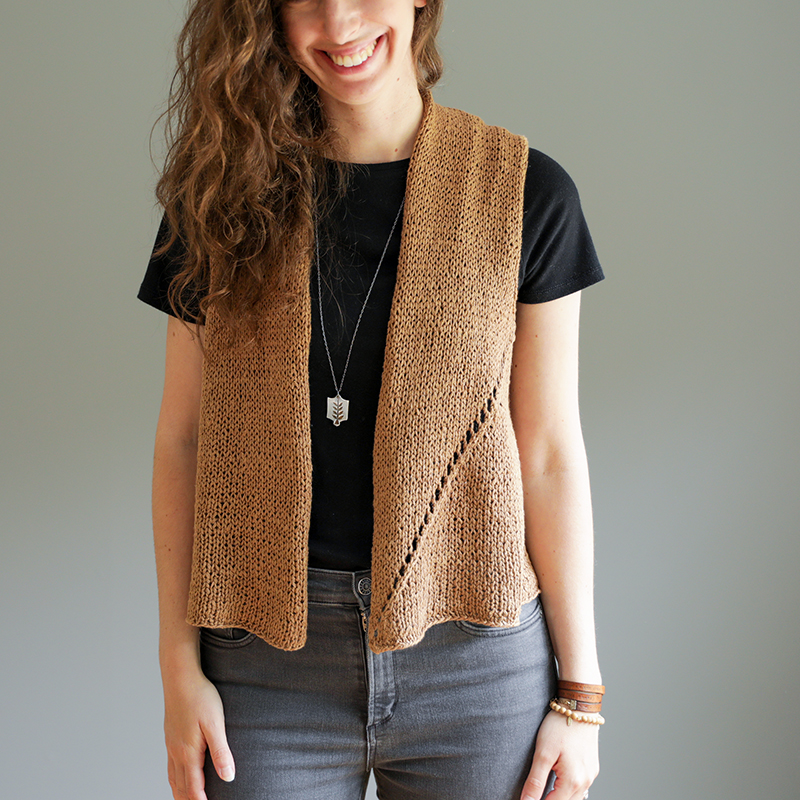
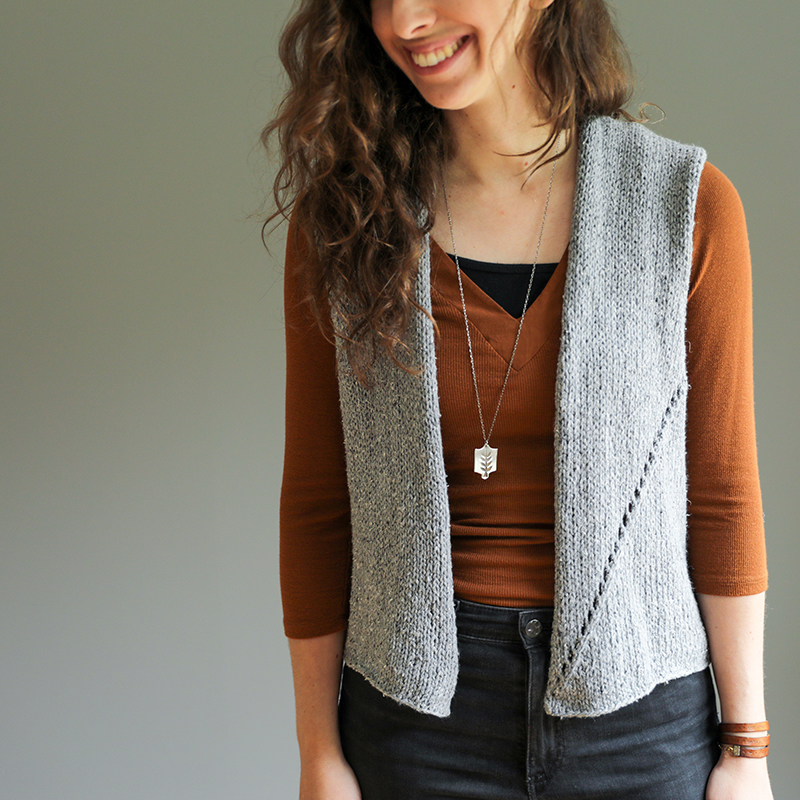
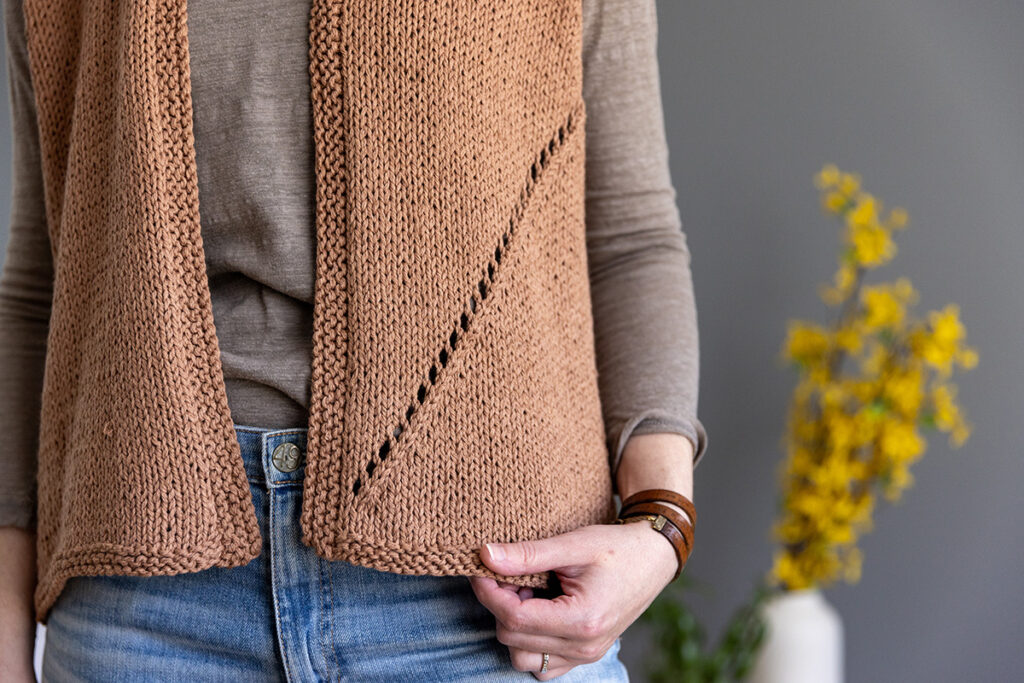
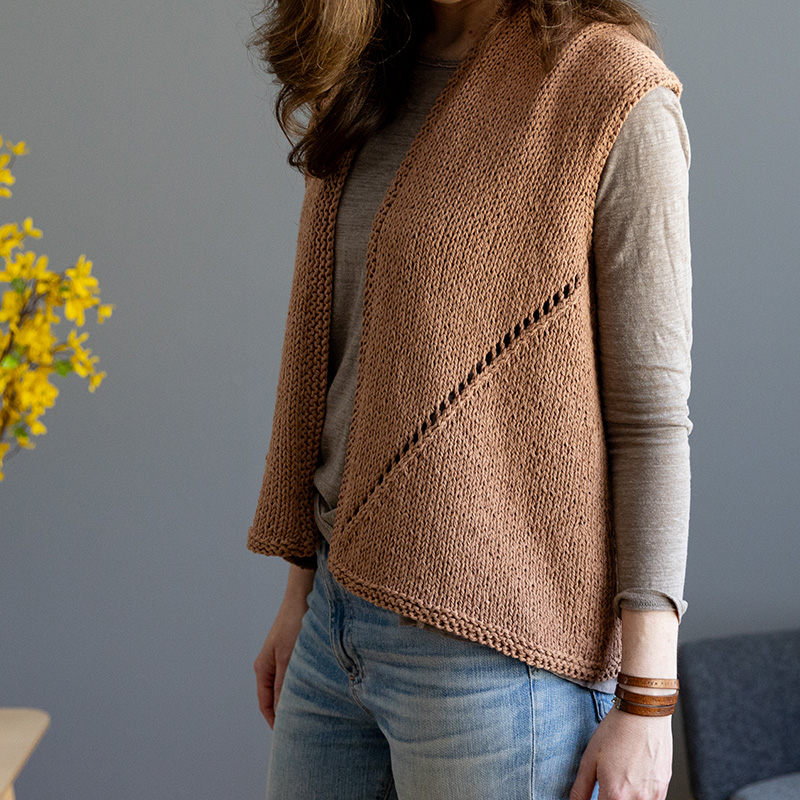
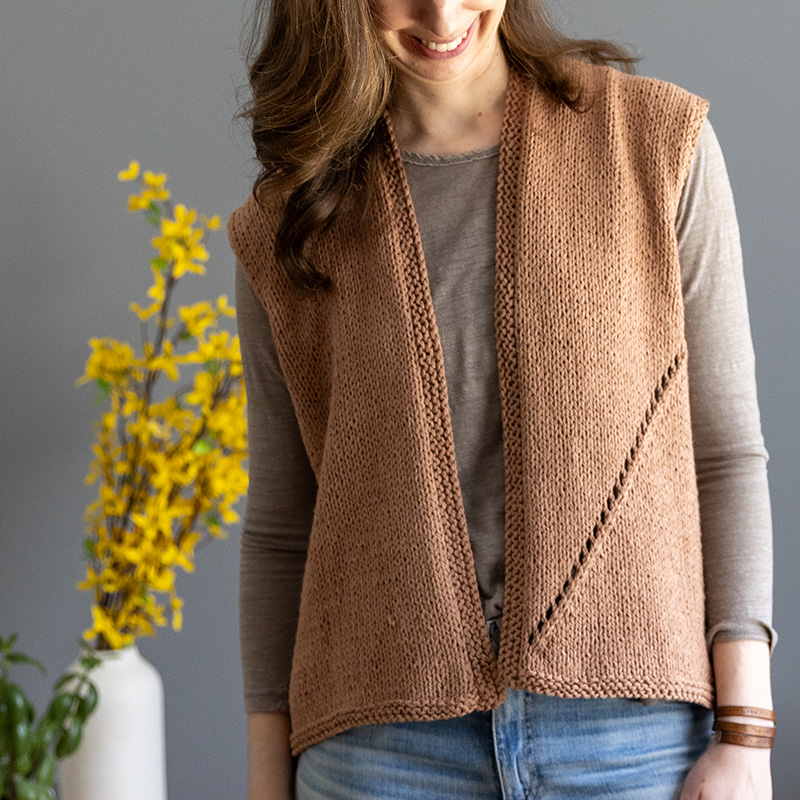
A few years ago I published my Raincheck Vest pattern, an open-style vest that featured raw edges. This means that the edges had no trim applied to them – it was just plain stockinette stitch. Because the original versions were knit in either a linen yarn or a linen-blend, the edges didn’t roll too much which allowed for this. Below are some original photos:
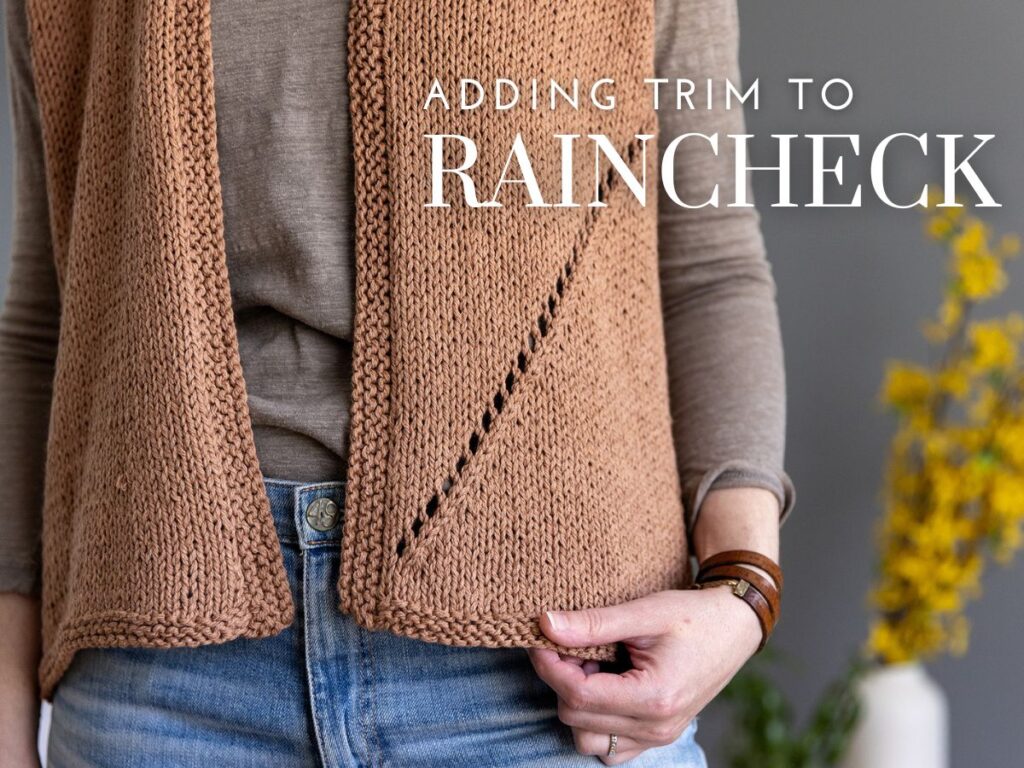
But not all yarns will allow for this “minimal rolling” with stockinette stitch edges. Or some people just prefer a more finished look to their edges. So I decided to make another version of Raincheck, this time with trim on all of the edges!
Below is this version, knit in the linen/cotton blend Tykk Line by Sandnes Garn. I purchased this yarn at my LYS Mother of Purl here in Freeport, Maine.
The Revisions
Want to create a trimmed version of Raincheck like I did? Here are my revision notes to follow:
Yardage
I used approximately 20% more yardage than what’s listed in the pattern. So for example, for the size 2 I made, the pattern says you’ll need 400 yards but I used closer to 475 yards. So if you want to add trim, just make sure to purchase more skeins of yarn!
The Hem
Follow the cast-on instructions as written, but before moving on to “row 1”, knit 5 rows. Then continue on to rows 1-3 of the “Hem” section and then the rest of the pattern as written.
At the very end, after working the Three Needle Bind-Off to attach the shoulders, when you cut the yarn leave long tails and wait to weave then in until after you work the Front Bands. This way if you have any gaps in the fabric around the back of neck you can use these tails to cinch things up.
The Front Bands
When you’re all done with the vest, you can now work on creating the front bands. Here is what I did:
- Step 1: With the same needle size as you used for the body (in my case, I used a US 10) in a 32″ or 40″ circular length, join yarn at bottom of Right Front and pick-up and knit 3 sts for every 4 rows going up the top. For a video lesson on how to pick-up stitches along a front edge like this, you can refer to this video (it’s a different design but the technique is the same).
- Step 2: Then pick-up and knit 4 sts along back neck area
- Step 3: Then pick-up and knit 3 sts for every 4 rows going down Left Front (same number as right front)
- Step 4: You’re now ready to knit. Starting with a wrong side row, knit 4 rows.
- Step 5: BO all sts knitwise (I like the look of binding-off on a WS row, so if you decided to knit more rows in step 4, just make sure to end after working a RS row).
The Armhole Trim
In my version, to create the armhole trim all I did was pick-up stitches around the armhole and then bound the off right away (I didn’t knit any rows after picking-up). Here is what I did exactly:
- Step 1: With 1 needle size smaller than what you used for the body (in my case, I used a US 9) in a 16” circular length, join yarn at center of armhole.
- Step 2: Pick up and knit the leftside underarm BO sts.
- Step 3: Then pick-up and knit 3 sts for every 4 rows going around armhole back to other side of underarm
- Step 4: Then pick-up and knit the rightside underarm BO sts
- Step 5: BO all sts purlwise.
I hope you find these revisions helpful should you also want to make a trimmed version of Raincheck! And if you already knit Raincheck and want to add trim after the fact you definitely can! You can’t add the hem trim after the fact but you can add the Front Bands and Armhole Trim if you like.
More Pictures
My Mom recently visited and really loved this new Raincheck version so we took some pictures of her wearing it (and she went home with it as well!) The first and third picture is of both of us, with me wearing the original “no trim” version and her wearing the new “trim” version!

