One of the most useful tools you’ll encounter in knitting is the stitch marker. If you are a newer knitter, you may be unsure about what they are, how to use them and which style you’re supposed to use (they are so many options out there now!). So in this post I hope to answer all of those questions! I also share some additional ways you can use stitch markers, so even if you are a more experienced knitter you may learn a couple new tips.
Why are stitch patterns used in pattern directions?
Designers will incorporate the use of stitch markers into patterns to help make the knitting process easier. They are visual indicators that often help to identify things such as:
- Different locations in your knitting (i.e, the beginning of the round for circular pieces).
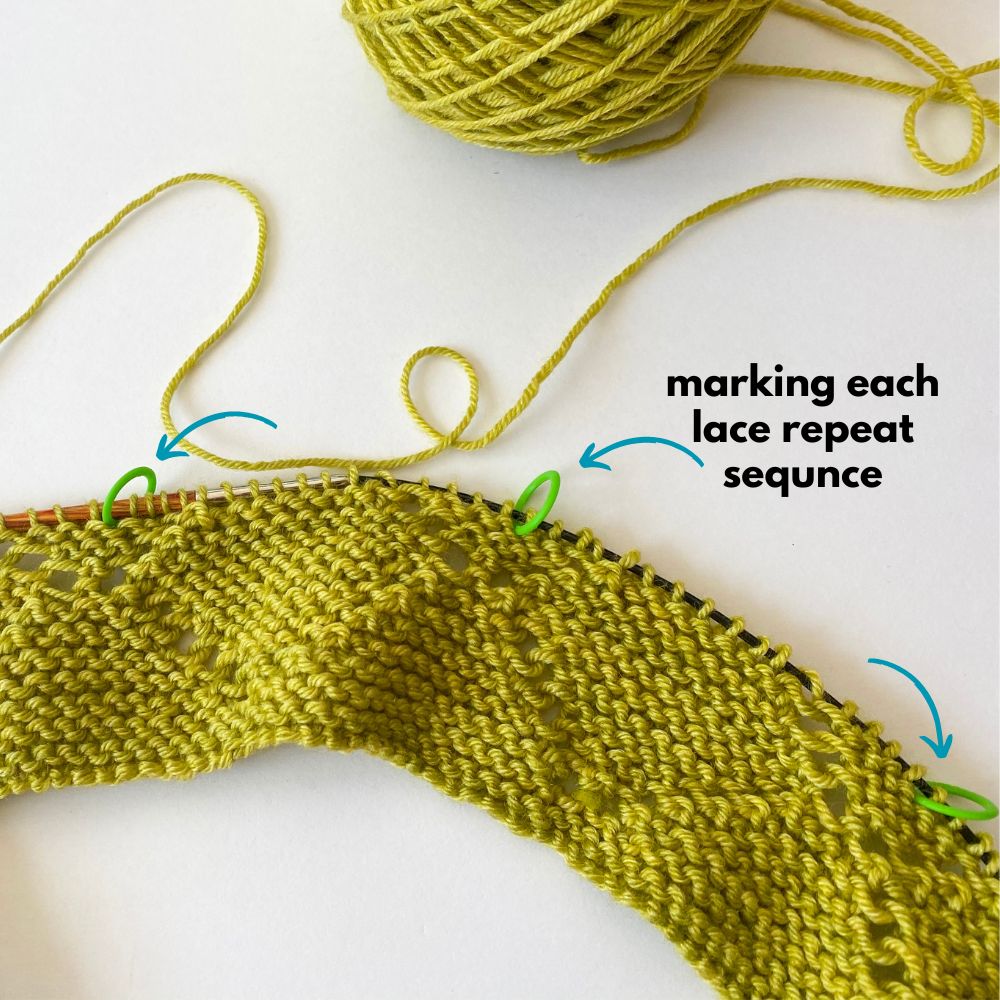
- Shifts in stitch patterns.
- Where increases or decreases need to occur in your knitting.
- Other important visual cues that will be helpful to the process.
Think of stitch markers like signs and traffic lights on a roadway. They help you know what to expect, where you need to navigate, and confirm your direction.
How do you use stitch markers?
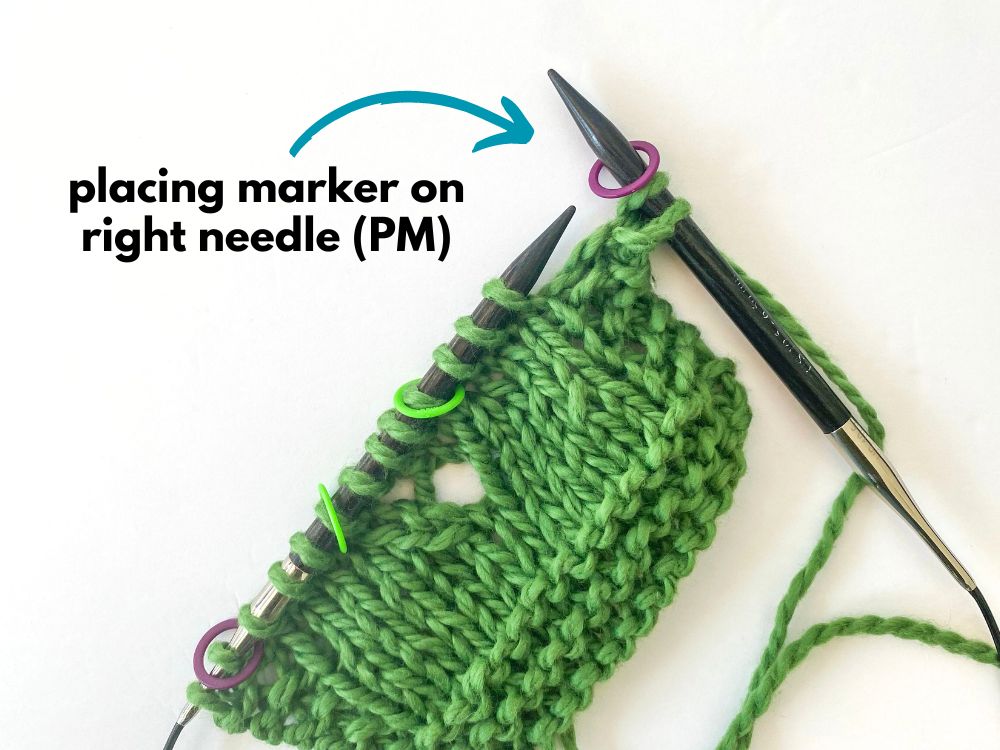
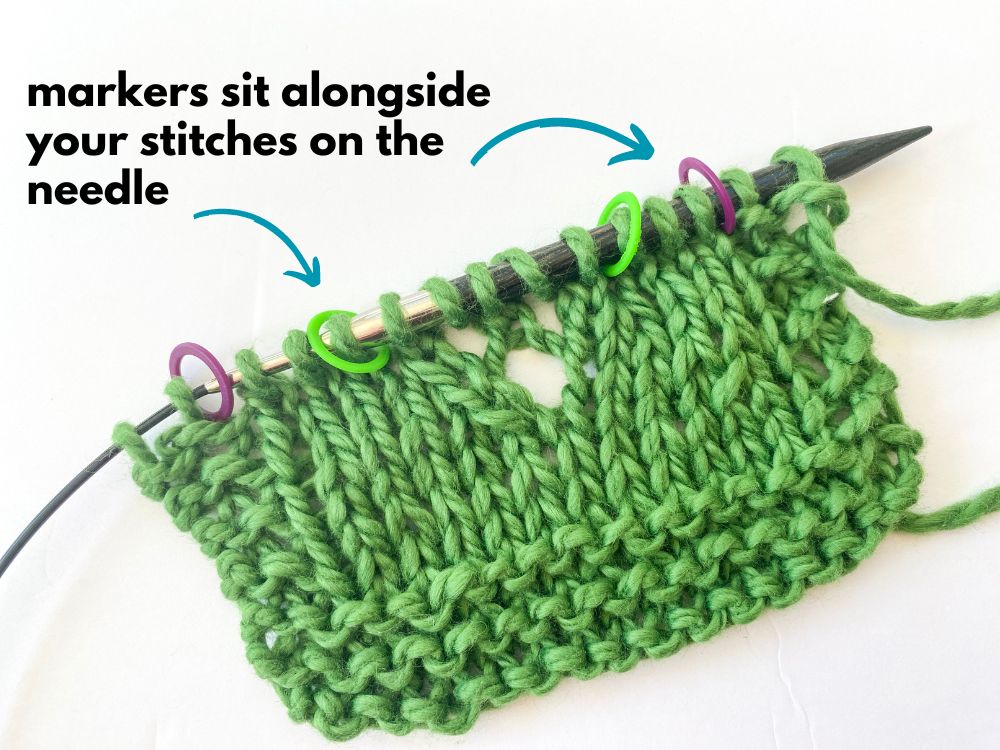
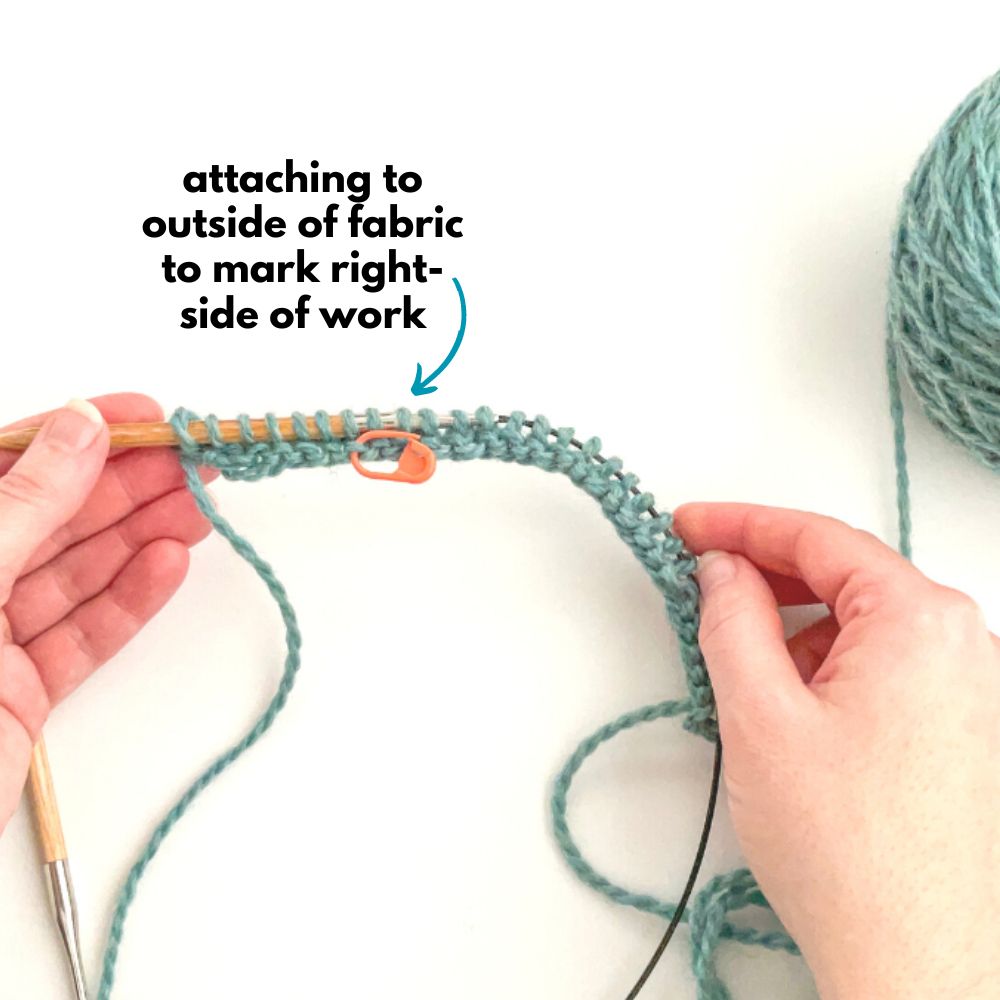
A pattern will tell you where a marker should be placed and it’s often abbreviated as “pm” which stands for “place marker”. When you encounter this, you put the marker on the right needle. So a stitch marker is most often incorporated right onto your needle, sitting alongside your stitches. (Note: there are occasions where you’ll be instructed to place a removable marker on the outside of your work but this is not the norm). After placing markers, when you encounter them along your row, you just slip them over from the left needle to the right needle so they stay alongside your stitches.
What are the different types of stitch markers?
Stitch markers can fall into 2 main categories and then within each of those categories there are a variety of different styles.
Category #1: Ring Markers
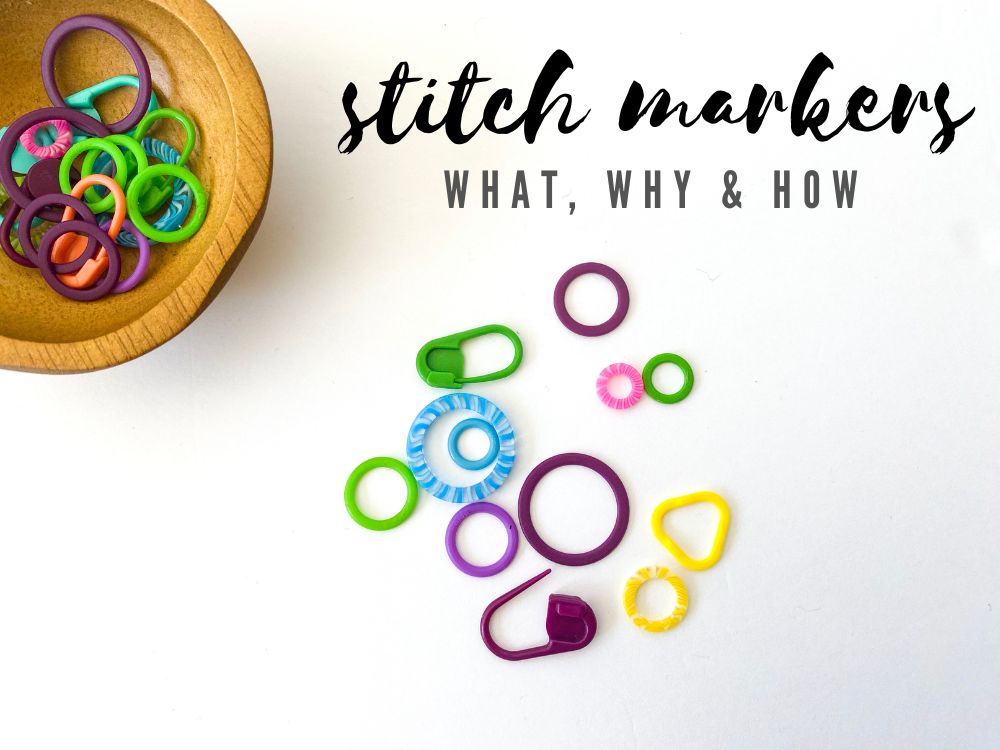
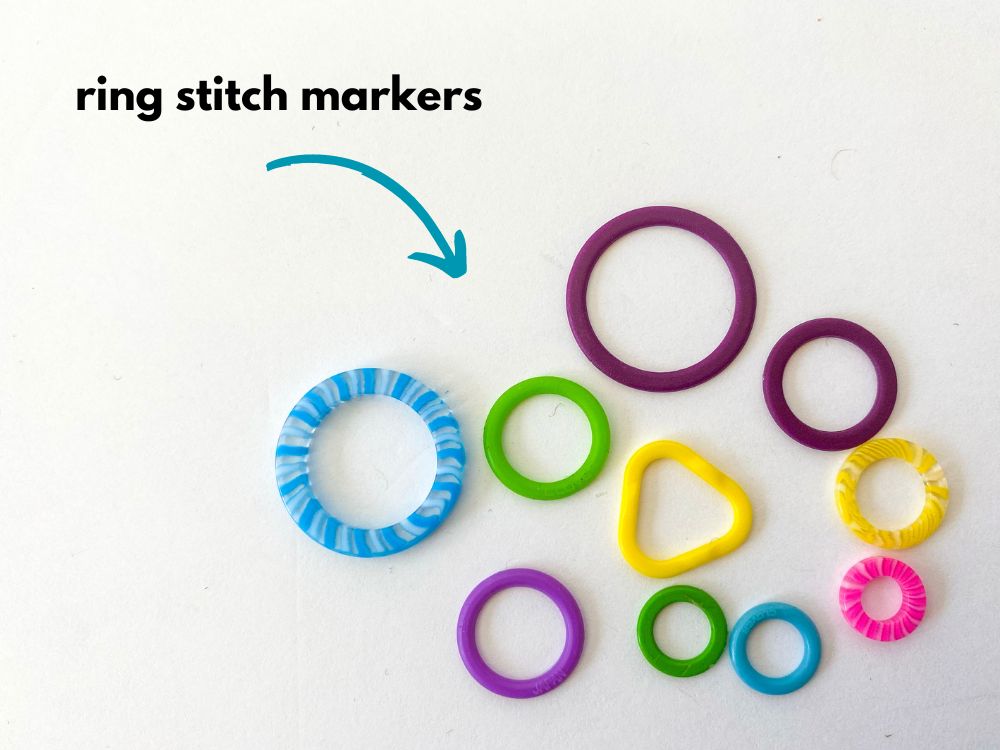
These markers are closed shapes (i.e, there are no openings), and often in a circular shape, although you’ll also see them as triangles or squares too. Below is a photo that shows the different styles of ring markers I have in my knitting tool box.
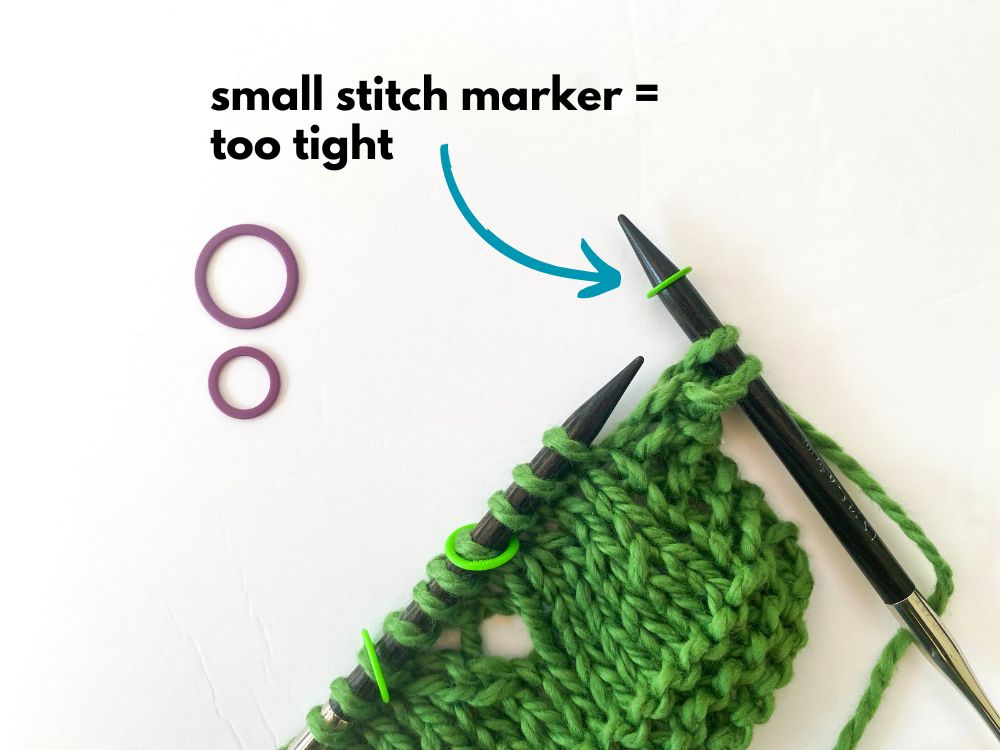
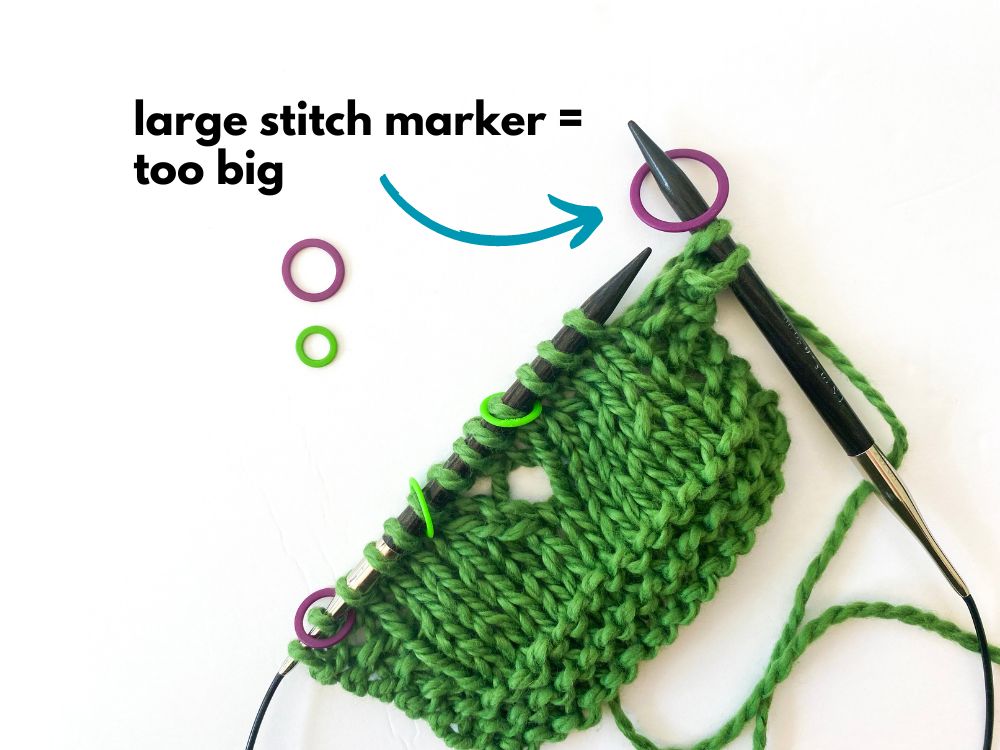
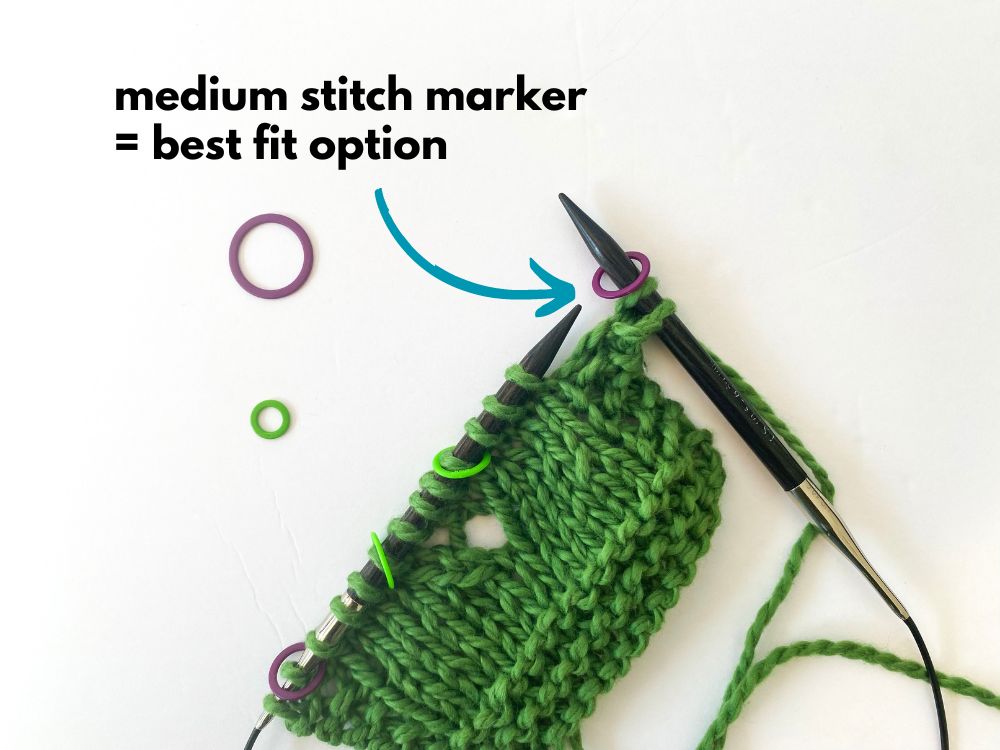
As you can see, they come in different sizes, materials and thicknesses. They often come in sets with 2-3 different sizes to accommodate a range of different needle sizes. You need to pick your marker size appropriately for the needle size you’re working on. It should easily go onto the needle but not be so large that there is a lot of space between the marker and the needle. Here are examples:
In regards to material-type, that is completely up to you. Personally I like my stitch markers to be as light and thin as possible so my favorite are these thin flexible ones from Clover (the two sizes offered in their package cover needle sizes US 0 – US 11; if you needed markers for US 13+, they also have these.)
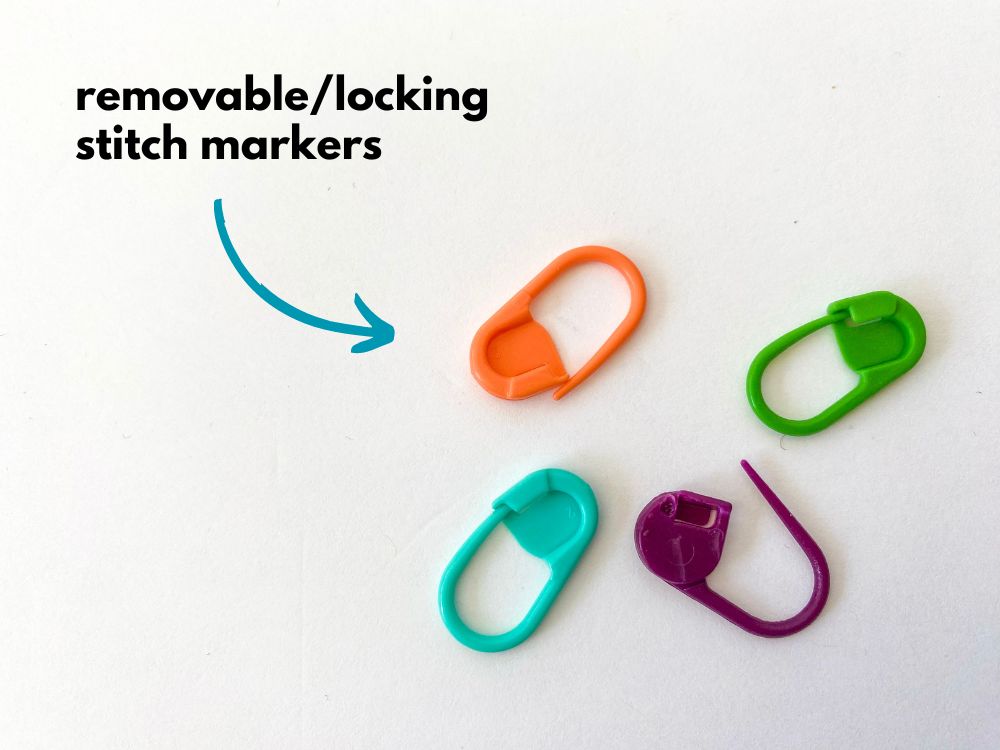
Category #2: Removable/Locking Markers
These markers have a clasp. The benefit to this is that you can place or remove a marker from your work at any point – it doesn’t need to be placed or removed in line with the stitches. For examples, in an enclosed ring marker, you can’t place it until you reach the point in your knitting where you want it placed. But with a removable/locking marker, because it has a clasp, you can open the clasp and place it wherever you want on the needle at any point and then lock it in place (or remove it from the needle at any point). Although the ability to do this isn’t always necessary, in some patterns it is so they definitely can come in handy.
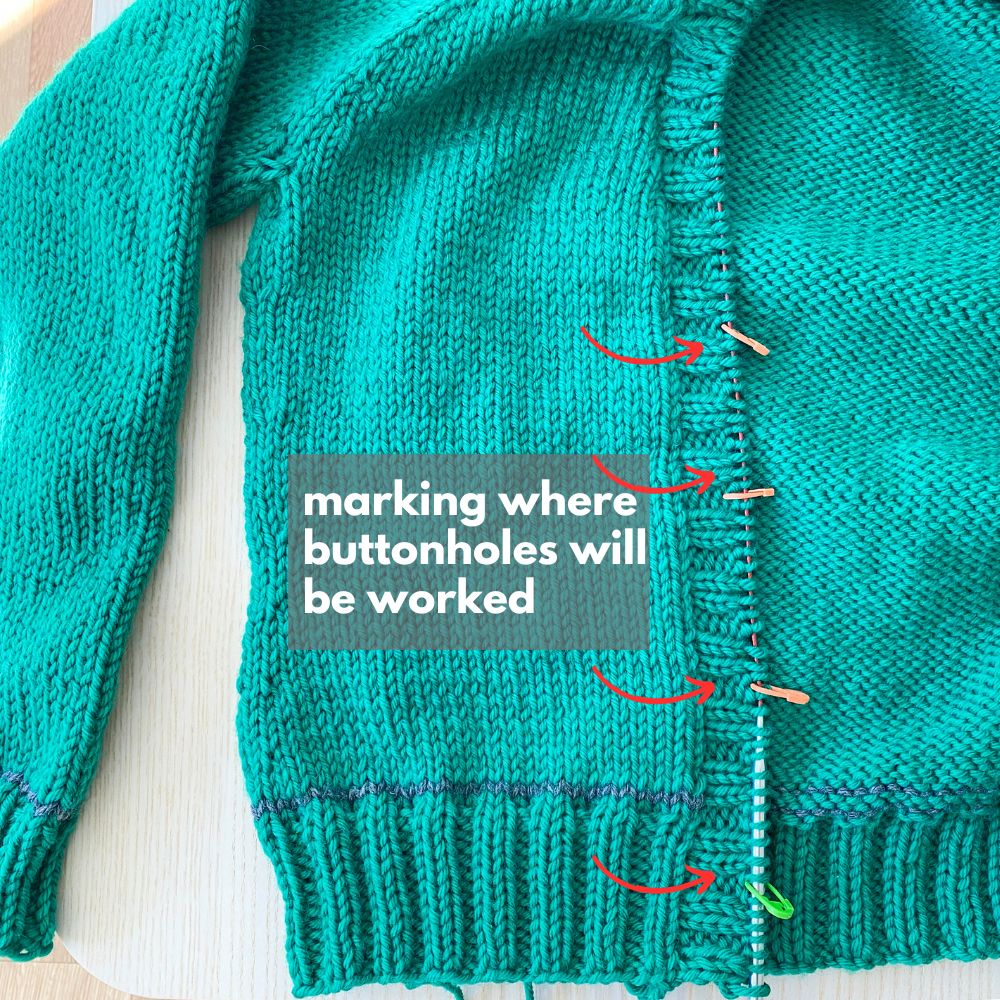
A great example of when I typically call for removable/locking markers in my patterns is for buttoned cardigans. Before making the buttonholes, you first need to mark where you want your buttonholes to go. So I use removable markers to mark the location of where I want the holes to be – so I can place these markers anywhere on the needle without having to work any stitches. Below is an example from my Audrey’s Cardigan design:
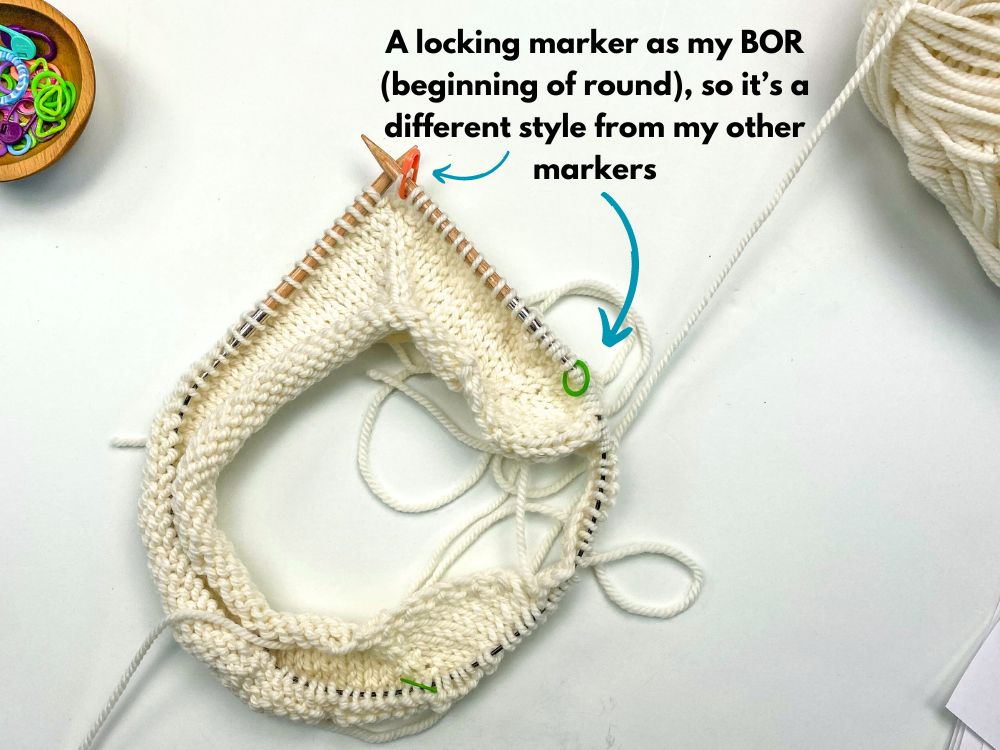
You can use removable markers in place of ring markers as well (you don’t always have to use them in occasions where you want the ability to unclasp). I will often use them as my BOR marker for in the round pieces where I need my BOR marker to stand out compared to all the other markers in my piece.
Other ways to use stitch markers (not typically noted in a knitting pattern)
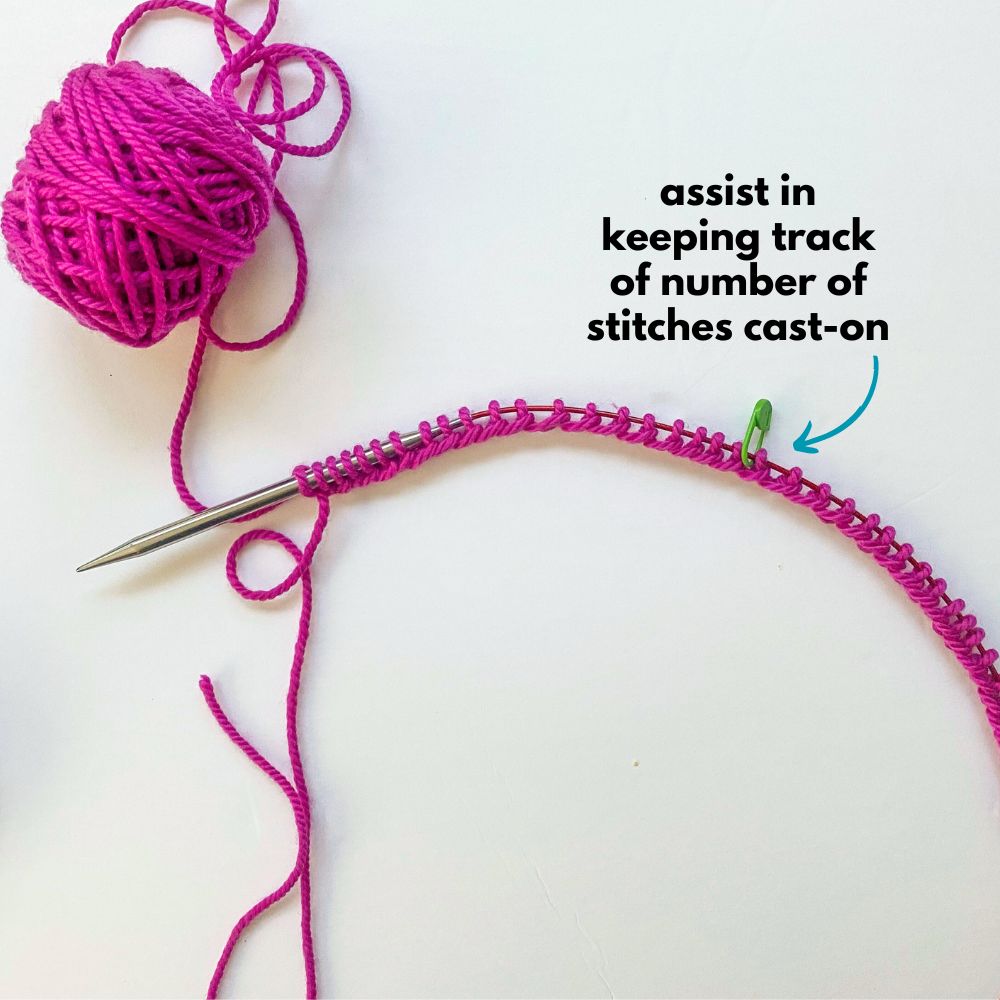
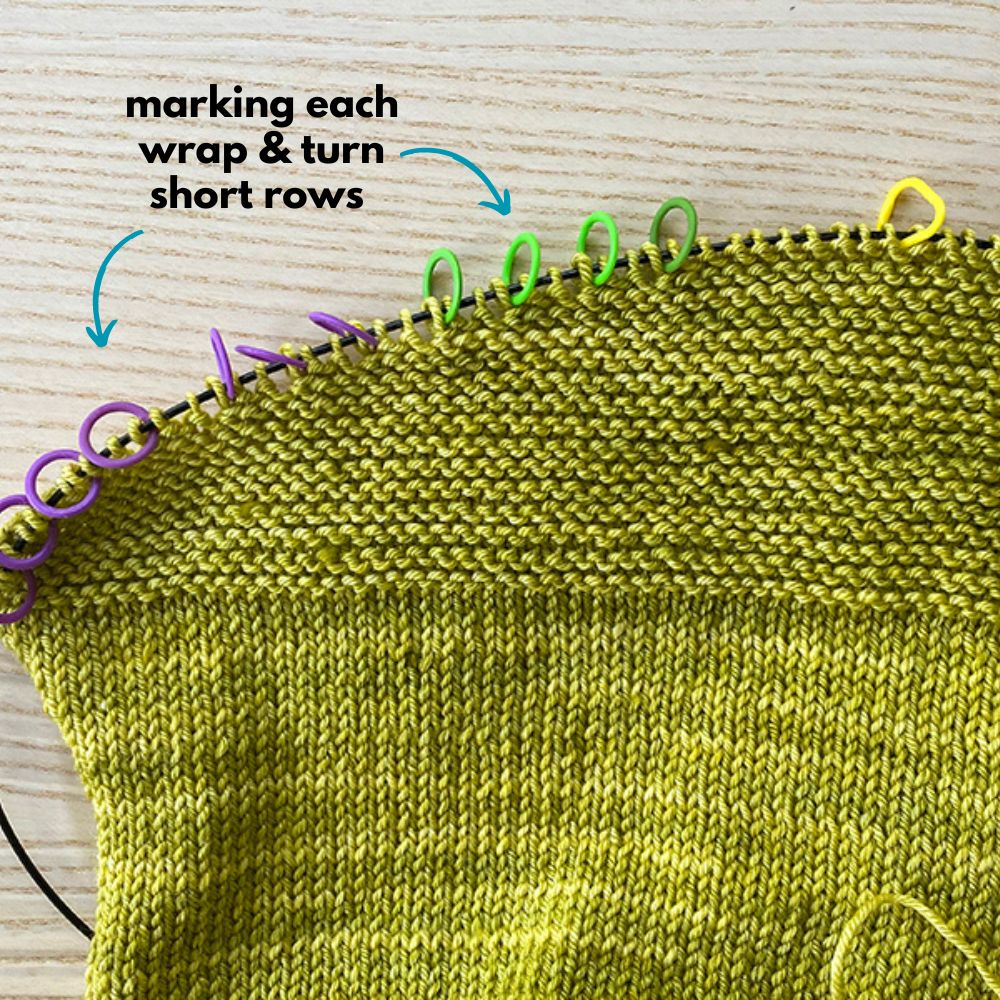
All of the examples I’ve given so far identify why and when stitch markers are called for in a knitting pattern. But there are times where you may want to utilize markers even if they aren’t called for specifically in the pattern. Here are some examples of when stitch markers can serve as helpful aids to you in your knitting process:
These are just a handful of ways that stitch markers are used in knitting. Are there any other ways you use stitch markers? I’d love to hear any additional stitch marker tips you have!

