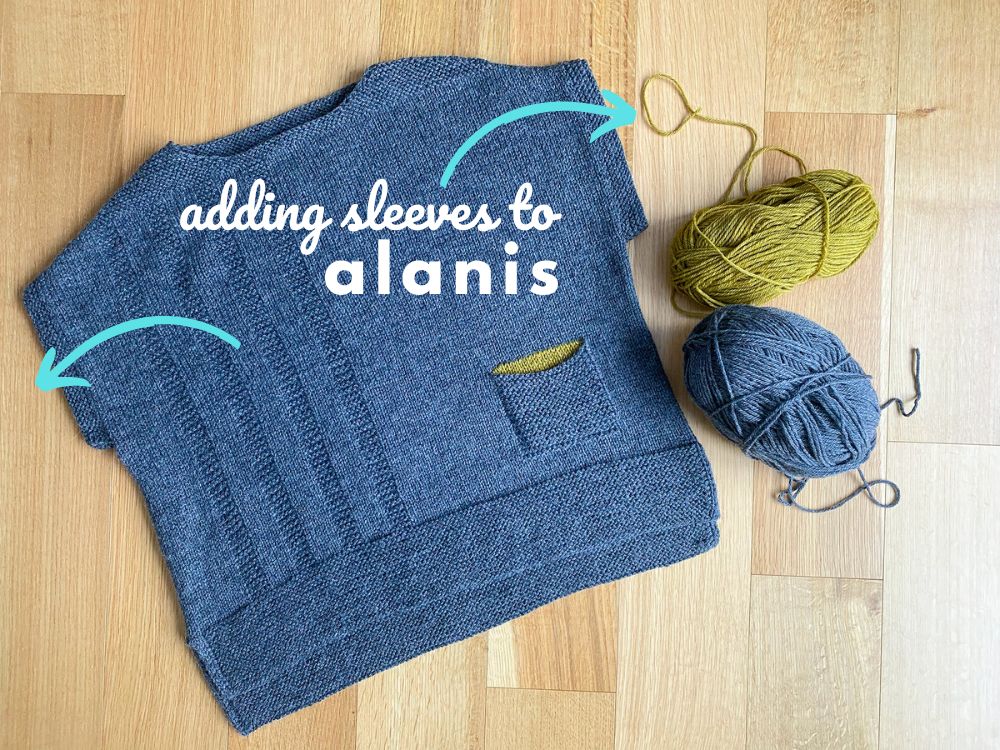
A very common vest construction I love to design is the drop-shoulder. What I love about them is that they make great layering pieces (and you know I love to layer!) and they are super customizable. Unlike a more traditional set-in sleeve vest, a drop-shoulder has simple armhole opening and what this means is that you can very easily add sleeves to your garment. You can add sleeves to a traditional vest as well but typically short rows are needed to shape the sleeve cap (or they have to be worked separately and then seamed in. But in drop-shoulder pieces, like my Alanis, it’s much simpler.
Below I’ve provided step-by-step instructions on how you can create sleeves on your Alanis but there are a couple of points I want to make first:
- Alanis has a roomy armhole opening. So in order to avoid a way-too-dramatic sleeve taper, the instructions below will give you a roomy cuff circumference as well. I wouldn’t consider these cuffs to be big per say, but they won’t be a close-fitting cuff. A close-fitting cuff would not quite look right with the overall proportions of Alanis.
- These instructions will give you a long-sleeve – you can always end your decreases earlier and create more of a 3/4 length sleeve length if you prefer.
- Because you’ll be loosing stitches as you taper your sleeves, eventually the 16″ circular will become too tight to use. You can switch to DPN’s at that point, or switch to working the magic loop method. You can learn more about that here.
- Here is the approximate number of extra yards you will need: 260 (270, 280, 300, 320) (340, 360, 380, 400) yds.
Here are the step-by-step instructions for making your Alanis long-sleeved
- Follow the instructions in the pattern as written for picking-up stitches around your armhole.
- Once your stitches are picked up, here is what you will do:
- Work in St st in the round for 8 rnds or until meas approx 1″ from underarm
- Work a decrease round as follows: k1, ssk, k to last 3 sts, k2tog, k1 – 2 sts dec’d total.
- Continue working in St st in the round, repeating above decrease round:
- Every 8 (7, 6, 6, 5) (5, 5, 5, 5)th rnd: 5 (10, 7, 7, 14) (10, 10, 10, 10) times; then
- Every 7 (6, 5, 5, 4) (4, 4, 4, 4)th rnd: 6 (2, 8, 8, 3) (8, 8, 8, 8) times.
- You will have decreased 24 (26, 32, 32, 36) (38, 38, 38, 38) stitches.
- Continue working in St st in the round until sleeve measures approx 13″ from underarm or 1″ less than desired sleeve length.
- Follow instructions in pattern for rnd 1 and rnd 2 and remaining section.


