Can’t get the right gauge for the pattern you plan to knit? Or perhaps you just prefer the fabric of your yarn knit at a different gauge? In some patterns, you can easily knit “off-gauge” and adapt the pattern to work for your personal gauge simply by following the instructions for a different size in the pattern!
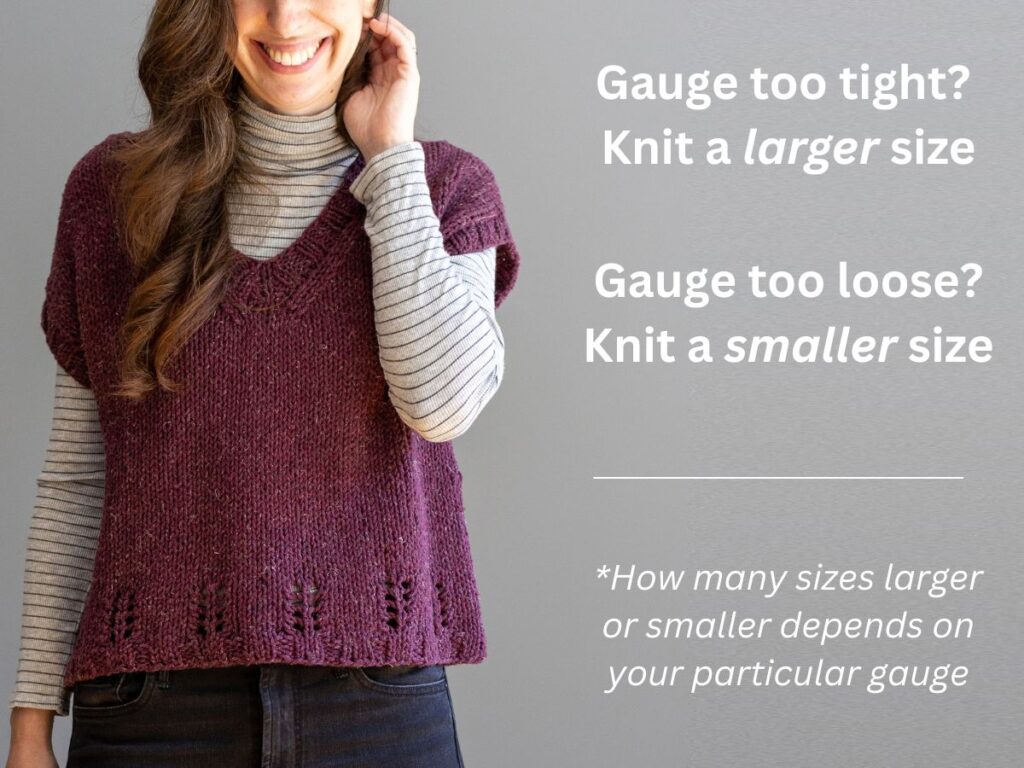
In general, if your gauge is tighter this means you can consider knitting a larger size and if your gauge is looser this means you can consider knitting a smaller size (how many sizes larger or smaller depends on how far off-gauge you are).
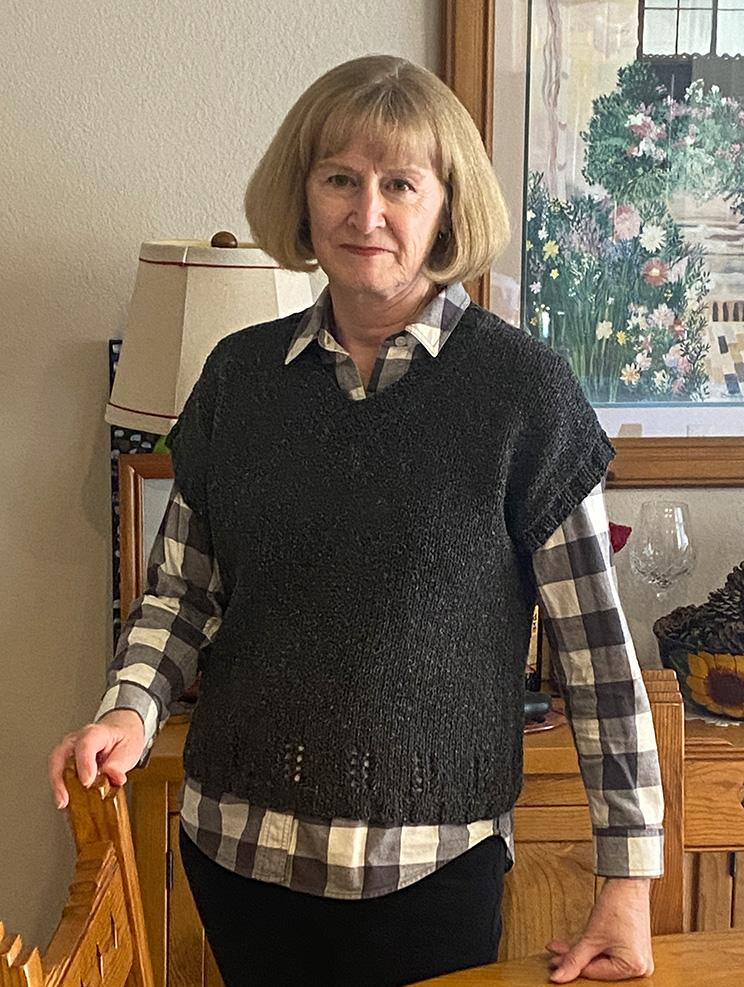
For example, say you want to knit my Ice Breaker top (pictured above & below) and you were planning on knitting size 2 which has a finished circumference of approx. 41.75″. The pattern stitch gauge is 11.5 sts = 4″, but you prefer the tighter fabric of your swatch which has a gauge of 14 sts = 4″. At this different gauge, by following the instructions for either size 4 or size 5 instead of size 2 you’ll wind up with a sweater whose finished circumference is close to what the size 2 was supposed to be (just about 1″ more or less depending on the size). This is exactly what my test knitter Susan did when knitting her Ice Breaker (featured below):
So how exactly do you decide which size to knit if you are off-gauge? Below are 6 tips that will help you!
Tip #1: It works well for simple silhouettes with simple construction
The simpler the better. Seamless garments knit from the top-down or bottom-up work well and those with minimal shaping. Because almost all of my garment designs are constructed simply (that’s just my style!), you can consider doing this for any of my designs. If a garment is constructed in a more unique way, then I’d probably advise not to adapt it for your gauge unless you are a more advanced knitter who is comfortable making pattern adjustments. But if you are new to this, I’d suggest sticking with simply constructed garments.
Tip #2: Determine your per inch stitch gauge
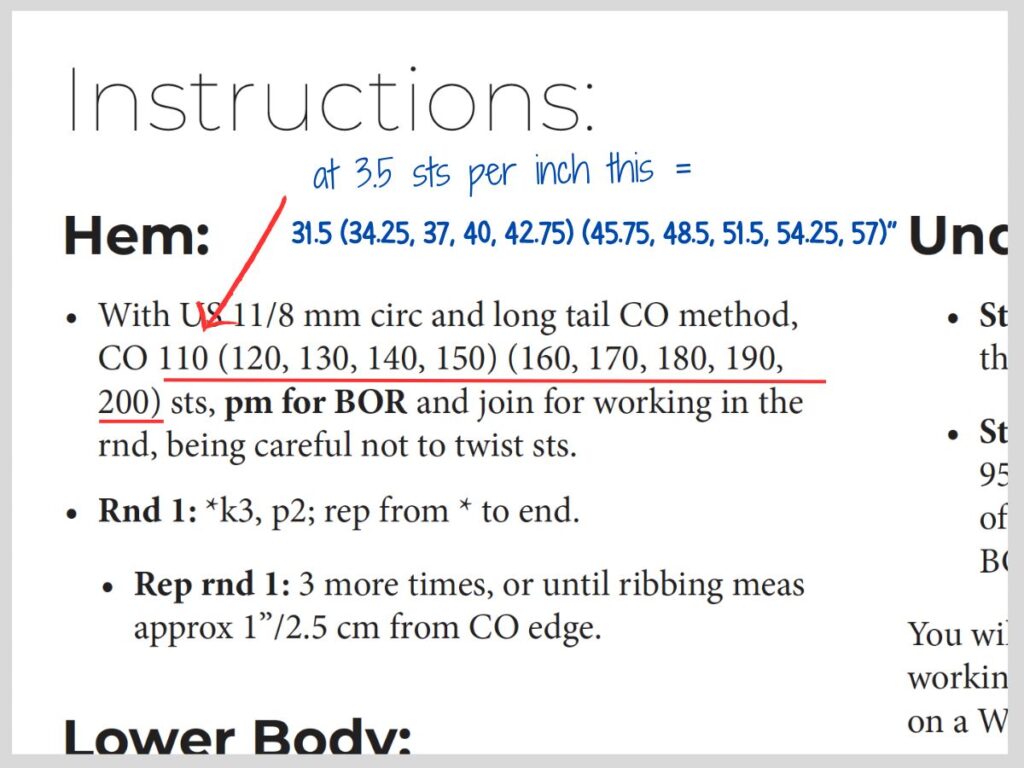
In order to figure out what size you should follow the instructions for at your particular gauge, the first step is to break down your gauge from over 4″ to over 1″ so you know what your per inch stitch gauge is. In our above example, our stitch gauge was 14 sts = 4″ (instead of the pattern gauge of 11.5 sts = 4″). So to figure out my per inch stitch gauge, simply take the 14 and divide it 4″ and you get 3.5 sts = 1″. So 3.5 is our per inch stitch gauge.
Tip #3: Find the total body stitch count in your pattern
The next step in figuring out what size you should knit at your particular gauge is to find the total body stitch count in your pattern. Where this is depends on the consturction of the piece and if there is any shaping. Here are some tips:
- Bottom-up garments with no shaping: this will be your cast-on numbers.
- Bottom-up garments with shaping: this will be your total body stitch count after all shaping is completed – most patterns will always list this after shaping is done.
- Top-down garments (with or without shaping): this will be your total body stitch count after the underarm divide section.
Tip #4: Calculate the circumference of each size based on your particular gauge
To figure out what the measurements will be at your gauge, just take the total body stitch counts (which you figured out in tip #3) and divide them by your particular per inch stitch gauge (which you figured out in tip #2). And then find the size that is closest to the finished measurement you desire – that’s the one you should knit!
Let’s use our Ice Breaker example again. So because Ice Breaker has no shaping and is knit from the bottom-up, my cast-on numbers are my total body stitch counts. I will take those and divide each by 3.5 (my per inch stitch gauge) and that will tell me what the finished circumference will be of each size at my gauge:
Looking at these size options, based on my particular gauge, I would then see that size 4 (40″ at my gauge) or size 5 (42.75″ at my gauge) would be the closest options to the original size 2 of the pattern.
Note: If when doing this exercise you see that none of the stitch counts are close to your desired size, then it means that your stitch gauge may be too far-off and it just isn’t going to work for this particular pattern.
Tip #5: For cardigans, make sure to add the front band overlap width to the finished circumference
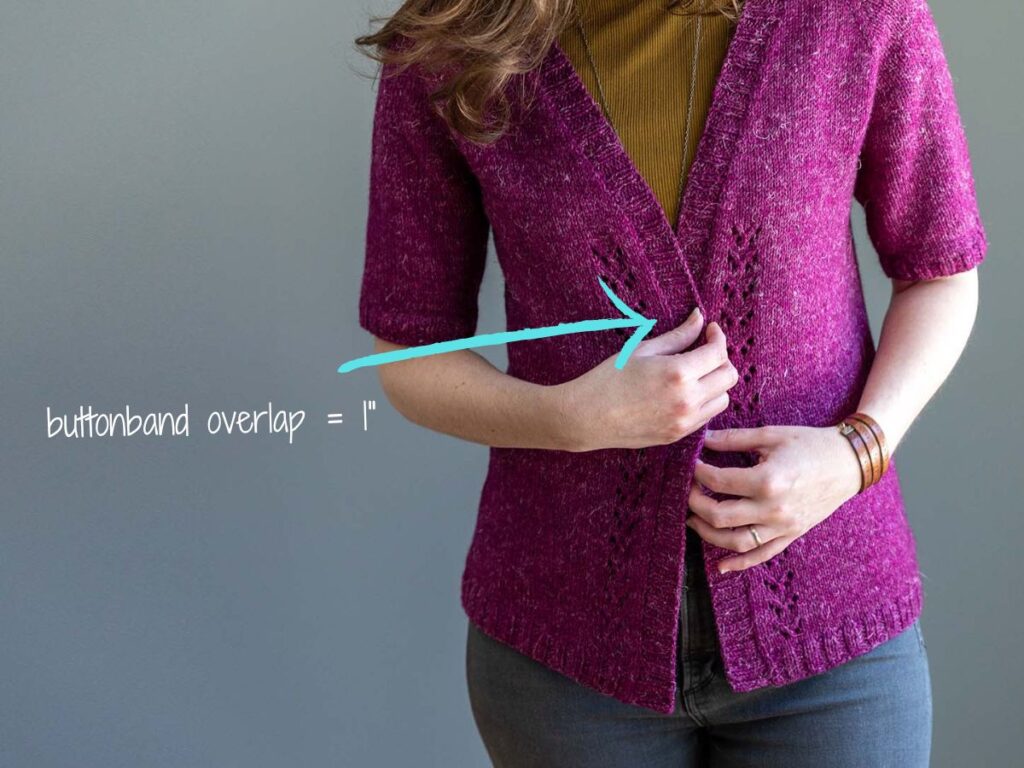
The calculation in tip #4 works well when it’s a pullover-style But what if it’s a cardigan with front bands? Then the total body stitch count would not include the full circumference of the garment. Let’s use my Rosanna Cardigan as an example – as you can see below, the front bands overlap and you would know from reading over the pattern that they are created after the body is knit up (you pick-up and knit along the edges), and they are worked for 1″.
So in this example, you would need to add 1″ to your circumference calculation you got in tip #4 in order to know the accurate finished measurement at your particular gauge.
Tip #6: Use the length measurements of the size you wanted (not the size you’re knitting)
We’ve been talking all about stitches per inch, but how does that then affect the row gauge? If your stitch gauge is tighter than that listed in the pattern then your row gauge likely is too. And so if you end up knitting 2-3 sizes larger to accommodate your stitch gauge, then the row numbers of the larger size may work as well for you. But your best bet is to just make sure that you follow the lengths (when listed in inches or cm) of the size you wanted to knit (and not the inches/cm listed for the size you’re actually following the instructions for).
So if, say, you are working an armhole depth and it says to work a certain number of rows or until measures 6 (6.5, 7, 7.5, 8) (8.5, 9, 9.5, 10, 10.5, 11)”, even though I’m knitting size 5 which says 8″, I want the finished measurement closer to size 2 and so I’ll work until it measures 6.5″.
This is why in tip #1 I say to work this technique on garments with simple construction and simple shaping – the more complicated a garment’s construction is, the more likely that row gauge is more vital and then alterations become a bit trickier.
I hope these tips are helpful the next time you consider going off-gauge in a knitting pattern! If you are working on one of my patterns and are considering doing this, feel free to reach out for any additional questions.

