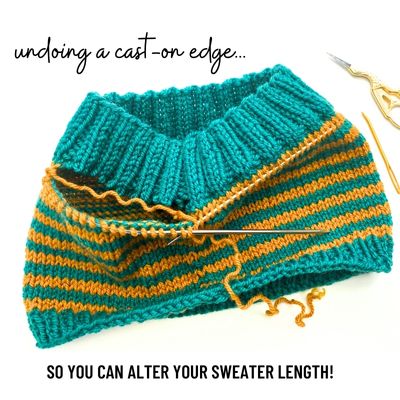
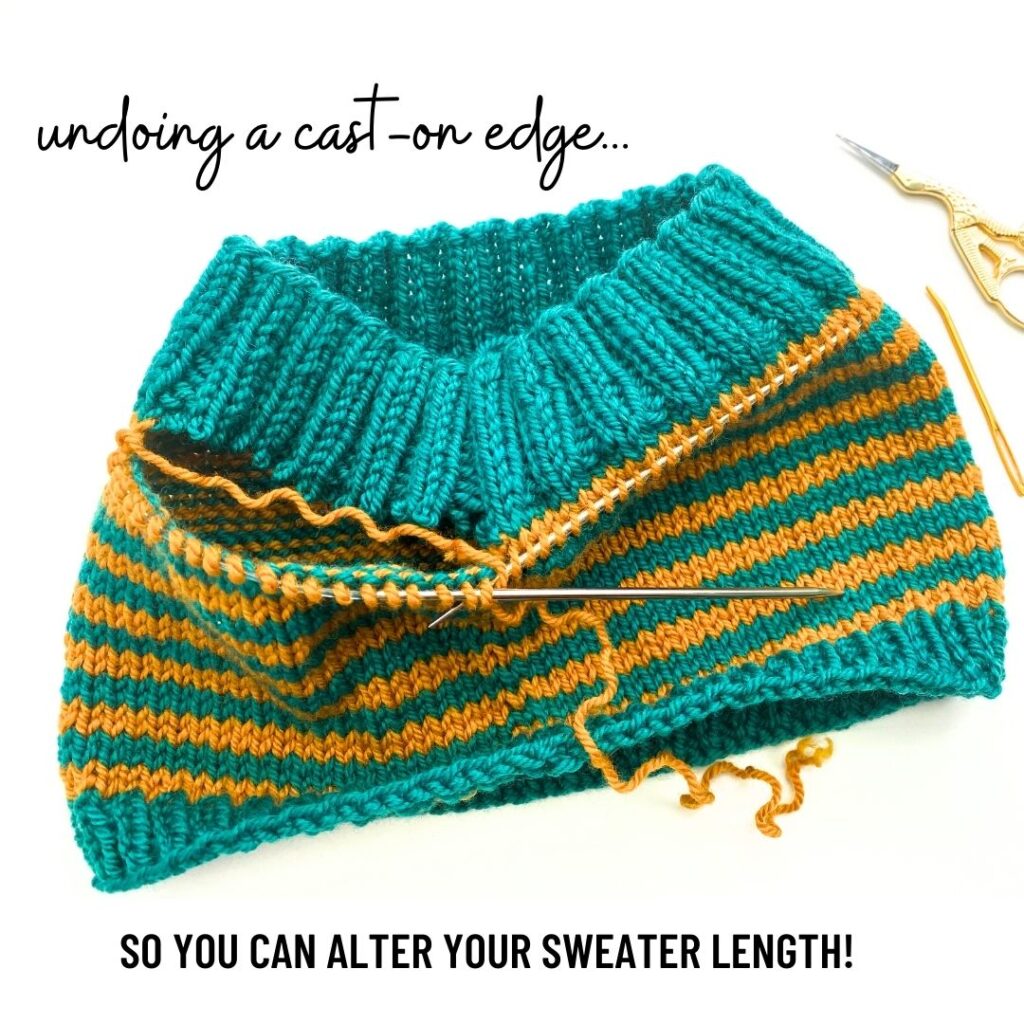
In my last blog post, I shared some tips about how to decide on your underarm-to-hem body length when knitting a sweater, especially as it relates to bottom-up sweaters where it’s trickier to judge what your length should be (since you haven’t knit your shoulder to underarm length yet!). In this post, I’m going to share some information about how you can adjust the length of a bottom-up sweater after the fact. Yes, it is possible! It involves a little sweater surgery (which I know, sounds scary), but with a little practice you’ll find that it’s not as hard (or scary) as it initially sounds.
I created a video lesson that walks you through multiple demonstrations and tips – it’s on the longer side (just over 30 minutes) but since sweater surgery can be a bit intense, I felt multiple demonstrations and tips would be super helpful. So grab a cup of coffee or tea and take it all in! I’ve also provided FAQ’s below that go into a bit more detail – I suggest reviewing these as well (and it may be helpful to review them before watching the lesson, especially if you are brand new to this concept).
Undoing a Cast-On Edge Frequently Asked Questions
Why would you need to undo a cast-on edge?
The most common reason is my bottom-up sweater example. In this type of construction, your cast-on edge is the hem and you work your hem and body up to the underarms. Then your sweater is typically separated at the underarms and you work the front(s) and back separately up to the shoulders, and then attach the front and back shoulders together. So it’s not until this very last point where you get to actually see first hand how the length of the sweater looks on you. If it turns out your underarm-to-hem length is too short or too long, you’d have to rip out all of the work you did in the upper sweater – ugh!
Although bottom-up garments are the most common reason, another example would be a hat. The bottom hem of a hat is your cast-on edge, and what if you knit the body of your hat too short or too long? You probably won’t know this until after the crown shaping is all complete. Or mittens or fingerless gloves would be another great example. The cast-on edge is the cuff and what if you made it too short? You might not know until after the whole mitt was already done (and who wants to rip all of that out?!).
Can’t you just undo a cast-on edge like a bound-off edge?
If you were to knit a sweater top-down (so the neck is the cast-on and you work your way downwards), then your bottom hem would be your bound-off edge. Bound-off edges can easily be undone just by ripping it out. But cast-on edges don’t work the same way due to how the cast-on stitches are looped around each other. So the best way to undo it is to actually cut the fabric and perform a bit of sweater surgery…
What are the steps involved in this ‘sweater surgery’?
I go into all of the details in my video lesson above, but here are the general steps:
- Secure a row or round of stitches on a skinny needle by inserting the needle into the right leg of each stitch (remember, each stitch looks like the letter “v”). This row or round should be at least a couple of rows/rounds above the hem and in the stockinette stitch fabric.
- Cut into the right leg of the stitch that is above the first stitch you have held on your skinny needle.
- With the help of a tapestry needle, undo each stitch on that row or round above the held stitches. As you remove these stitches, you’ll see the hem being separated from the body.
- Once the hem is full removed from the body, you’ll want to tink back some stitches so you have a nice length tail for weaving in later.
- Rejoin your yarn and start knitting, but this time you’ll be working downwards towards the hem edge!
What type of stitch patterns can this be done on?
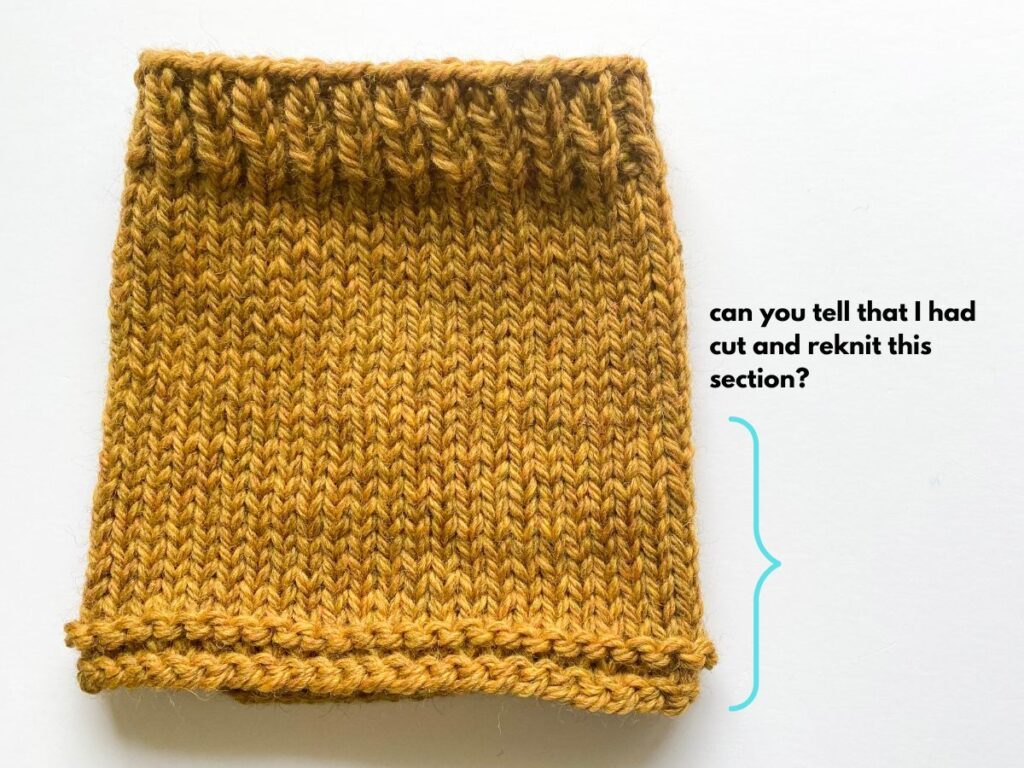
I suggest only doing this type of sweater surgery if the body of your piece is in stockinette stitch (although garter stitch should be ok too). It’s fine if the hem trim is in ribbing or some other kind of stitch pattern, but the body of the piece (which is where you’ll be cutting) should ideally just be in stockinette stitch. The reason for this is because when you undo a cast-on edge, I’ve read that there is a slight alignment shift in the stitches (maybe a 1/2 stitch shift). But this is fairly impossible to see in stockinette stitch fabric – but can be very noticeable in rib stitch. Below is an example of one of my demo pieces after I had cut it and reknit half the body and the hem…I can’t see any shift at all, can you? If there is one, it’s not noticeable at all!
Are there any things I need to keep in mind when re-knitting my body bottom/hem?
After surgery is complete and you’re ready to re-do your body bottom and hem, there are a few things to keep in mind:
- If you had any lace or other detail at the bottom of the sweater (that now needs to be reknit), you’ll now be knitting it from the top-down and so it may look a bit different (depending on the pattern). You may want to practice beforehand to see if you might want to make any adjustments.
- Your hem treatment edge will now be a bound-off edge, so it will likely look a little different than when it was previously a cast-on edge.
- If you want to be able to reuse the yarn that was in your previous hem, check out my post here.
Instead of creating a new hem, can I alter my body length and then just reattach my hem?
Yes, you can. It’s a bit more complicated and I have not done it myself (full disclosure). But I have seen videos that demonstrate this. It involves not only securing a round of stitches in the body fabric but also a round at the hem. And then once your body has been altered, you reattach the hem by grafting the body and hem together (using Kitchener stitch). Personally I would rather just reknit the hem, but this could be an option to consider if you prefer the look of the cast-on edge at the hemline, or the stitch pattern of the hem would be disrupted too much.
What if I need to cut further up in the sweater (such as right under the underarm) – how do I ensure I secure stitches all in the same row or round?
Honestly, this is tough. As I show in my video lesson, I recommend securing a round of stitches a few rounds above the hem, and using the hem as your guide and counting up. This works when you’re securing stitches only a couple/few rounds above the hem, but if it’s say 12″ above the hem, then it gets much trickier. But I’d suggest still counting and place removable markers. And then before attempting to put the stitches on a needle, I’d suggest inserting a lifeline first. Then if it looks like it all lines up properly, you can guide the needle through the lifeline stitches.
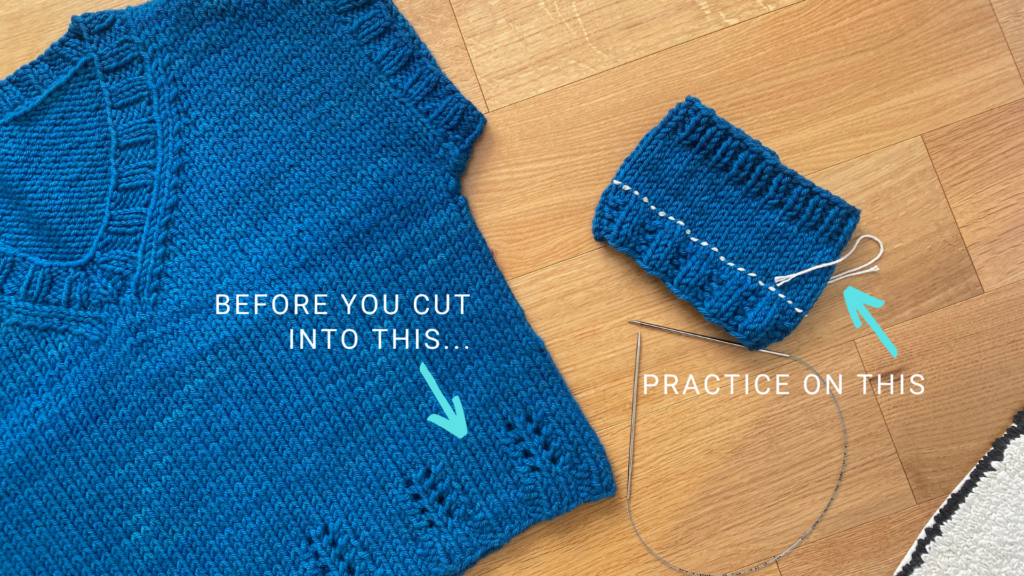
I hope my video lesson and FAQ’s help to demystify this process a bit. And should you ever need to perform this kind of sweater surgery in the future, I hope it will come in handy (but remember – practice first before operating on an actual sweater!).


