If you have been following along with this blog for a while then you know that I often talk about the importance of gauge swatching. So in this post I’m not going to get into the “why’s” of gauge-swatching but instead I’ll be focusing on providing some tips for actually seeing and counting your stitches (and rows) in a swatch. If you want a bit more in-depth lesson about what gauge swatching is all about, I’d suggest clicking here – it was my gauge swatch lesson from a previous knitalong and although it talks specifically about a particular sweater project, the concepts are the same regardless of the project.
So here are my 5 tips for gauge swatch stitch counting! Note: in many of these, I’m using a tape measure. A word of caution…tape measures can stretch over time (in my case, I just bought this one so I feel confident it’s accurate). There are some tape measures that are made of material that won’t stretch (like this fiberglass one), or, if you don’t have a new tape measure to use consider using a ruler (like this one). Ok, on to the tips!
Tip #1: a small DPN is your best friend
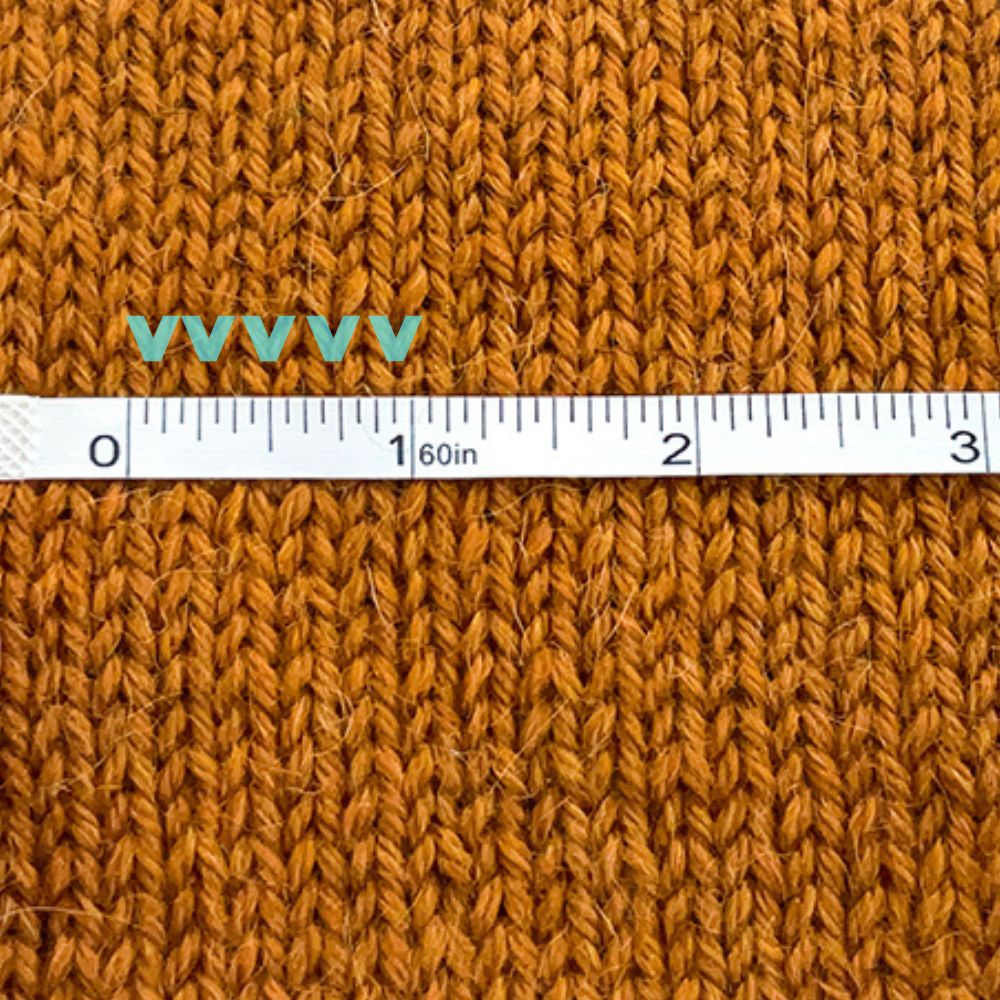
No matter what tool you use for the actual measuring, having a small (i.e, somewhere between a US 0-4) DPN handy will be such a help as you count your stitches. If I try to count stitches without one, I’ll maybe be able to count 1″ worth and then my eyes start to blur and I loose count. I use a DPN to trace over each stitch as I count and this helps me keep track. Here is what I do:
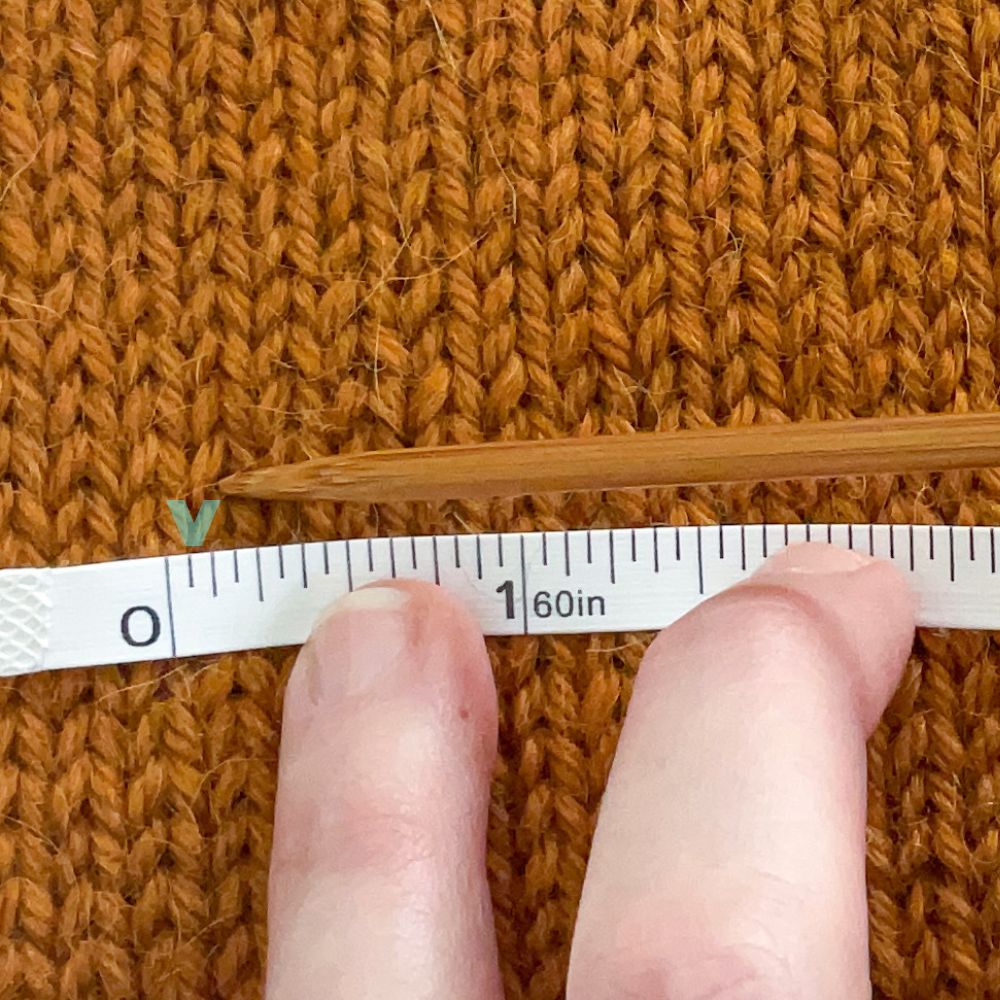
For a video visual of this, check out this link. It’s my video tutorial of how to count stitches (and rows) in a gauge swatch and I have fast-forwarded to the point where you’re actually doing the counting.
Tip #2: Tape measure too fiddly? Try a gauge ruler (or a regular ruler)!
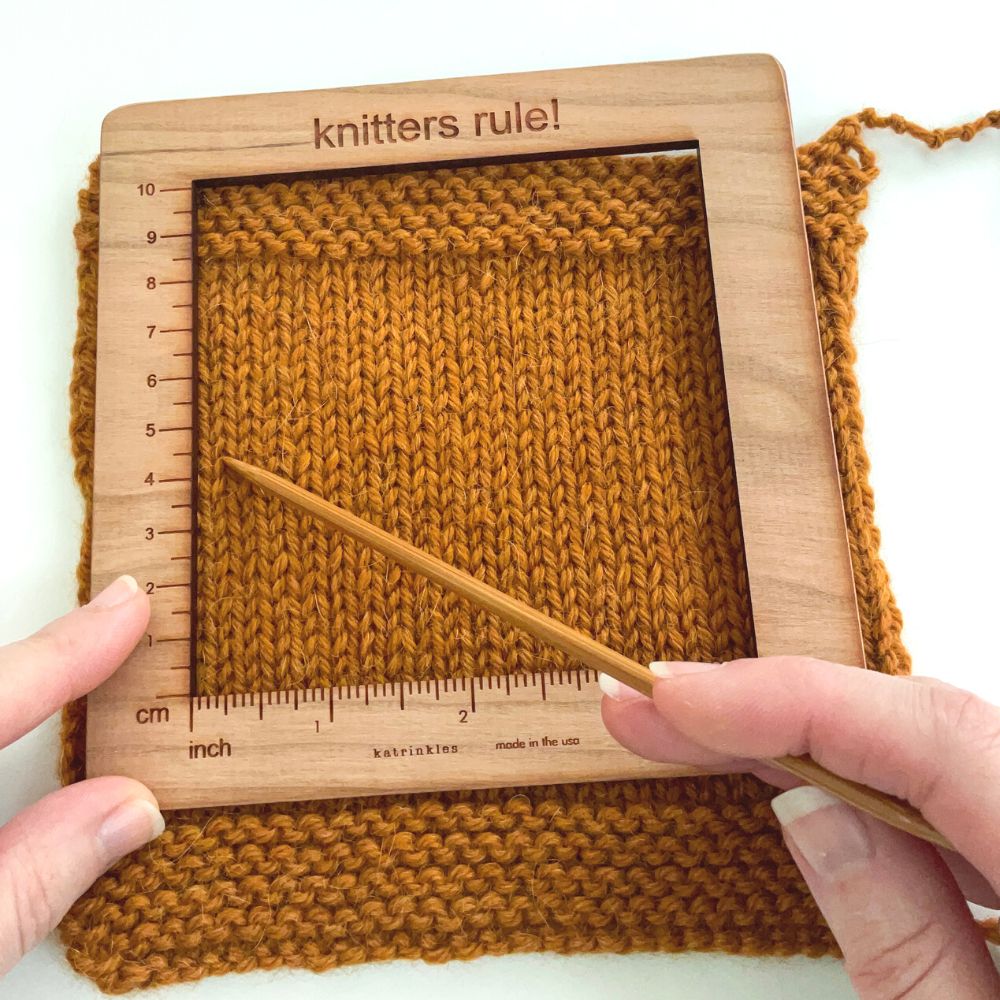
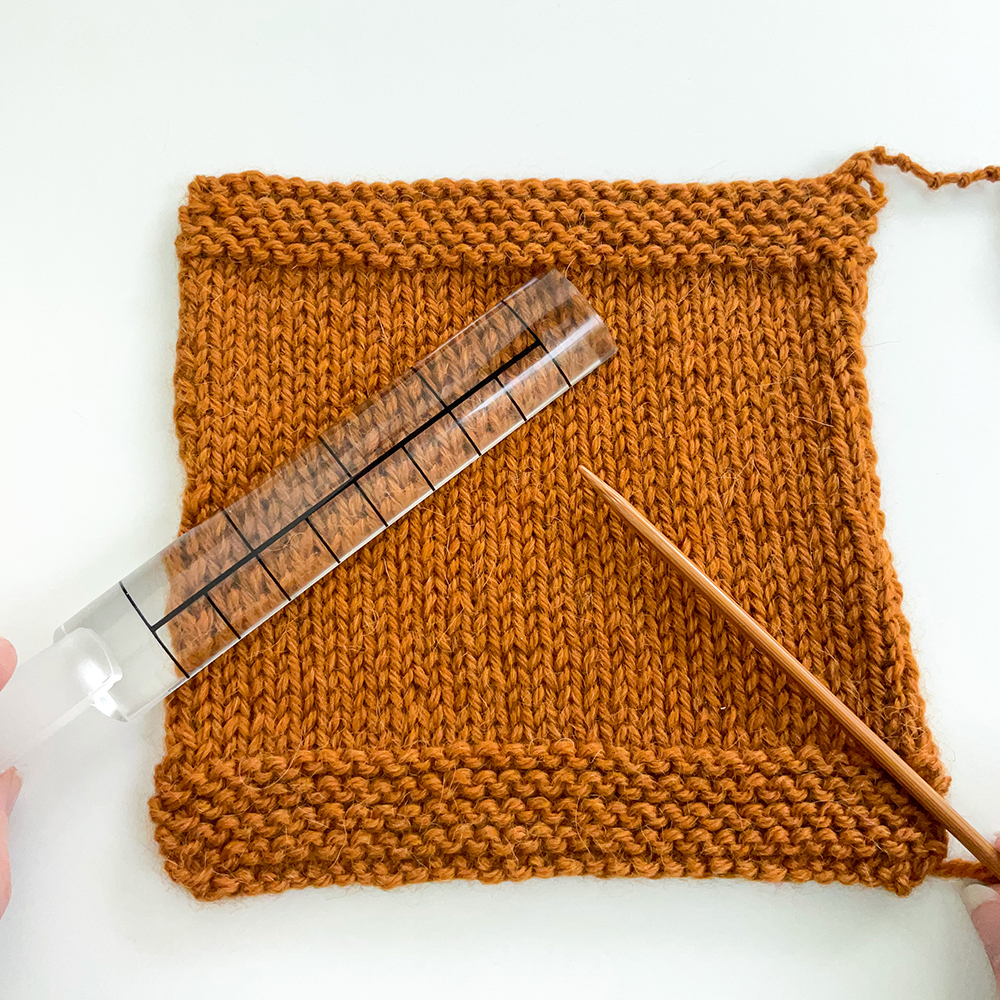
Sometimes tape measurers can be a little fiddly, meaning it can be hard to keep it stable as you measure. And as I mentioned at the beginning of this post, you need to be careful of older tape measures because they can stretch and become inaccurate. In these cases, you may want to consider purchasing a gauge ruler. Here is one I purchased at my LYS that is made by Katrinkles:
Here’s what I love about the 4″ gauge ruler – it doesn’t move around like a tape measure and keeps your swatch in place as you measure (and it’s great for stitches and rows). But another option is to just use a regular ruler as well!
Tip #3: Try a magnifier to better see the stitches
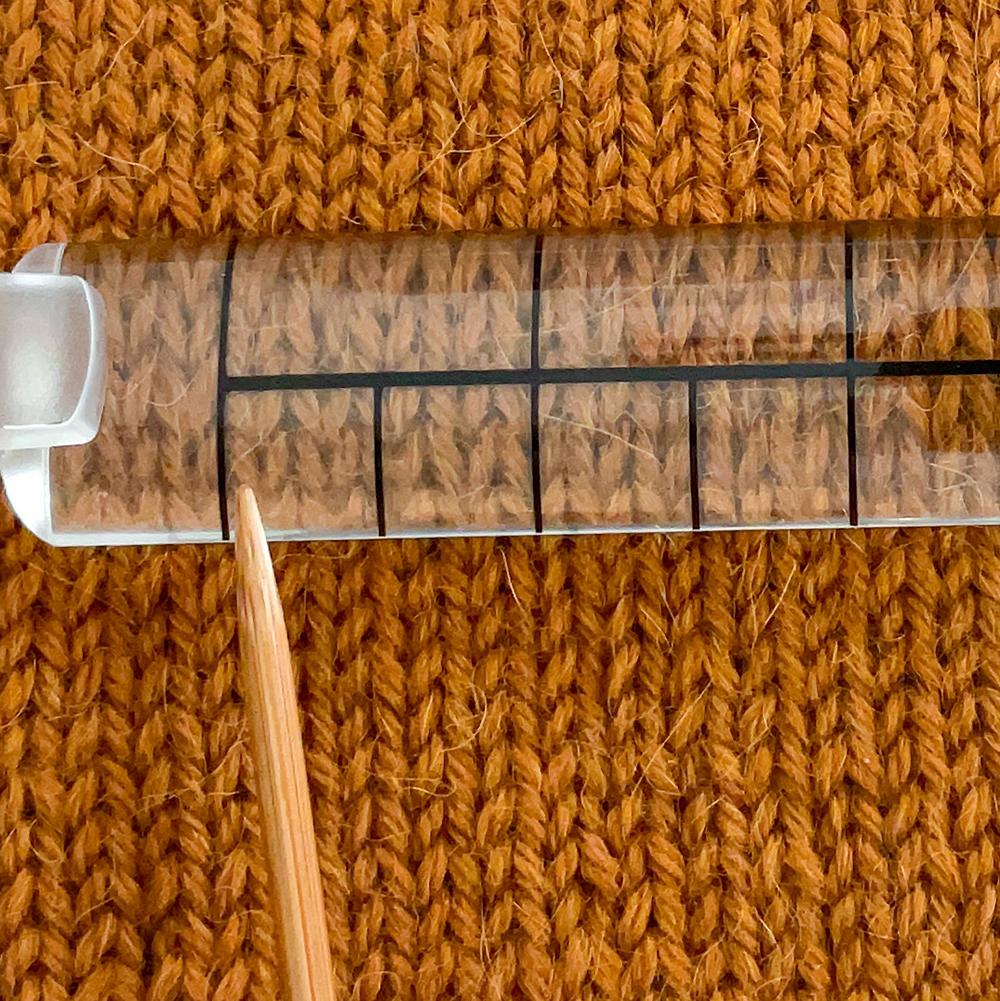
I little while back I purchased a gauge ruler magnifier at my LYS (it’s called the EZ PZ Gauge Ruler) to see how I liked using it. For me, there are definite pro’s and con’s.
This may be especially helpful with yarn that has a lot of texture to it and you just need a little help identifying where a stitch starts and ends (see picture below). Of course you can use a regular magnifier as well, but the benefit of this is the measuring tick marks.
Tip #4: Still can’t see your stitches? Measure from border to border
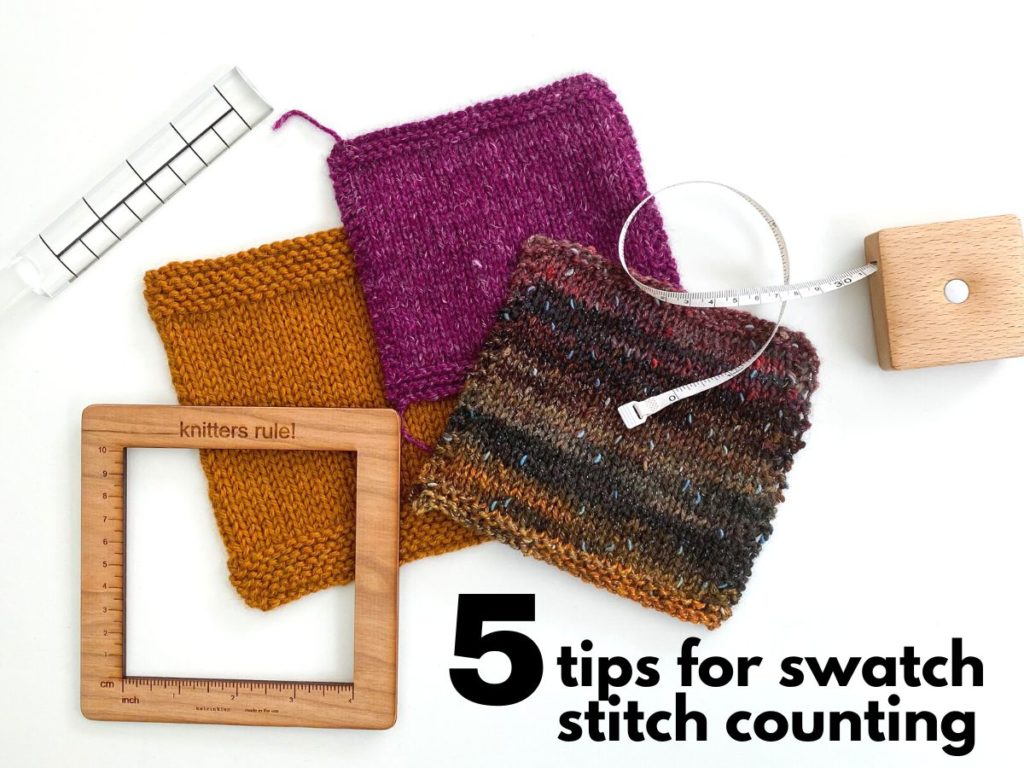
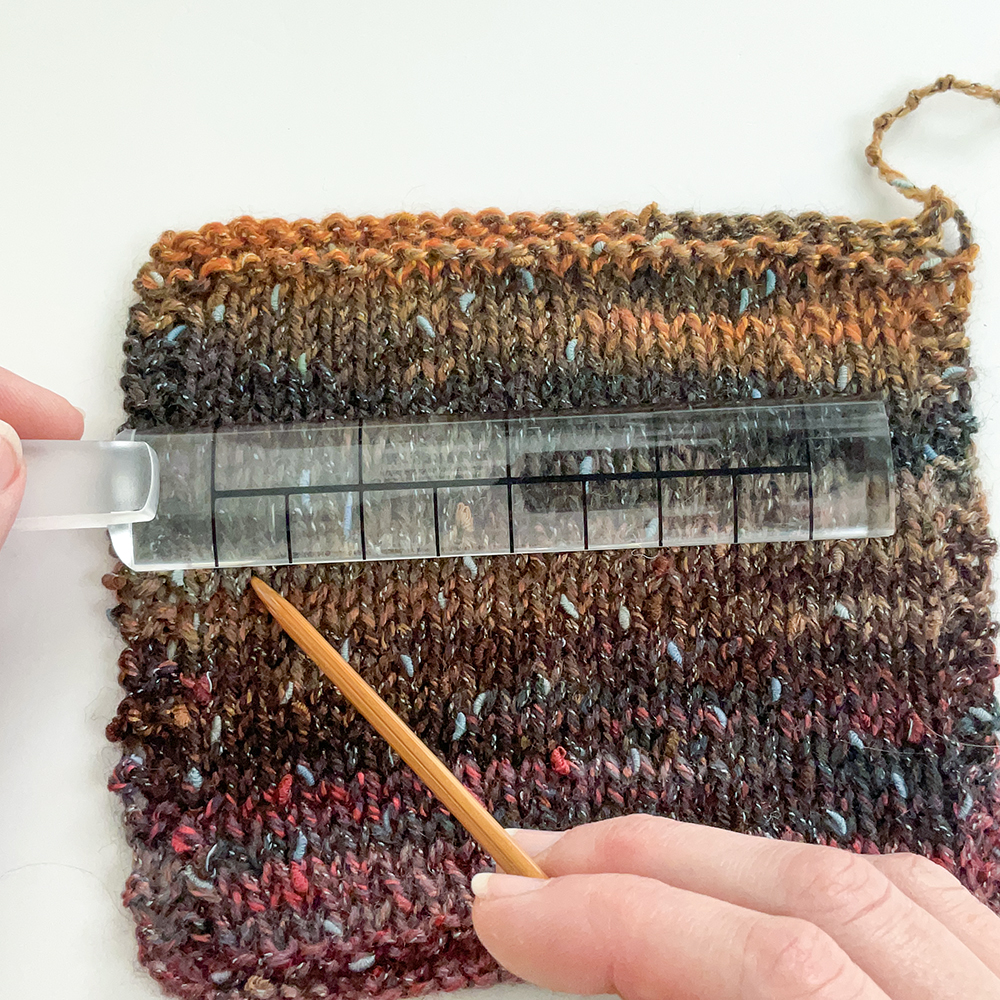
Speaking of textured yarns, sometimes a magnifier just doesn’t cut it. If your yarn is textured (like my swatches above and below), counting your actual stitches can be really tricky. And in some yarns (such as bouclé or other novelty yarns) it can be down right impossible. What do you do if you just can’t distinguish between stitches? In these cases, here is one option I suggest…
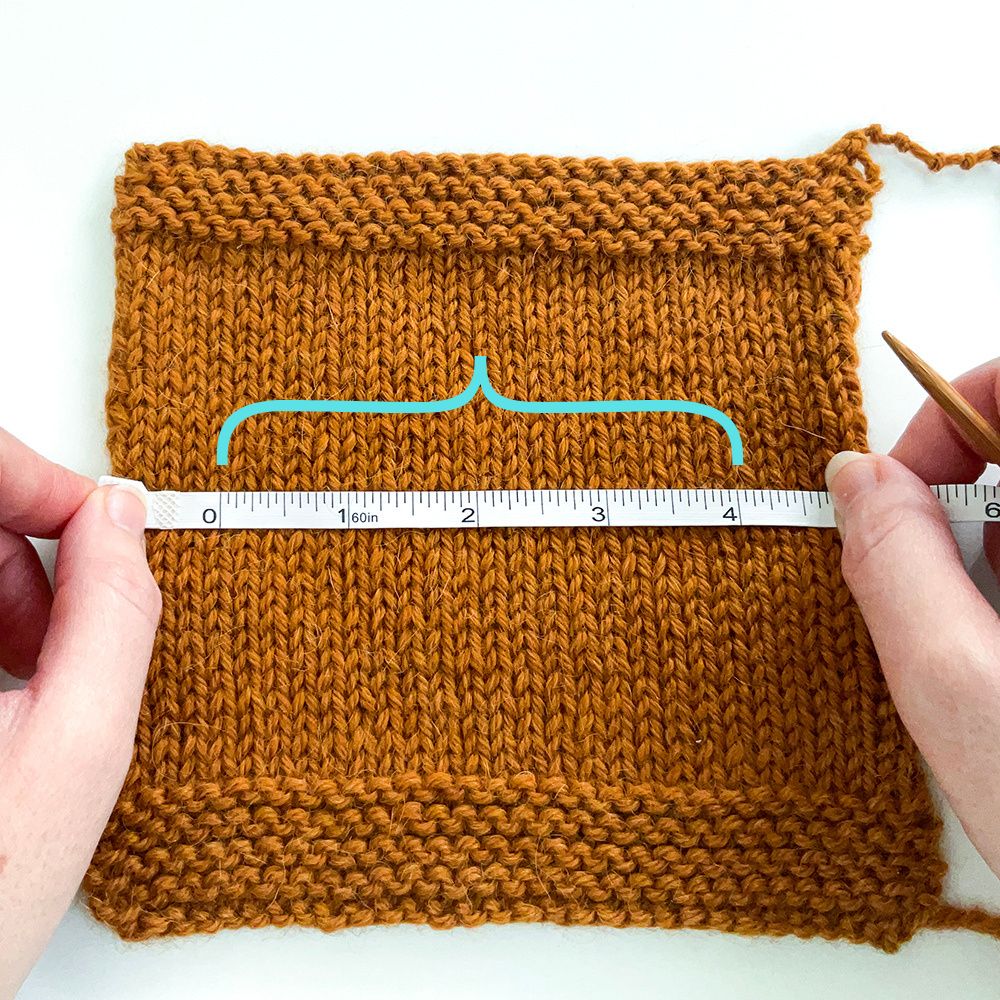
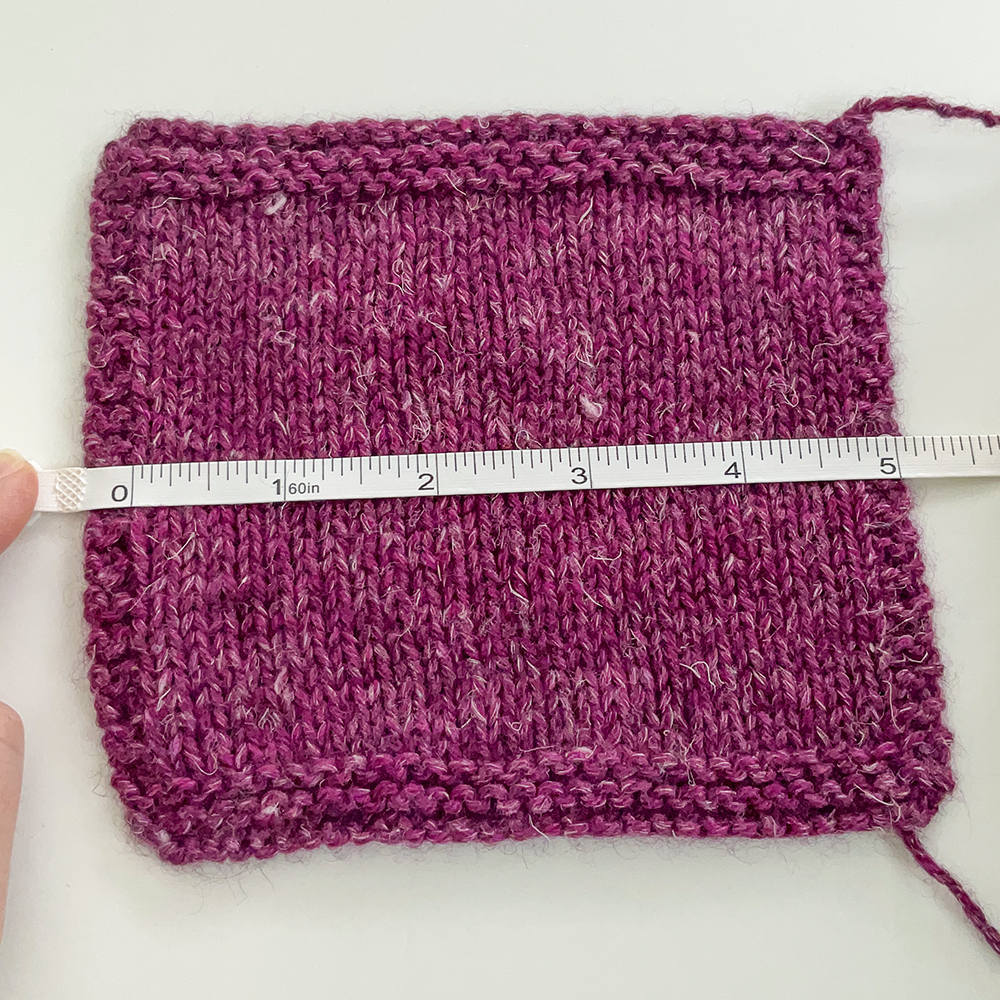
Create a swatch where you 1) create a small garter stitch border along each side (2-3 stitches) and then 2) write down the number of stitches you have in-between the border and then 3) After you’ve knit your swatch, measure across the whole inside of the swatch (so from border to border, not just 4″ worth). Let me show you an example…in the picture below, I have cast-on a total of 30 stitches, with a 2 stitch garter border on either side. So the number of stitches in-between my border is 26.
Then, instead of measuring over just a 4″ area in the center of the swatch, I measure the whole area of fabric in-between my garter stitch borders. I know for a fact that I have 26 stitches in-between this garter frame, so there is no need to count the actual stitches. I know that my 26 stitches = 4 3/4″ (according to my measurement above). Then I just do a little simple math to figure out how this translates to just 4″:
- Take 26 and divide it 4.75″ and I get 5.47 – this is my per inch stitch gauge.
- Take this per inch stitch gauge and multiple it by 4″ to get my gauge over 4″. In this case, I get 21.88. I then round to the nearest 1/4 stitch, so that would be 22. So my stitch gauge over 4″ = 22 stitches.
You can do the same thing with row gauge, counting the number of rows you work after your garter stitch border on both the top and bottom of the swatch. I find this method works well as a double-check as well. If you measure over 4″ but aren’t confident in your counting, try this method to confirm.
Tip #5: Zoom-in to see even better
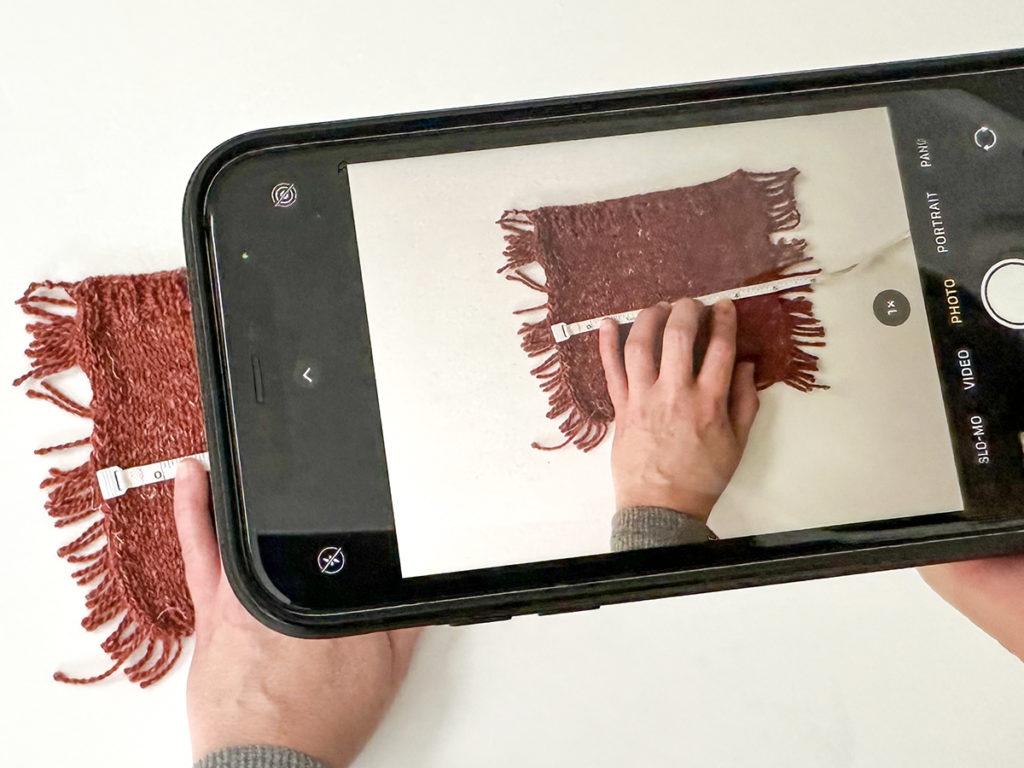
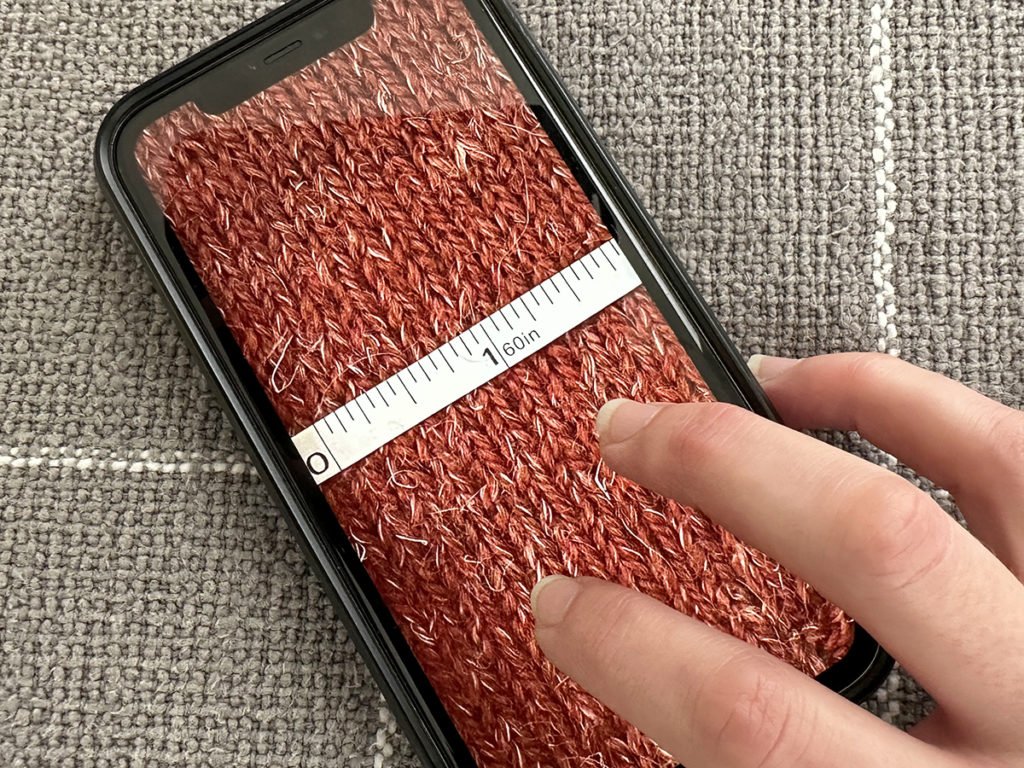
Another option for seeing and counting your stitches a little easier is to get some assistance from your phone camera. In order to do this properly you may need some assistance though (either another person who can take the photo for you or if you have a tripod that enables you to take overhead shots). Hold the tape measure or ruler down, lining up the left edge with the start of 1 stitch (just like I talked about in step 1). Then have the picture taken overhead (or if you’re using a tripod, set the timer). Then once the shot is captured, zoom in your phone and count your stitches.
Like tip #4, this may be a good option to use as a ‘double-check’ to your regular counting method. Here are some additional tips if you want to try this out:
- Lighting is important – the less shadows the better so try finding natural light (but not direct sunlight).
- Angle is also important – I suggest making sure your camera is positioned right overhead.
- If you still can’t see the stitches well, take advantage of your photo editing functions on your phone! Click on “edit” and turn the exposure up – this will lighten up your photo and perhaps help see those stitches better.
Bonus Tip!
In late 2025, I created a new video lesson that shares an additional tip that is especially helpful for those with visual impairments. Check it out below!
I hope some of these tips might be helpful the next time you need to measure your swatch, especially if you are working with textured yarn! Do you have any other suggestions? I’d love to know so feel free to reach out.

