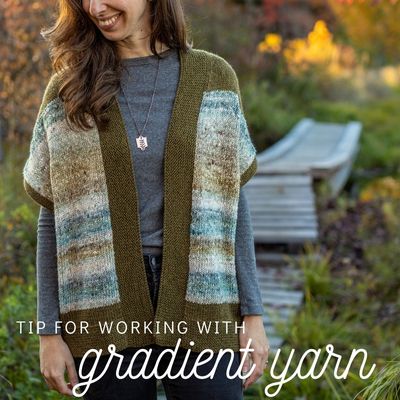
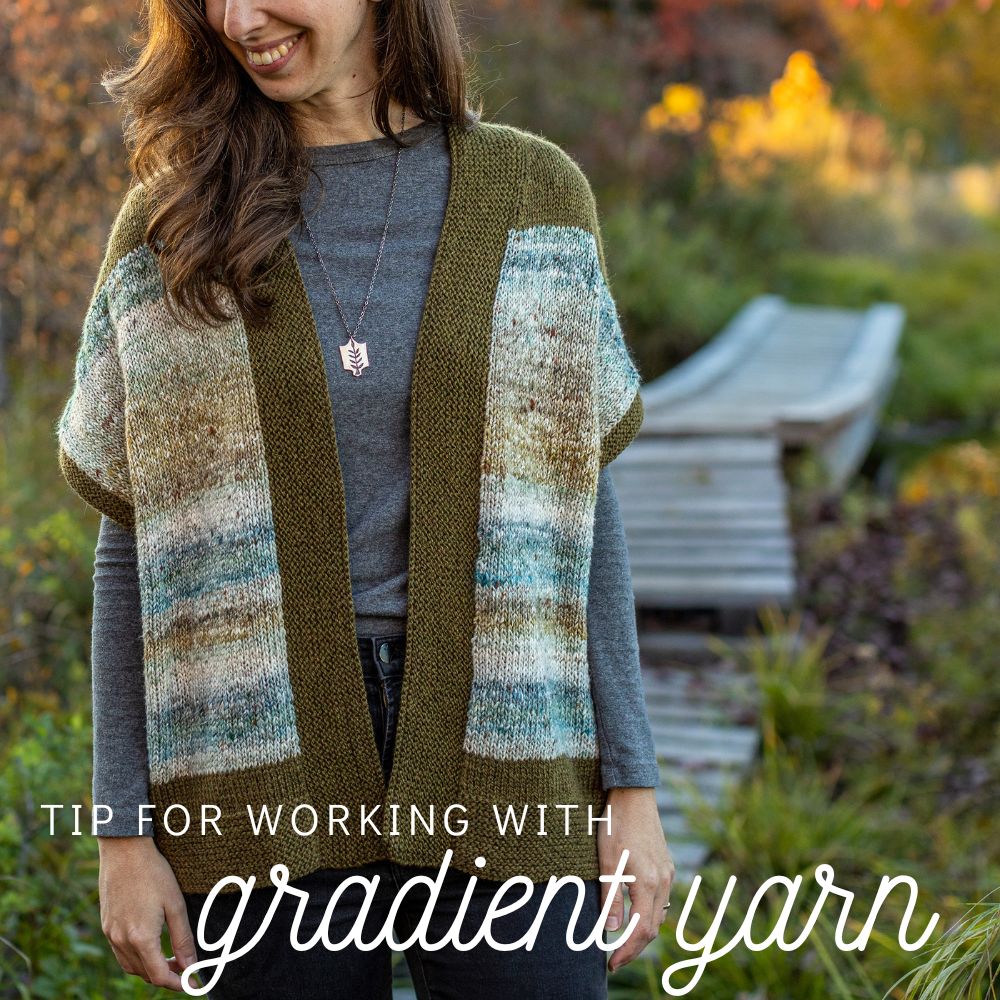
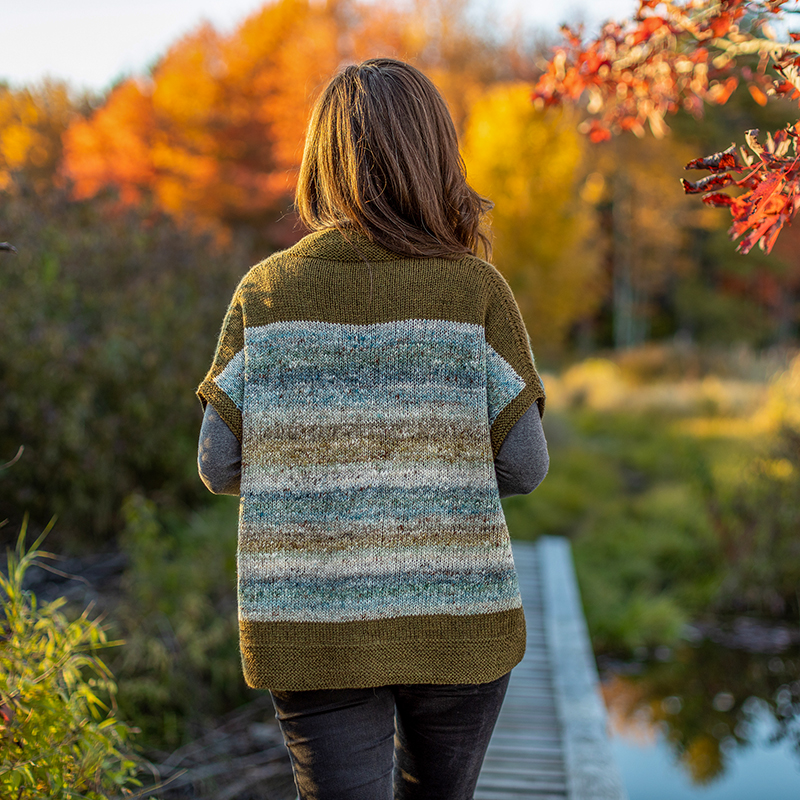
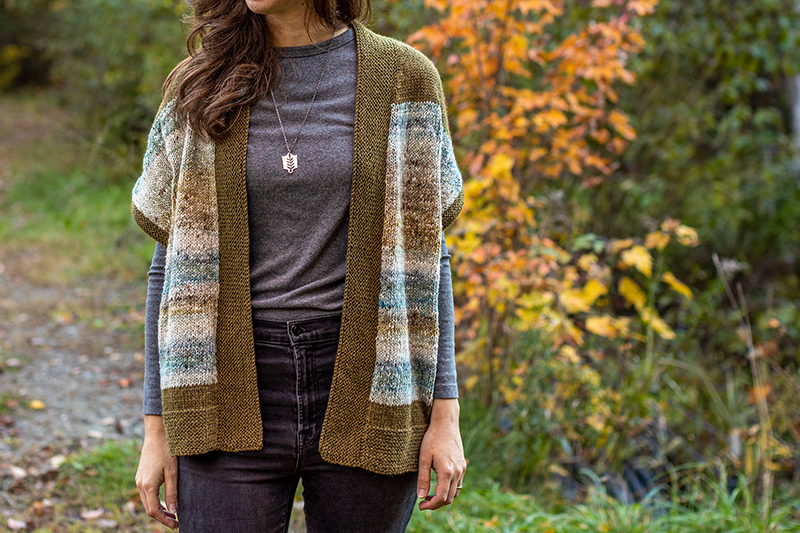
Gradient self-striping yarns can be so fun to knit with – they gradually shift from one color to the next, creating a beautiful affect. I recently used a yarn like this for the body of my updated Layla cardigan – Noro Akari.
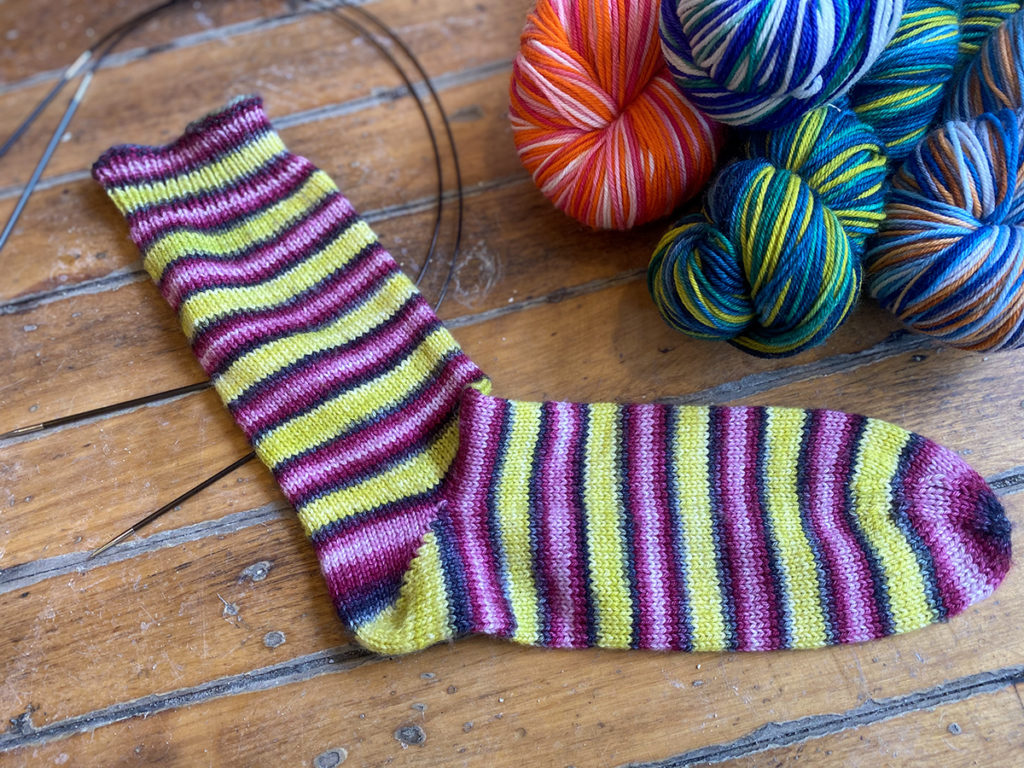
As you can see in the photos above, the color flows from blues to creams to browns, and then repeats over and over again. It’s technically a self-striping yarn (because it’s repeating the sequence of colors), but not in the “traditional stripes” sense (like in the photo below of self-striping sock yarn).
Gradient self-striping yarn is more subtle, and reminds me more of the color shifts you see in nature such as in the water or clouds. The photo below shows a perfect color gradient shift in the water!

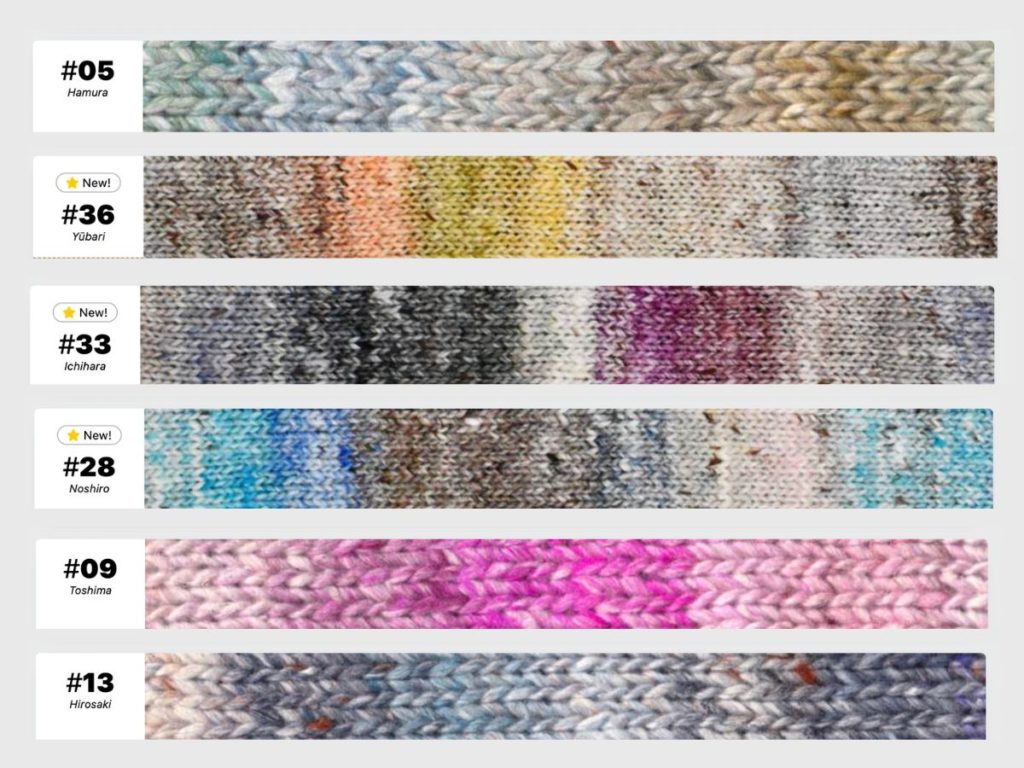
And in Noro Akari, here are swatches (courtesy of the Knitting Fever website) that shows the different colorway options and how the color flows (the first colorway, #05, is the one I used in Layla in the photos above):
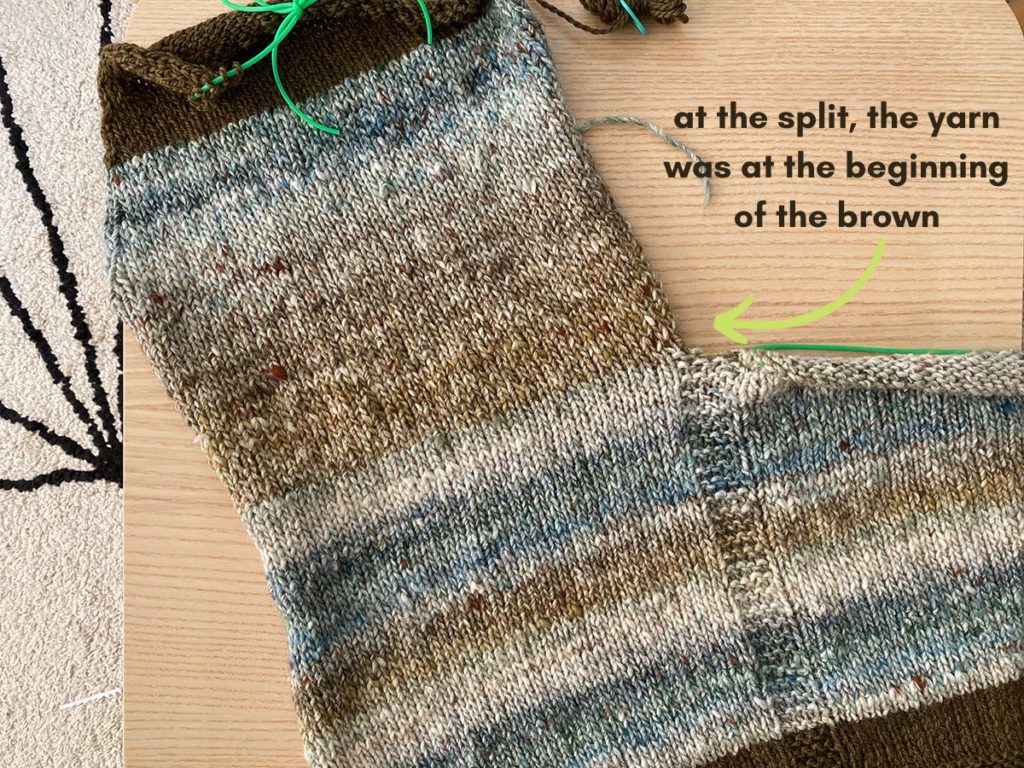
When I was knitting Layla with this yarn, because the garment is a bottom-up construction, I was knitting the whole garment in one piece from the hem up to the underarms. But then at the underarms, the garment is split and you work each Front and the Back separately up to the shoulders. So at this underarm split, you stop knitting the garment all in one piece – you continue with one of the Fronts and the other Front and the Back stitches ‘rest’ on a holder. When you finish the first Front, you’re instructed to transfer the other Fronts’ stitches from the holder back onto the needle and rejoin the yarn (and then work that Front up to the shoulders). But what if the “next up” shade in the skein I’m working with isn’t the same shade as when I had started the other Front?
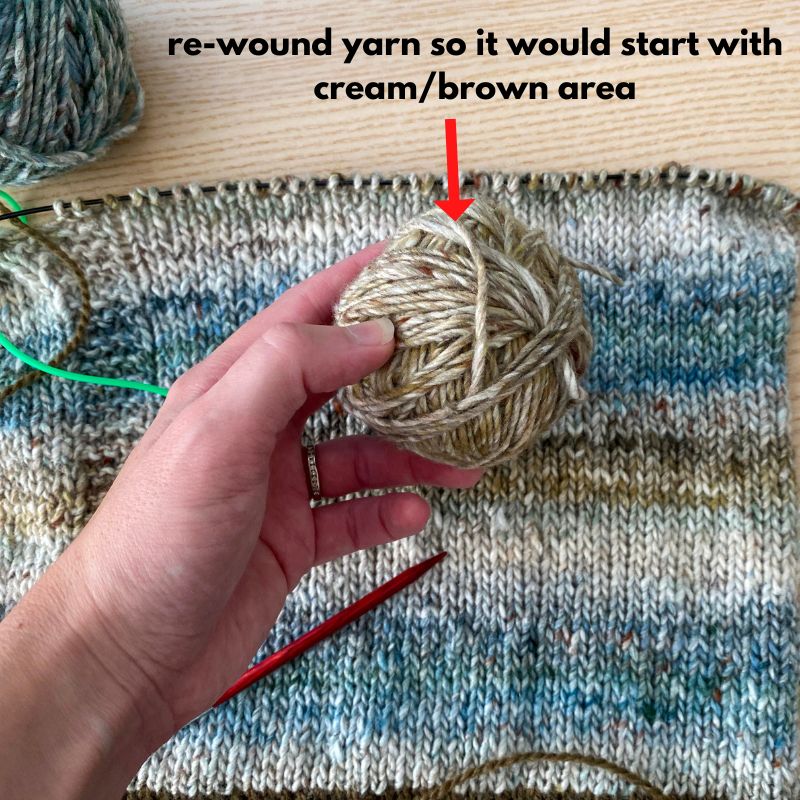
So as you can see above, at the underarm split the gradient was at the brown shade. But when I was ready to begin my other Front, the yarn was at the blue shade. So what do you do in this circumstance? Well of course option 1 is to just ignore the gradient pattern and knit-on wherever the skein is at. But if you are a bit more persnickety and want the color pattern on each Front to match as much as possible (and provide color flow/symmetry in your garment), then you can try option 2 which is this: re-wind your ball by hand, cutting it at the point where you find the color spot you want to be at (as I did in the picture below):
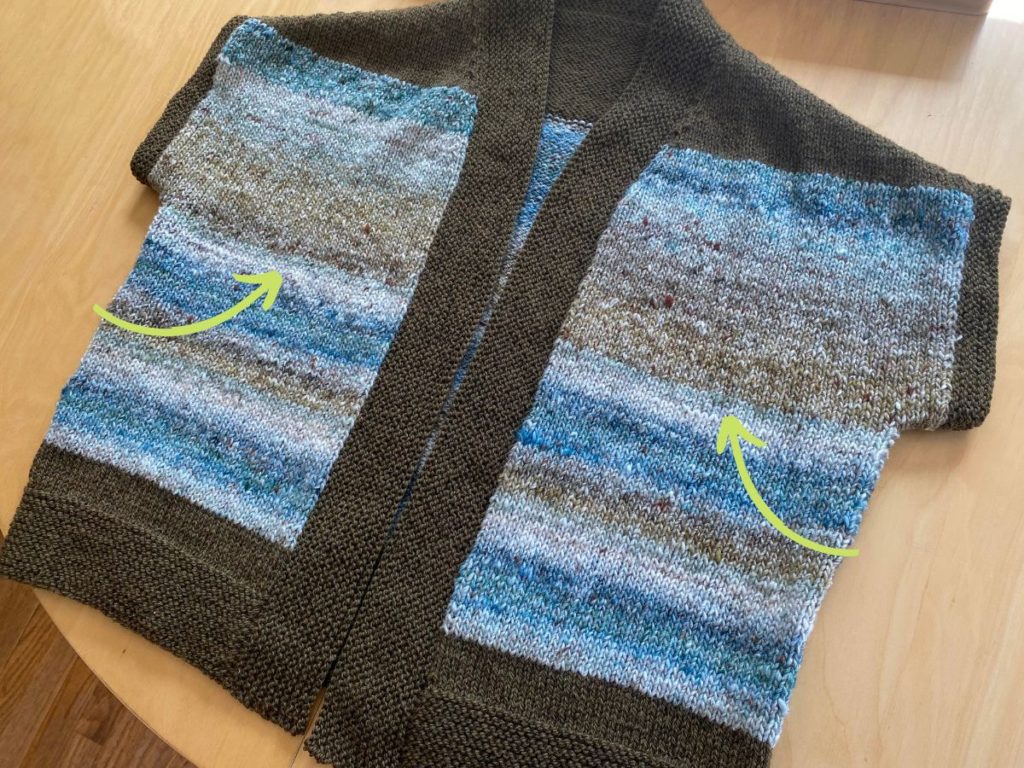
So the lesson here is that you don’t have to settle for working with your gradient yarn at whatever spot it’s naturally at – if you don’t want to start a new section of your garment with the shade that is currently “next up” in your skein, you don’t have to! You can find the spot that you want that will provide the best color flow and symmetry in your garment, rewind the yarn or cut it and start at the shade you want. Below shows my Layla laying flat and as you can see, this trick allowed both Fronts to have similar color flow & symmetry:
Note: as you can see above, the thickness of the stripes changes after the underarm and that is unavoidable. This is due to working shorter rows with the yarn – the garment is knit in one piece from the bottom to the underarm, and so obviously the rows in the lower body are much longer (since it includes both Fronts and Back), that the rows in the upper body (where each Front and Back are worked separately). But, by working this technique you at least keep the color sequence the same at the underarm point for all pieces in the garment.
What other construction-styles could you use this technique?
It’s not just bottom-up garments like Layla where this technique may be helpful with gradient striping yarns. For top-down sweaters (like a raglan construction), you typically work the garment all in one piece from the neck down to the underarm, at which point the sleeve stitches are separated from the body (and the body is continued to be worked down to the hem). So you could use this technique when the time comes to transfer the sleeve stitches back to needles and rejoin the yarn.
The downsides of this technique
The downside to this technique is that you may wind up wasting some yarn. And with expensive yarn, wasting any yarn is definitely not ideal. But in Layla, I personally found it was quite a minimal amount ‘wasted’, so it may just depend on your particular yarn and the garment. What I found is that the yarn I wound up cutting I could use further up in the garment. So I didn’t wind up wasting too much yarn in the end. The other downside is that if you only bought just enough gradient yarn as specified in your pattern, then you may wind up not having enough yarn to play with and make this technique work. So if you plan to use gradient striping yarn in a garment (and want to work this technique), I’d suggest adding about 10-15% to the yardage requirement listed in the pattern.
What are some other similar gradient, self-striping yarns?
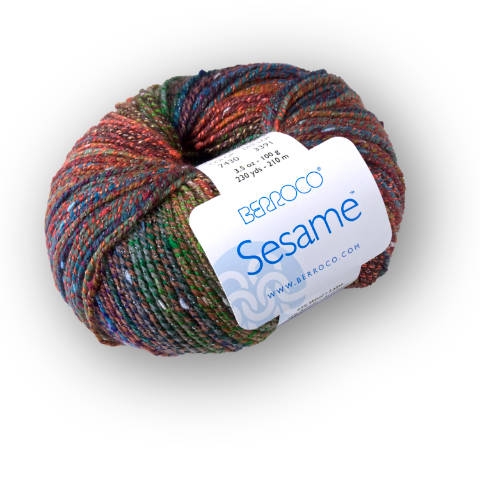
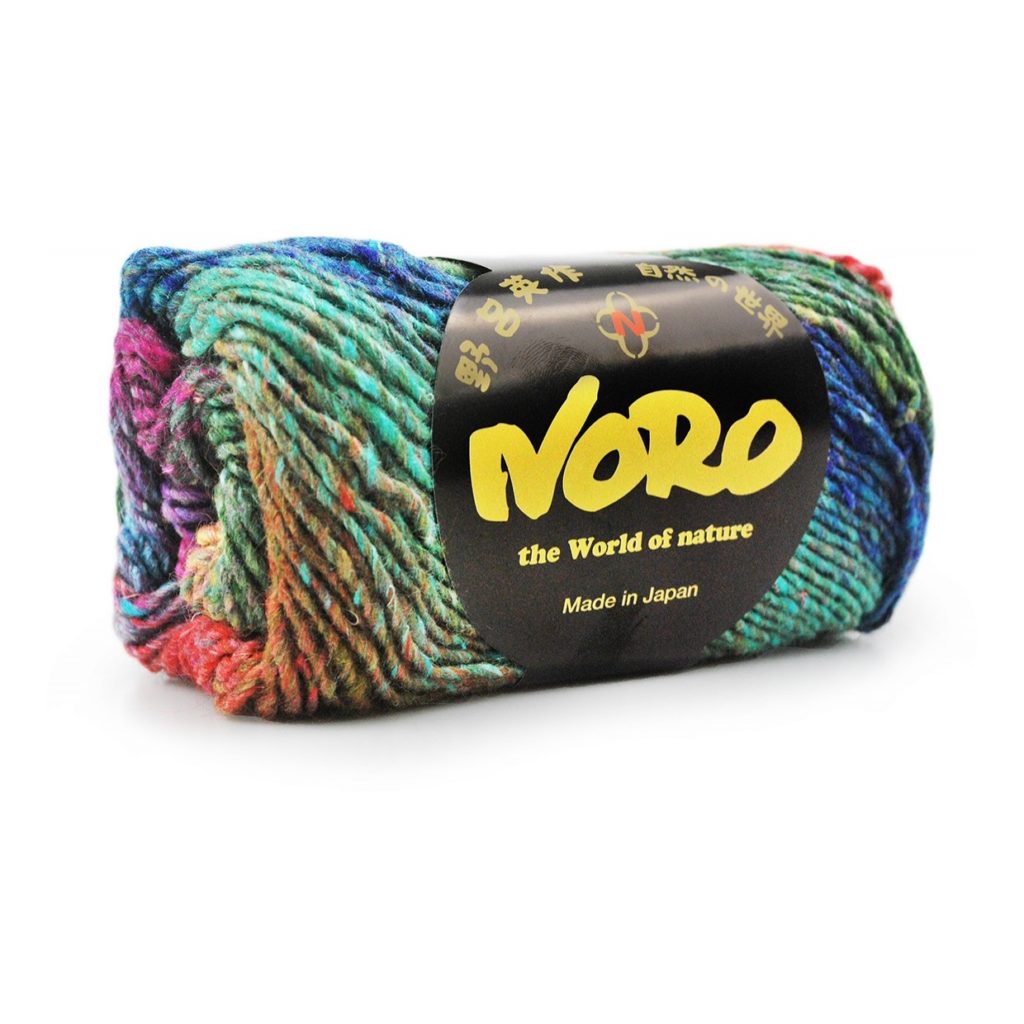
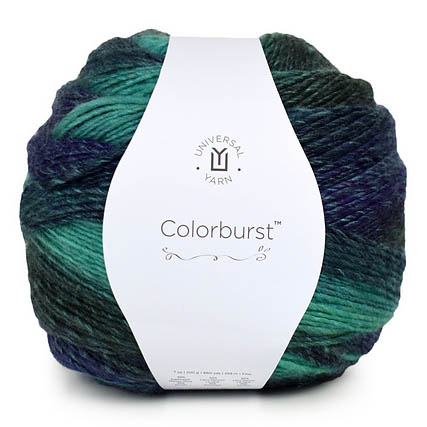
Here are just a few other yarns that I have heard about that may create a similar affect. For more ideas, check with your favorite yarn shop to see what brands they carry!
Want to give it a try?
Want to give self-striping gradient yarn a try on a garment project? Click here for more information about my Layla cardi/vest! Gradient striping yarn also looks great when it’s worked as actual stripes in a garment, when you pair it with a solid color. For example, you could knit the 1-row stripes version of Layla with a gradient yarn like Noro Akari and pair it with a solid color yarn like Blue Sky Fiber Woolstok Worsted or Malabrigo Worsted. Or another striping pattern idea could be Little Coffee Bean (or the adult version Coffee Bean Cardigan). And one last idea – you could use a gradient striping yarn for one of the colors in the Soundtrack Top or Soundtrack Cowl!

