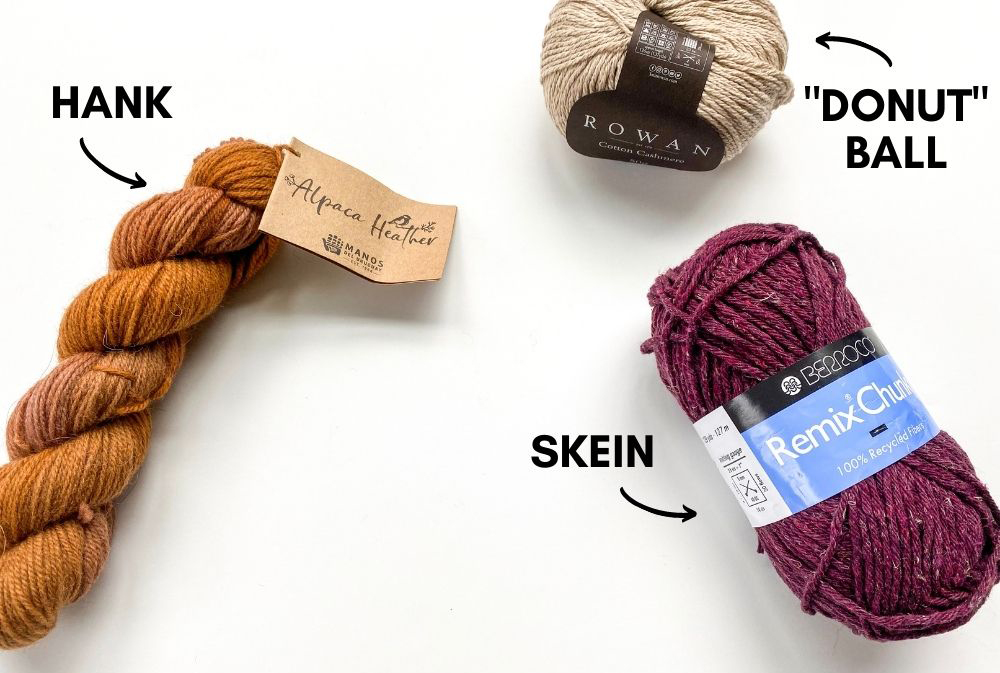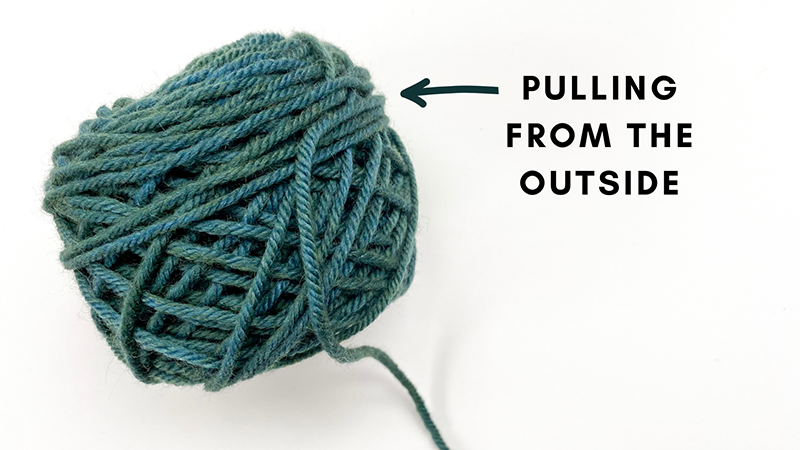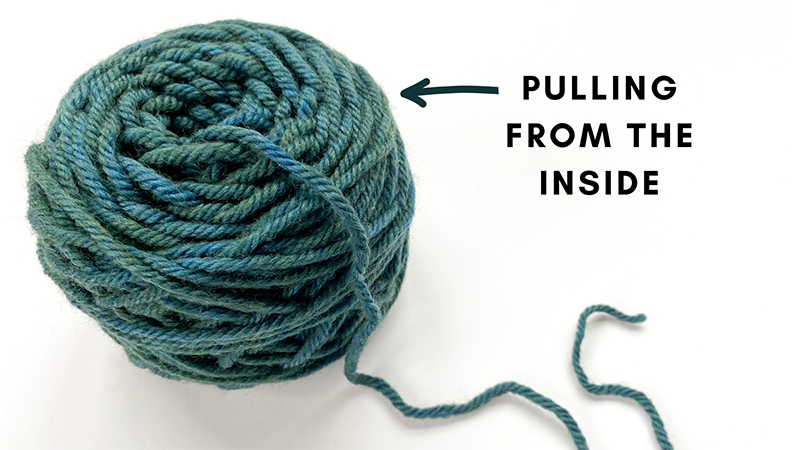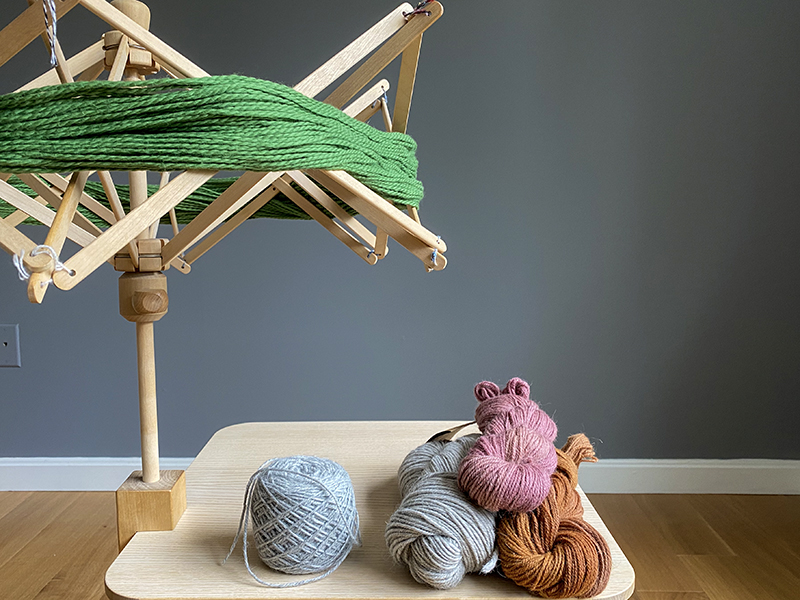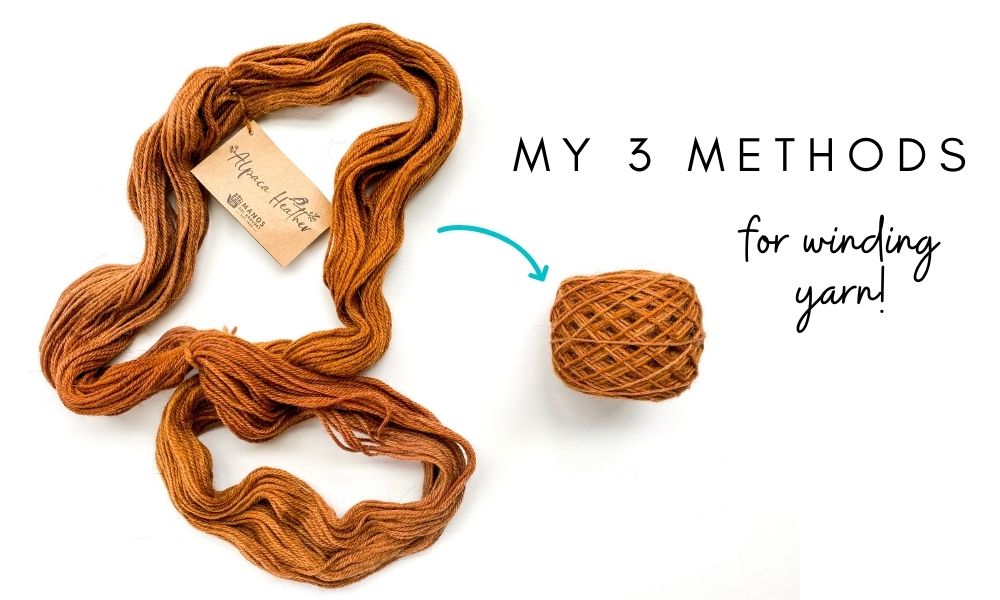
Shortly after first learning to knit, I purchased my first “hank” of yarn – this is yarn that comes in a big loop, twisted in a coil formation (pictured below on the left). Having previously only knit with “skeins” or “donut balls” (pictured below on the right), and being a brand new knitter, I had no idea that I was supposed to wind the hank into either a ball or cake before I knit with it! Rookie mistake, and one that cost me hours of detangling yarn 🙂
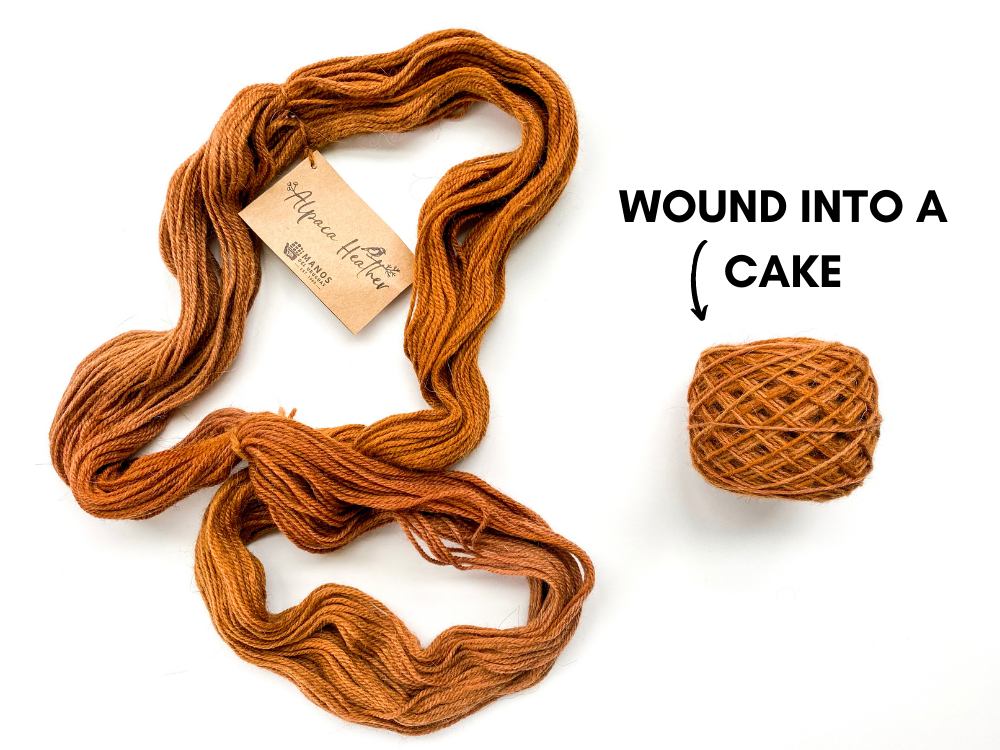
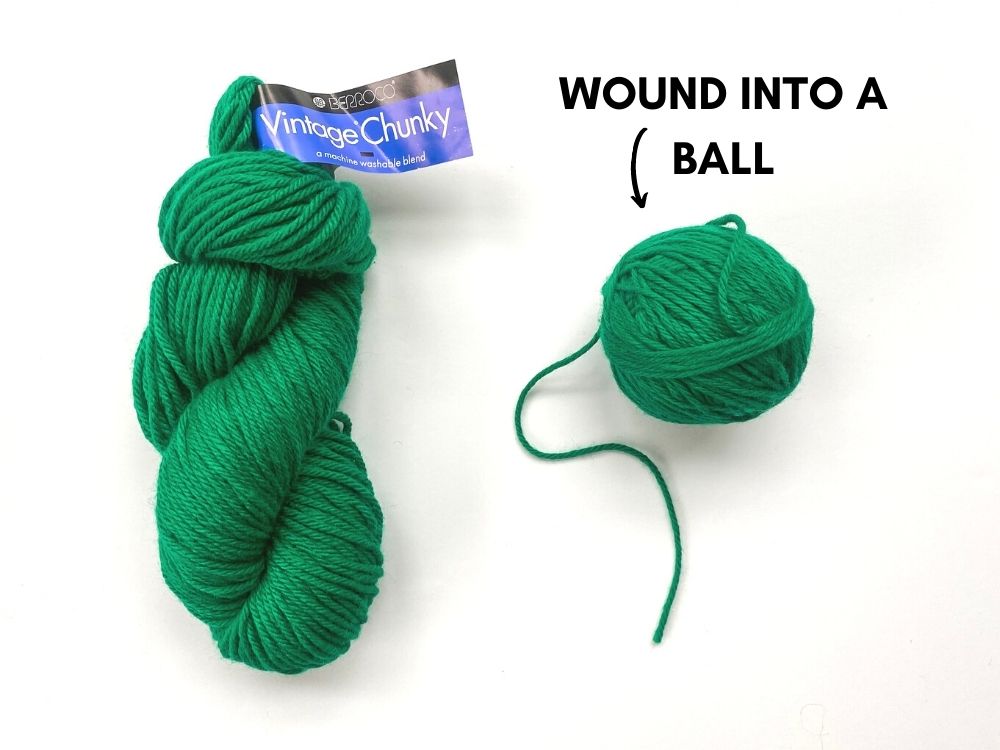
So if you purchase a “hank”, before you knit with it you will need to wind it into a “cake” or a “ball” – below are pictures that will show you what each of those examples look like:
Through the years I’ve learned and heard of many different methods people use for winding hanks into cakes or balls (just like many things in knitting, there’s always multiple ways to do something!) But there are 3 particular methods that I tend to turn to, so we put together a video lesson that walks you through each of these 3 methods of step-by-step! You can watch the whole lesson below or click here.
Below I’ve gone into more detail into each of the three methods I discussed in the above video.
Method 1: Ball Winder & Swift
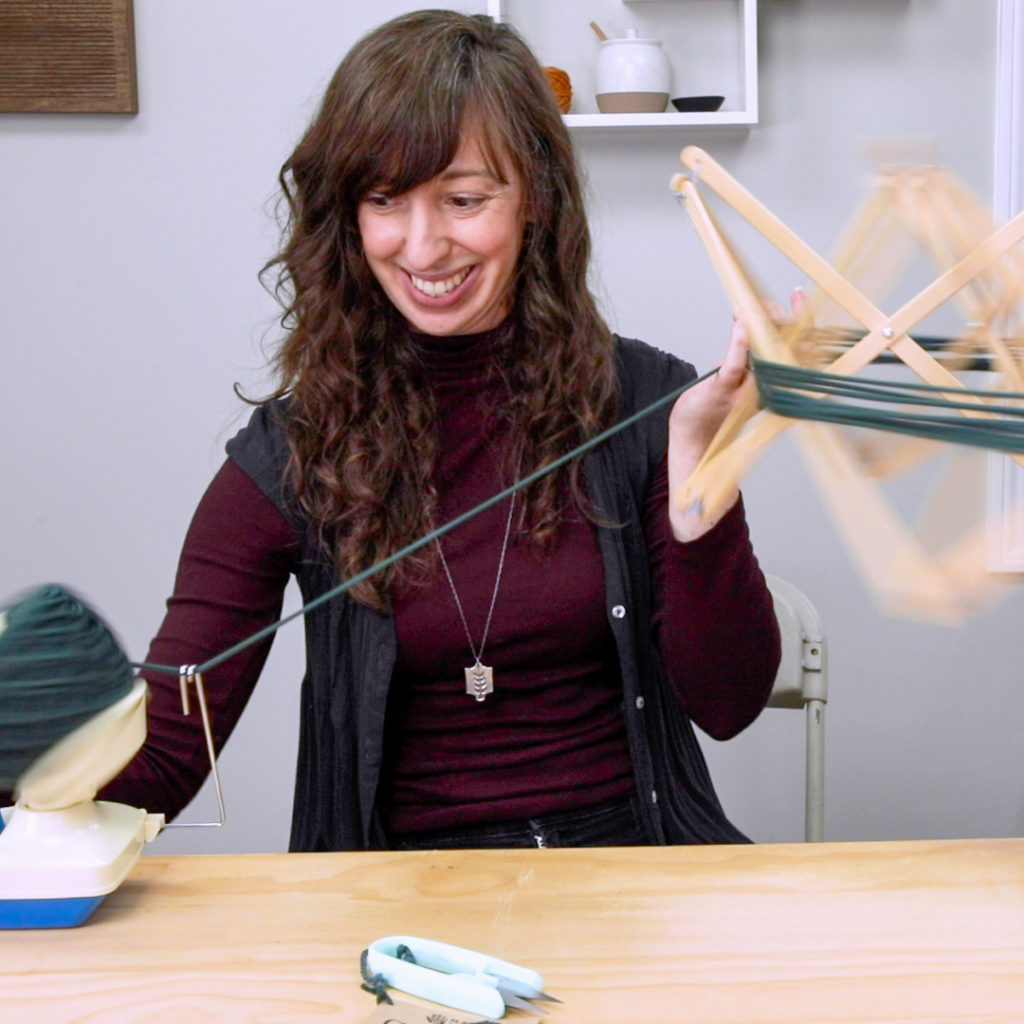
Using a ball winder & swift is the fastest way to wind yarn, and also enables you to create a yarn “cake”. Not only are they pretty, but by creating a cake you can pull from the outside OR the inside when knitting with it.
The downside to a ball winder and swift is that it’s an investment. Depending on the manufacturer, they tend to be about $50 for each part, so totaling in the $100-ish realm. But once you purchase it, they tend to last quite a while. I bought mine over a decade ago and they still work great. The only ‘fixing’ I’ve had to do is reattaching the bits of string that keep the ‘umbrella’ parts together (I’m not sure what the technical name is for it!). I haven’t oiled mine either and I have heard that can help with the squeaking that can occur over time. To fast-forward to this segment in the video, click this link.
Method 2: Hand-winding using chairs
My other method is hand-winding the yarn into a ball and using chair backs as the thing that keeps the yarn in its loop formation. In my video I show using 2 chairs, but you can also just use 1 if that’s all you have. To fast-forward to this segment in the video, click this link. Also, I’ve seen some people who know how to hand-wind a ball and have it look more like a cake, where they can pull from the inside or outside. I haven’t tried it yet myself, but if you don’t want to get a ball winder and swift but you want to be able to pull from the inside of a cake, you can definitely find some videos out there that will show you how.
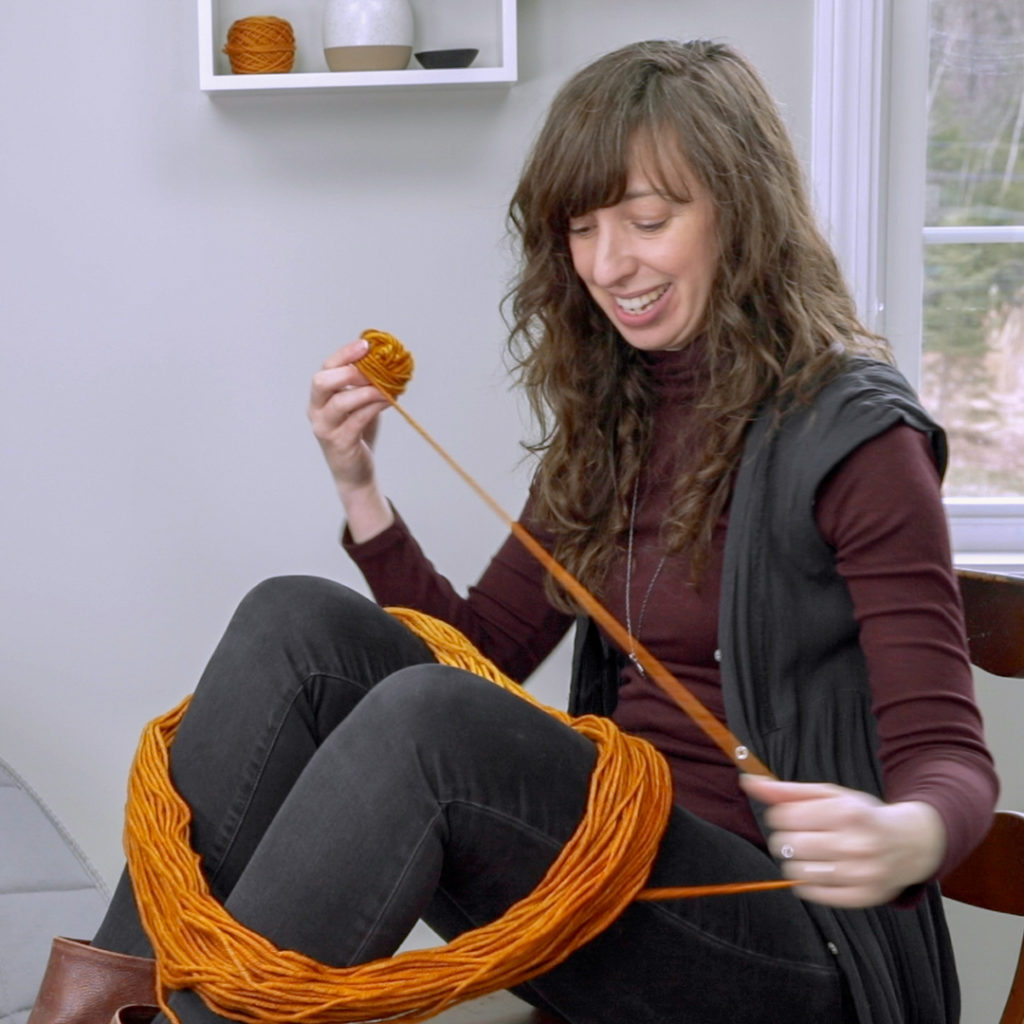
Method 3: Hand-winding using your knees
I call this my “I need to wind a skein but I’m watching a movie and don’t want to leave my couch” method! In the video I show you how I just use my knees as the “thing” that keeps the yarn in it’s loop formation as you create the hand-ball. I also show you how you can use a child/partner/roomate’s arms as well (if they are willing & able!). So don’t worry – even if you don’t have a ball winder and swift, or you don’t have any backed-chairs, you can still find ways to wind your yarn! To fast-forward to this segment in the video, click this link.
I hope seeing these methods step-by-step is helpful, and hopefully helps you to avoid some of the early mistakes I made when I was a beginner knitter! Or even if you are a more experienced knitter, perhaps one of these methods is not one you have tried before – either way I hope it helps!

