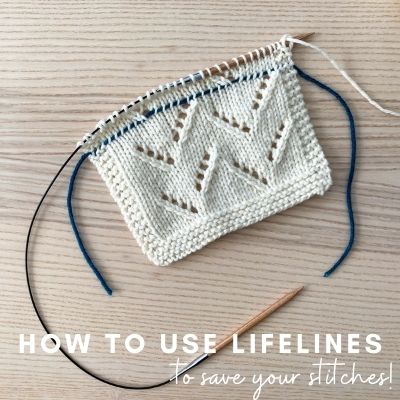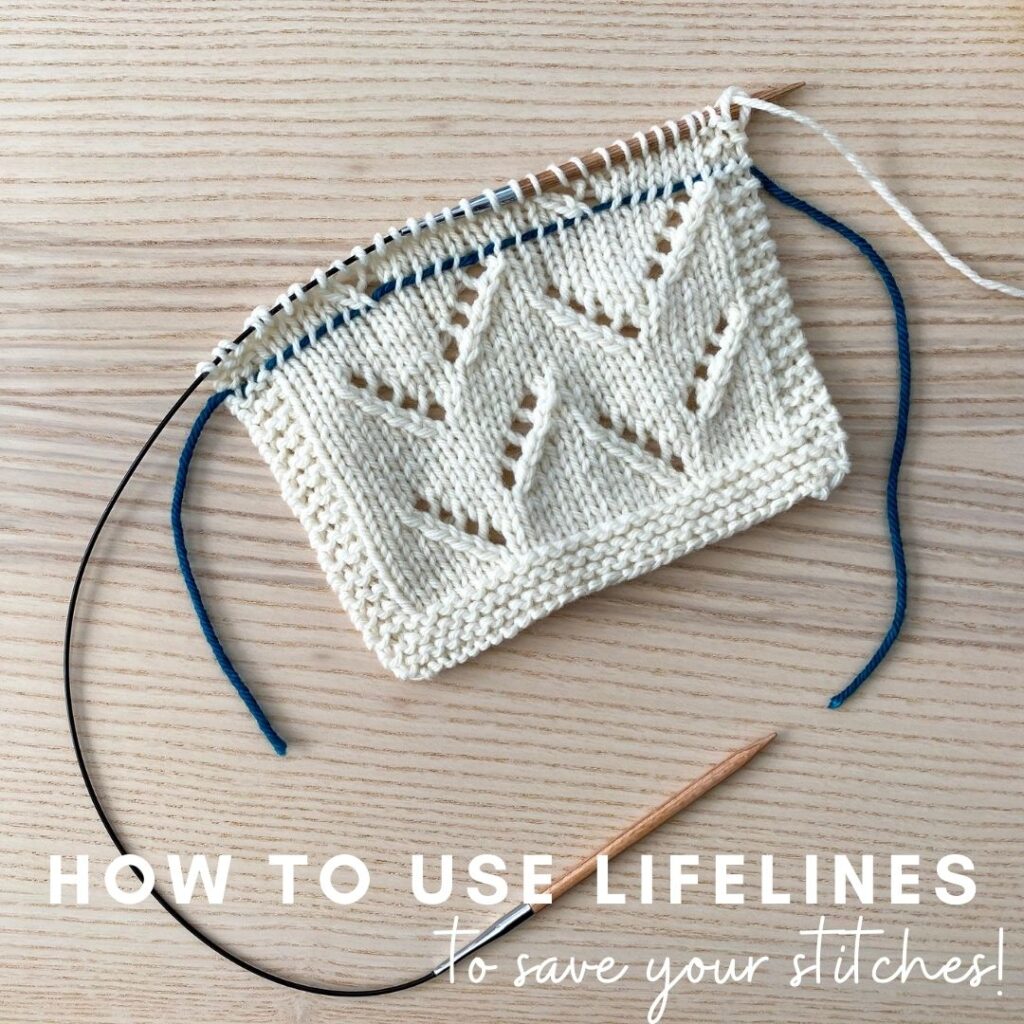
If you look up “lifeline” in the dictionary, one of the definitions is: “A rope or line used for life-saving, typically one thrown to rescue someone in difficulties in water or one used by sailors to secure themselves to a boat.” In knitting, it might not be quite as dramatic, but the idea is similar!
What is a knitting lifeline?
Using our boat analogy, think of your knitted work and stitches as your boat and the stormy seas are when you make a big mistake. How do you save your boat from disaster when seas get rough? By securing a piece of scrap yarn as a “lifeline”, you are protecting your stitches at a particular point in your work so if you encounter “rough waters” in your knitting, you can simply rip out to to your lifeline where you’ll find your row of stitches is safely secured and can easily be transferred back to your knitting needle. Simply put, it’s a safeguard you can put in place that protects you from having to rip out your entire project.
What situations should I use a lifeline for?
Lifelines can be used…whenever! You insert them whenever you might be afraid that in the next section of knitting you may make a mistake or you may need to undo something. They are most commonly used in lace or cable knitting (since lace and cables can be tricky to fix even for the more advanced knitter), but you can use them in any situation. As an example, I have a friend who recently inserted a lifeline in her Soundtrack top right before the short row shoulder shaping occurred. She hadn’t felt super confident about her short row techniques, so by inserting a lifeline before that section, she knew that – worst case scenario – if things didn’t turn out well her first time she didn’t have to stress because her stitches were saved and she could easily just rip out to that point if need be.
Lifelines can make you a more confident knitter! Sometimes we can be nervous to try new things for risk of messing something up to the point where we can’t fix it (at least I know I can be that way sometimes!). When we feel comfortable making mistakes, we’re able to be a bit more adventurous and this is a way to grow and expand our skills as a knitter. So now that you know what a lifeline is and why I love them, let me show you how it all works!
How to insert a lifeline
Set-up:
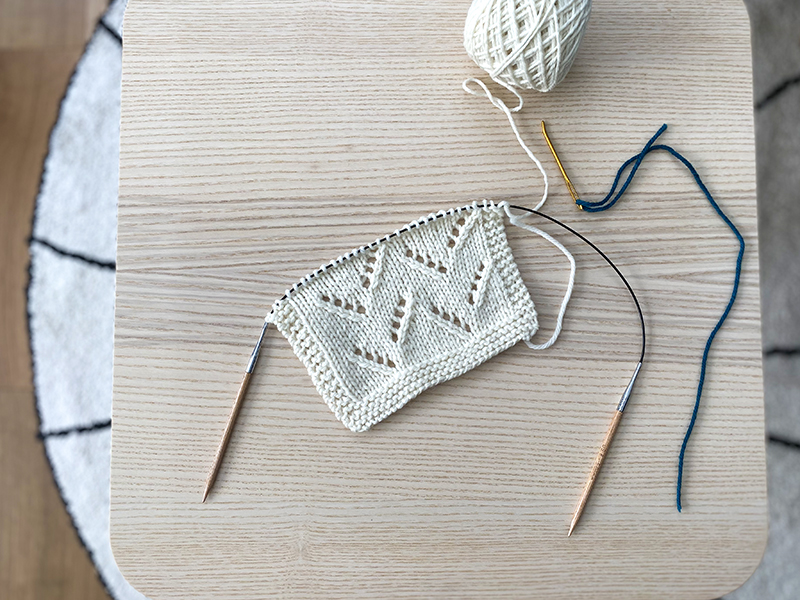
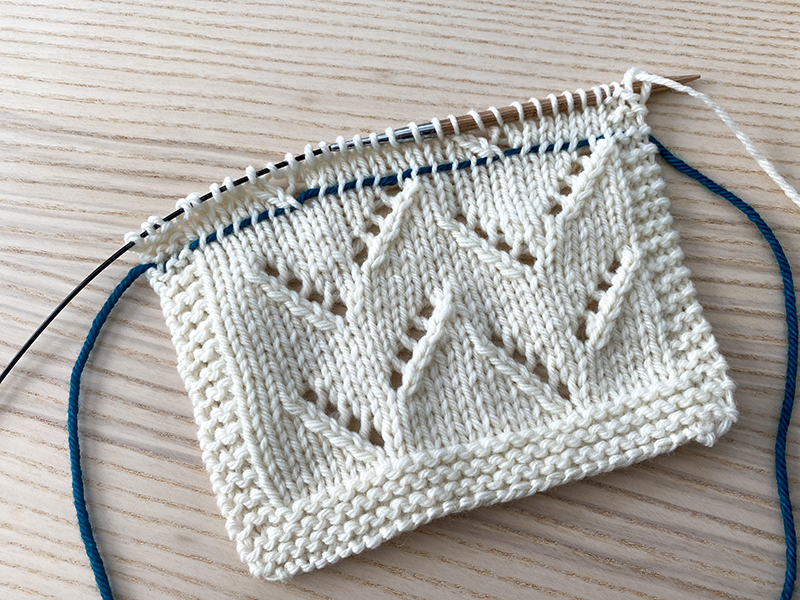
There are multiple methods of working lifelines, but for this post I’m going to show you the most basic method that I use. In the demo below, I have a swatch of a lace stitch pattern (it’s actually the stitch pattern I used in my Salt Marsh Wrap). This is a 12-row repeat and I have just finished my second repeat of the pattern, ready to work the first row of the next repeat. This is a great place to put in a lifeline because it secures your stitches at the start of your stitch pattern.
For the lifeline: you just want some scrap yarn that is of the same weight of your project or thinner, and is a smooth fiber – often cotton can work well for this. You want to make sure it’s not a yarn that will leave any ‘residue’ behind (so definitely not alpaca, mohair or other hairy yarns). Embroidery floss works well too. Using a contrasting color is also helpful!
For the needle: I often use a regular tapestry needle – the kind I would use for weaving in ends. However, if your project is using much thinner yarn you may want to use a thinner type of needle.
Inserting the lifeline:
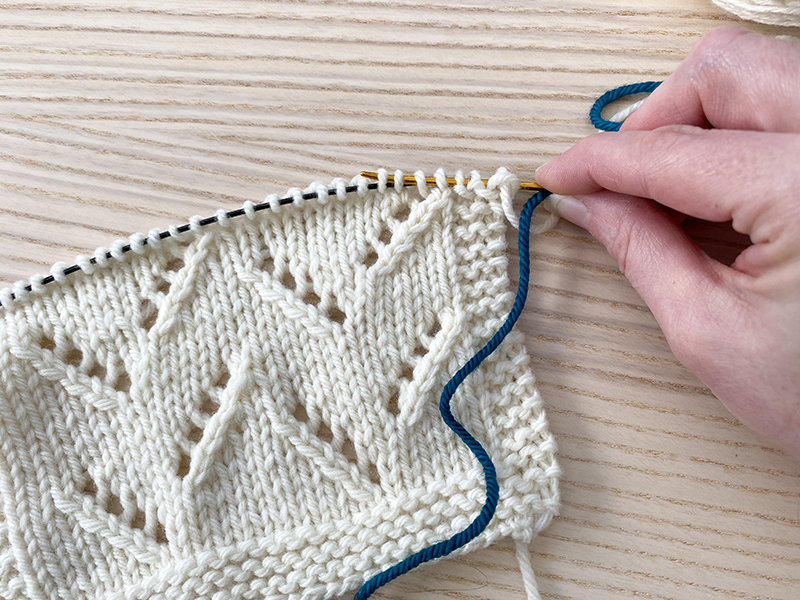
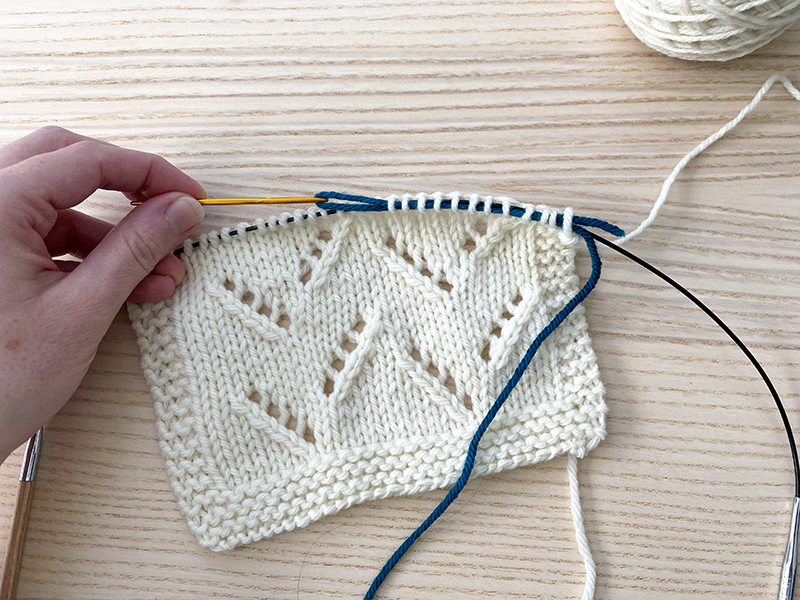
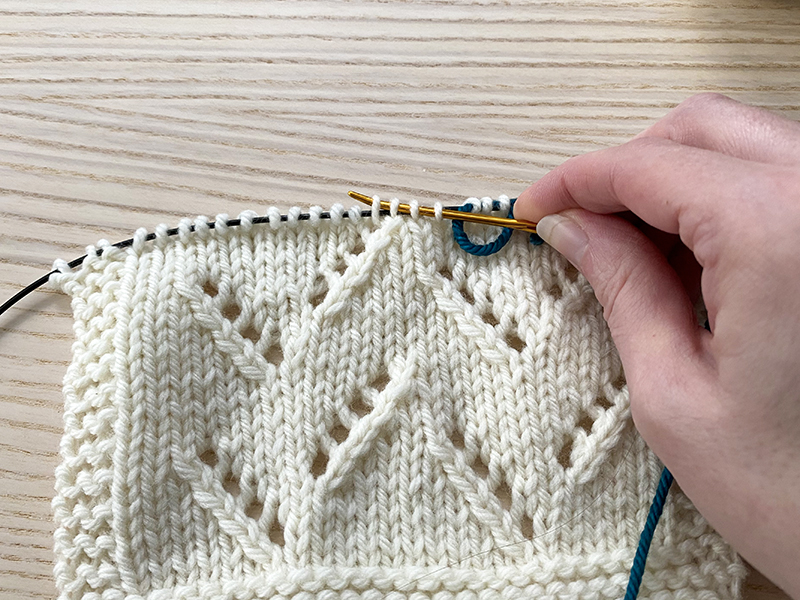
Threaded with your scrap yarn, insert the tapestry needle into the stitches on your knitting needle purlwise. I usually will do a large clump of them at a time before pulling the needle through…
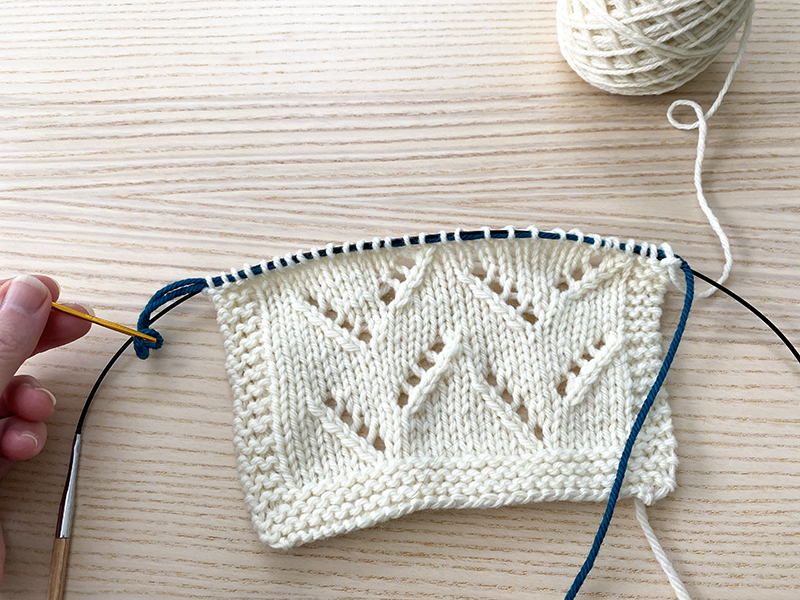
Your lifeline will look like this, with your scrap yarn running alongside your stitches on that row:
Knitting after the lifeline is inserted:
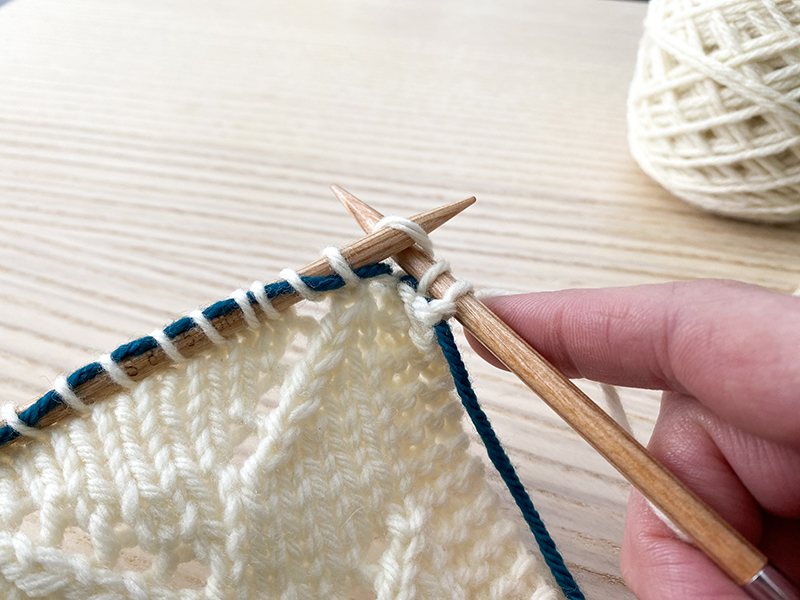
After you have inserted your lifeline, you will knit your next row exactly as it’s written in your pattern. You just need to be careful to only work the stitch (not the lifeline), and make sure your lifeline runs underneath the stitch you are working as illustrated below:
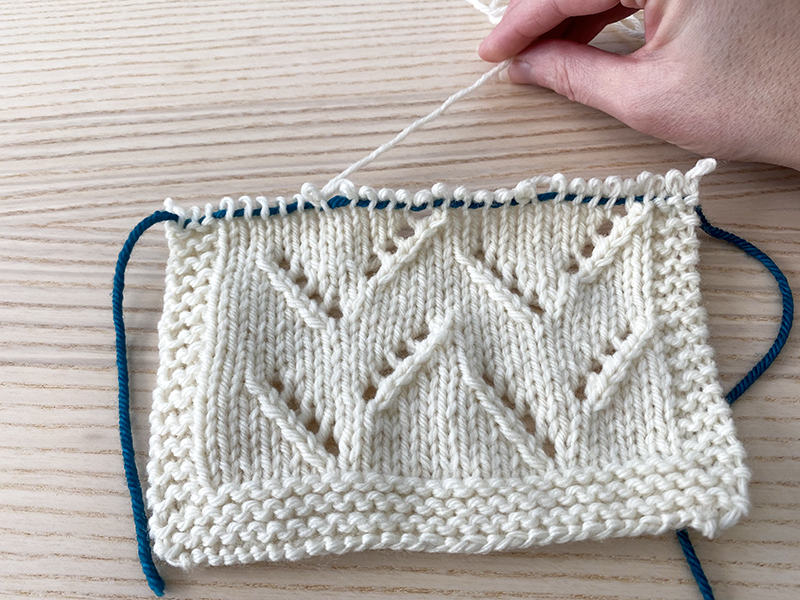
After I worked a few rows, you can see how my lifeline looks:
Ripping out to the lifeline:
So let’s say as I’m working this current lace repeat I mess up and I don’t know how to fix it. Let’s rip out to the lifeline!
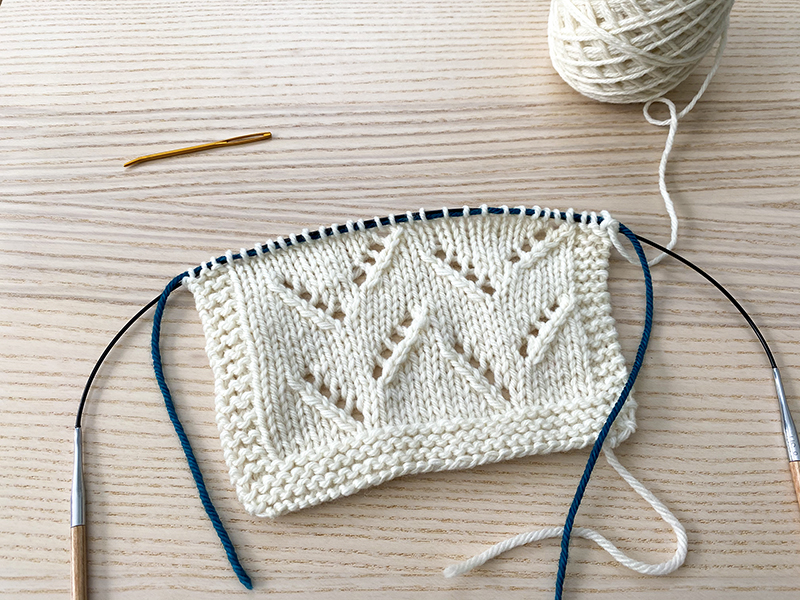
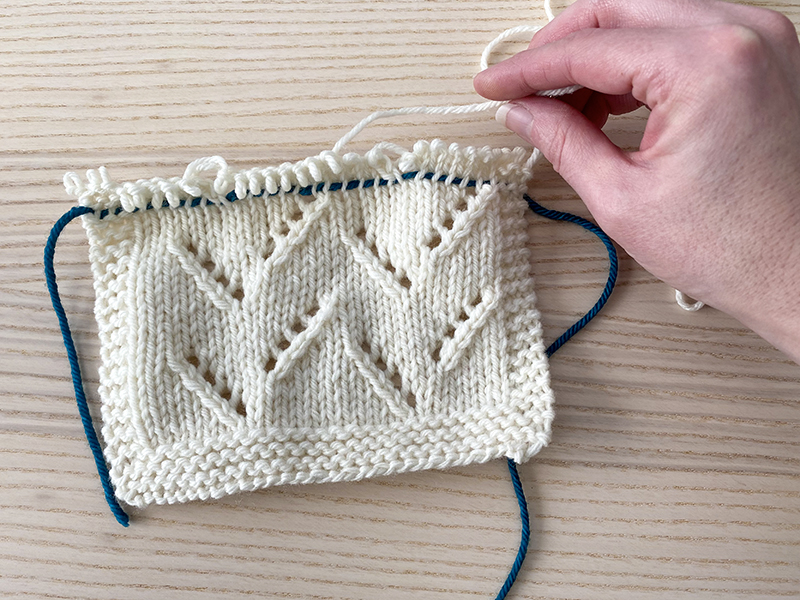
When I start to rip out the row where my lifeline is, you can see that my stitches are held nice and securely! Once you have ripped out to the lifeline, you just need to insert your knitting needle into each of the stitches as shown below. And because they are being “held” on the scrap yarn, you don’t have to worry about dropping a stitch or anything unraveling!
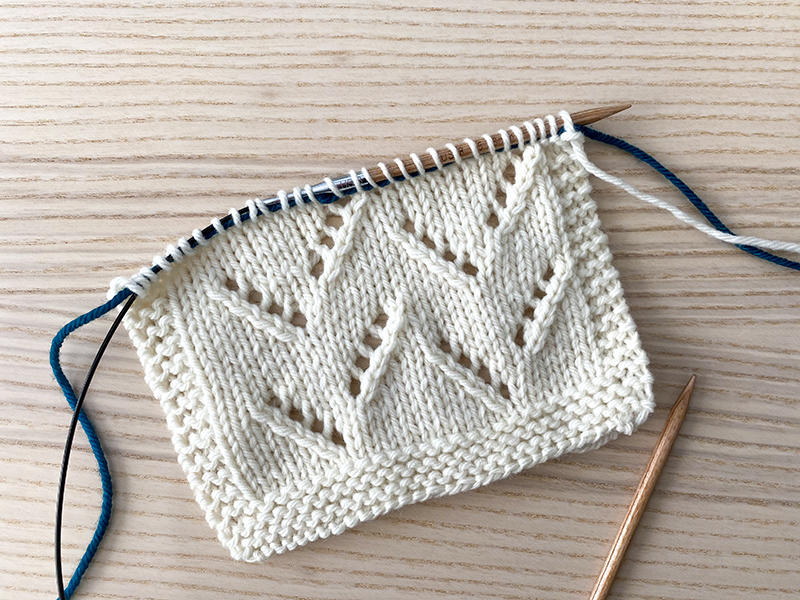
Because I want to keep my lifeline in place at this point, I’m leaving it there as i’m transferring the stitches onto my working needle. But if you didn’t need the lifeline anymore (for whatever reason), you could take it out as you transfer the stitches. Here is what my work looks like once the stitches are back on the needle – it’s like my mistake rows never happened and I’m ready to try again!
Now let’s say I worked that repeat and had no issues – should I move the lifeline? When I work lace, once I successfully finish a repeat, I will often take out the previous lifeline and re-insert it before I begin the next repeat. I definitely do this when the repeat is long (say, an 18 row repeat). If it’s a shorter repeat, sometimes I’ll do a few repeats before moving the lifeline – but there are no rules! You can work lifelines however they may work best for you.
I hope this blog post about lifelines has been helpful! As I mentioned in the beginning, there are different methods for using lifelines and so if you want to learn more, I’d recommend Googling “knitting lifelines” and you’ll find lots of ideas and options out there. Utilizing lifelines can really be a game-changer in feeling more confident as you knit and I hope it helps to feel empowered to try out new stitches or techniques!

