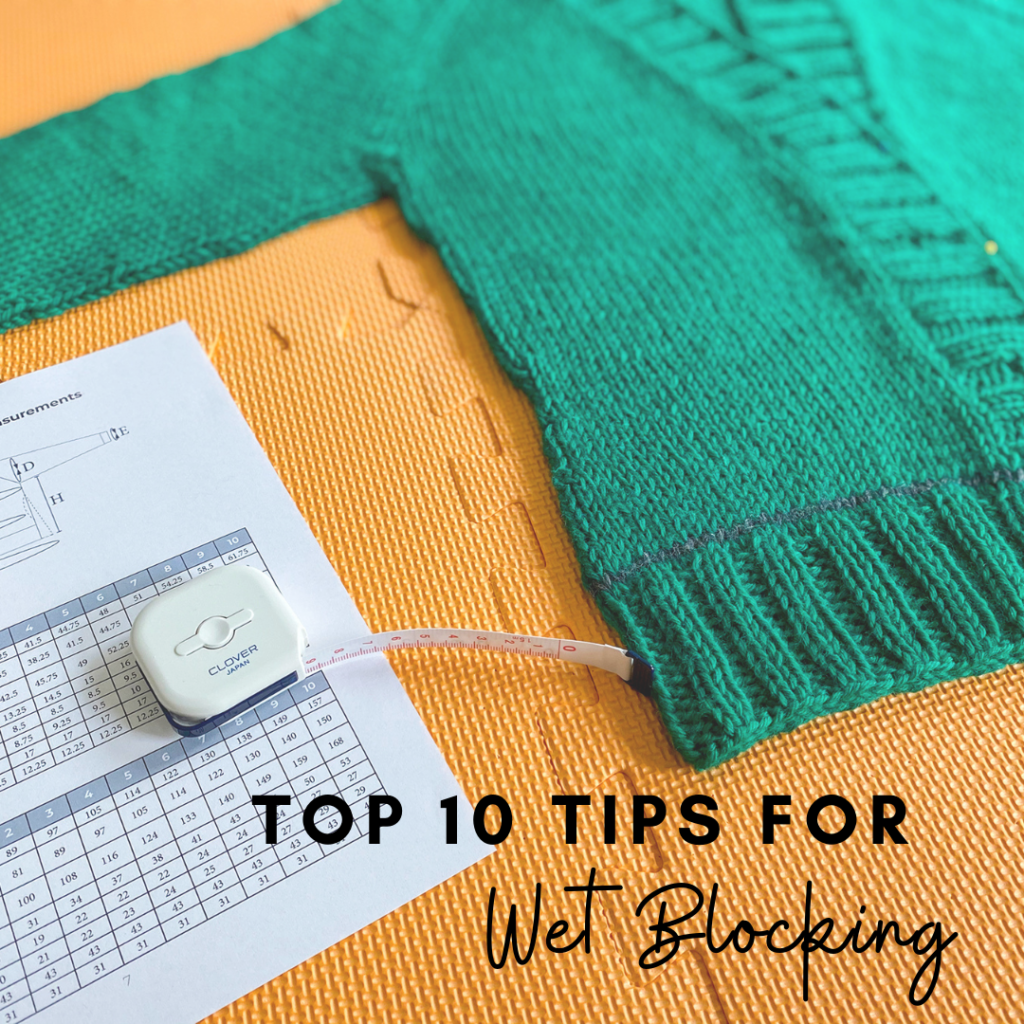
I’ve learned a lot about wet blocking through the years. And I’ve done blog posts before about how important I think blocking is and how it really helps to create a nice, finished look to your knit pieces. In today’s post, I’ve listed my top 10 wet blocking tips as well as include my blocking video that shows the process, in-action, in it’s entirety!
Tip #1: The right tools can really help.
Although they’re not 100% necessary, having certain blocking tools can really help. And if you plan on knitting multiple garments each year, they’re well worth the small investment. Here are my favorite tools:
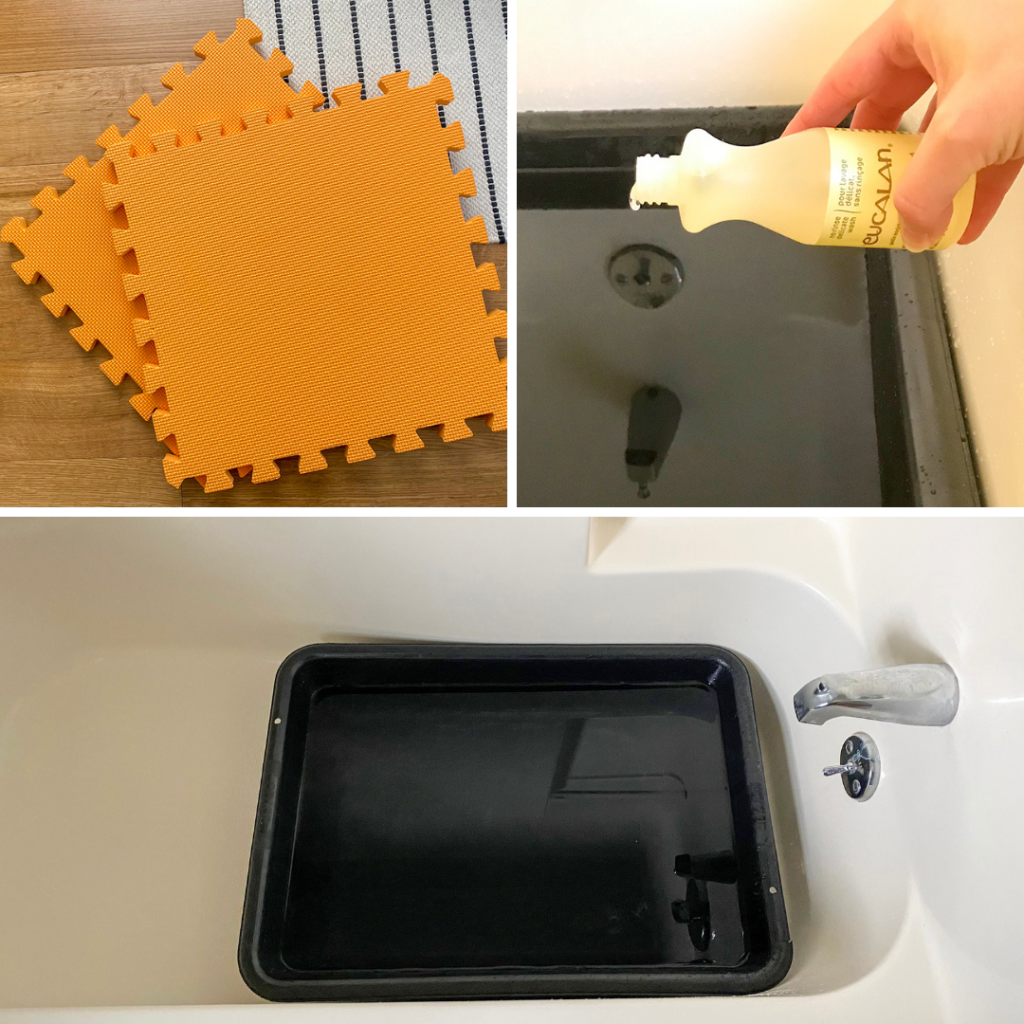
Blocking Tiles: It helps to have a flat surface to lay your garment on, and one that will absorb the wetness as well as withstand sticking pins into.
Wool Wash: After being in your hands, in your knitting bag, and all over your house, your garment probably needs a little cleaning. I like the rinse-free types of washes like Eucalan but there are lots of great options out there!
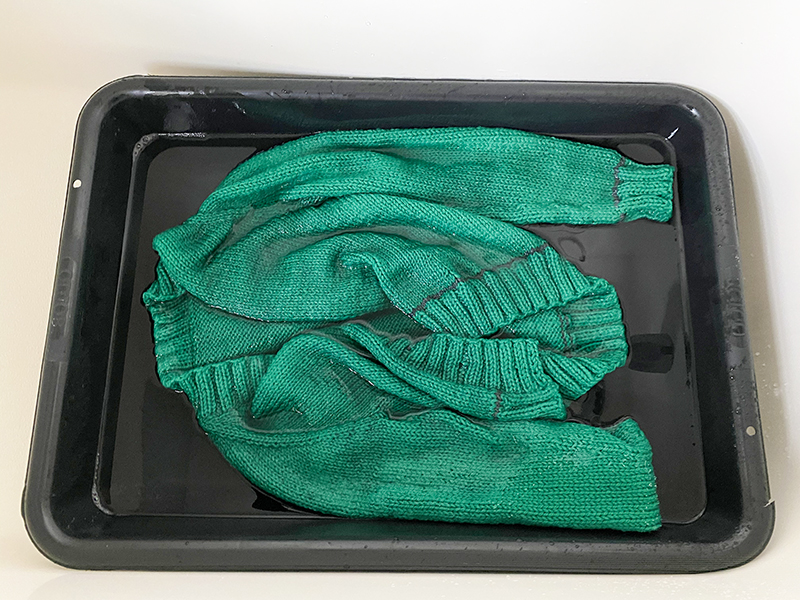
Cement Mixer: This is my ‘unconventional’ blocking tool – it’s a plastic cement mixing tray from Home Depot. It fits perfectly inside a small bathtub and because it’s shallow yet wide, it’s perfect for blocking sweaters (without having to use a ton of water due to the shallow depth). The only pain is storing it when not in use, but you can put it under a bed or in your basement if you have one.
Tip #2: I usually use cold water and keep my knits submerged for 15 minutes (set a timer!)
When in doubt, I always use cold water to block. But check your yarn label and see if it specifies something differently. But if it doesn’t say, I use cold. I also keep it submerged for at least 15 minutes. Now here’s another thing I learned the hard way – set a timer! I once accidentally left my garment submerged overnight (I got busy with other stuff and just totally forgot!). It was really saturated and definitely relaxed the fibers a bit too much.
Tip #3: Press as much water out as possible before laying out to block.
This is my most important tip and one which I’ve learned the hard way too many times about! The biggest blocking pitfall is when the garment still has too much water in it prior to shaping it on the blocking tiles – this relaxes the fibers too much and will cause too much growth. Depending on the fiber, most garments will grow a bit after blocking (this is why it’s important to block your gauge swatch too!), but by making sure you press out as much water as possible, you’ll avoid over-growth.
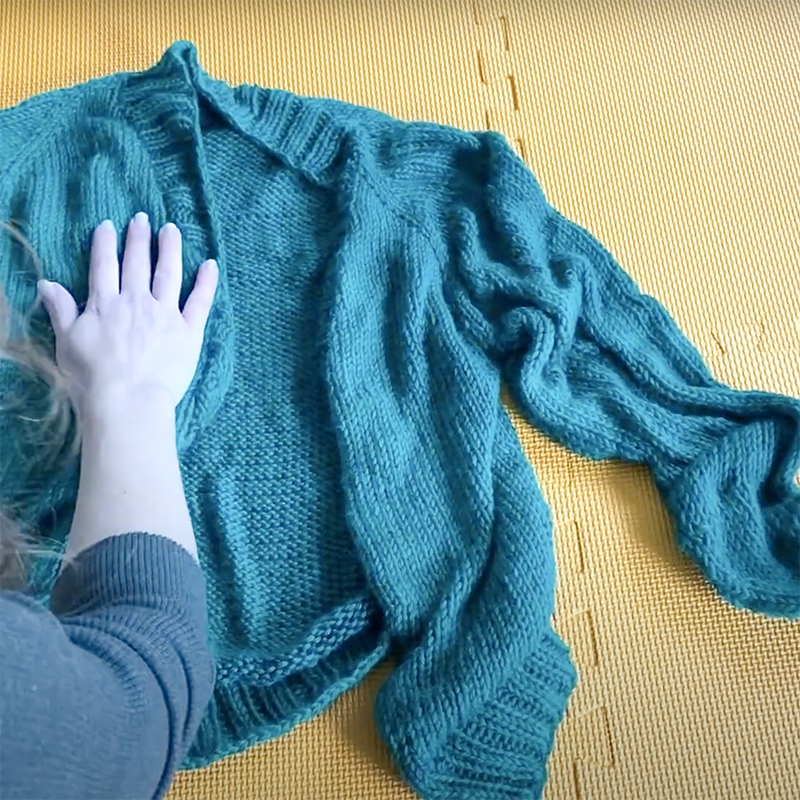
Once your 15 minutes is up and you’re ready to take the garment out of the water, I first press it against the side of the tub (or basin) in one large clump, and keep pressing until I get a lot of excess water out, and then I put it on towels, roll it up and keep pressing. Then I do it again. The goal is that, when your knit is being laid flat to block, that it feels just damp, not wet. This is best described via video – so scroll down below to watch my full tutorial and you’ll see exactly how I do this.
Tip #4: Be slow and gentle with your movements when laying your garment out.
When your damp garment is ready to be laid flat, you just want to be sure to be careful as you shape it and be gentle as you slowly arrange it to the correct shape on your blocking tiles.
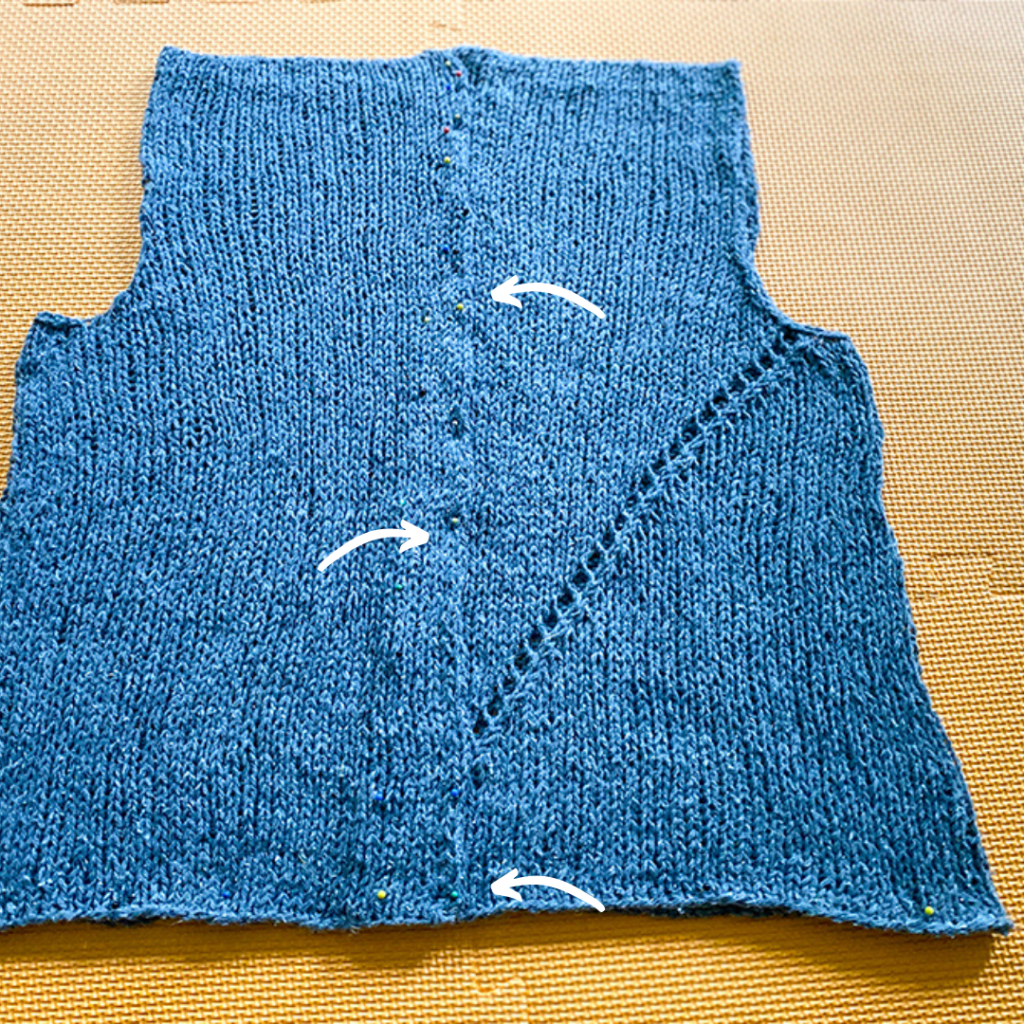
Tip #5: If your garment is a cardigan, overlap the bands and use pins to place.
In cardigan-style vests or sweaters, if your pattern schematic shows that the bands should overlap, then make sure to block your garment that way too. Also, make sure your pins are rust-proof – if not, the water could rust them and that can stain your garment! Below is my Raincheck vest blocking with pins in place:
Tip #6: If you are using thin blocking tiles, be careful of your pins poking through.
Here’s another tip I learned the hard way. If your blocking tiles are thin, and if you are using blocking pins and they are kind of long, they can poke through the bottom of the tile. This isn’t a big deal if you’re blocking on a bed, but if you are blocking on a table, you could scratch your tabletop this way. Just a little tip I wanted to share so you can avoid my previous mistake!
Tip #7: Use a fan to speed up drying time.
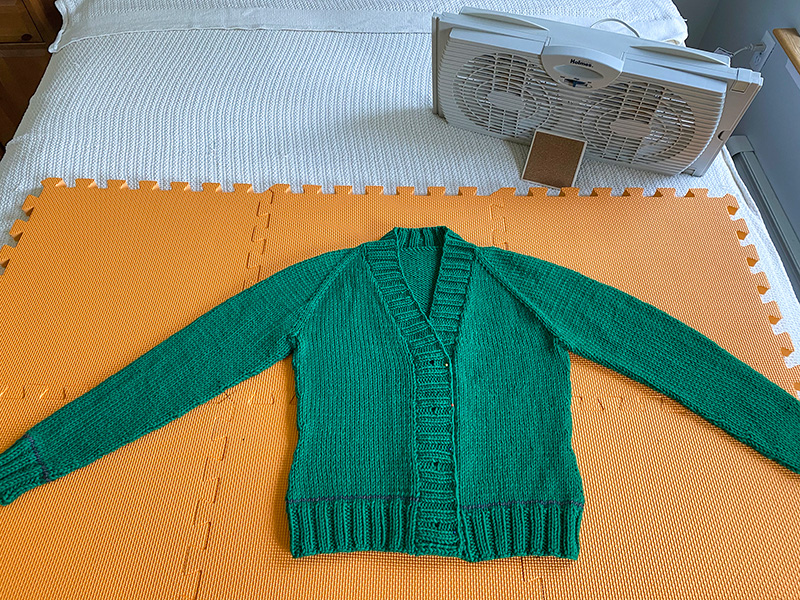
I can usually have a garment dry in 24 hours (sometimes less) if I point a fan right at my drying garment. I did this with my Audrey’s Cardigan:
I set up a window fan (propped up on a coaster), and this sweater dried in just a day. I can dry gauge swatches in just a few hours this way too!
Tip #8: I wet block all fiber types.
Just because a yarn is labeled superwash doesn’t mean you have to use a washing machine. It just means that it can withstand a washing machine should you decide to wash it that way (which often people want to do in baby and kid knits). The above green sweater is Ultra Wool Chunky, a superwash wool. But I prefer wet blocking all my garments, whether or not they are superwash.
Tip #9: Timid about wet blocking the first time? Try spray wet blocking to start.
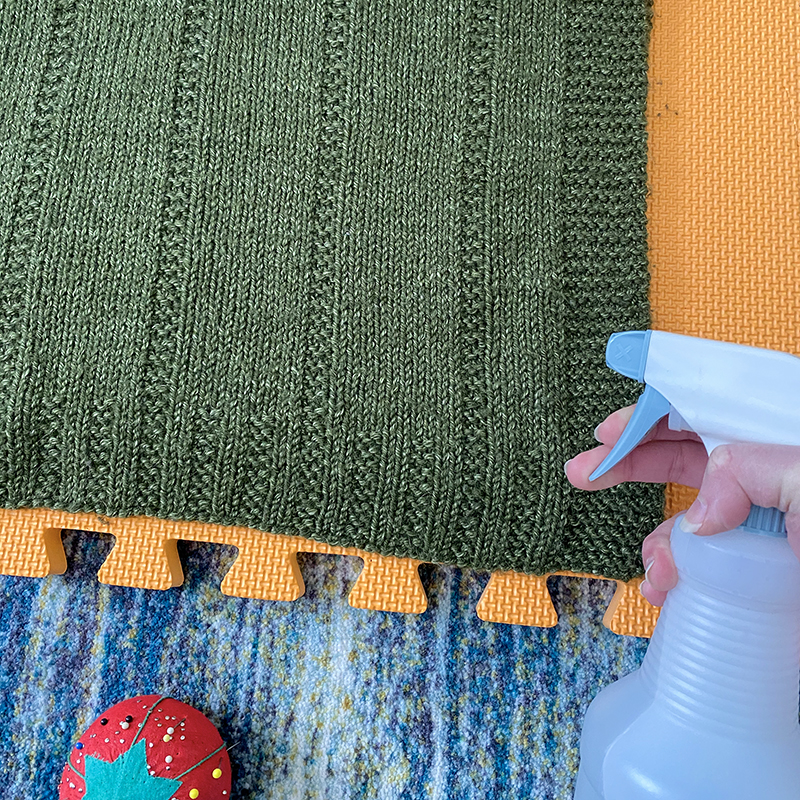
I can be a pretty cautious person, so I completely empathize if you are nervous to try wet blocking the first time – I was too! My coping mechanism for this is “baby steps”. So if you feel nervous about completely submerging your garment, you can try spray wet blocking first. Lay your garment out on your blocking tiles and with a spray bottle filled with water, spray your garment until it’s damp, and then shape and pin. This will get you a little more comfortable with shaping your damp garment in place and to measurements, without fully submerging it.
Tip #10: Erase post-blocking creases with a steamer.
Your garment is laid-flat while you block, which means that when it is dry it will have creases at the sides. Usually this will eventually relax with wear, but if you want to get rid of them quickly, use a hand-steamer!
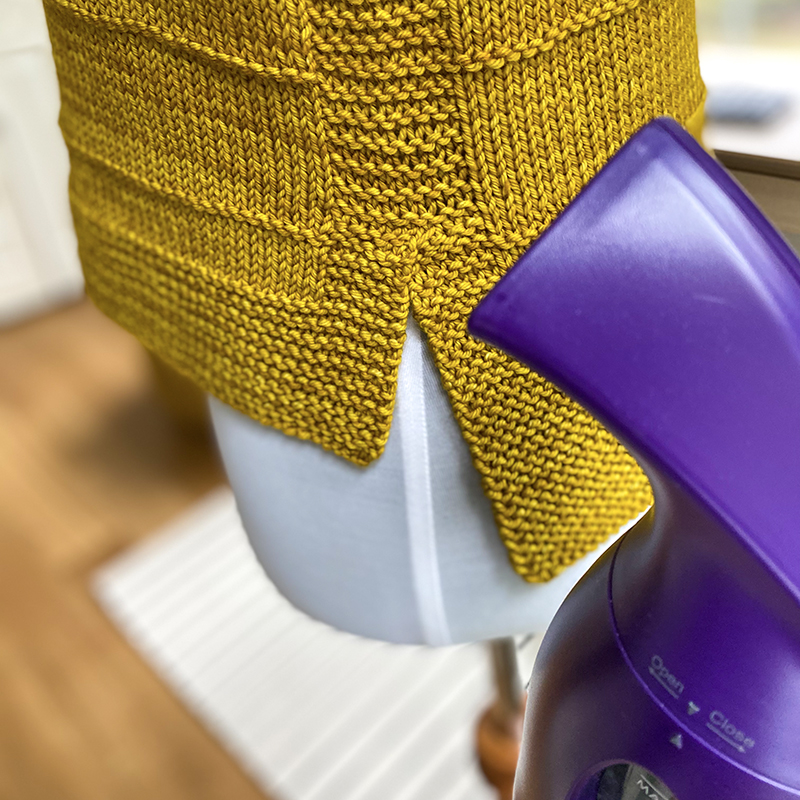
Because I usually photograph my knits shortly after blocking, I often steam the creases so they’re not as visible in the photos (I just use this small one I got at Target). A hand-steamer is great to have on hand for just this purpose (or if your knits get a little wrinkled while being stored).
Watch my full blocking video tutorial
We created a video tutorial of my entire blocking process so you can see each step in-action. It was created as part of my Audrey’s Cardigan Knitalong, but the steps I show are the same regardless of the project. View it below!

