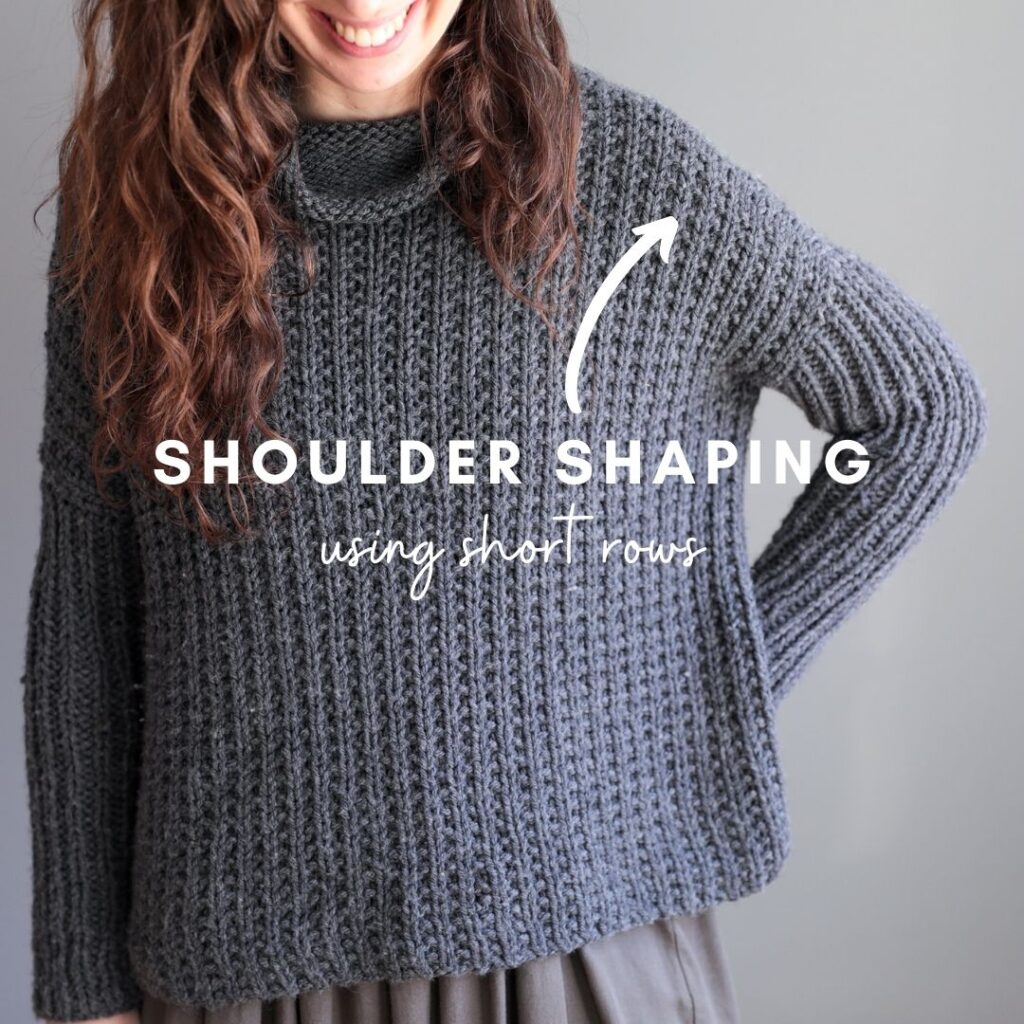
One of the main places I use short rows is in shaping my sweater shoulders. But before I go into the details about that, let me define short rows first (just in case you aren’t familiar with them yet).
Short rows are rows that aren’t fully worked – instead of knitting all the way to the end of a row, you stop short and leave some stitches unworked.
There are so many different types of short row techniques out there – the most common one you’ll encounter is a wrap & turn short row. In this type, you will work a row partially (leaving some stitches unworked), and at the point where you stop short, you’ll pass the working yarn around the next stitch, wrapping it with your yarn and then turn your work ready to work the next row. Later on you’ll be instructed to knit or purl this wrap with its stitch to hide it – this whole wrap & turn process prevents any holes from appearing at each of the turning points.
Why are short rows used in shoulder shaping?
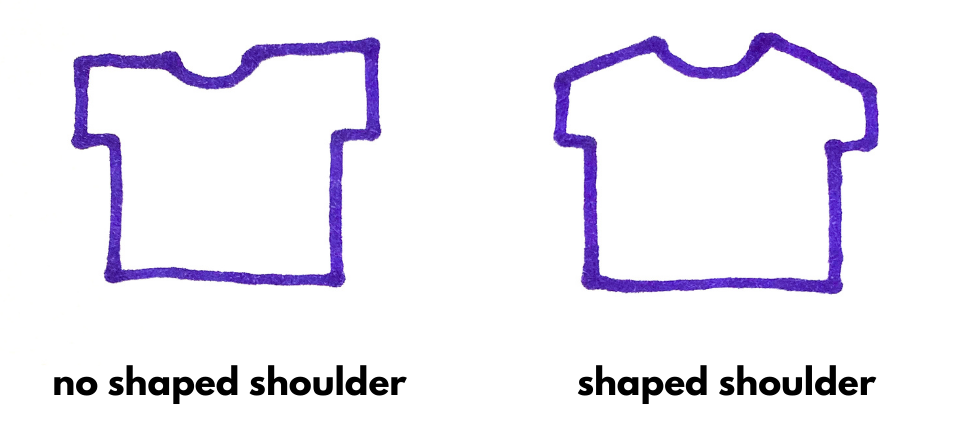
If you think about your shoulder, it’s not a straight line coming out of your neck, right? It slopes downwards. So in sweater construction, if you shape your shoulder to follow the actual slope of your natural shoulder line, you’ll have better drape. To better illustrate this, here’s a little diagram I sketched out that shows the outline of a tee that has no shoulder shaping and one that does:

You’ll get a more tailored shoulder this way and avoid the “bat wing” affect that a no-shaped shoulder can sometimes give.
So how do you use short rows to shape a shoulder?
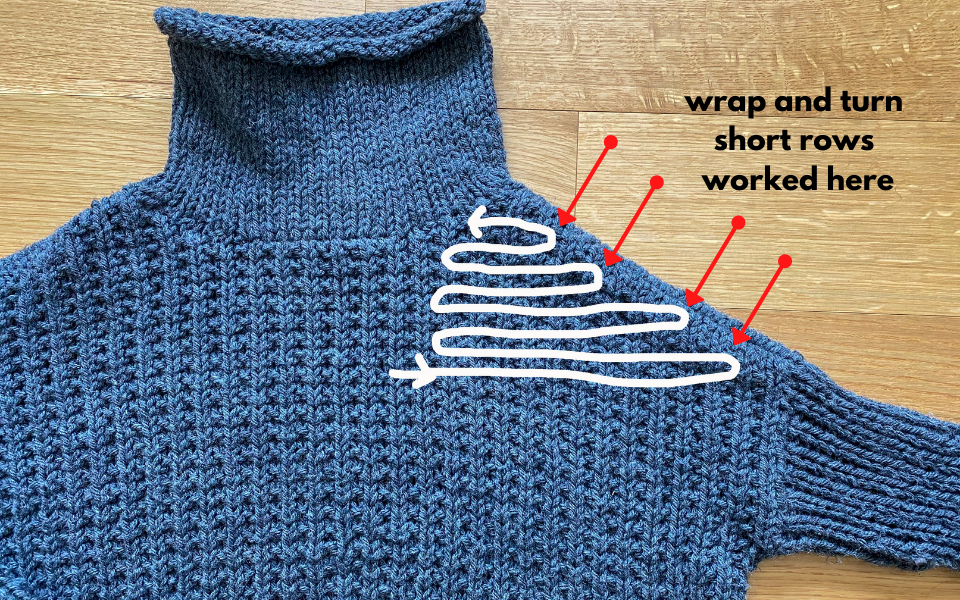
I’ll use short rows to shape my sweater shoulders in bottom-up sweater construction. When it comes time to start the shaping, my first short row is worked just a few stitches from the end of the row. Then my second short row is worked a few stitches from the end of the first short row (where the stitch was wrapped). And then the third short row is worked a few stitches from the end of the second short row (where the stitch was wrapped), and so on and so forth. With each short row, you are leaving more and more stitches unworked. When you do this multiple times, you start to get a bit of a triangle shape that mimics the slope of the shoulder. Here’s another diagram that shows my Bosco sweater and how the direction of the short rows creates this shape:

After you have finished all your short rows, you’ll be instructed to work to the end of the row, knitting or purling the wraps as you reach them. By doing this, you’ll hide the wraps and you won’t see any holes in the fabric at the points where you had turned the work.
Here’s a tip: Especially if you are new to wrap and turn short rows, it can be tricky to identify the wrap (and because you’ll need to knit or purl the wraps with the stitch it’s wrapping, you’ll need to know what it looks like!). When working your short rows, place a marker after each completed “wrap & turn”. It will then look a little like this:

This way, when it comes time to work your wraps, you’ll know to just work to each marker, remove marker, and then that next stitch is the one that is wrapped!
I also have video tutorials for how to work wrap & turn short rows. Click here to see my short row playlist which has 3 different videos on wrap and turn short rows that you might find helpful.
I hope this tutorial about short rows has helped you understand them a bit more and why I love to use them in sweater construction! If you have any follow-up questions, feel free to reach out.

